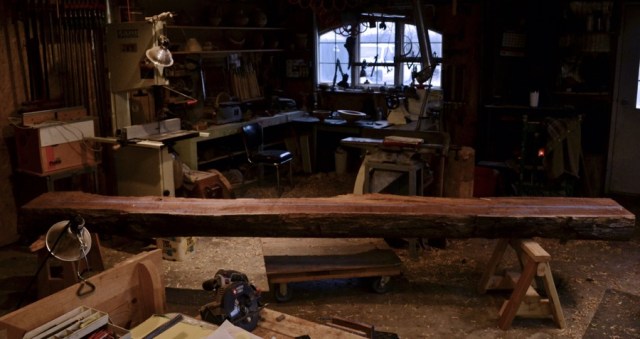
The six and a half inch thick, 13 foot long walnut slab filled the shop as it came from the chainsaw mill.

Beam cutter on the old worm-drive
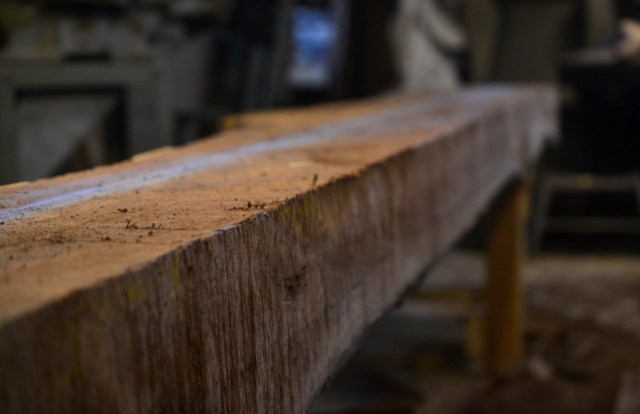
“rough-sawn” to the max
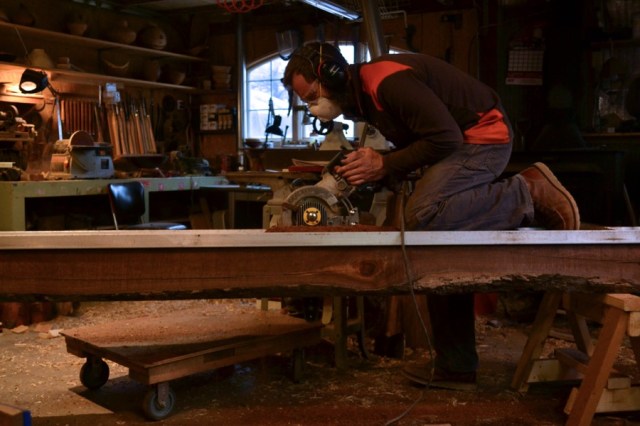
Using the “beam-cutter” to rip the slab into a six inch square timber

Pulling the saw at the end of the cut to save the last bit of slab for the corbels

Aluminum C-channel as a guide

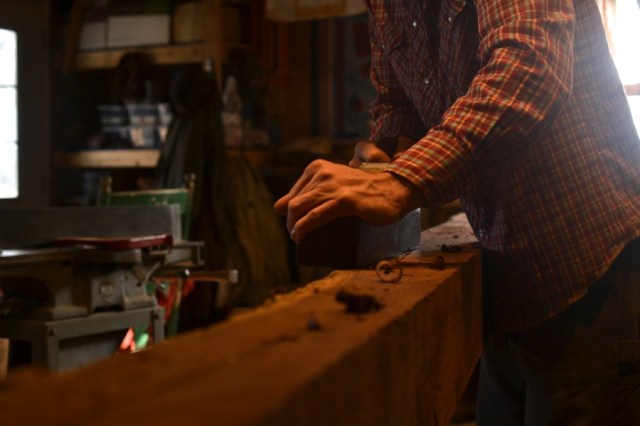
start of the smoothing
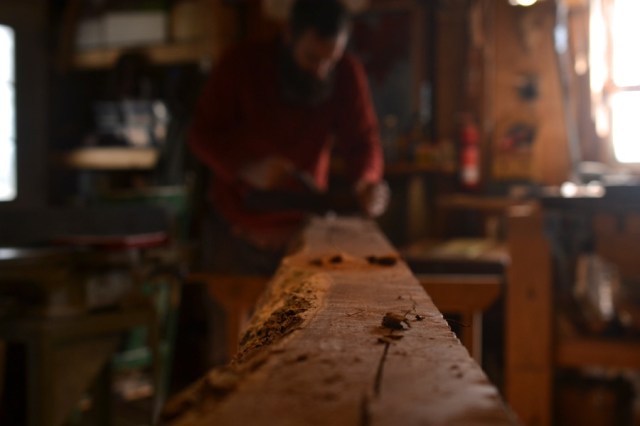
a jack plane with a radius set to take heavy shavings
Now the joiner

pretty obvious

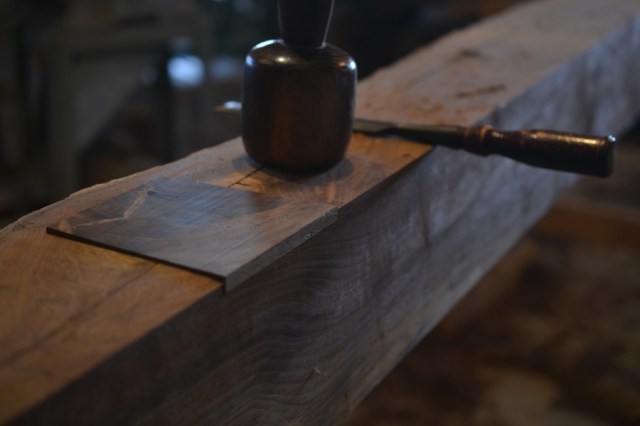
chopping out for a patch over a rotten knot
the same, fitted
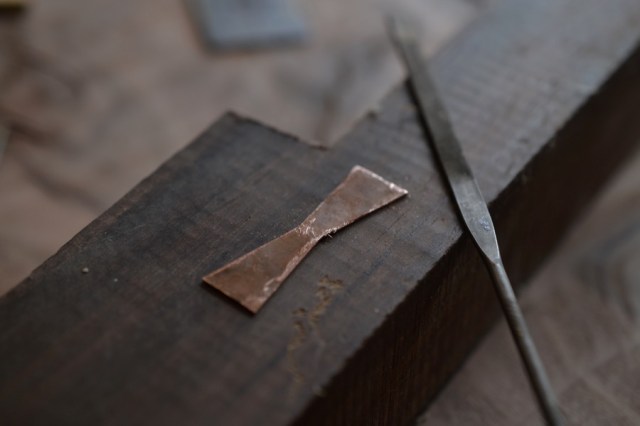
filing the edges of a little copper butterfly template

bench-top with tools for making butterfly templates

variety of butterfly templates

Scribing the timber for butterflies to bind the main check

Routing out the waste

chopping the rest

right up to the knife line

ready for the joining

carving the corbels (my documentation fell off for most of this process)

mating the various natural edges of the corbels to the mantel

a little further back
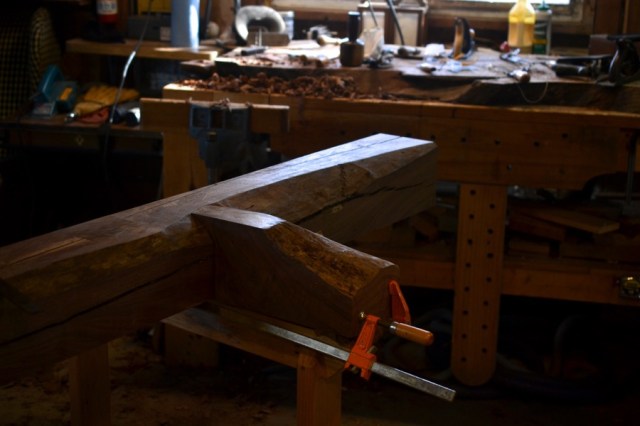
fitting the opposite corbel

rough-cut cove on the left corbel

both corbels with coves-cut and awaiting final shaping
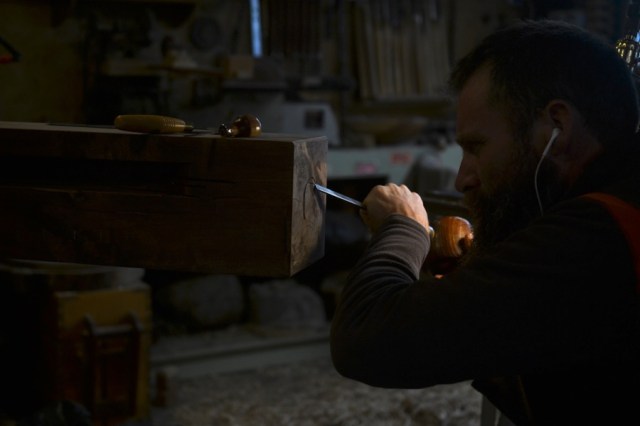
apply the final touches on the ends of the timber
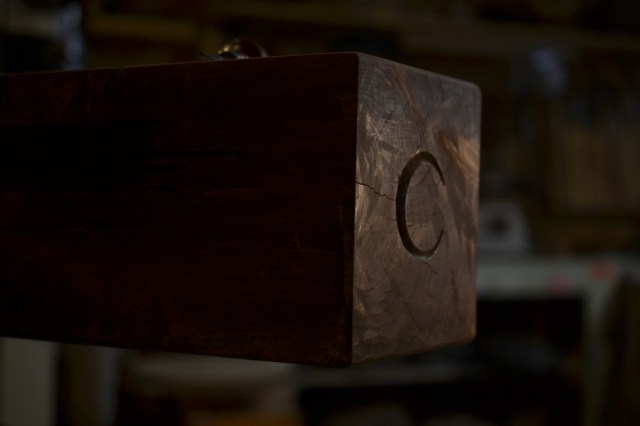
“C” for the covenant
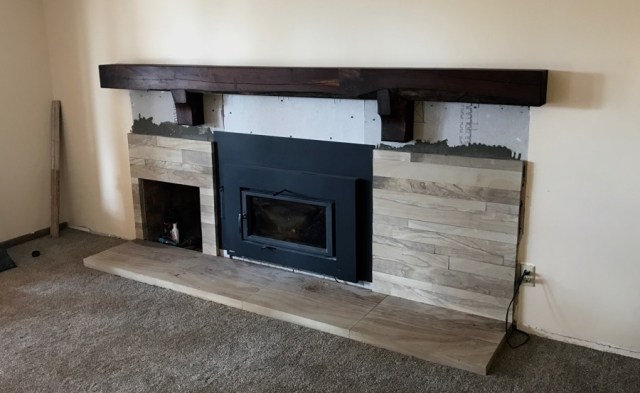
installed over the fire box, and the home-owner’s sandstone work.

I look forward to seeing it with the stone work done

every time I see post from you in my “feed-box” I’m delighted. Thanks for documenting your work. And that you do it in long, blog form (as opposite to instagram). What lights are you using in your workshop? They give great ambient.
Thank you very much, Grzegorz, I appreciate your comment. I quit using Instagram as a matter of fact- for, among others, the very reason you stated. I prefer the longer form and deeper investment I can make here.
I have some windows in my shop, which cannot be beat, otherwise I prefer to use led lights in all my fixtures.
Thank you again for your kind words.
Excellent post once again. So thankful that you share your process in beautiful photos.
Thank You, David.