
sanding and refining the shape of the legs

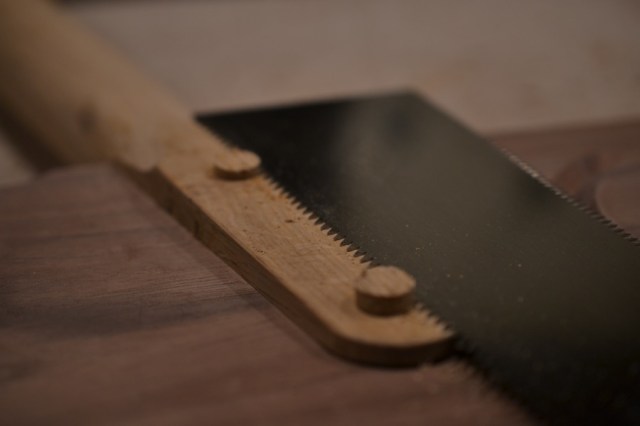
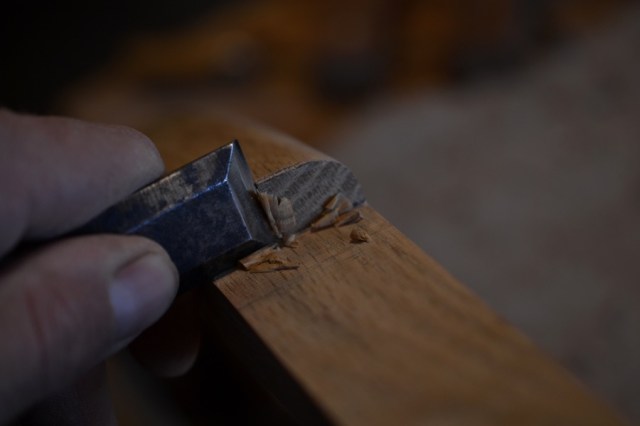
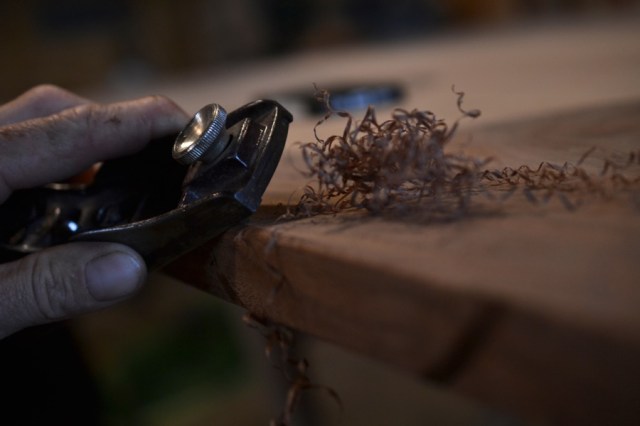
carving some details into the lower horizontal member of the leg assemblies

“C” for Champion
the lower leg joints, reinforced with screws, concealed by pegs

cut flush and sanded
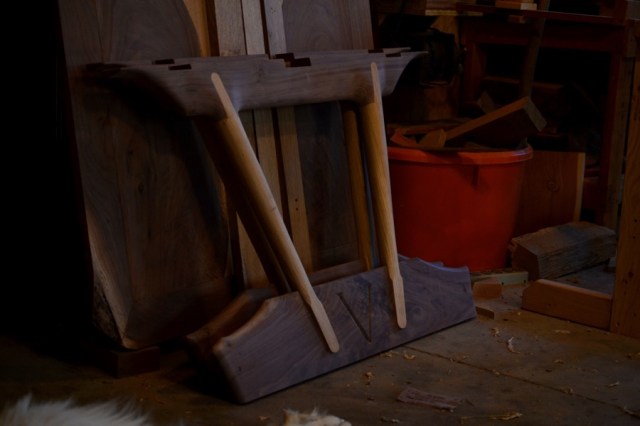
the legs are finished, awaiting only final sanding immediately prior to finishing
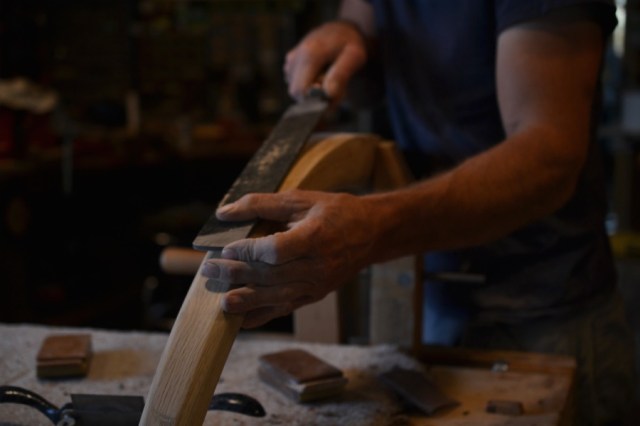
refining the shape of the arc, the brace between the leg assemblies

one of many facet transitions and chamfers across the arc
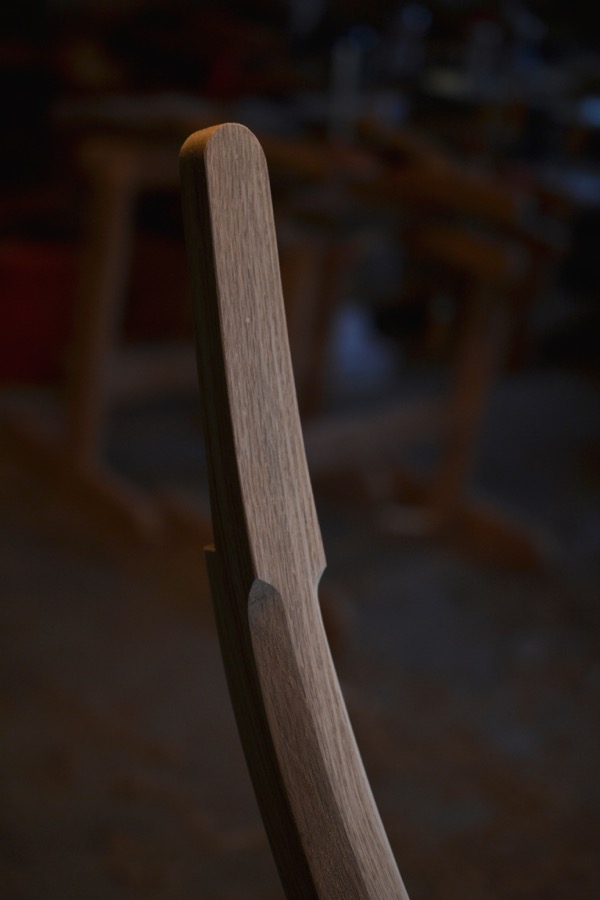
another of those transitions, in this case, the arcs contribution to the connecting joint
adjusting the shoulder of the arc where it meets the walnut of the leg assembly

a lot of enjoyment watching the play of light and shadow
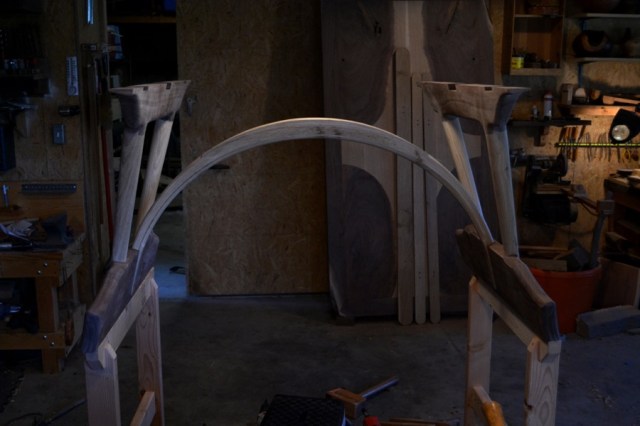
lets of test fitting of the base
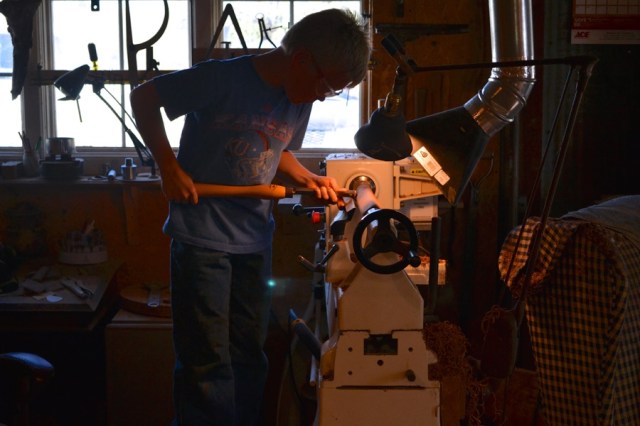
my son roughing out a billet of walnut for some stubby spindles. The spindles will connect the arc to the top-central horizontal rail connecting the leg assemblies, preventing any propensity to rack along the length of the table
here are the spindles in place as well as a bit of carving on the side of the arc

another view of the arc, upside down, an enjoyable shape- part moon, part smile, part rainbow, part horns, it is one of my favorite parts of this table
beginning work on the table-top again- softening the edges with a block plane
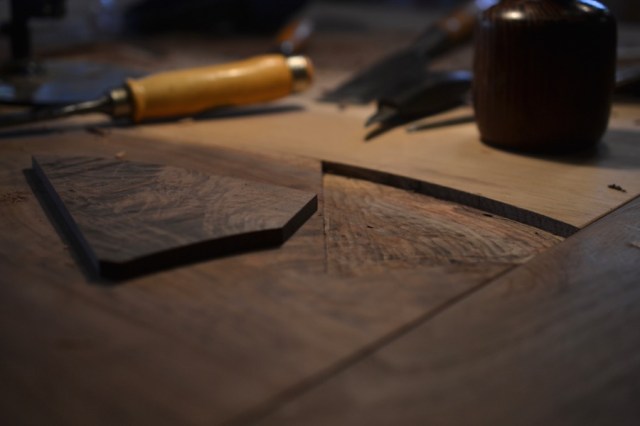
after making paper versions, laying out some walnut shapes that will be inlayed into the table-top
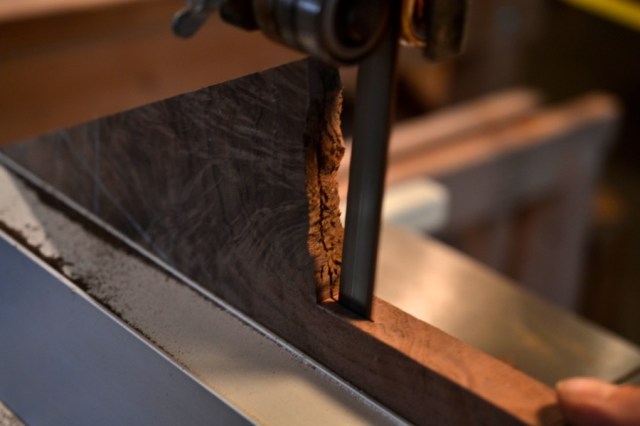
re-sawing bits of highly figured walnut for all of the special details
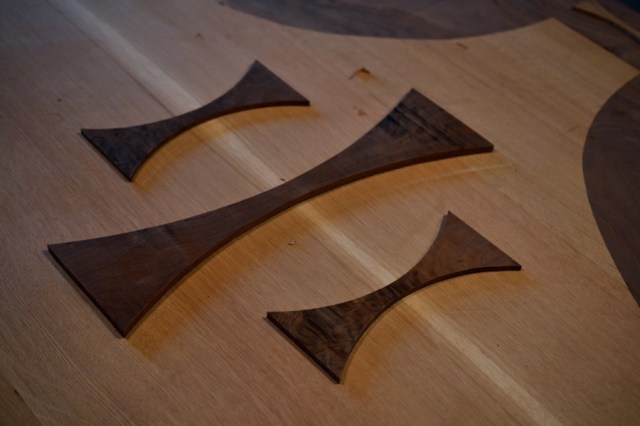
along with the decorative inlays, being positioned here are some butterfly-keys, which help to stabilize the splits and inclusions in the walnut making up the table-top

after determining the composition and placement, all the parts get some double-sided carpet tape…

…and are then stuck in place so that they don’t shift when their outlines are being scribed into the top with a knife
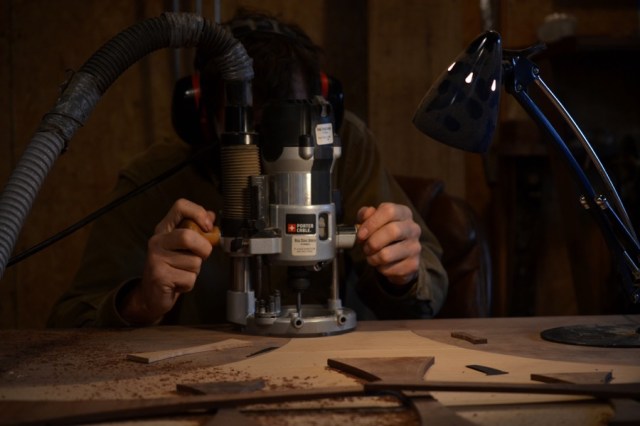
after everything has been scribed, the majority of the cavity is established with a small spiral carbide bit in the electric router

the rest of the inlay cavity is cut out with sharp chisels. The scribe-line is particularly nice at this stage, giving a positive registration for the tip of the chisel
there was a place on one of the walnut planks that had a corner that couldn’t get reconciled in the flattening stages without making it too thin- the remedy was a patch of really pretty walnut

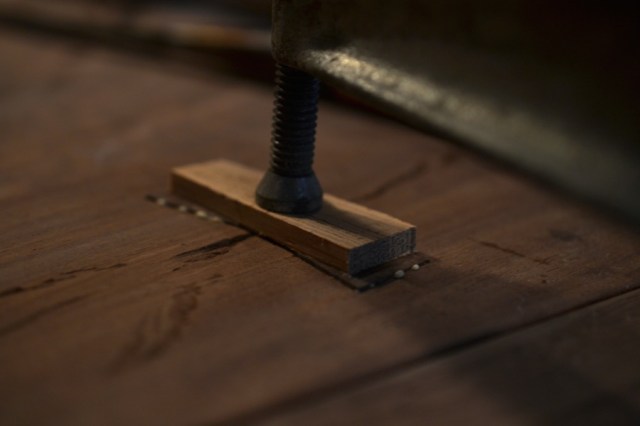
clamps were used on the top, where they could reach whatever was being inlayed

cleaning the floor and corners of one of the recesses for those butterfly keys
glue and clamp…

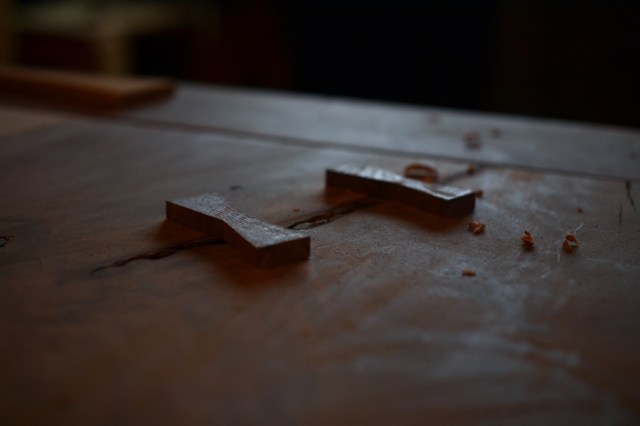
a little congregation of butterflies ready to be made flush with the top, the crack itself, will get filled with epoxy, after the bark has been removed

cutting out some of the inlay cavities for the central design

lots of chopping up to the line

there are a lot of pictures of me hunched over the top of this table, because I was hunched over the top of this table a lot

piece by piece, being tapped into place with my indispensable two-sided rubber mallet

planing the first round of inlays fush to the surface

glueing up some ebony for the next round of inlay work
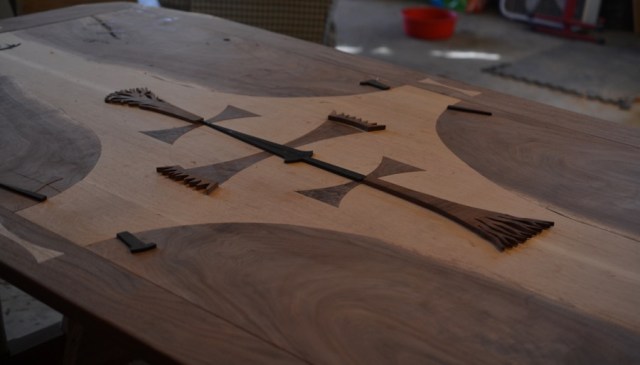
the elements of the central design positioned and ready

a few more ebony details being cut out at the scroll saw

the slow process of accurately scribing every edge with an “Exacto” knife

clearing out as much as possible with the router, carefully to stay just shy of my lines
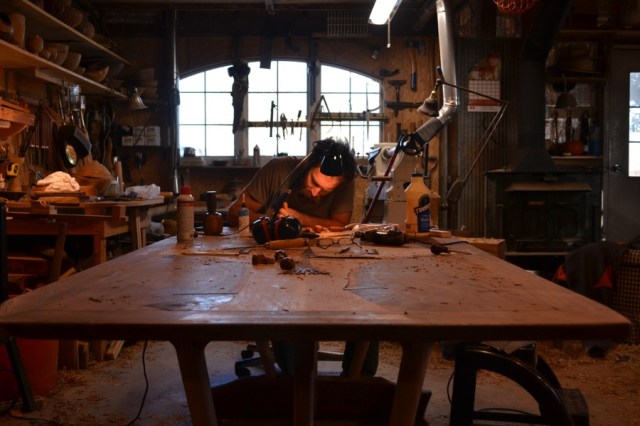
my life for a good portion of October
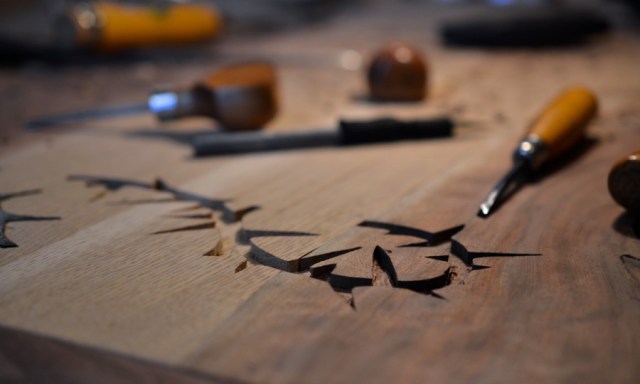
ofter hours of knife, chisel, and dental tool work, the inlay cavity for the crown of thorns is about ready for the ebony

a modified dental tool in action clearing out the acute corners of the cavities, somewhat appropriate

…still hunched over…
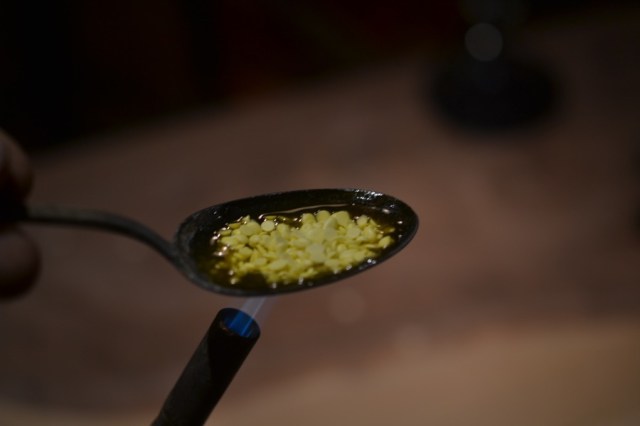
some of the inlay uses molten sulphur… being melted here in a spoon

molten sulphur is an eerie and beautiful thing, if not pungent to the point of being toxic

poured into carved voids it marks a lovely luminous contrast to black walnut

also very porous- not so good for a table top- an improved sulfur inlay was devised. First grinding some sulphur crystals with mortar and pestle…
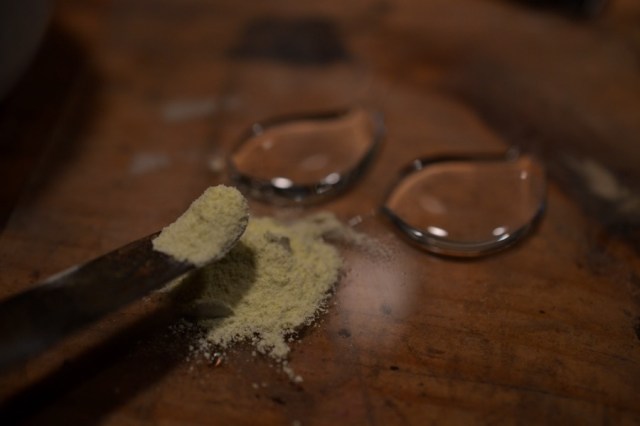
the sulphur pigment is then introduced to some two-part epoxy
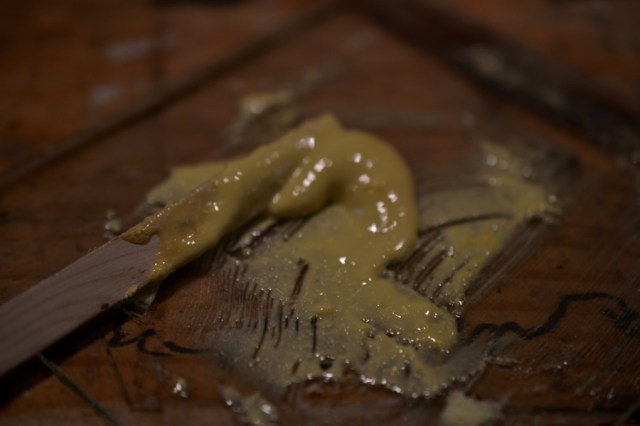
the resultant paste is pressed into the top layer of the earlier sulphur inlay, filling the pores and yielding a slightly tougher surface
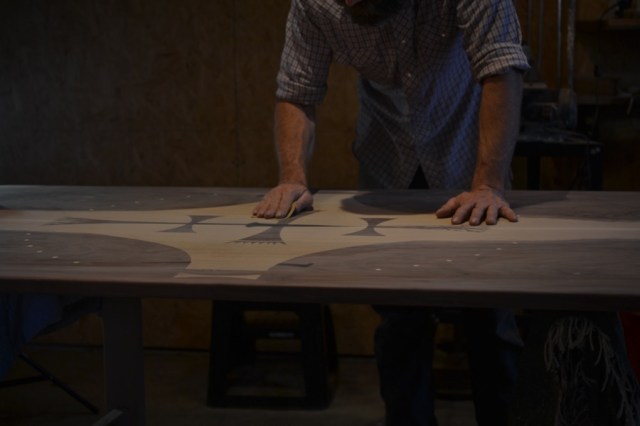
the inlay work done and all the other voids being filled with epoxy, final sanding has begun

as the process goes, there are many flaws in my inlay work that need to be addressed. Out come the pigments and filler

it is an enjoyable process that takes me into the realms of another of my lines of work

then more sanding
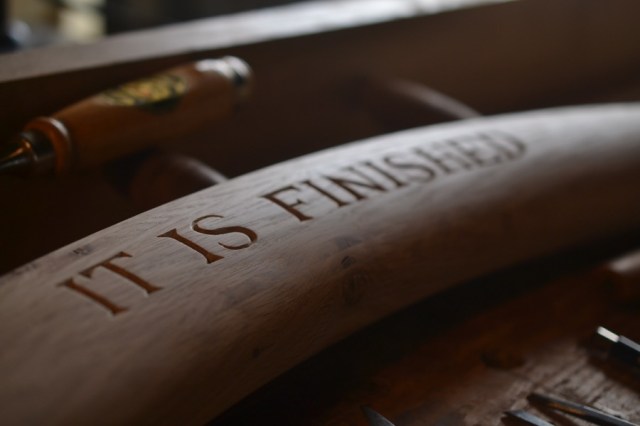
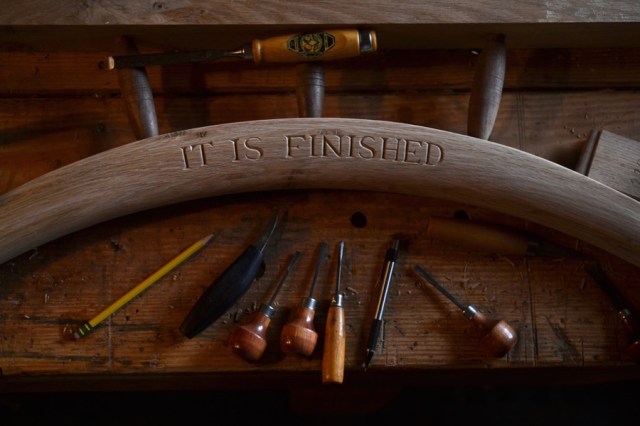
this marks the end of this second to last post in the building of the Champion Table, I won’t reveal the finished piece until it’s new owners have had a chance to see it in person. Thank you all for offering your support and comments, or just following along silently. I remain immensely grateful for the kind encouragement which each represents, and I look forward to sharing the finished piece with you all as well.


