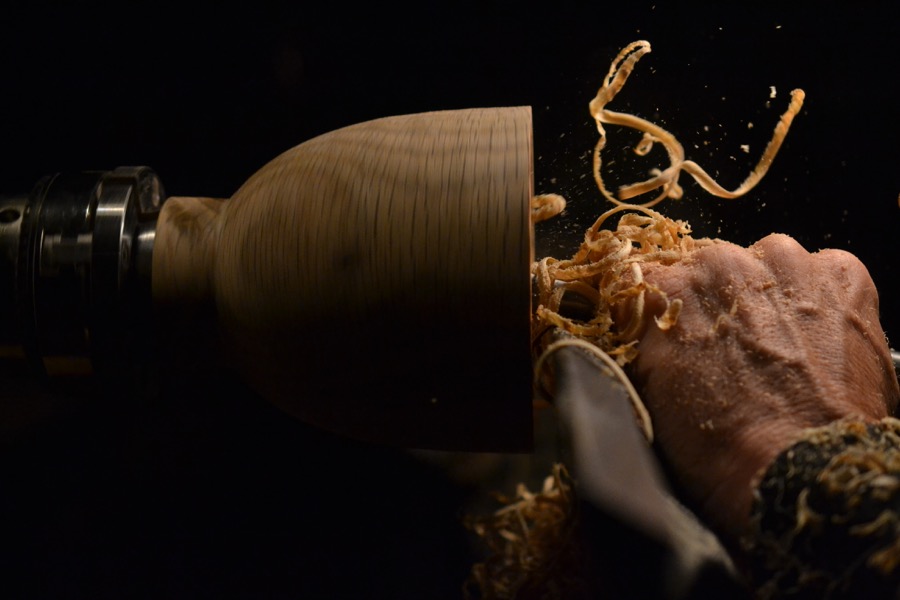
white oak
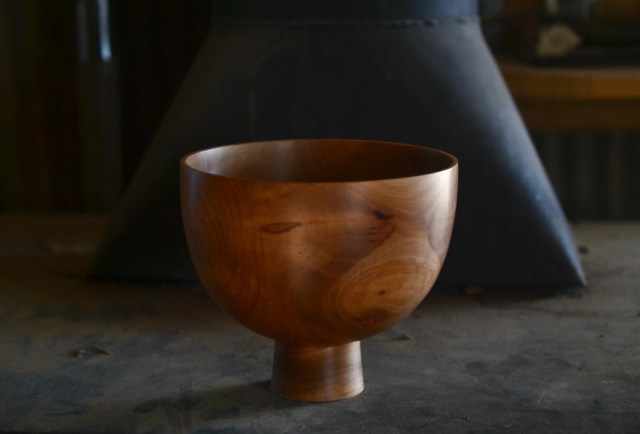
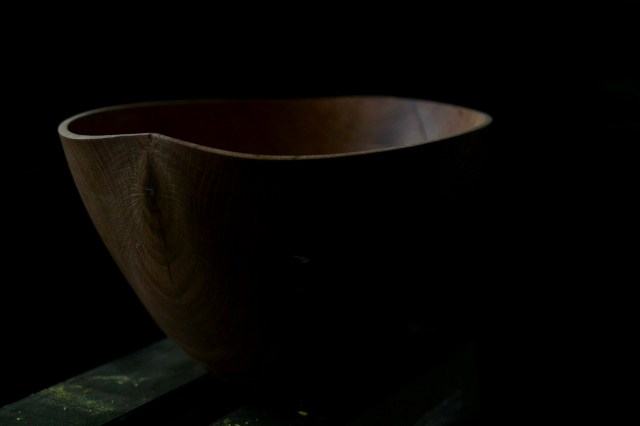
Wood Vessels


 These bowls are all for sale in our Etsy Store if you are interested. Thanks for looking.
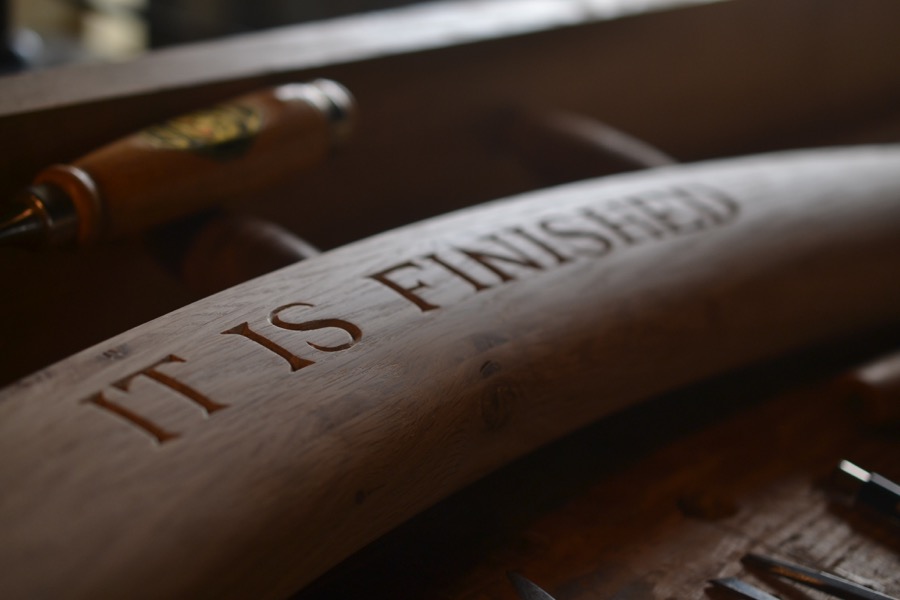
There Is A Season
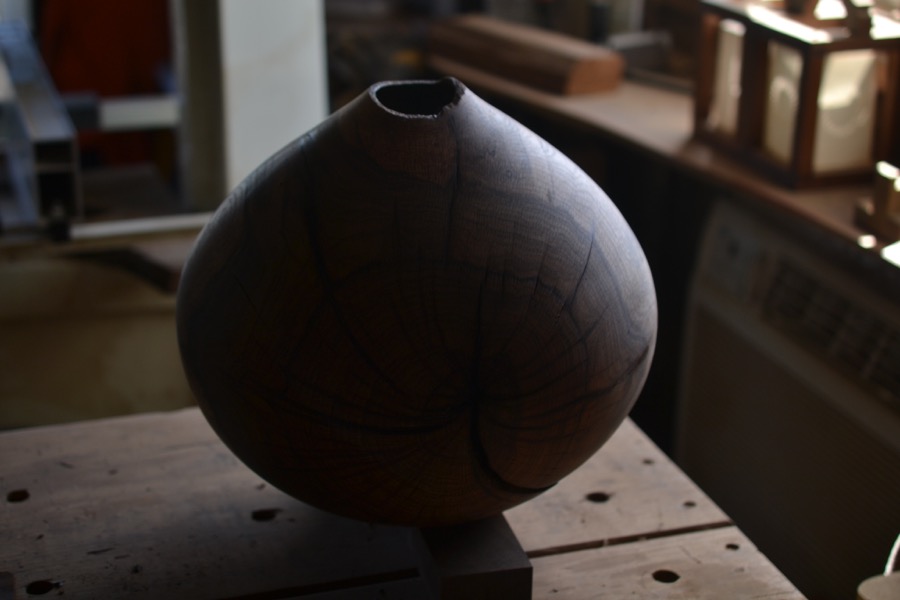
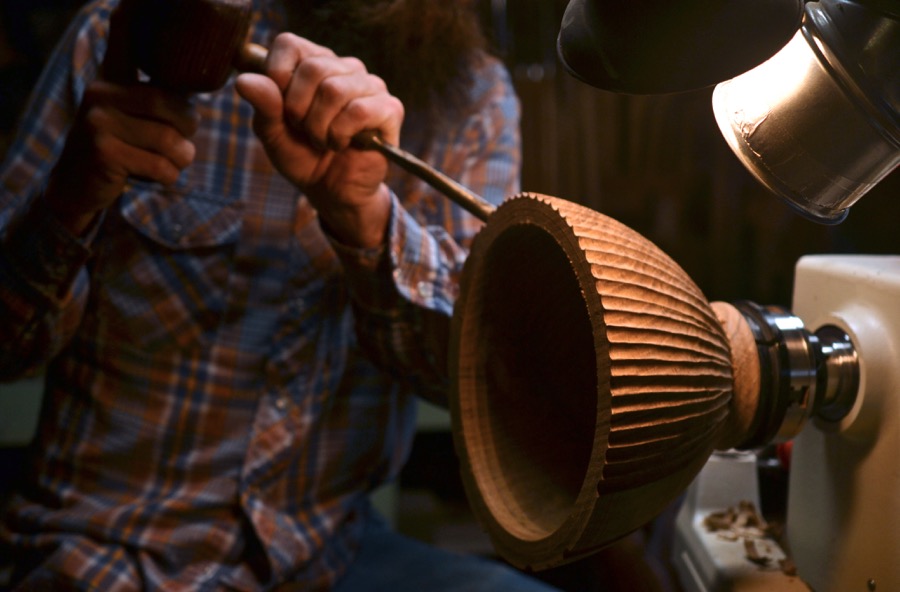
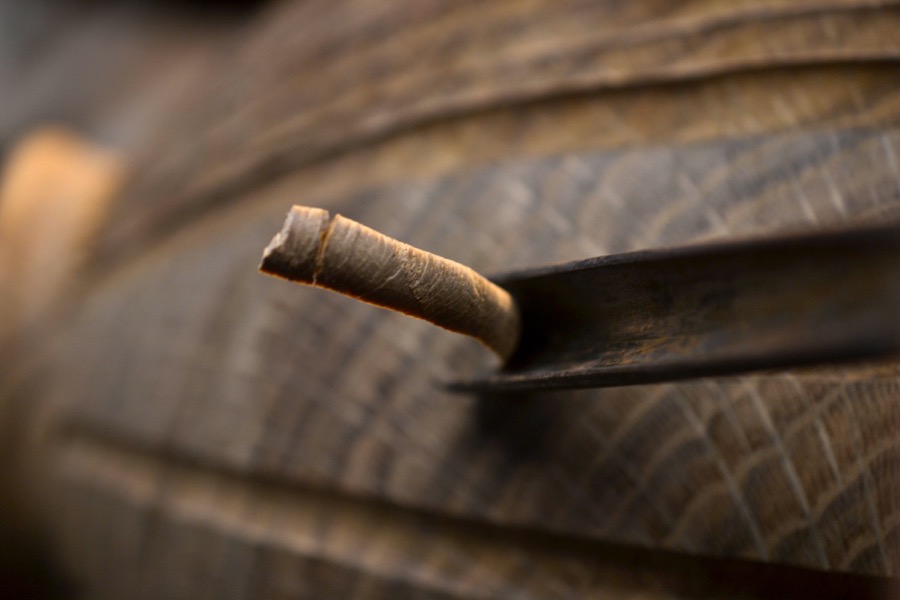

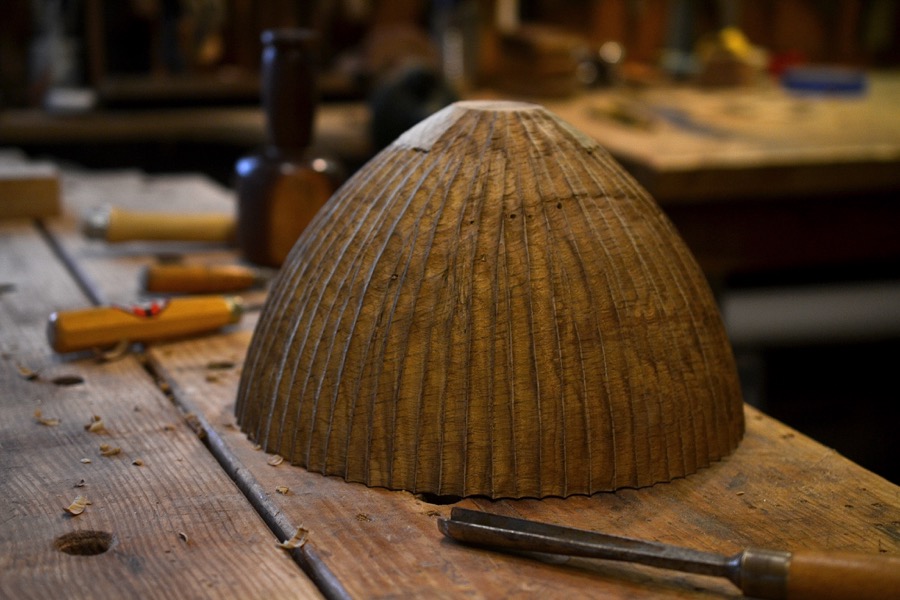
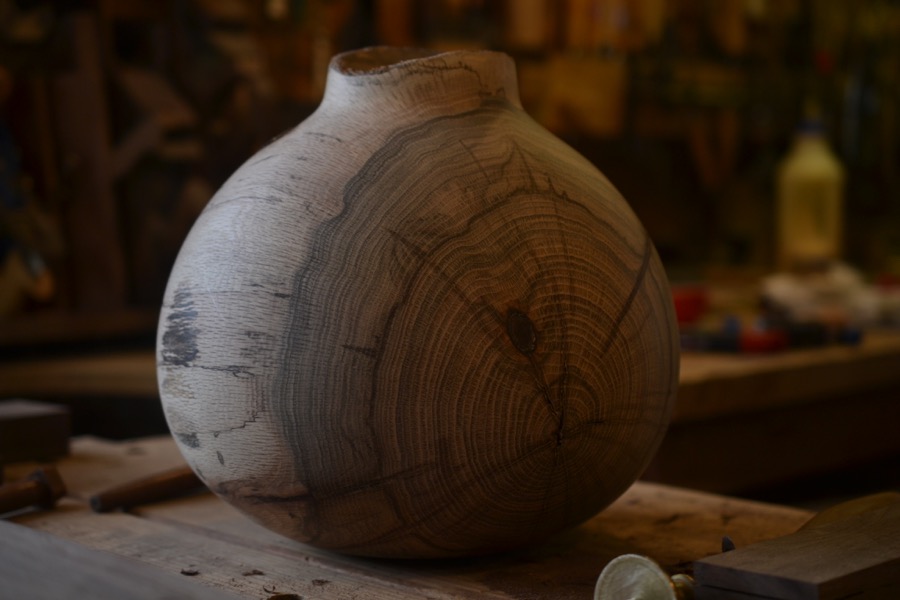
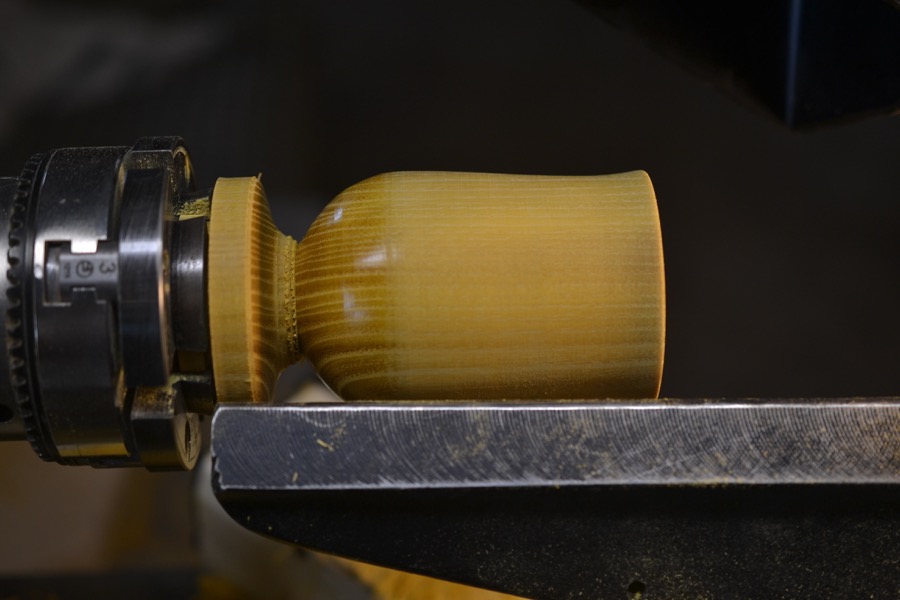
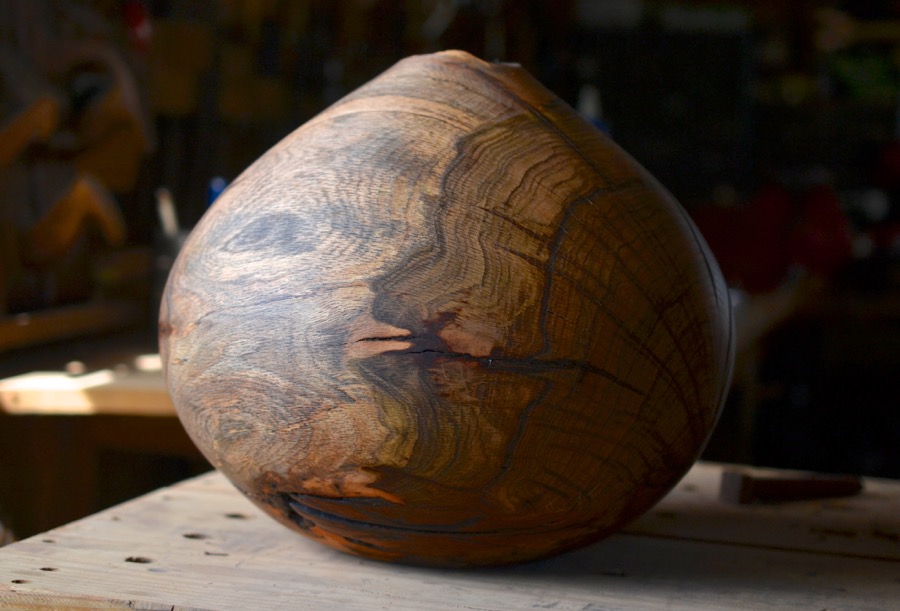
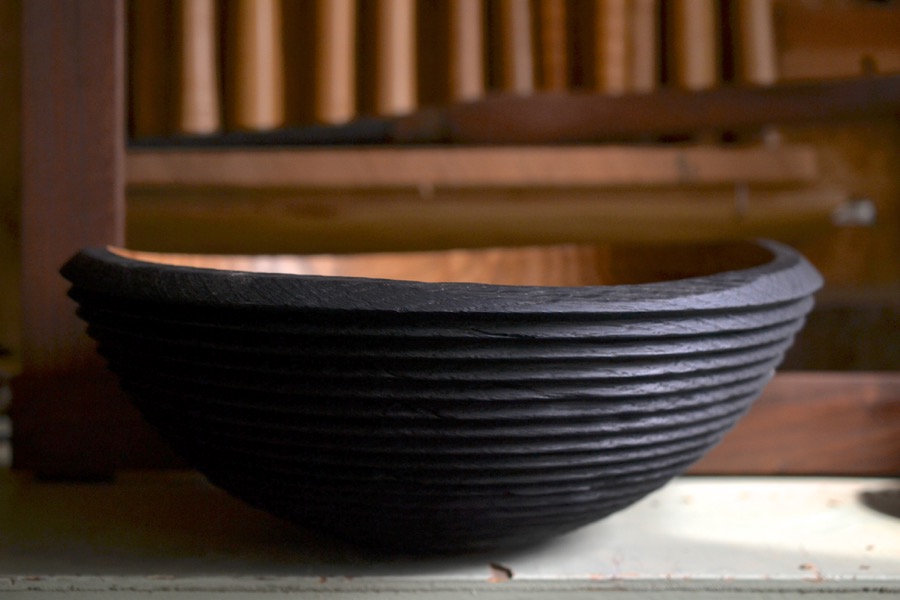
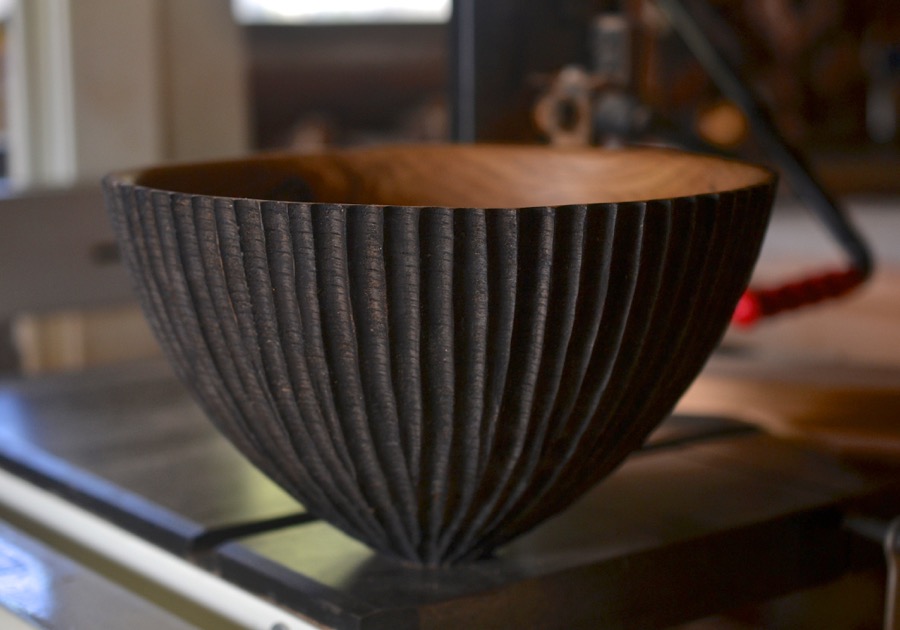
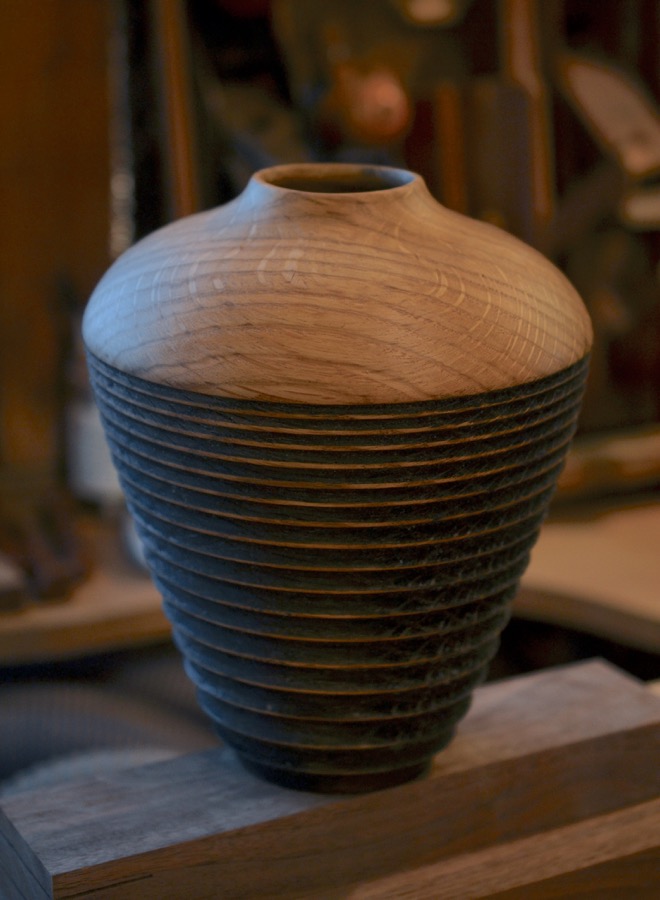
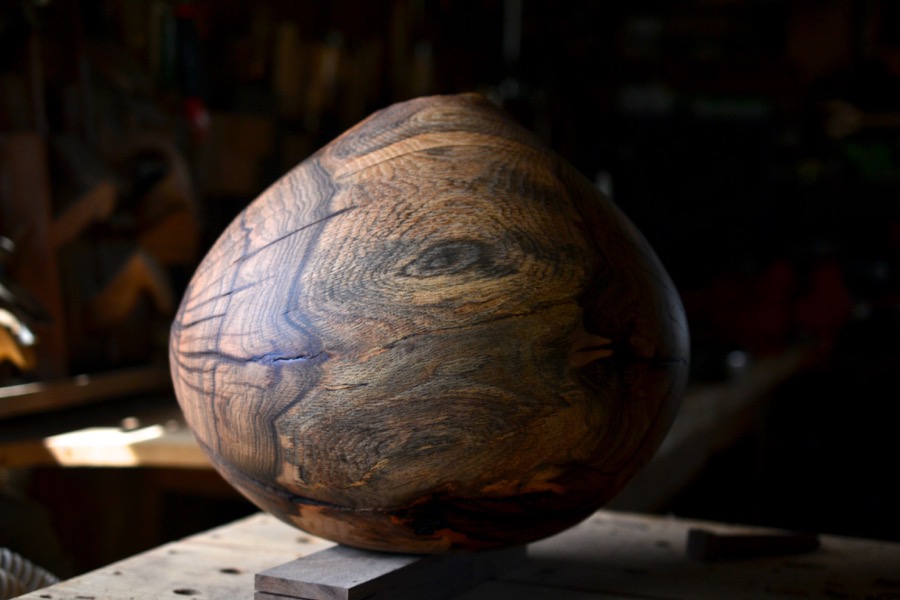
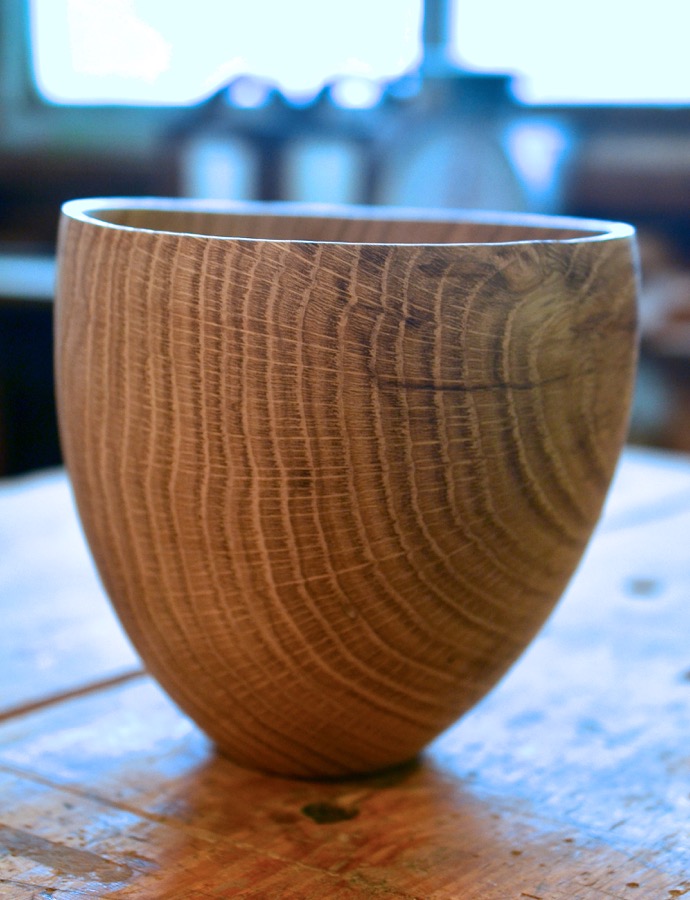
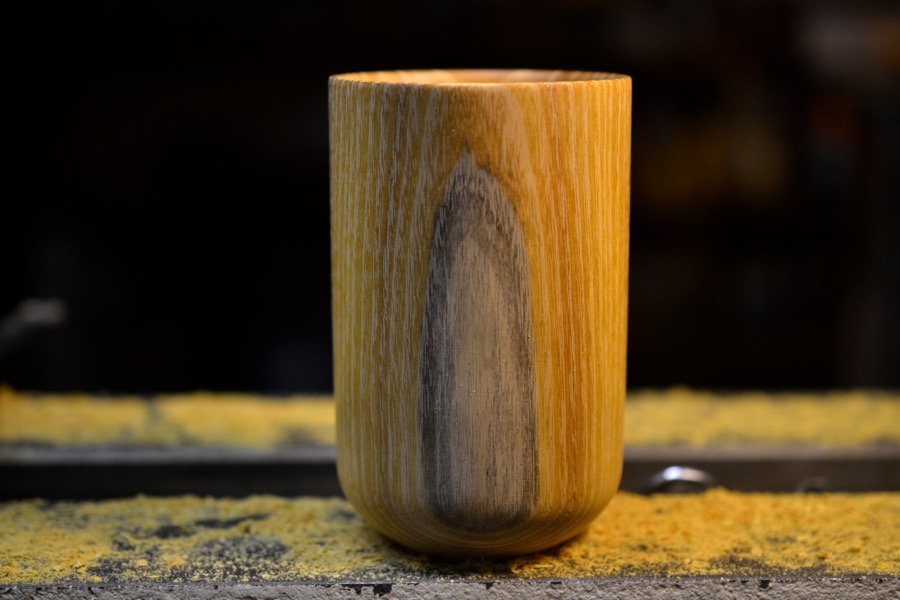
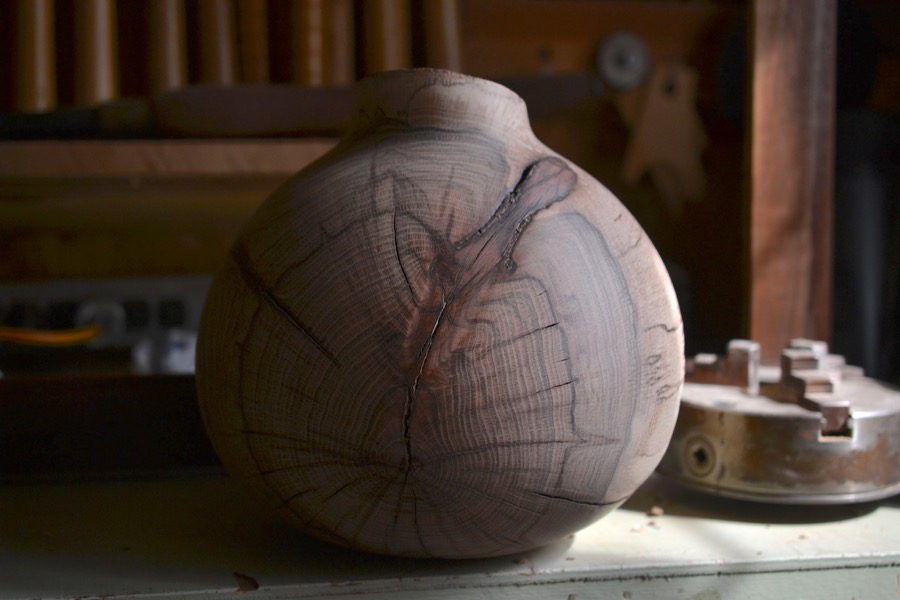
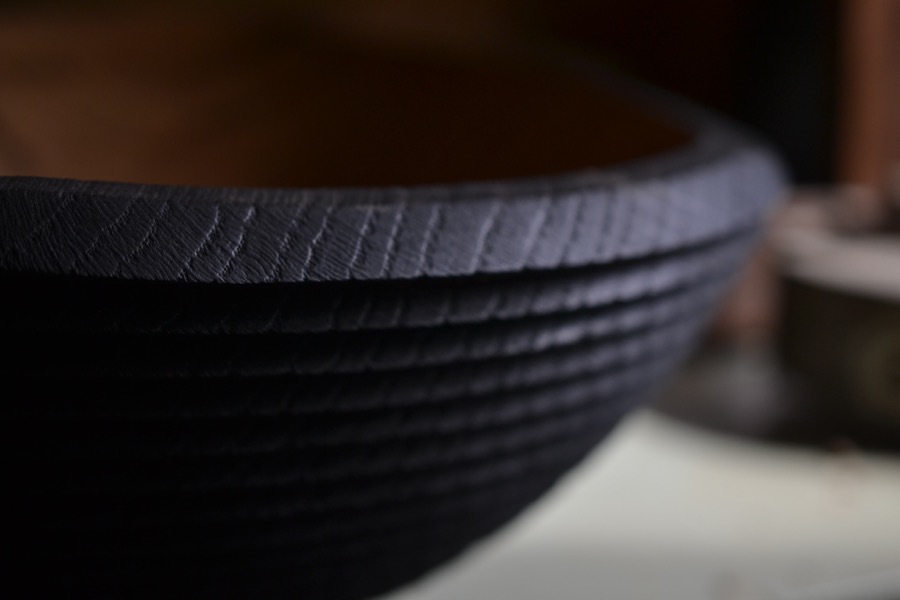
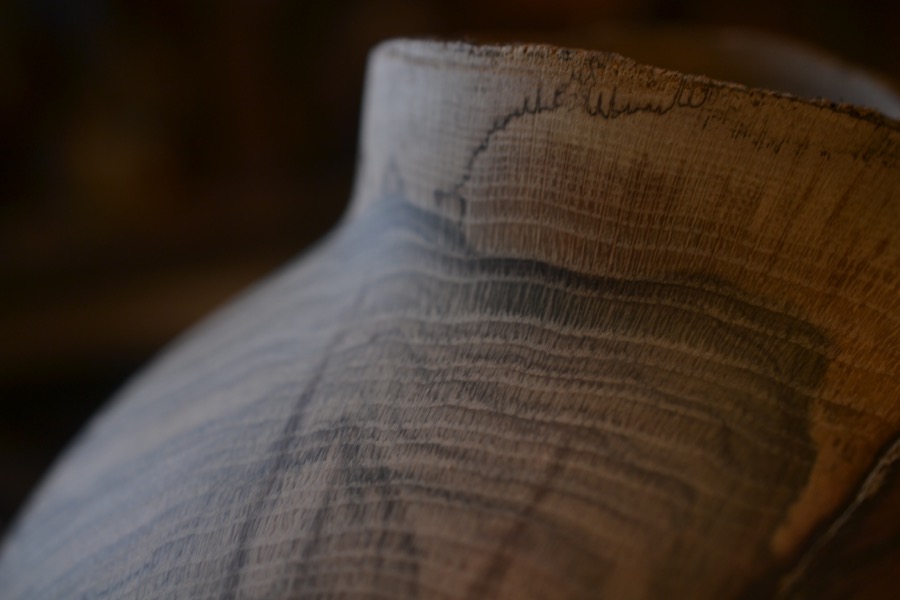
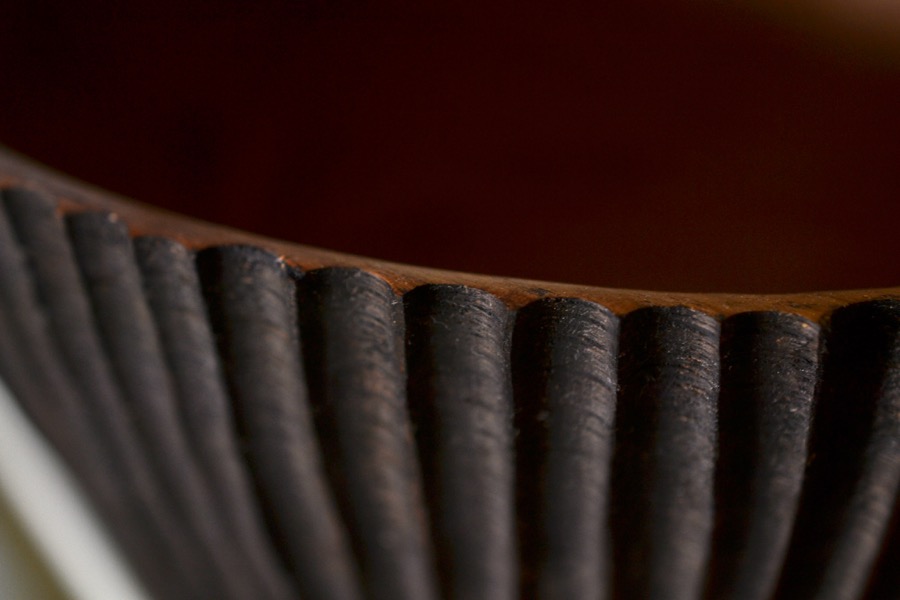
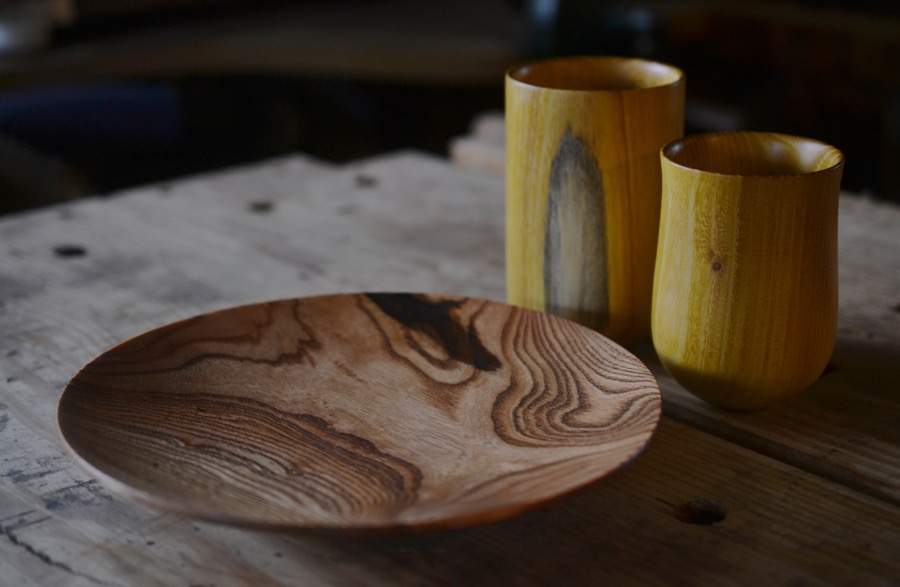
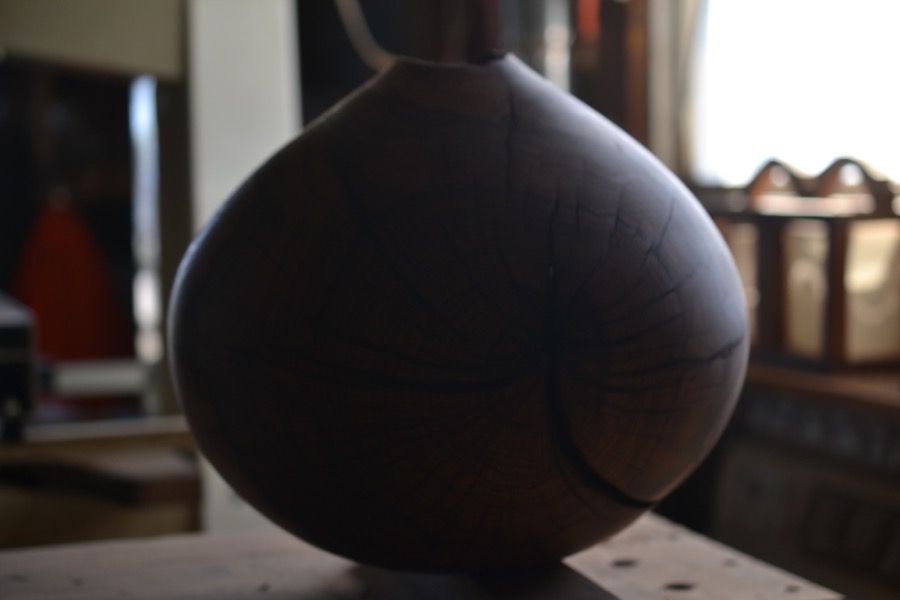
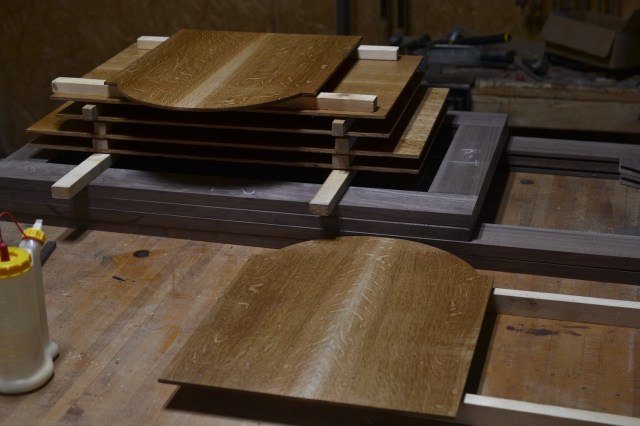
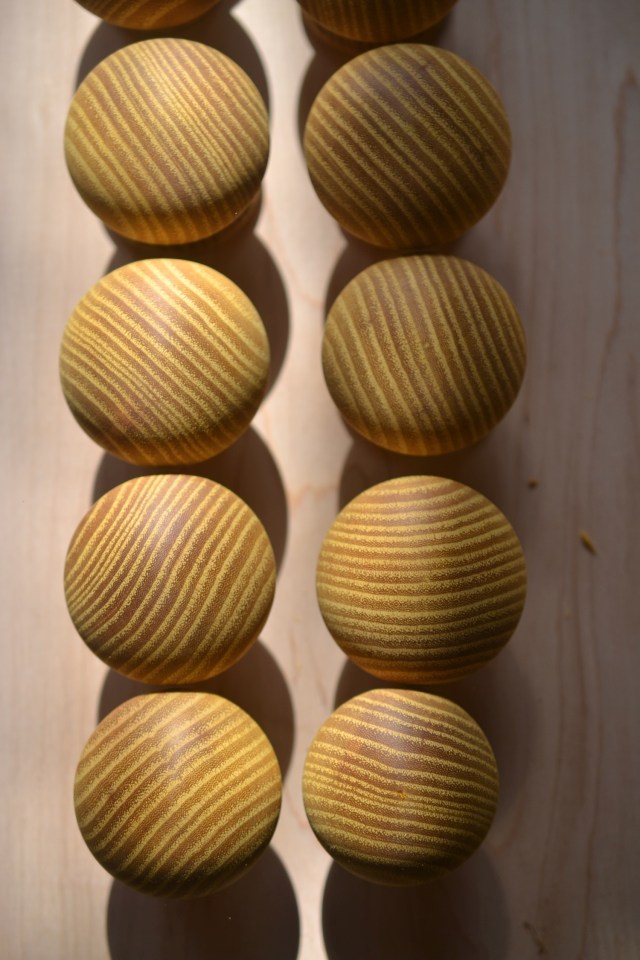
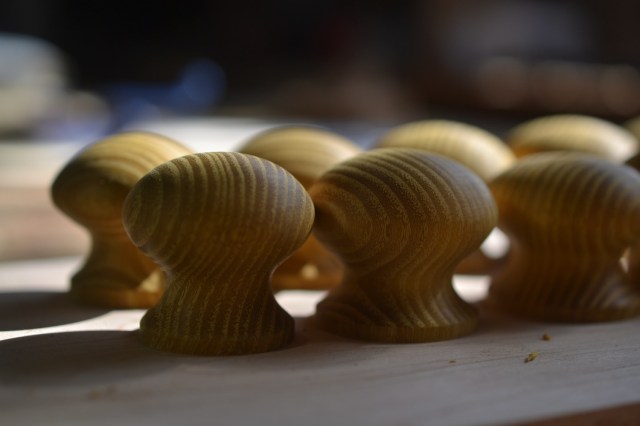
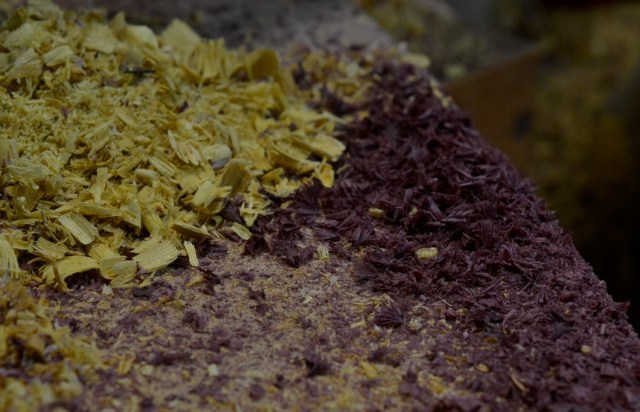
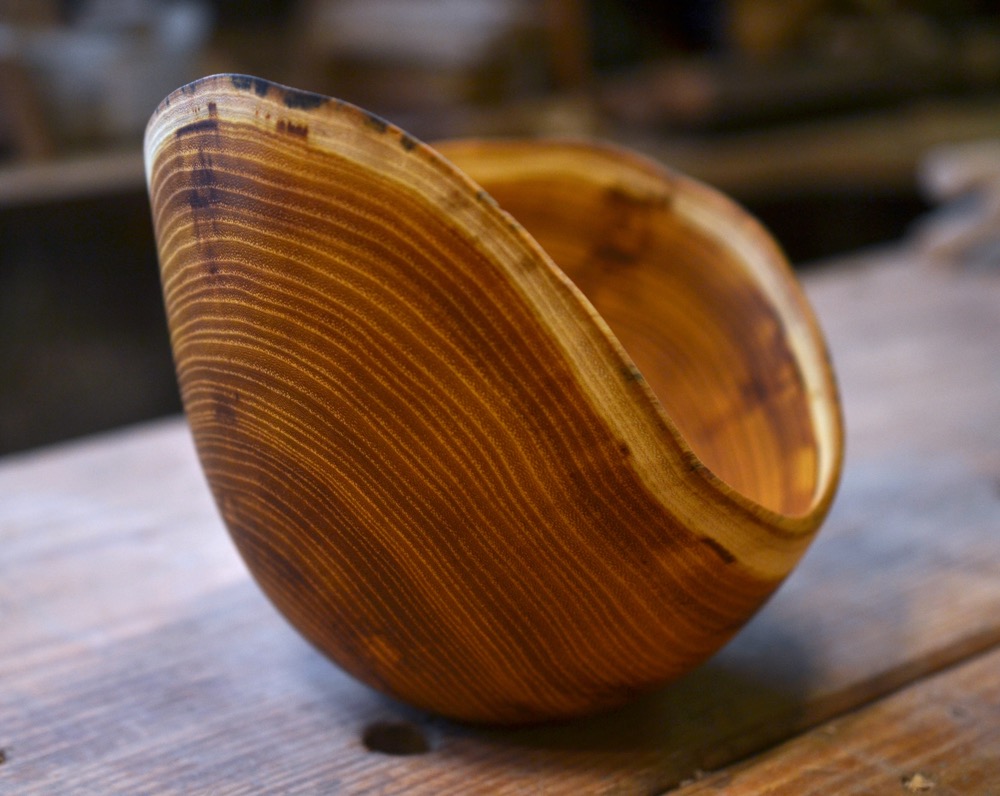
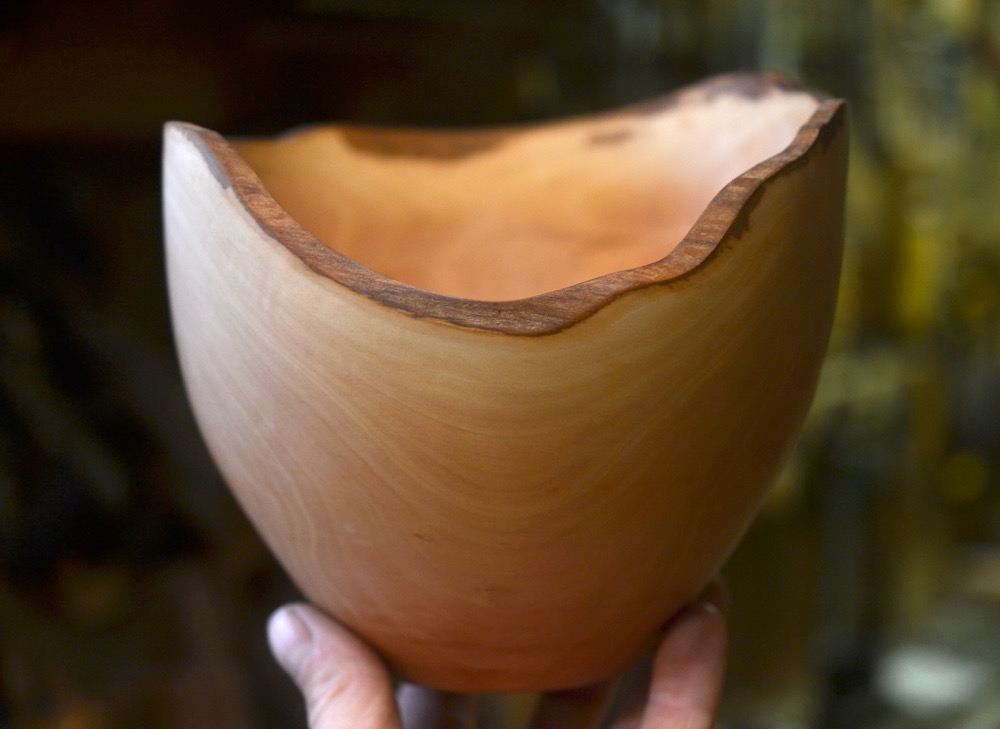
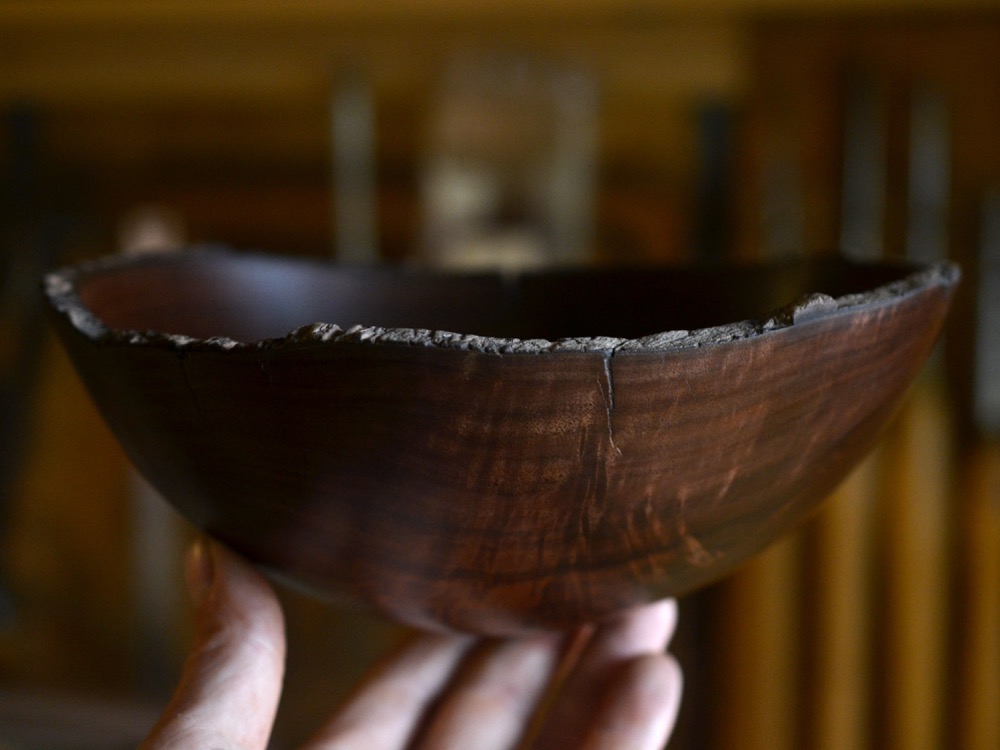
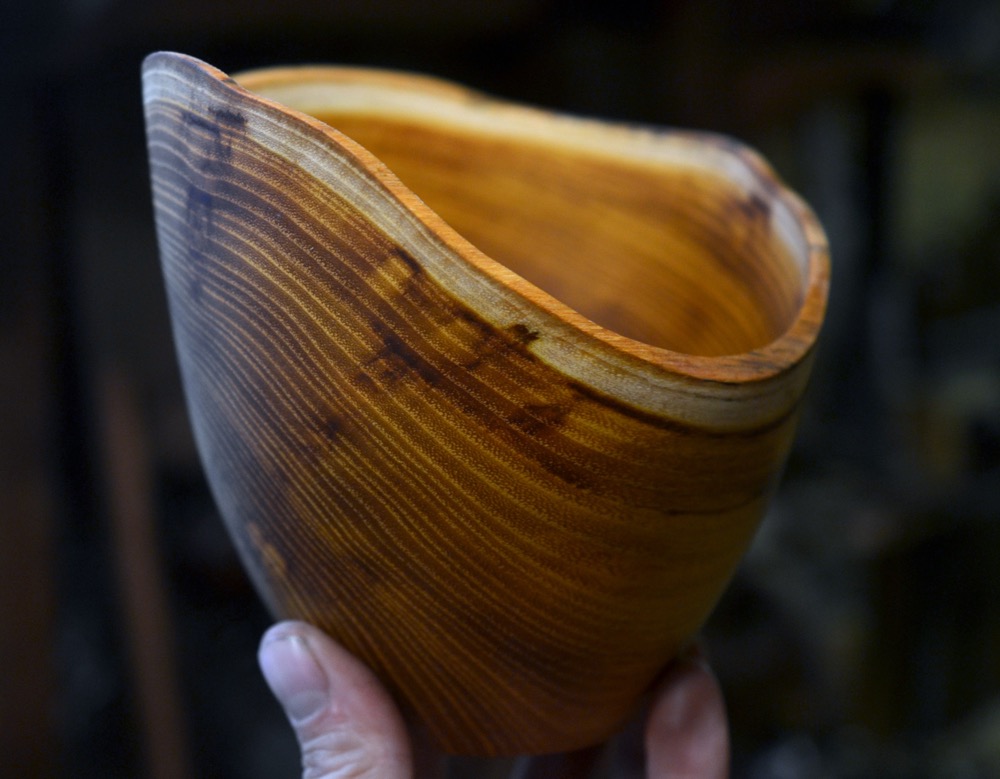
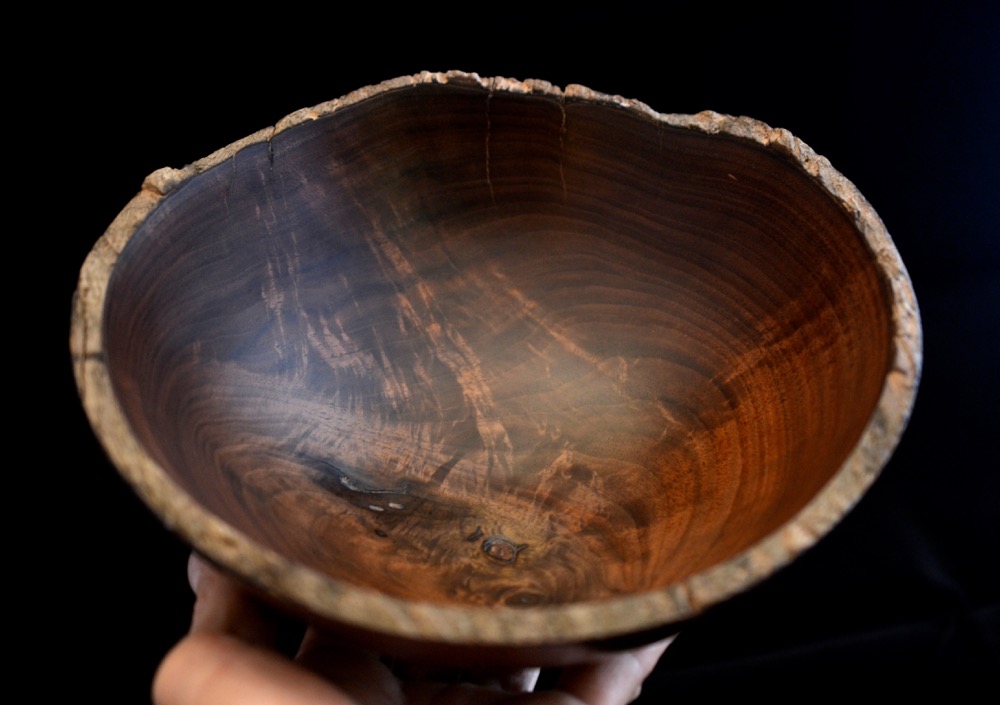
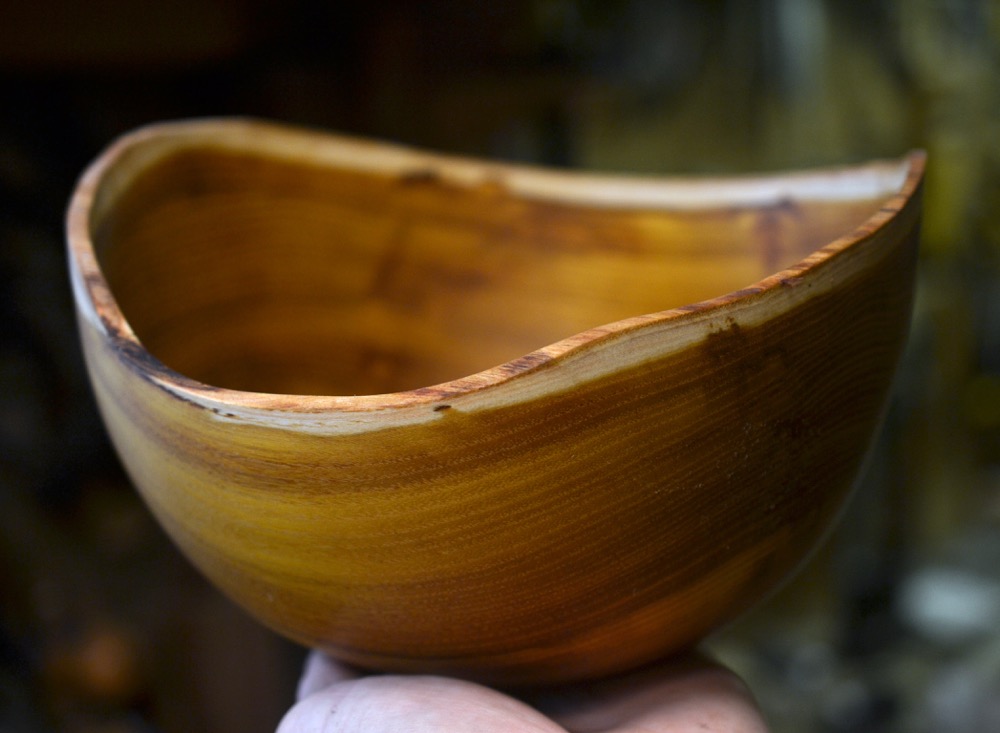
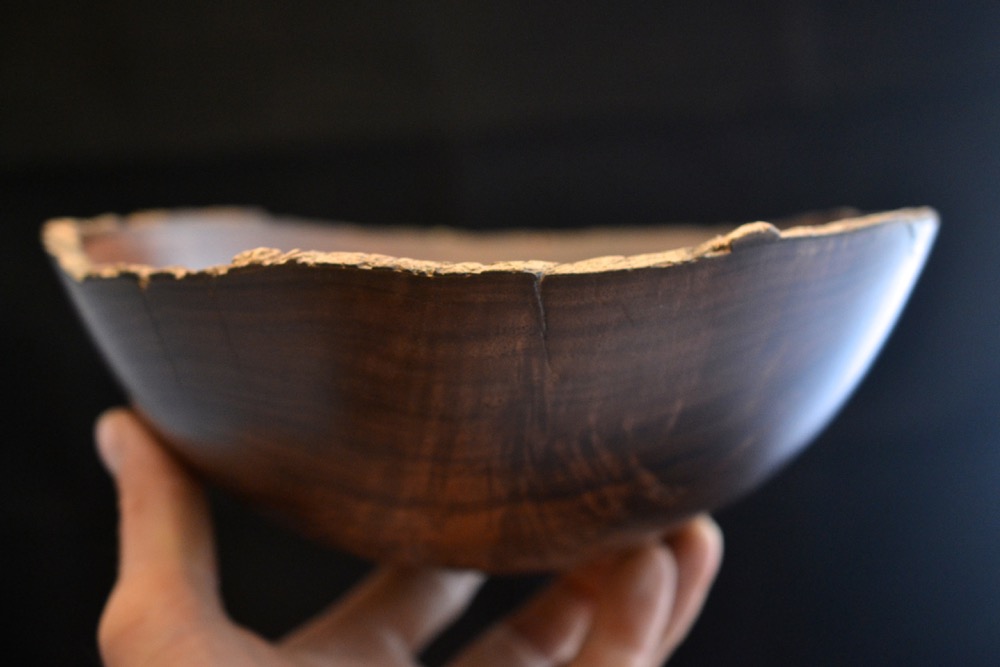
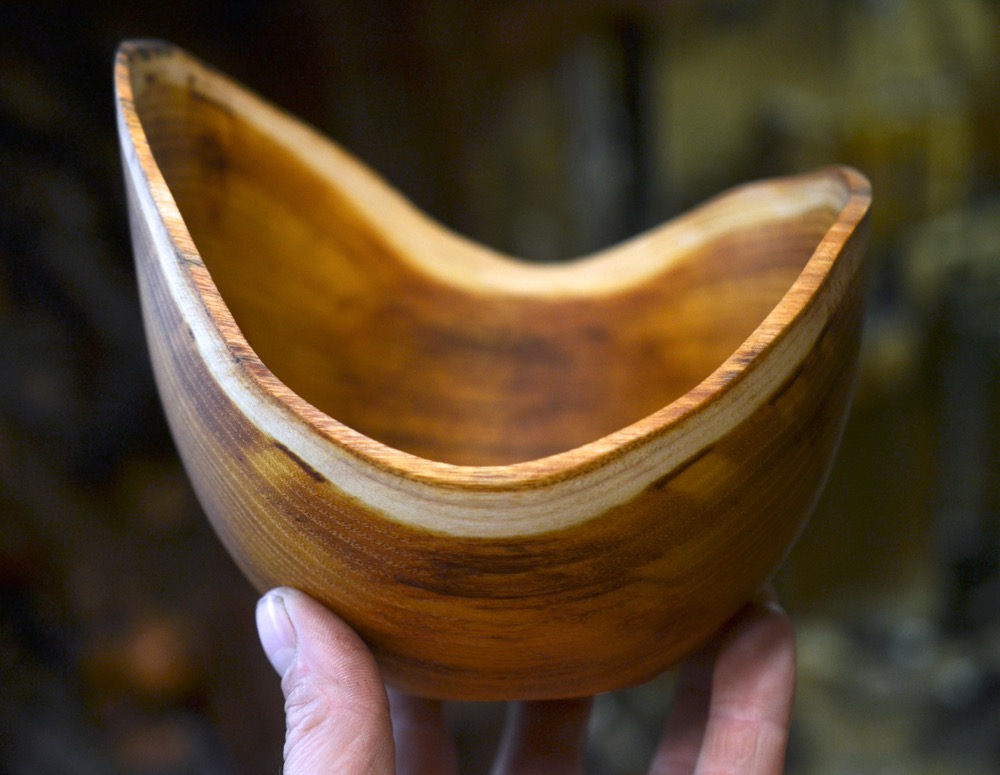
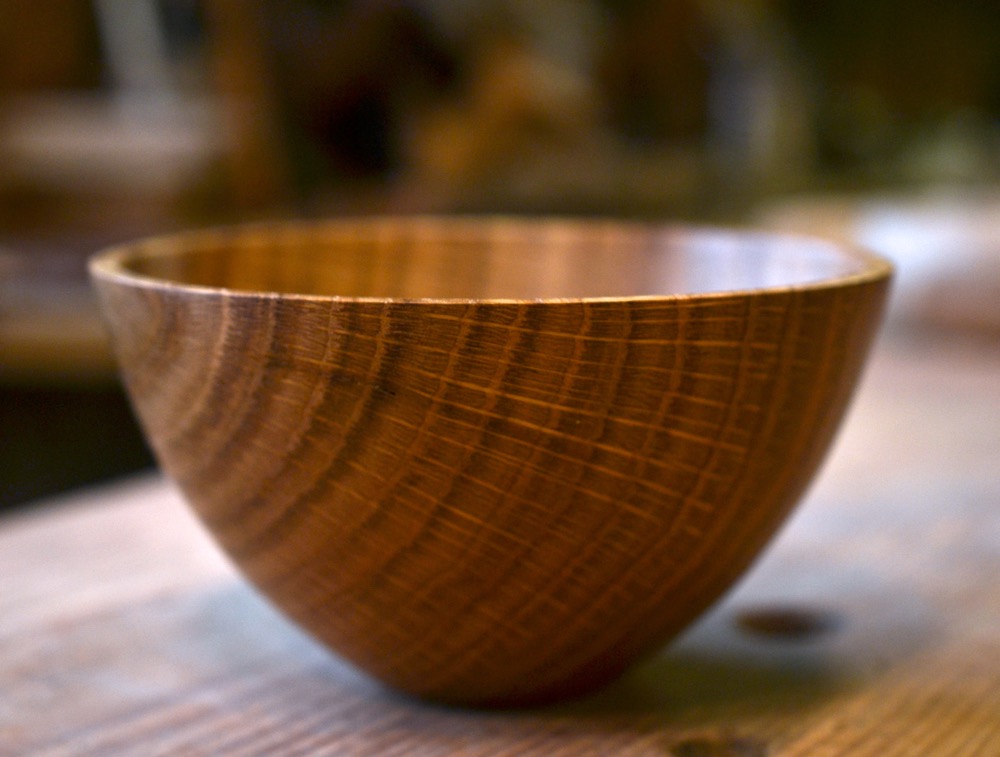
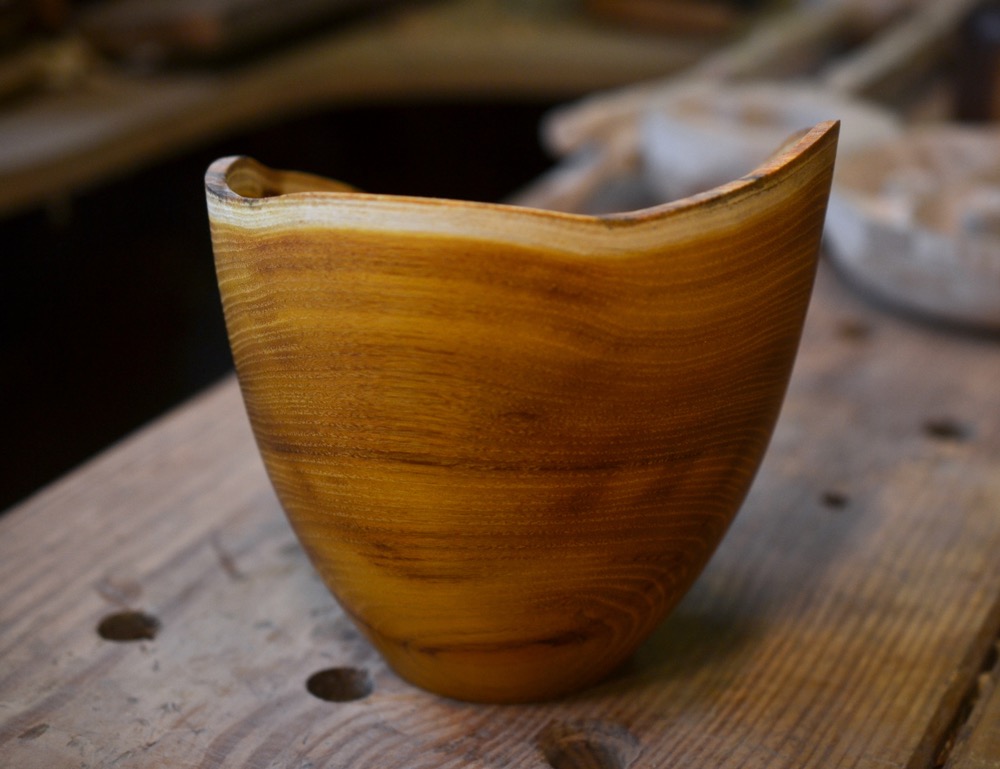
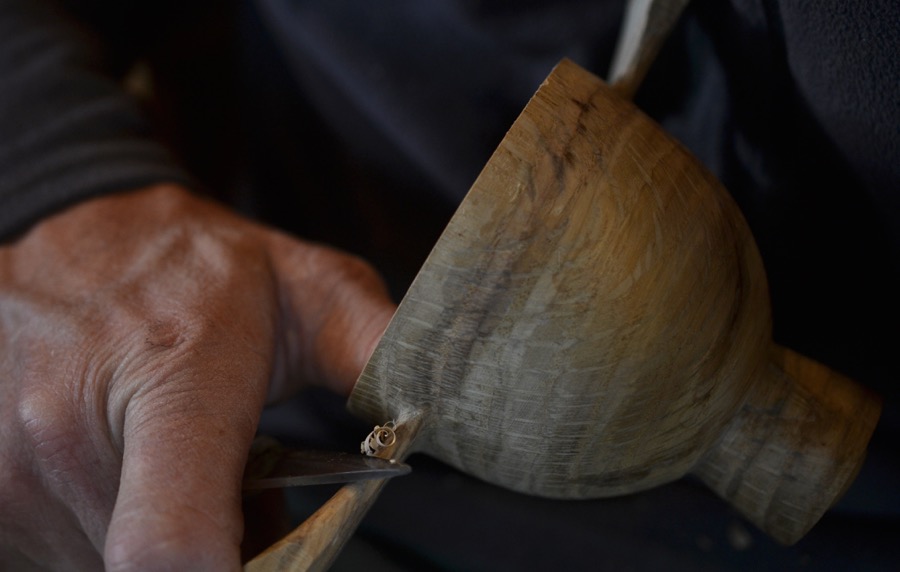
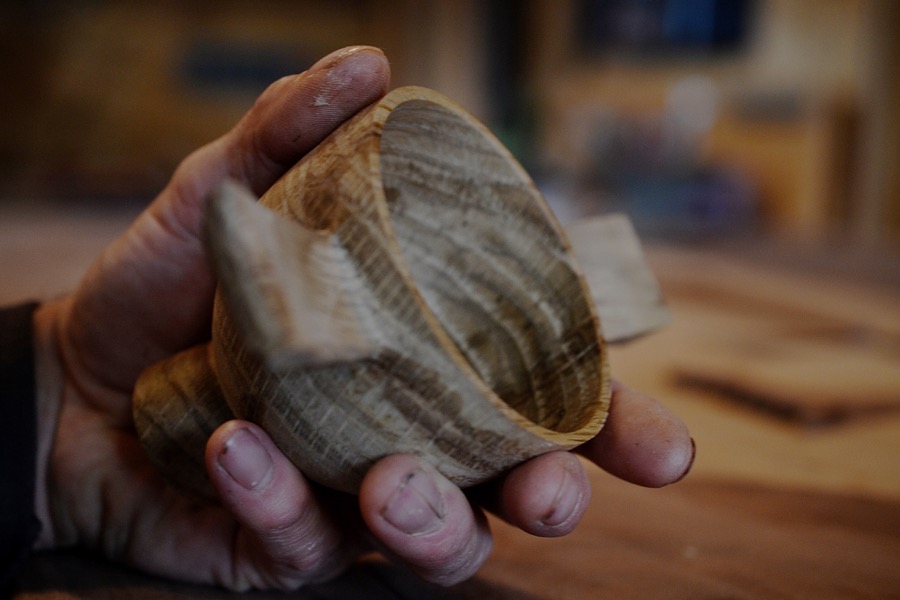
Fumed White Oak
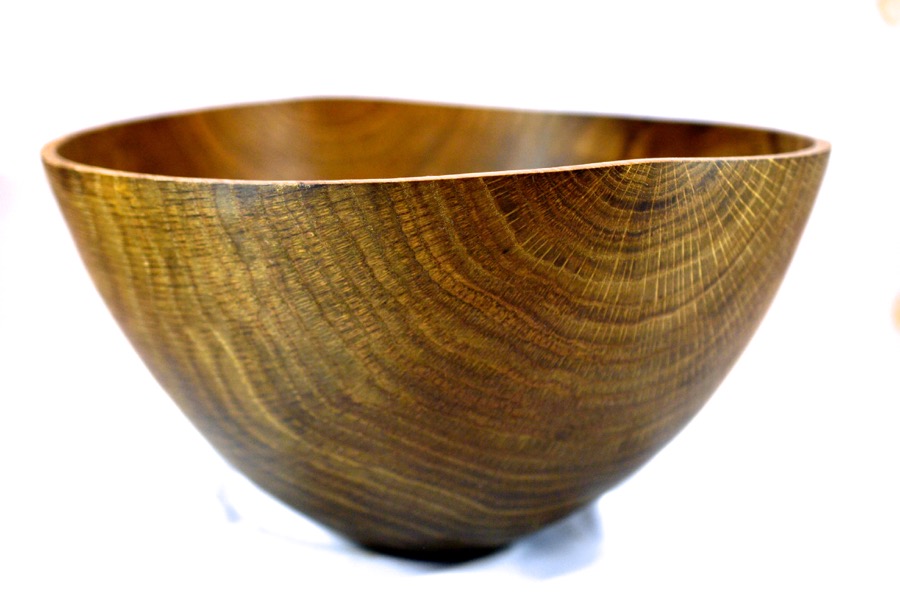
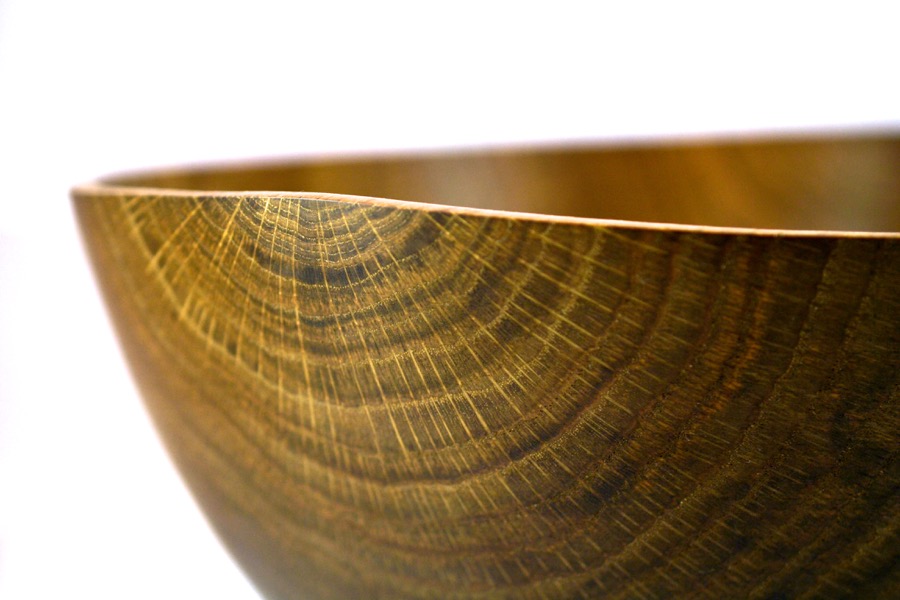
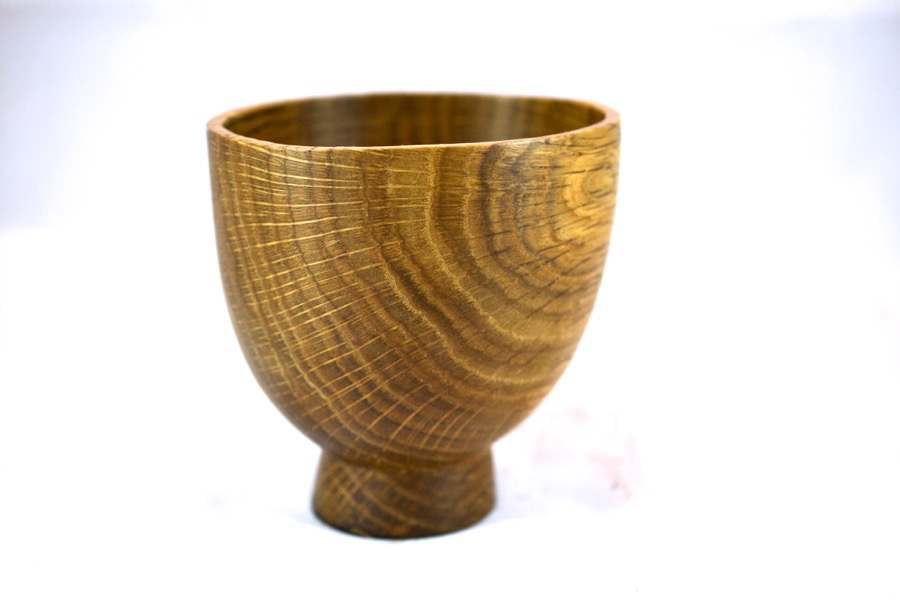
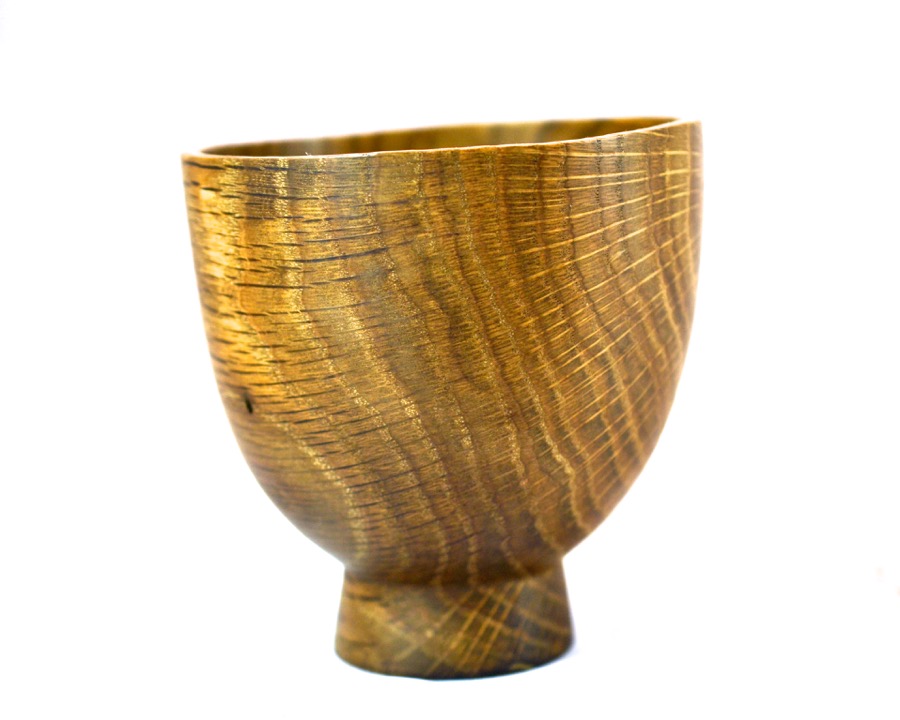
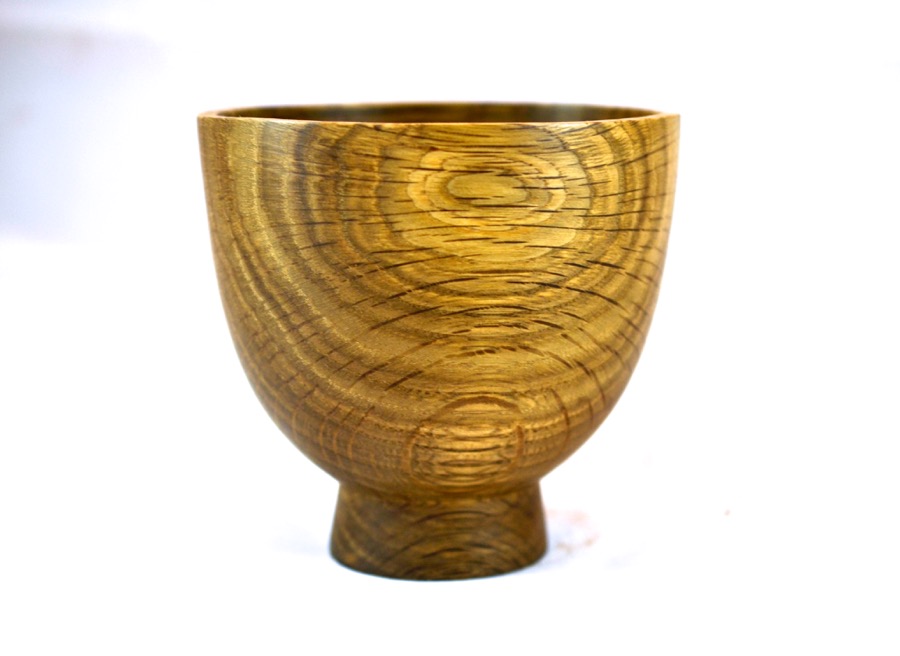
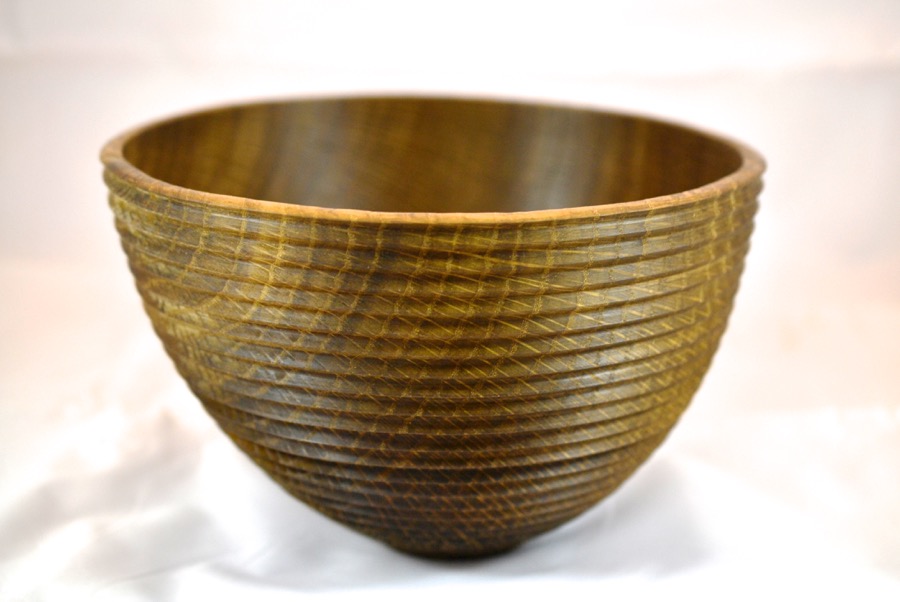
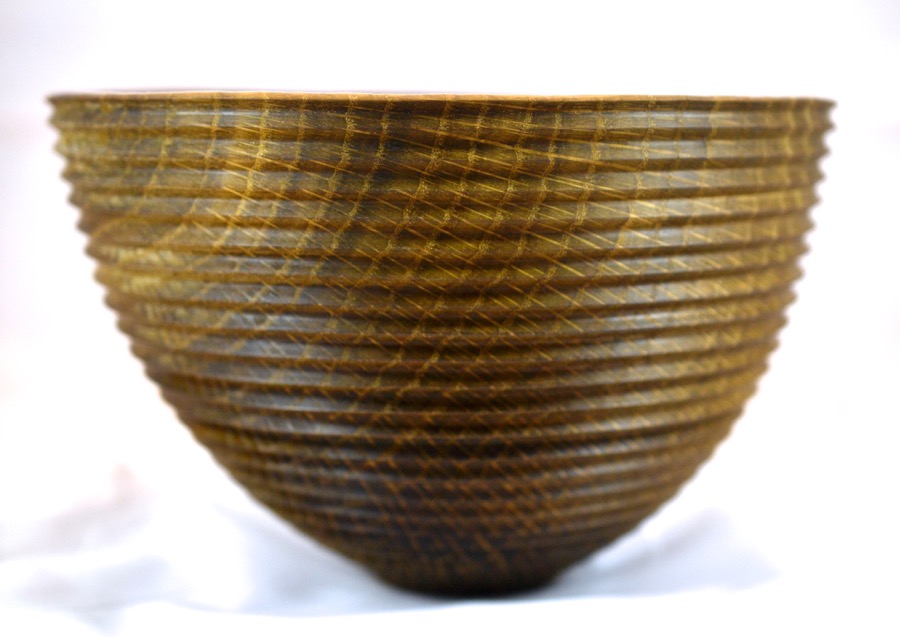
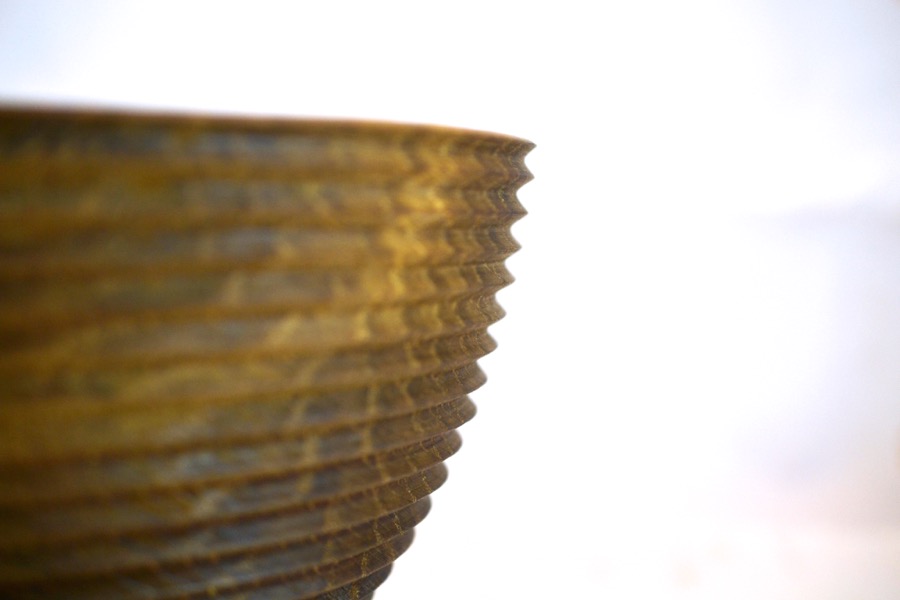
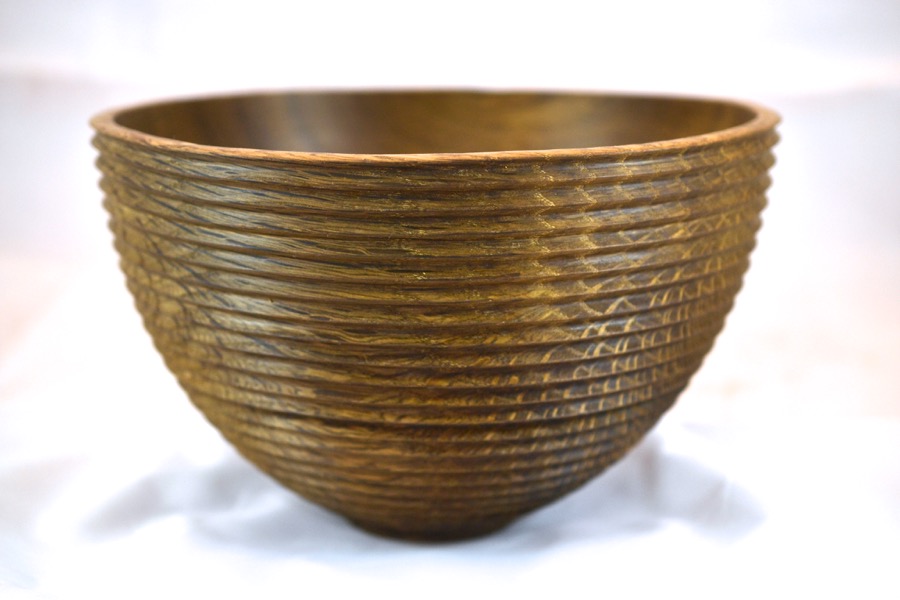
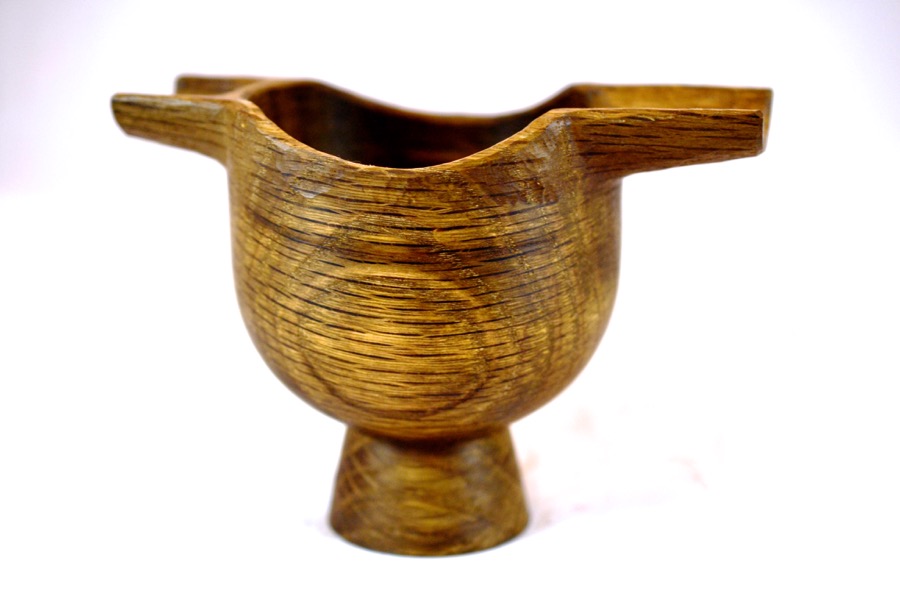
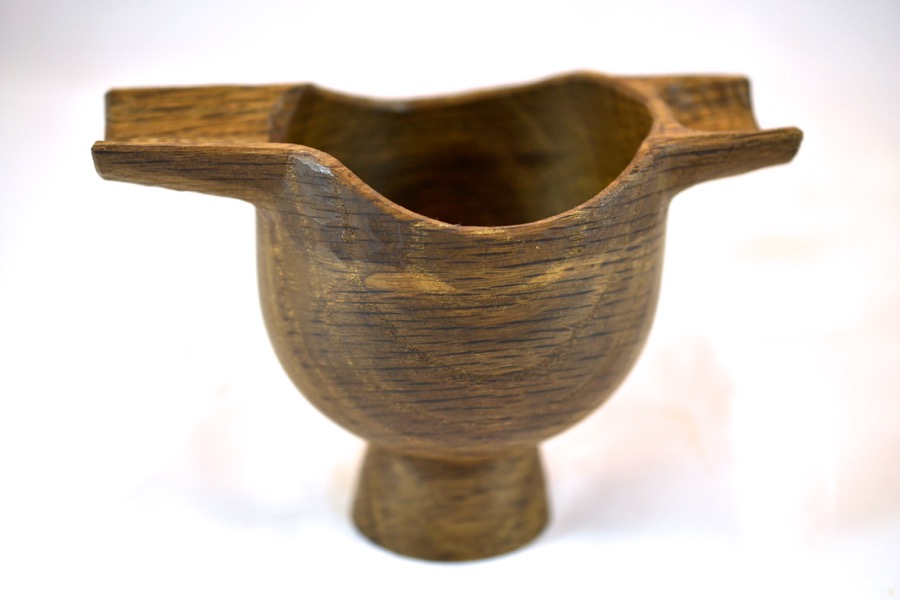

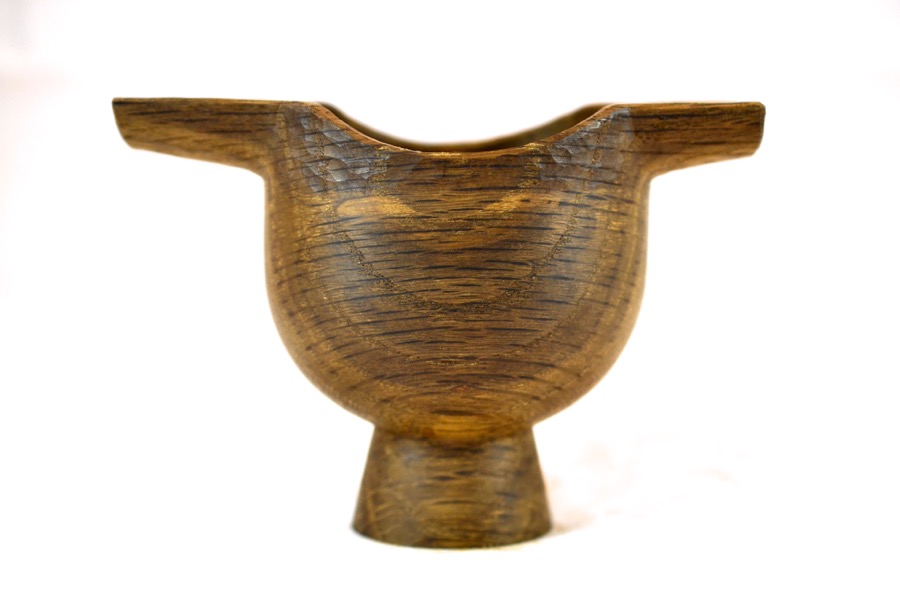
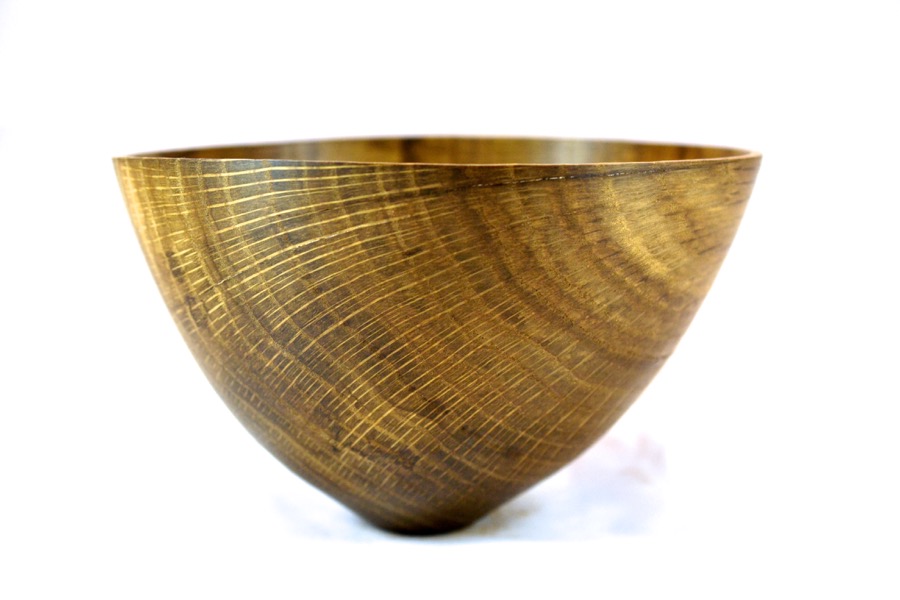
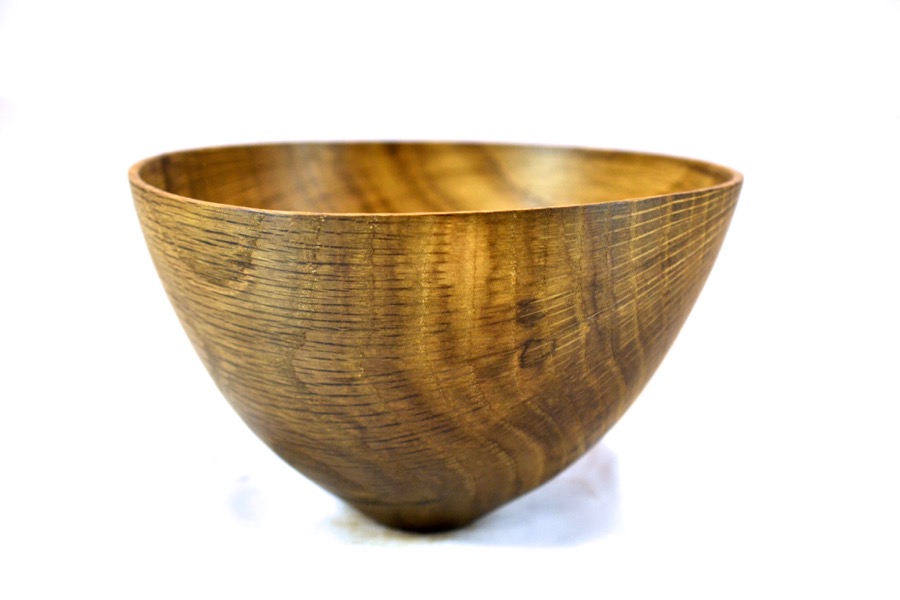
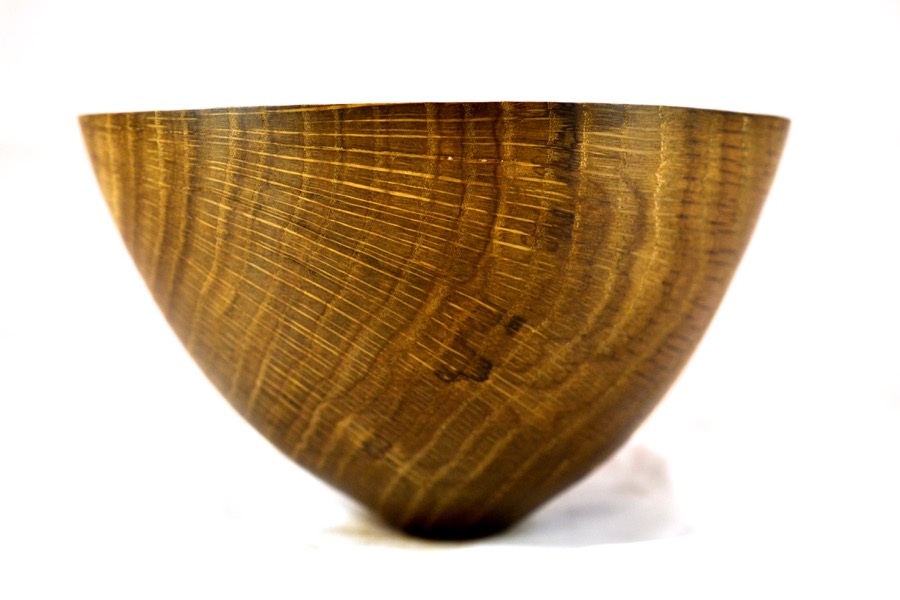
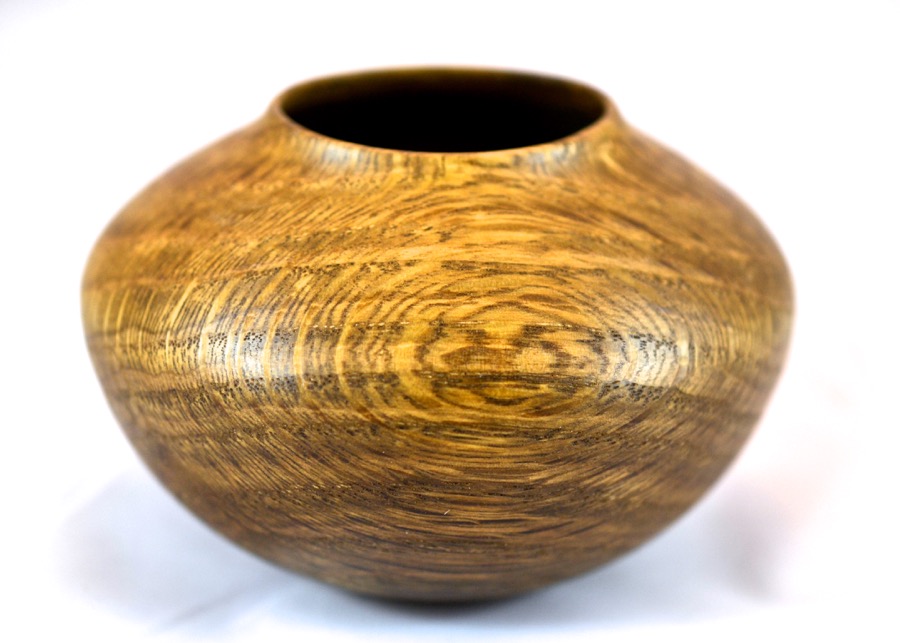
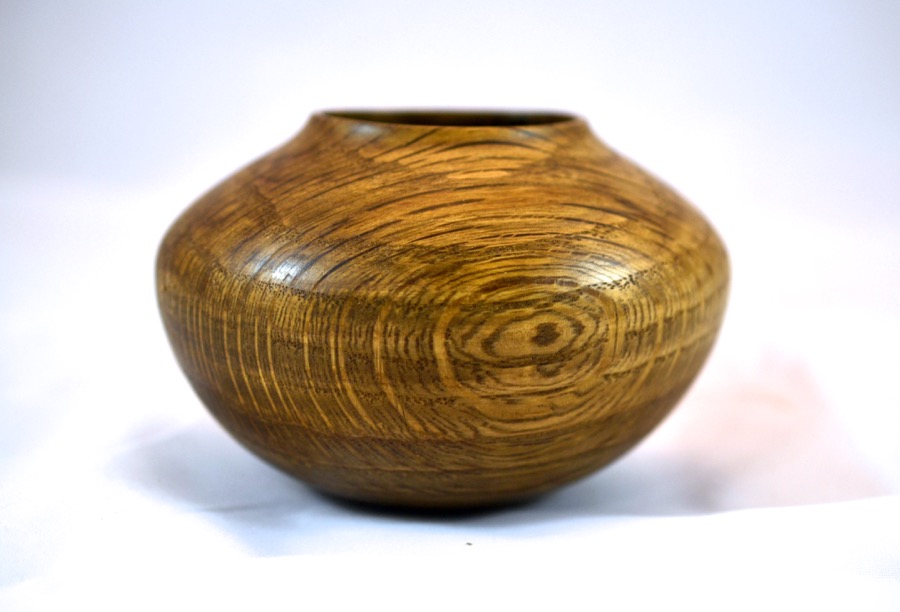
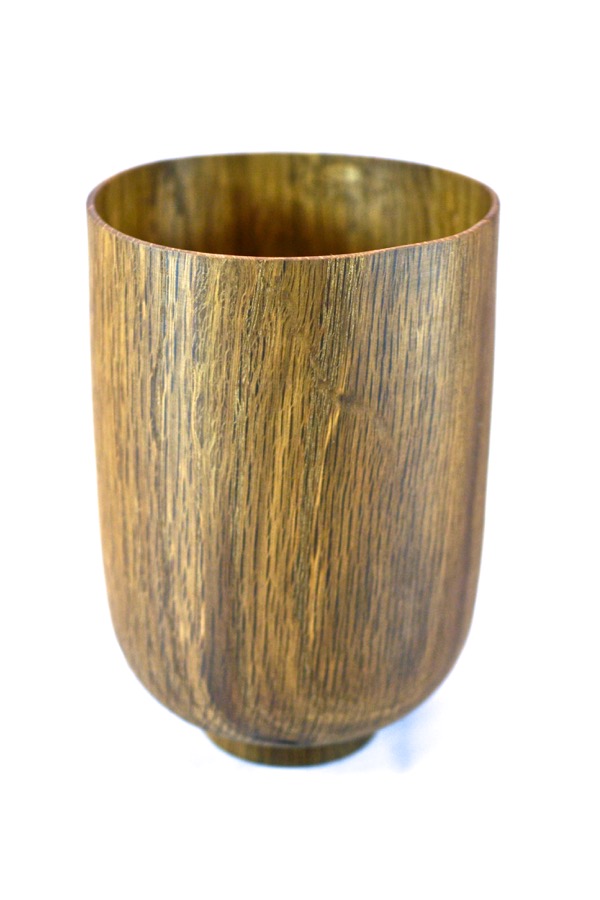
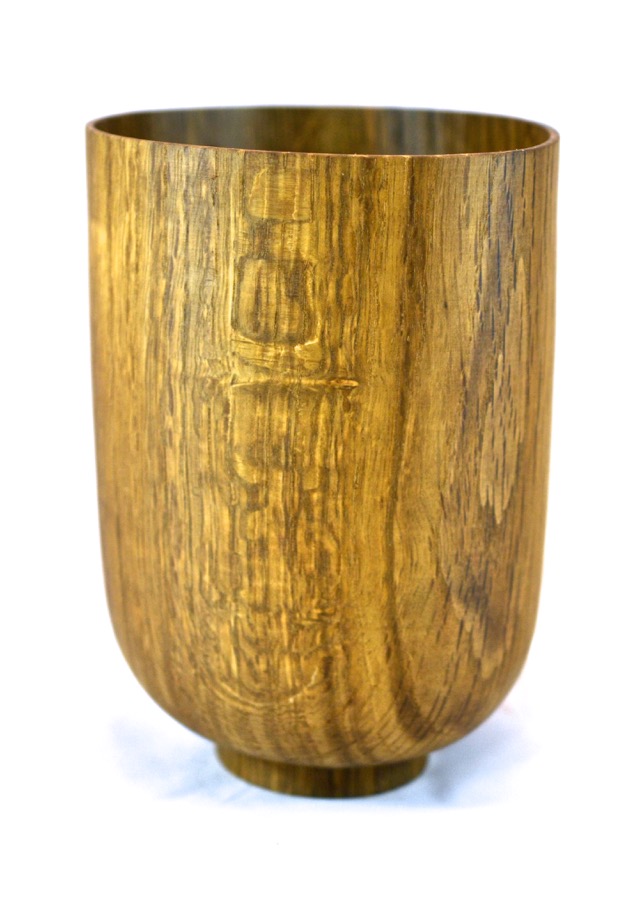
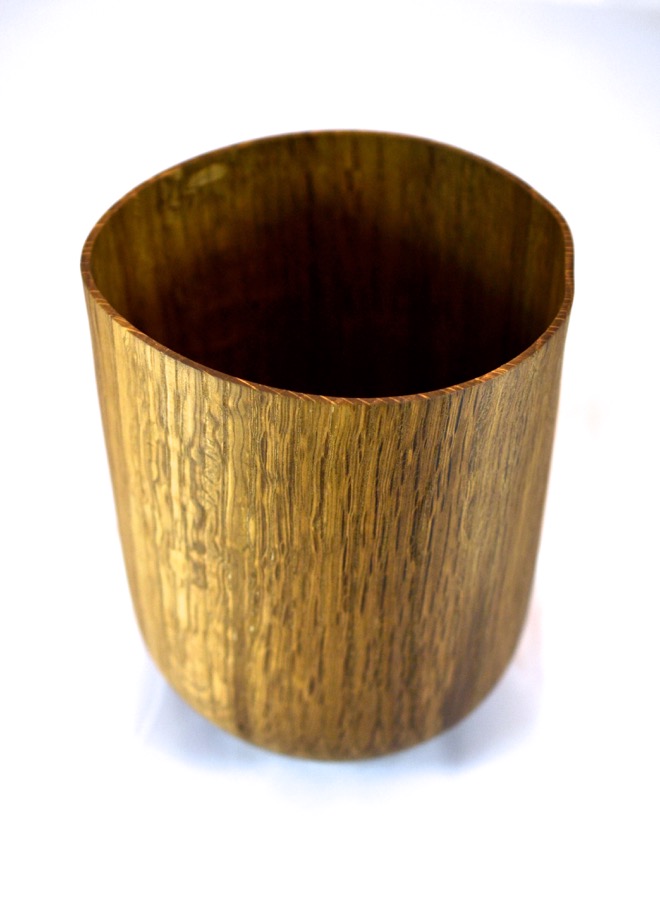
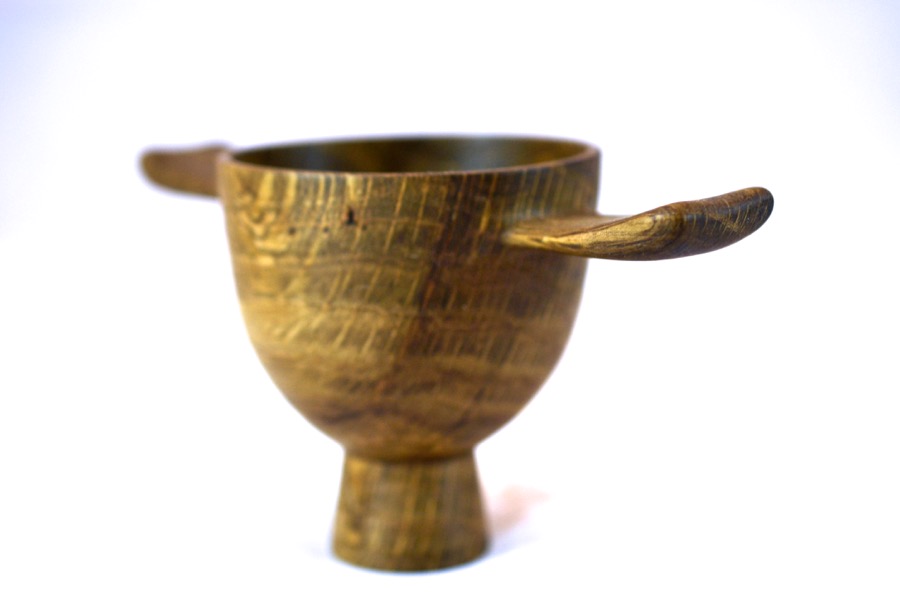
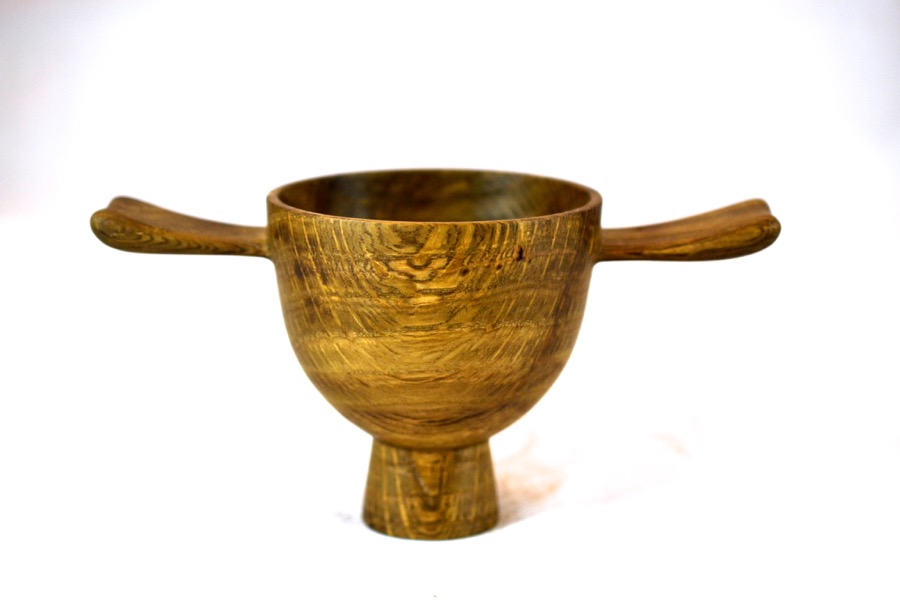
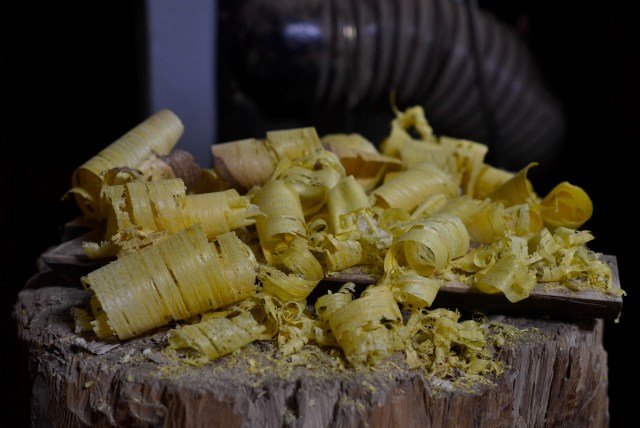
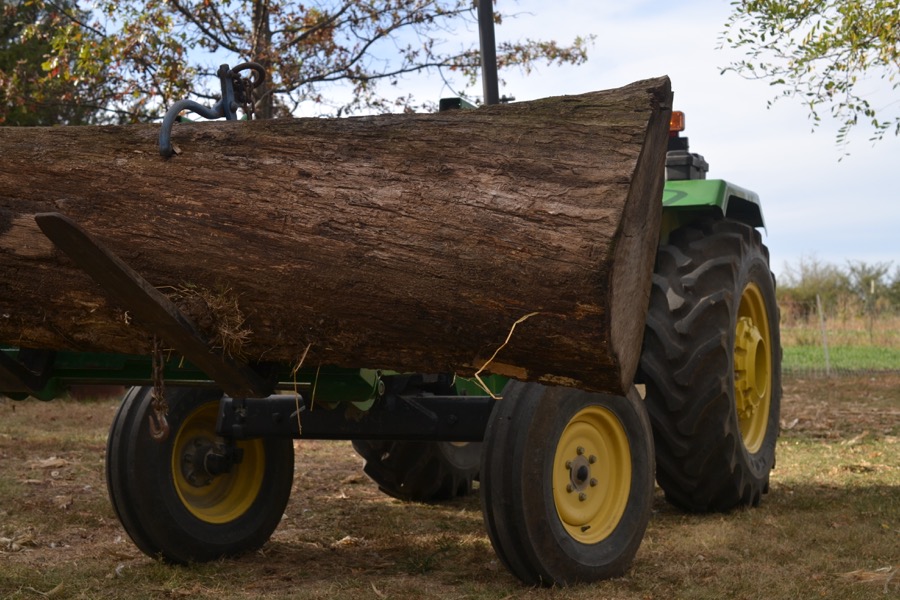
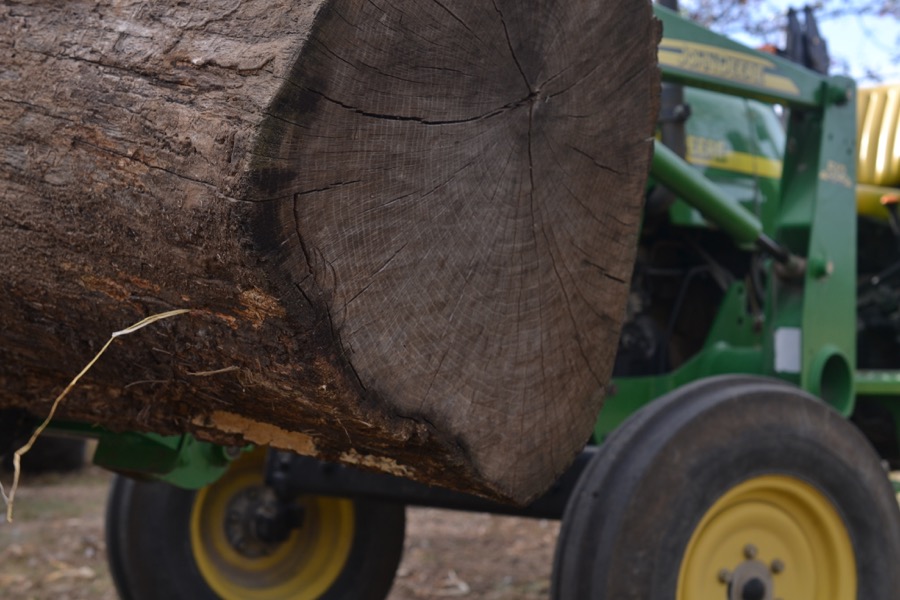
The above are eight turned pieces from a single 24″ section of a 24″ diameter white oak from Boaz, Kansas. The tree fell over and across the Van Horn Branch Creek about 10 years ago- We finally pulled the log out 2 years ago, and it has laid in my log pile since then, although I did mill a portion of it. The heart wood is still green, so these bowls were turned green and allowed to warp as they dried. Ultimately all the pieces were exposed to ammonia vapors (fumed) which reacted to the tannins in the wood, darkening the surfaces.
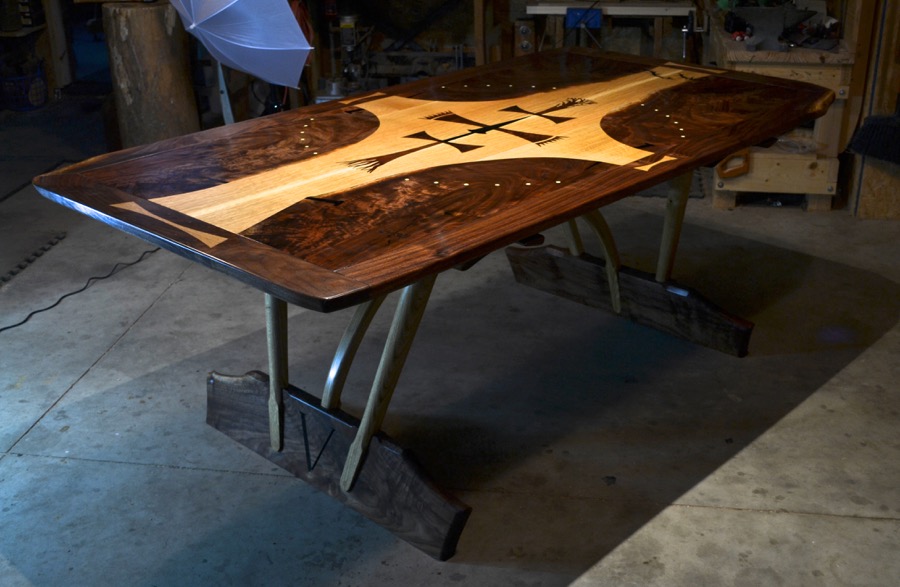
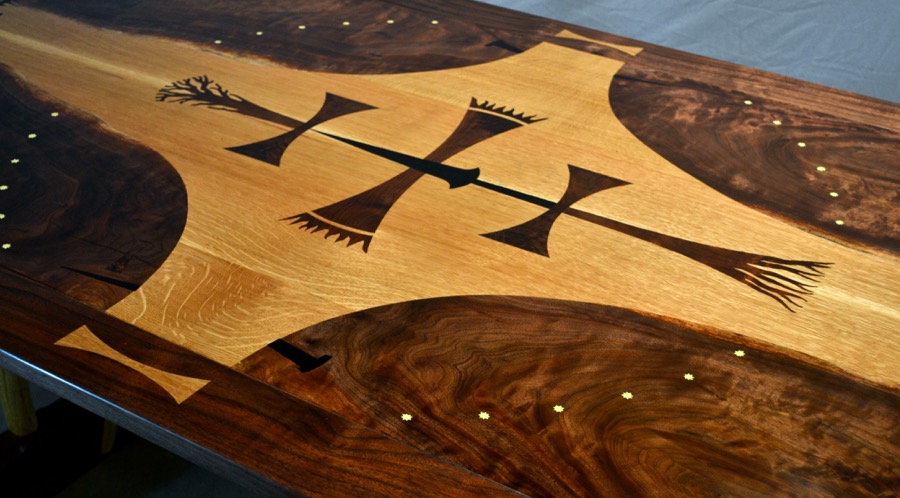
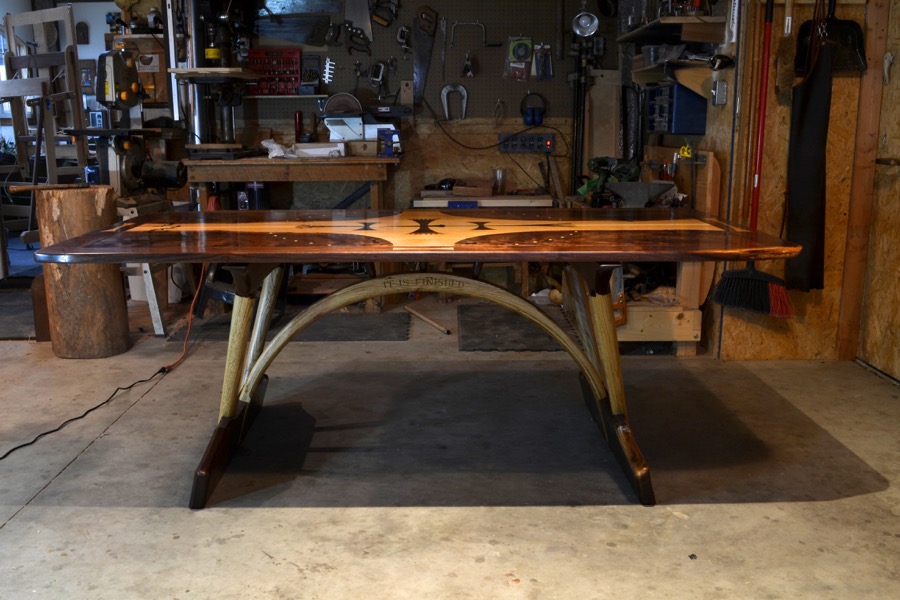
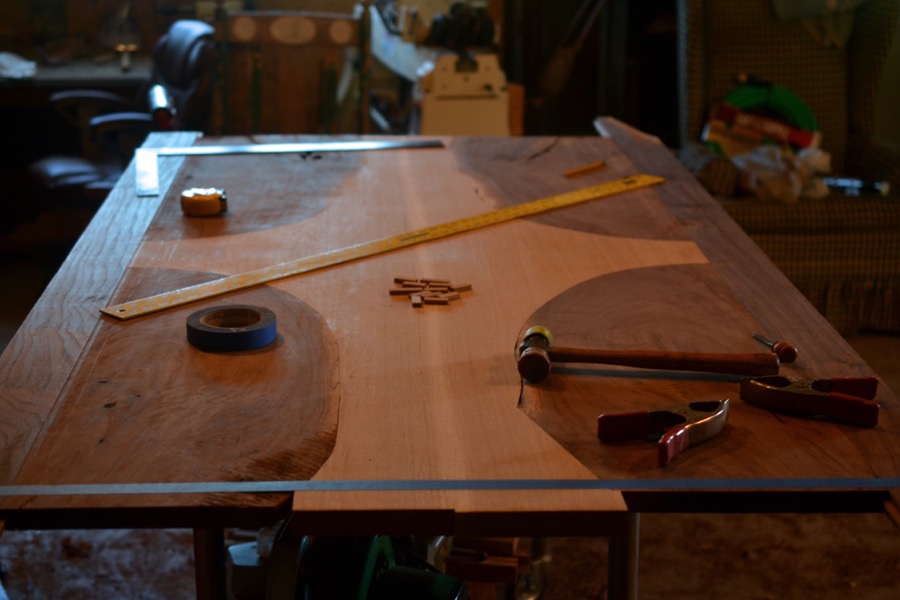
The Champion Table
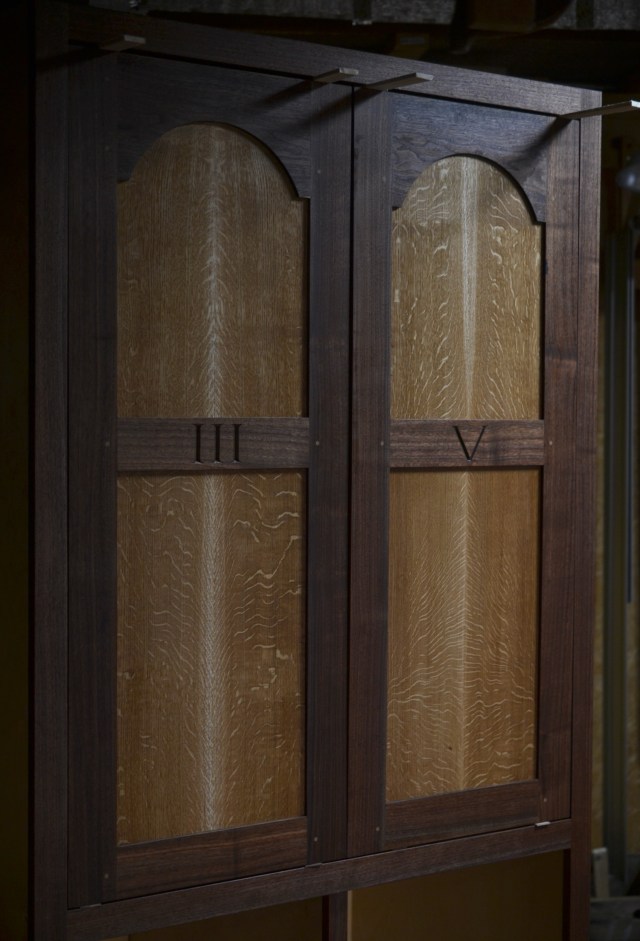
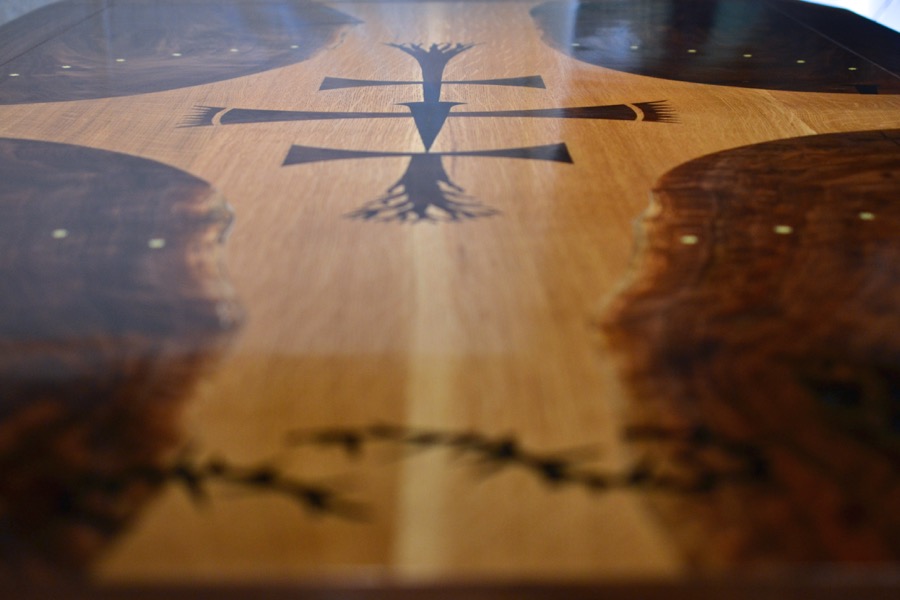
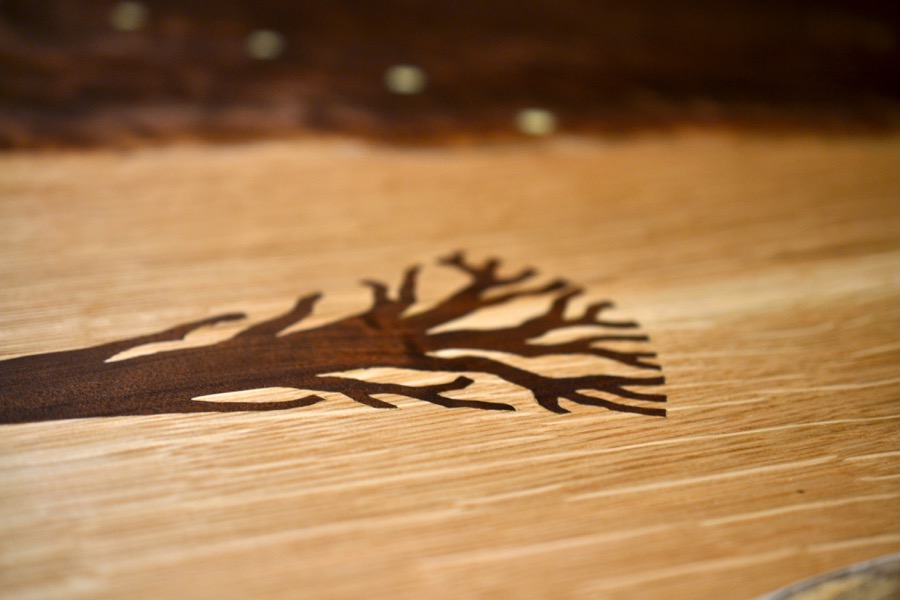
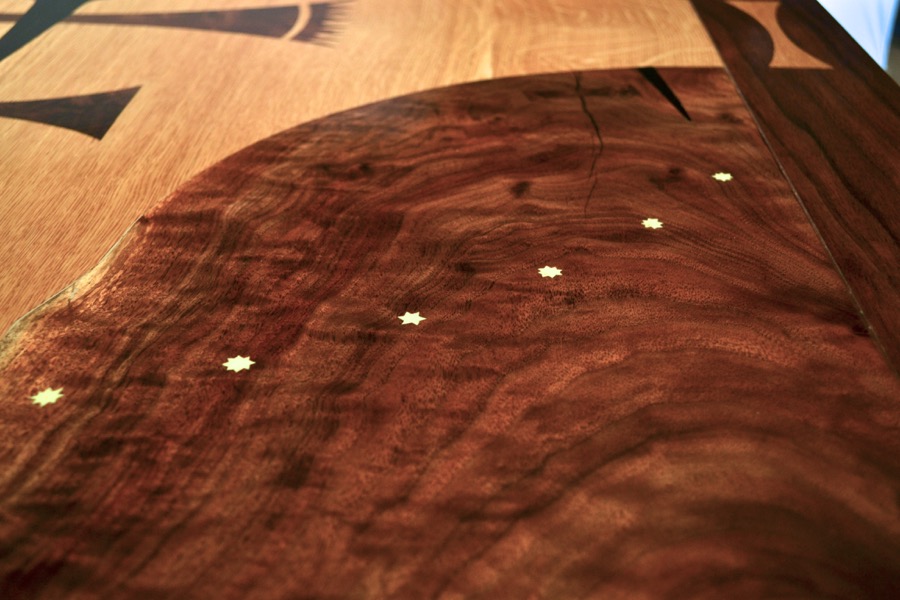
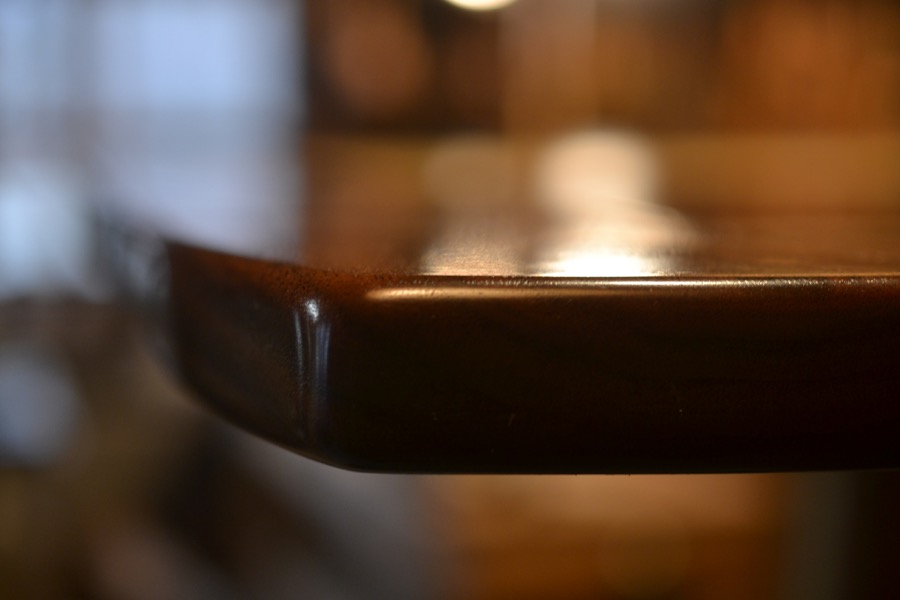
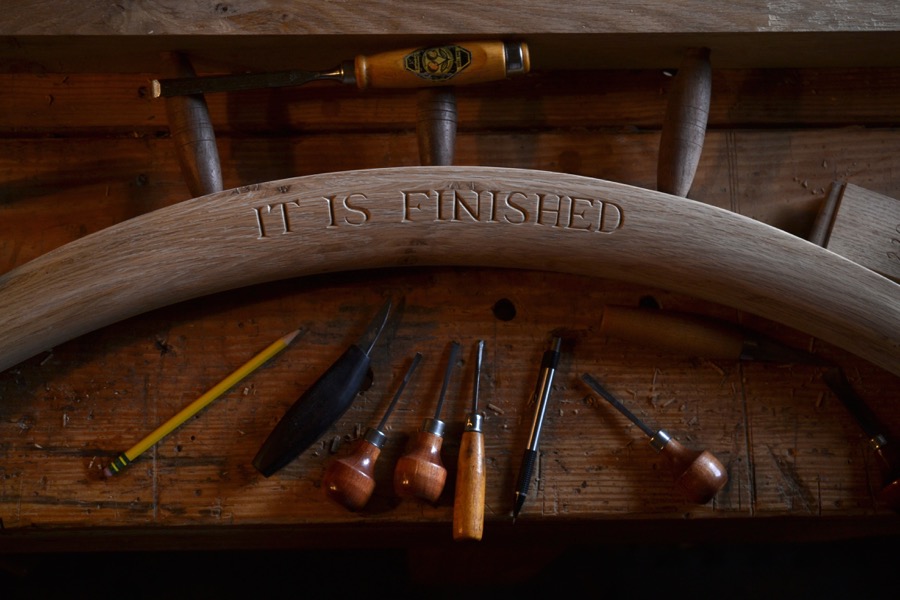
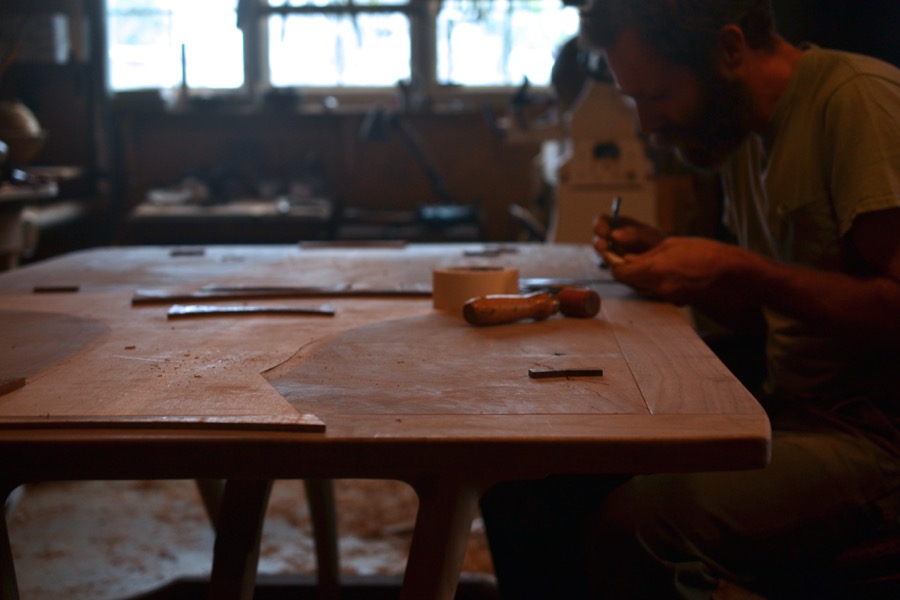
After about five months the Champion Table is finished and in its new home outside of Chicago. The woods in this table are Kansas Black Walnut and White Oak (the base uses oak from Kansas, the top uses oak of lesser known origin, beyond my friend, the lumber man), the top features also a small amount of Ebony and sulfur. The design is original, and evolved throughout the building process. Central, is a crucifixion theme and the arc. There are other symbolic elements as well, throughout. I am deeply grateful to the Champion family for the opportunity to build a significant piece of furniture for their home and living. I am also humbled and thankful for all the encouragement I have received throughout the building process. Ultimately I am glad in my heart, laboring to make something that celebrates the goodness of God.


The Champion Table Build, Part 5: Carving and Inlay

sanding and refining the shape of the legs

carving some details into the lower horizontal member of the leg assemblies

“C” for Champion
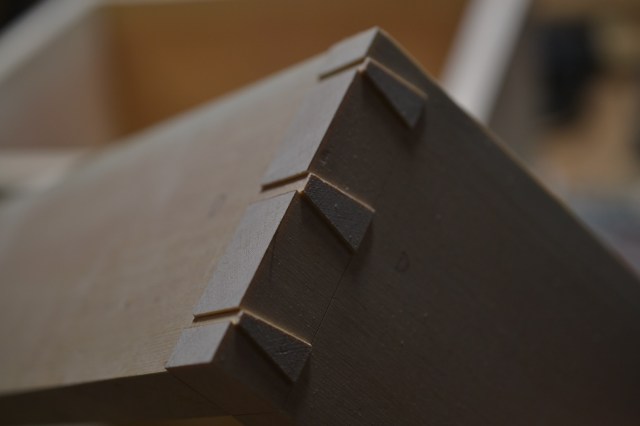
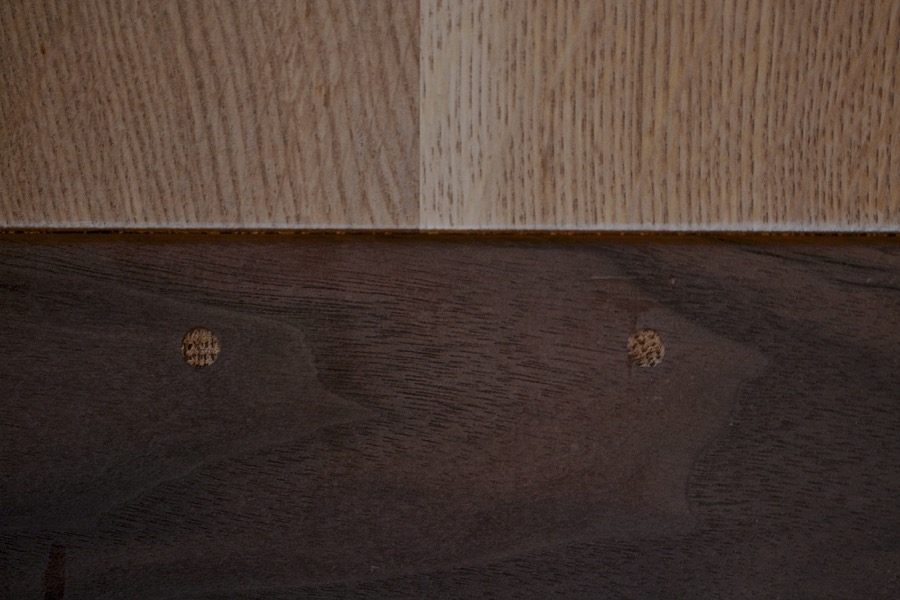
the lower leg joints, reinforced with screws, concealed by pegs

cut flush and sanded

the legs are finished, awaiting only final sanding immediately prior to finishing

refining the shape of the arc, the brace between the leg assemblies

one of many facet transitions and chamfers across the arc

another of those transitions, in this case, the arcs contribution to the connecting joint

adjusting the shoulder of the arc where it meets the walnut of the leg assembly

a lot of enjoyment watching the play of light and shadow

lets of test fitting of the base
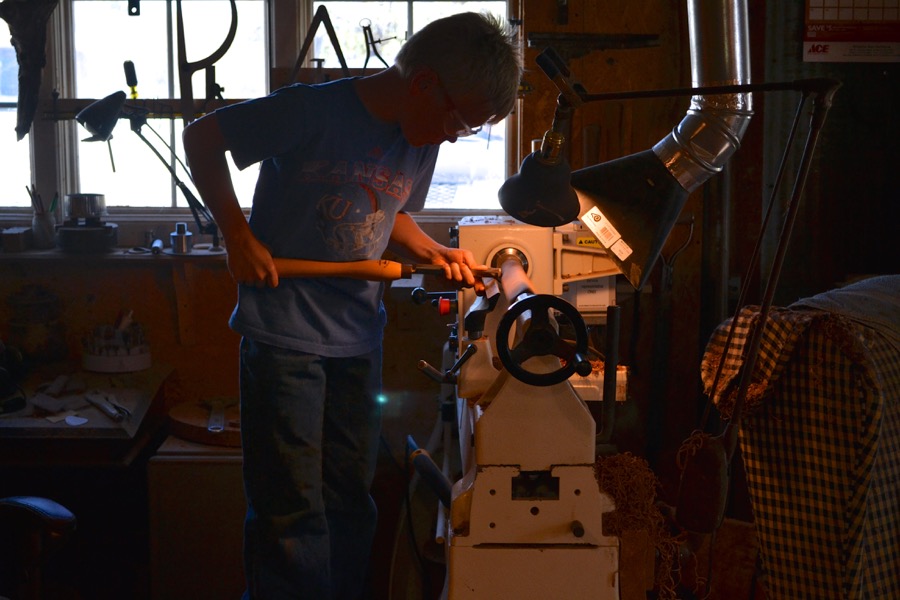
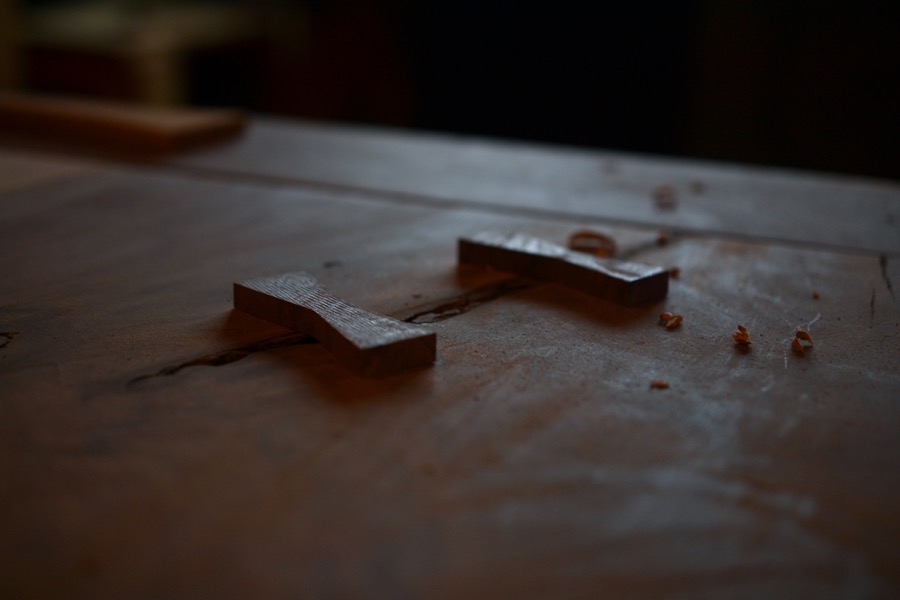
my son roughing out a billet of walnut for some stubby spindles. The spindles will connect the arc to the top-central horizontal rail connecting the leg assemblies, preventing any propensity to rack along the length of the table
here are the spindles in place as well as a bit of carving on the side of the arc

another view of the arc, upside down, an enjoyable shape- part moon, part smile, part rainbow, part horns, it is one of my favorite parts of this table

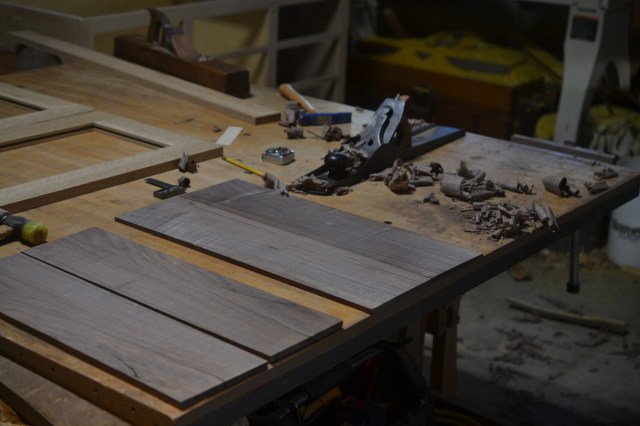
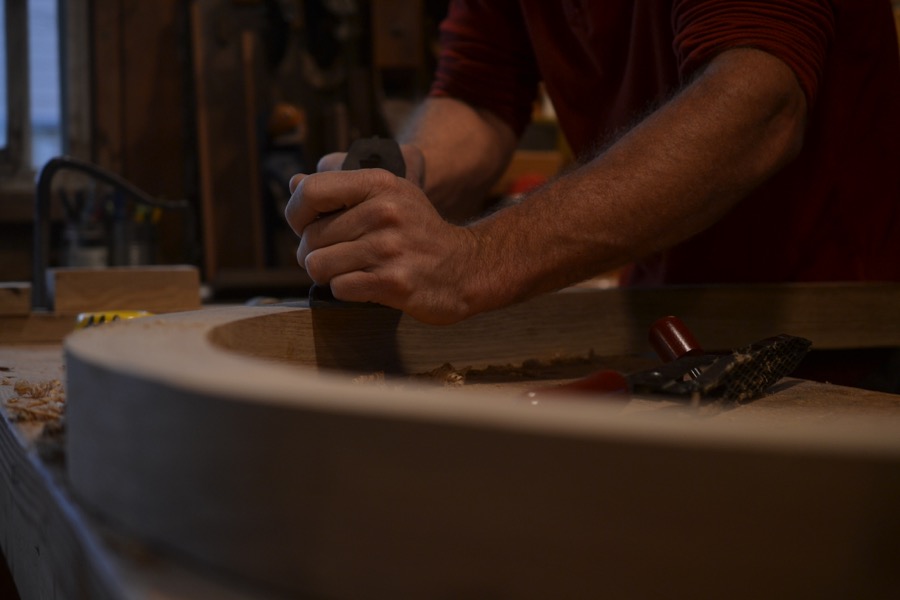
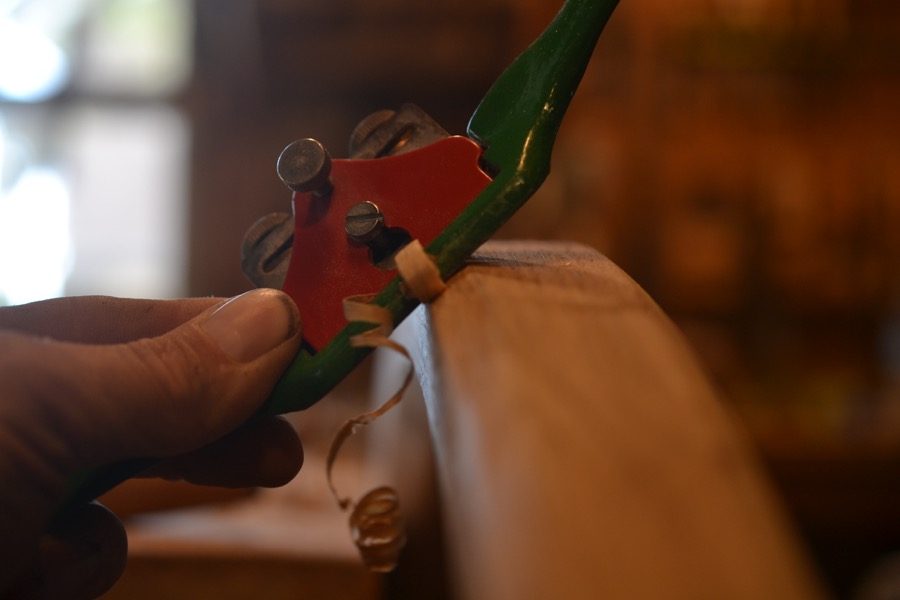
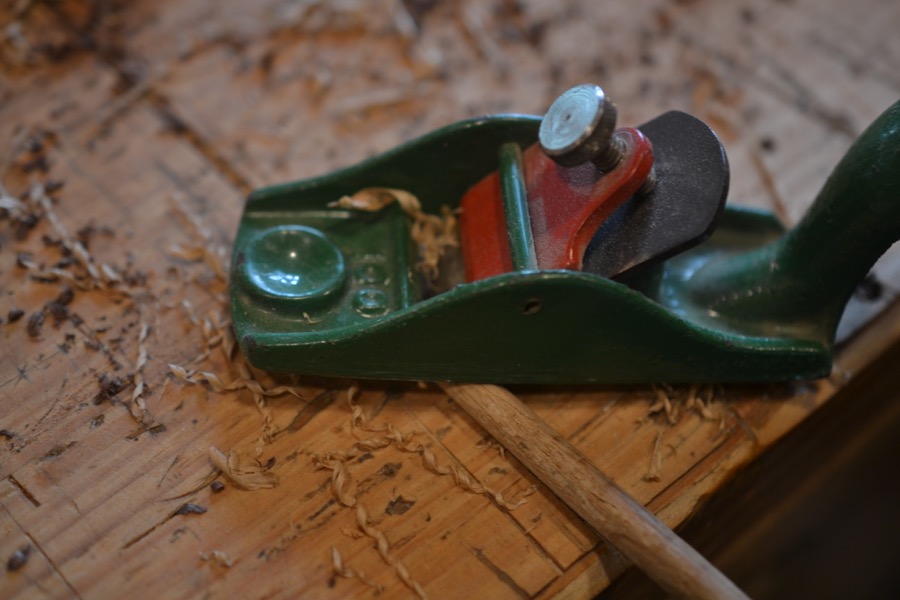
beginning work on the table-top again- softening the edges with a block plane
after making paper versions, laying out some walnut shapes that will be inlayed into the table-top
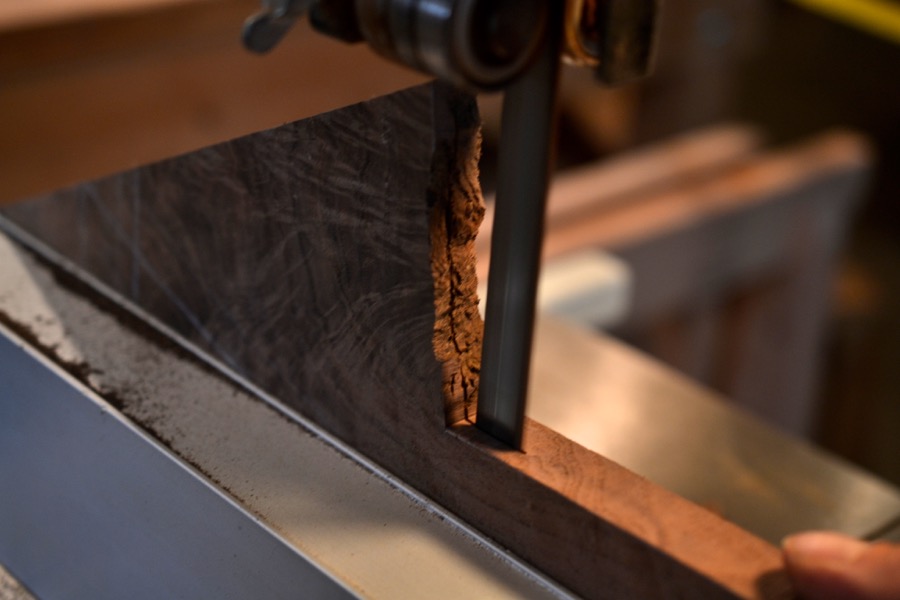
re-sawing bits of highly figured walnut for all of the special details
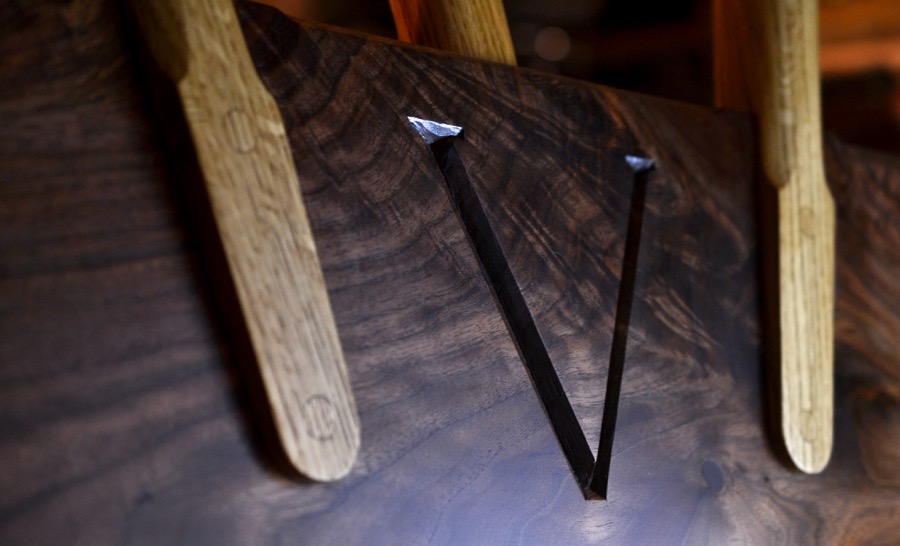
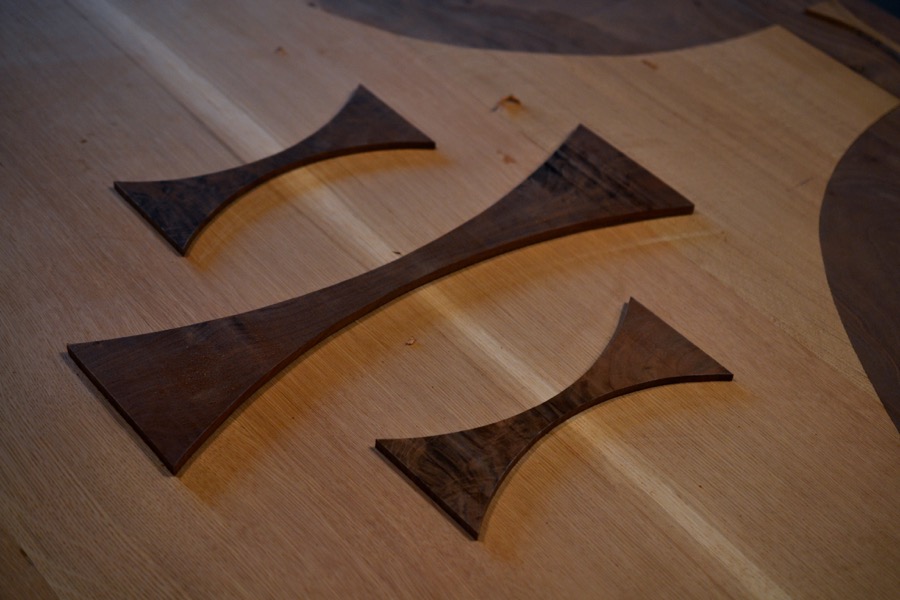
along with the decorative inlays, being positioned here are some butterfly-keys, which help to stabilize the splits and inclusions in the walnut making up the table-top
after determining the composition and placement, all the parts get some double-sided carpet tape…

…and are then stuck in place so that they don’t shift when their outlines are being scribed into the top with a knife

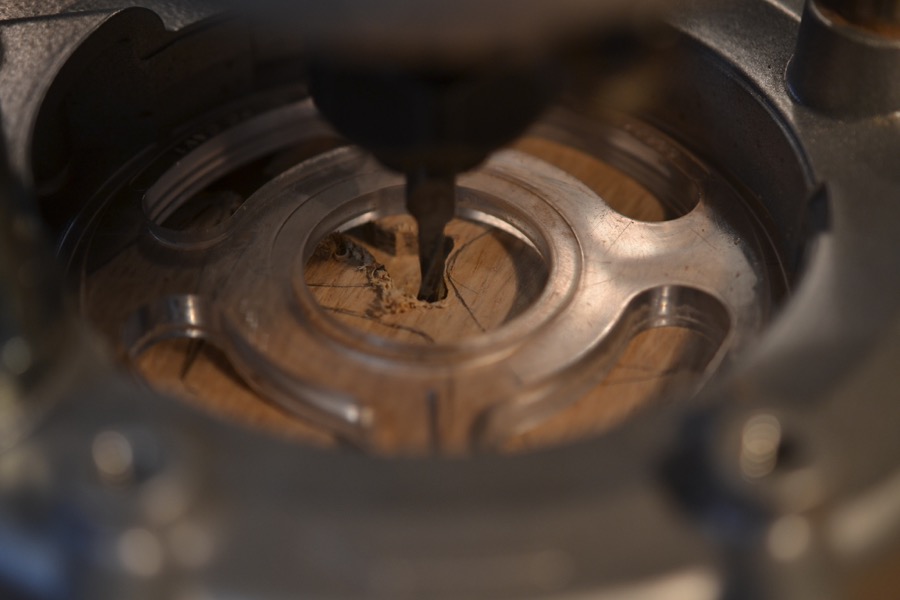
after everything has been scribed, the majority of the cavity is established with a small spiral carbide bit in the electric router

the rest of the inlay cavity is cut out with sharp chisels. The scribe-line is particularly nice at this stage, giving a positive registration for the tip of the chisel

there was a place on one of the walnut planks that had a corner that couldn’t get reconciled in the flattening stages without making it too thin- the remedy was a patch of really pretty walnut

clamps were used on the top, where they could reach whatever was being inlayed

cleaning the floor and corners of one of the recesses for those butterfly keys

glue and clamp…
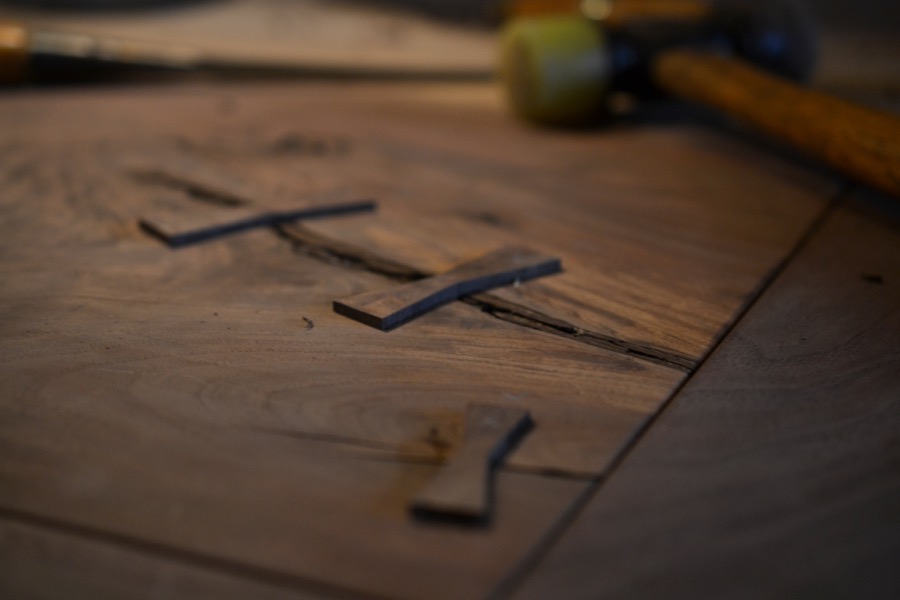
a little congregation of butterflies ready to be made flush with the top, the crack itself, will get filled with epoxy, after the bark has been removed
cutting out some of the inlay cavities for the central design
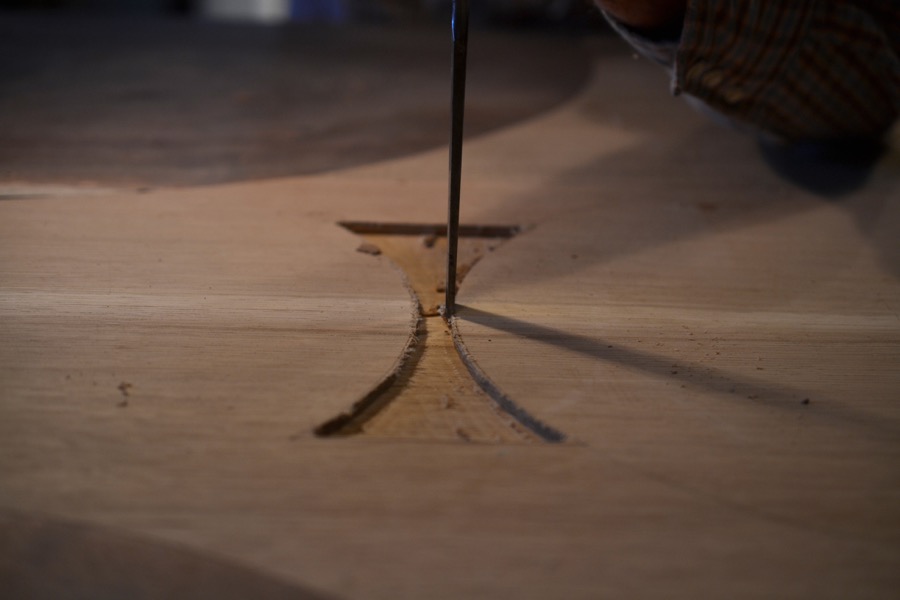
lots of chopping up to the line
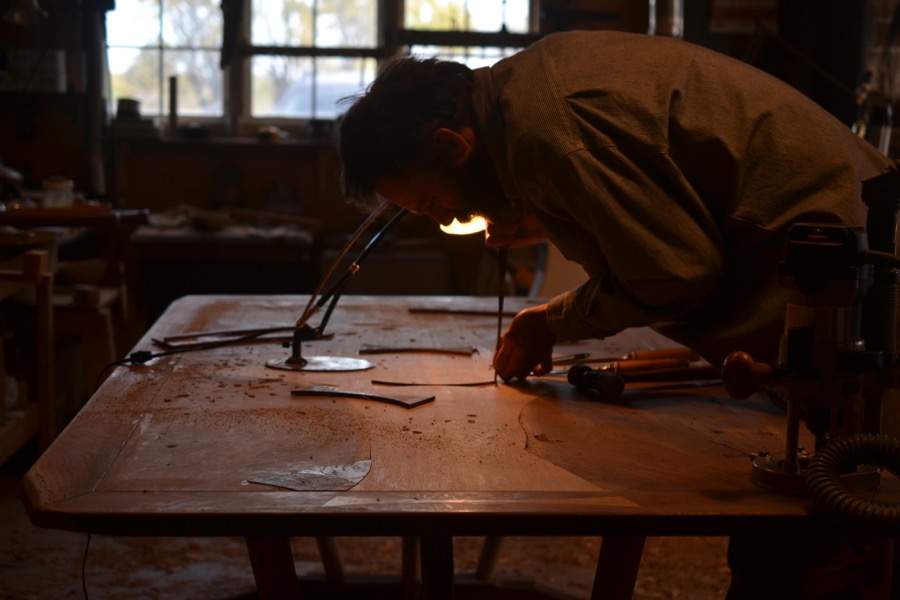
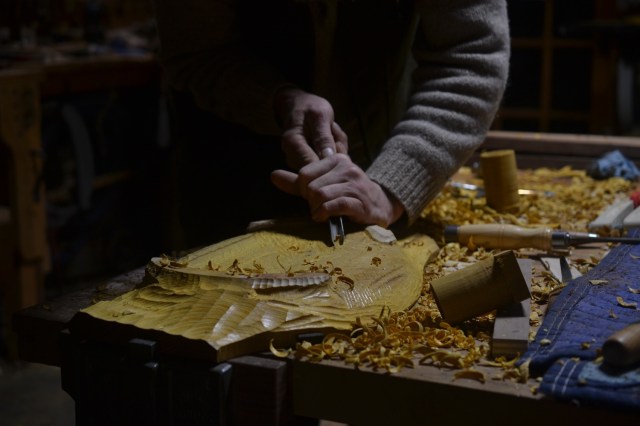
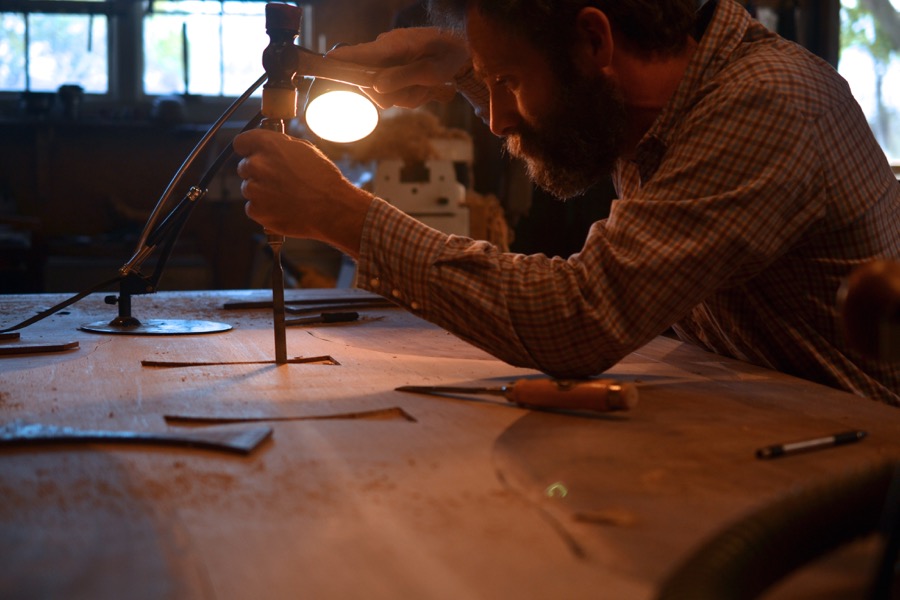
there are a lot of pictures of me hunched over the top of this table, because I was hunched over the top of this table a lot
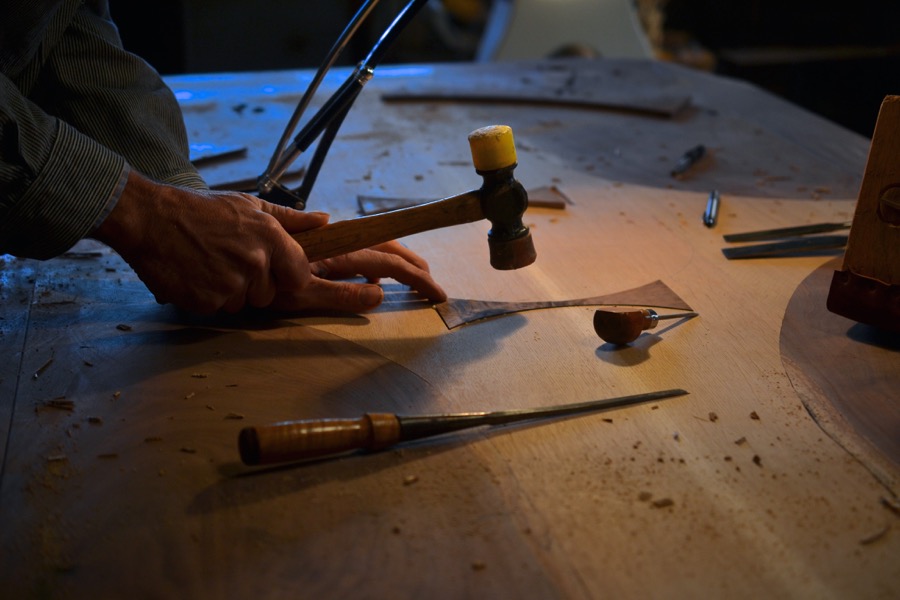
piece by piece, being tapped into place with my indispensable two-sided rubber mallet

planing the first round of inlays fush to the surface

glueing up some ebony for the next round of inlay work

the elements of the central design positioned and ready

a few more ebony details being cut out at the scroll saw

the slow process of accurately scribing every edge with an “Exacto” knife
clearing out as much as possible with the router, carefully to stay just shy of my lines

my life for a good portion of October
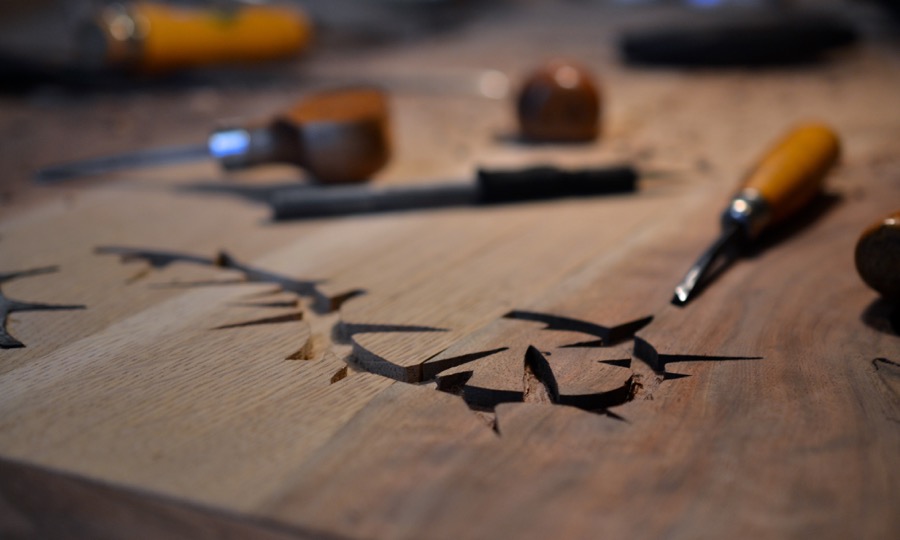
ofter hours of knife, chisel, and dental tool work, the inlay cavity for the crown of thorns is about ready for the ebony

a modified dental tool in action clearing out the acute corners of the cavities, somewhat appropriate

…still hunched over…

some of the inlay uses molten sulphur… being melted here in a spoon
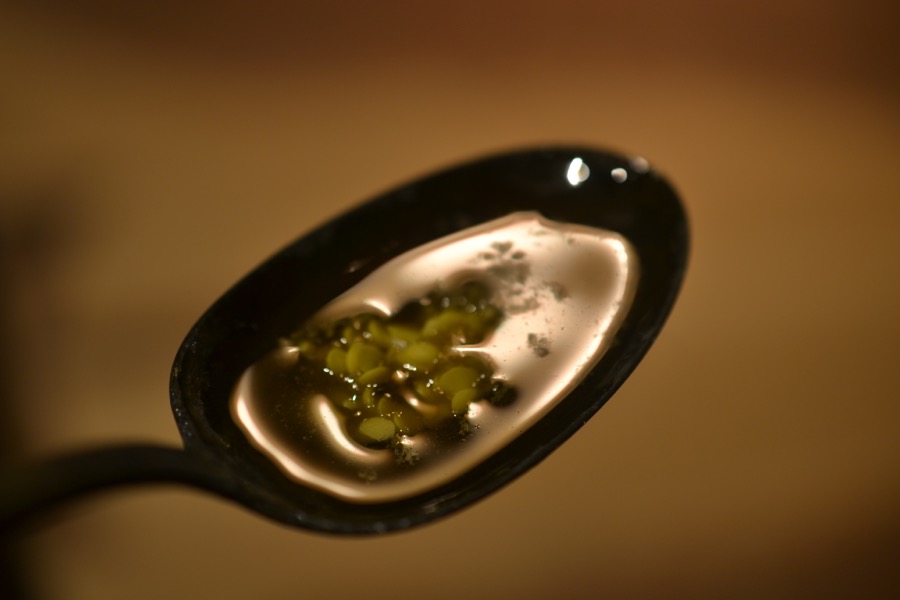
molten sulphur is an eerie and beautiful thing, if not pungent to the point of being toxic
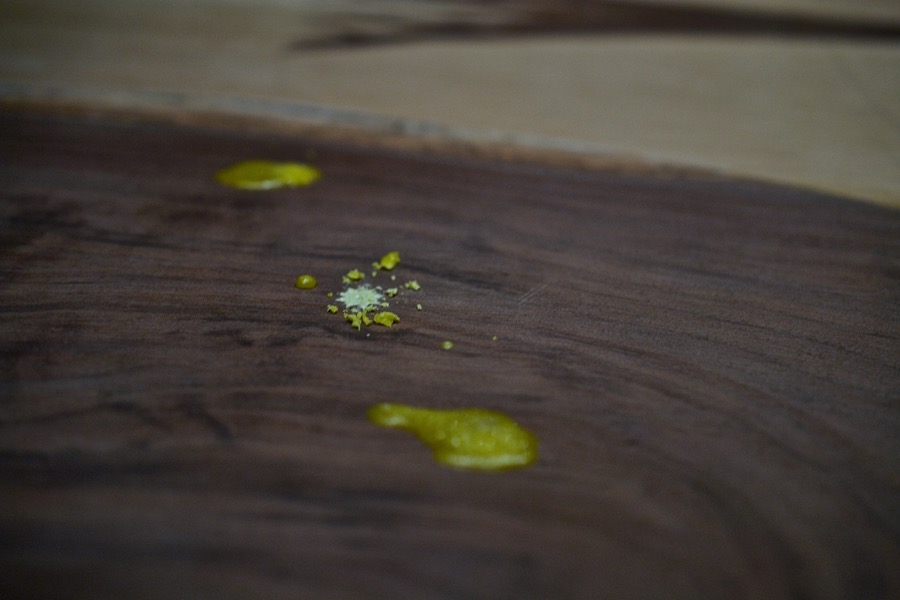
poured into carved voids it marks a lovely luminous contrast to black walnut
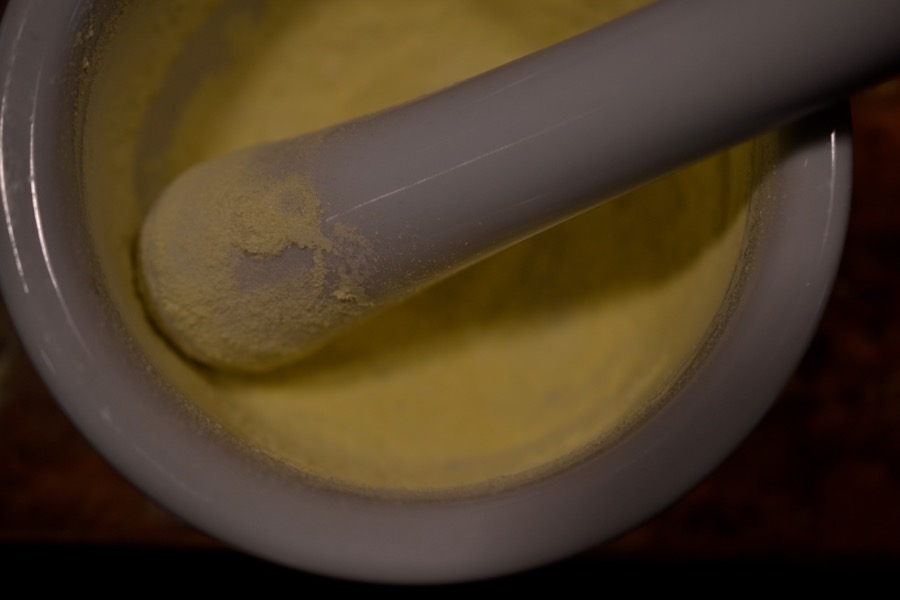
also very porous- not so good for a table top- an improved sulfur inlay was devised. First grinding some sulphur crystals with mortar and pestle…

the sulphur pigment is then introduced to some two-part epoxy

the resultant paste is pressed into the top layer of the earlier sulphur inlay, filling the pores and yielding a slightly tougher surface
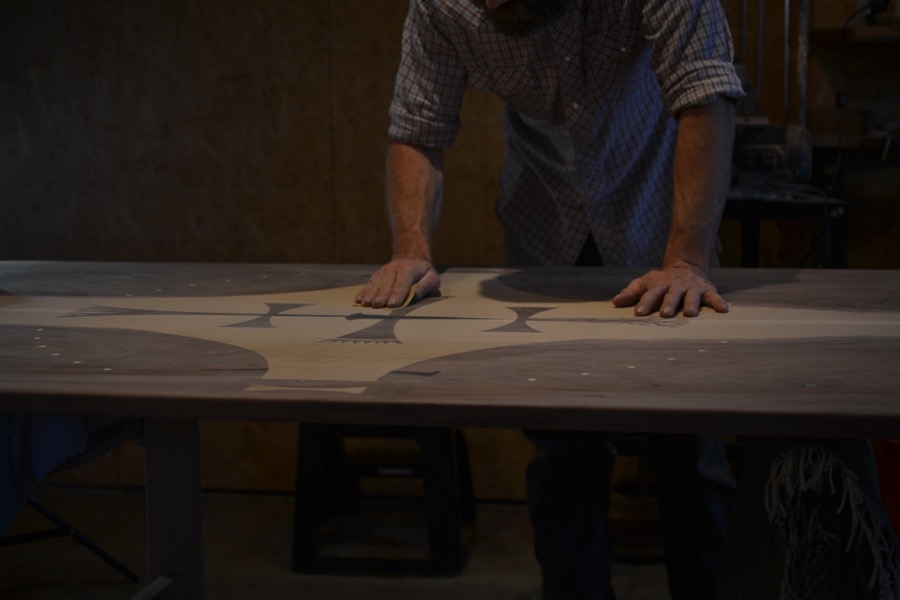
the inlay work done and all the other voids being filled with epoxy, final sanding has begun

as the process goes, there are many flaws in my inlay work that need to be addressed. Out come the pigments and filler

it is an enjoyable process that takes me into the realms of another of my lines of work

then more sanding
this marks the end of this second to last post in the building of the Champion Table, I won’t reveal the finished piece until it’s new owners have had a chance to see it in person. Thank you all for offering your support and comments, or just following along silently. I remain immensely grateful for the kind encouragement which each represents, and I look forward to sharing the finished piece with you all as well.
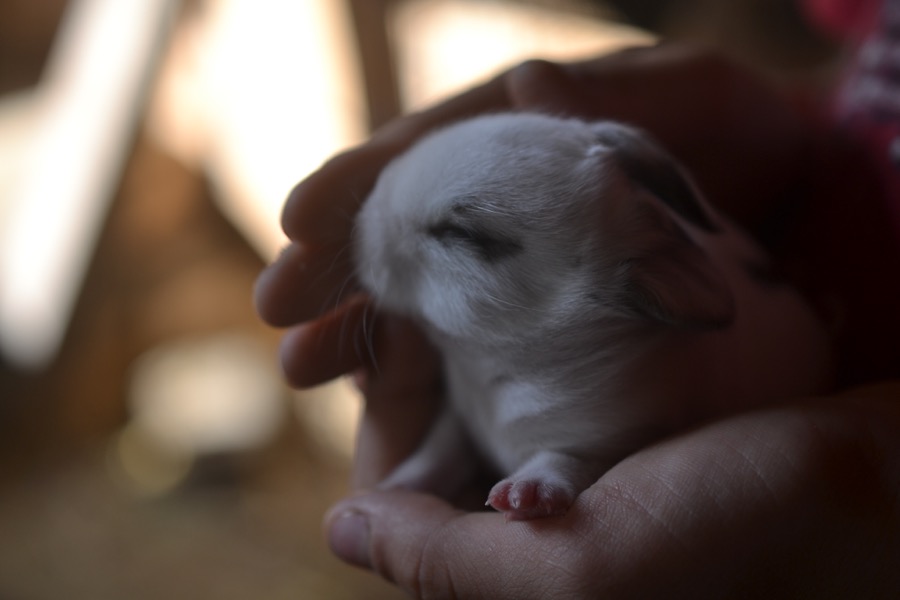
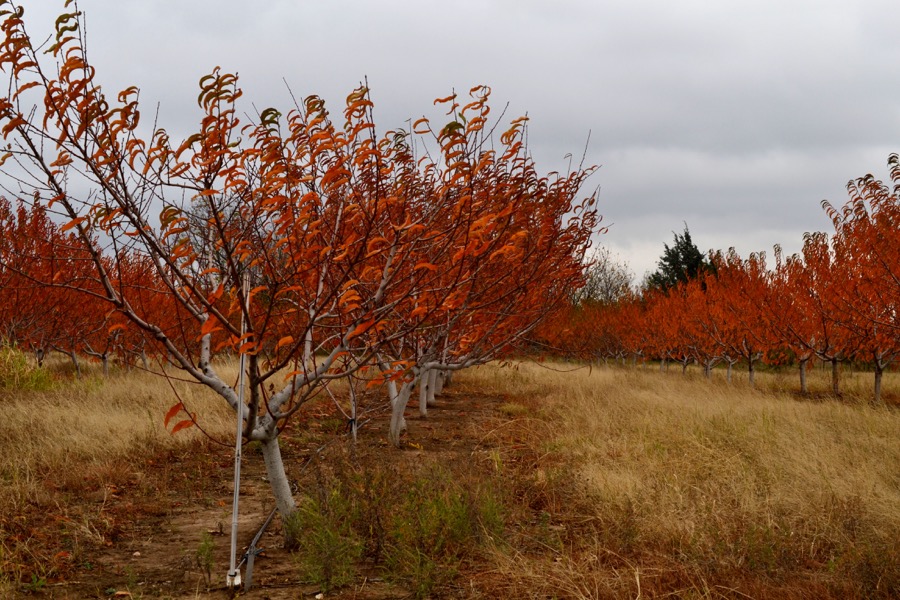
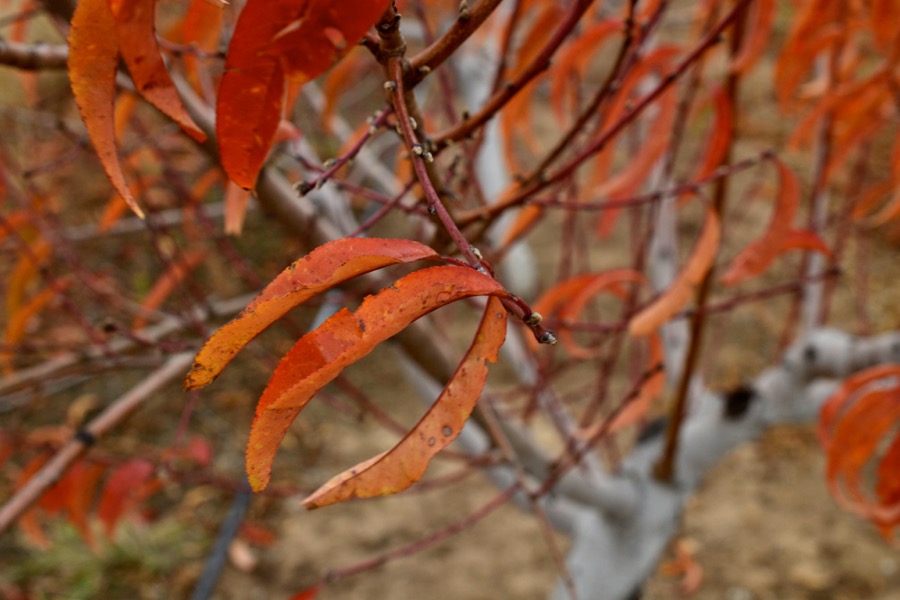
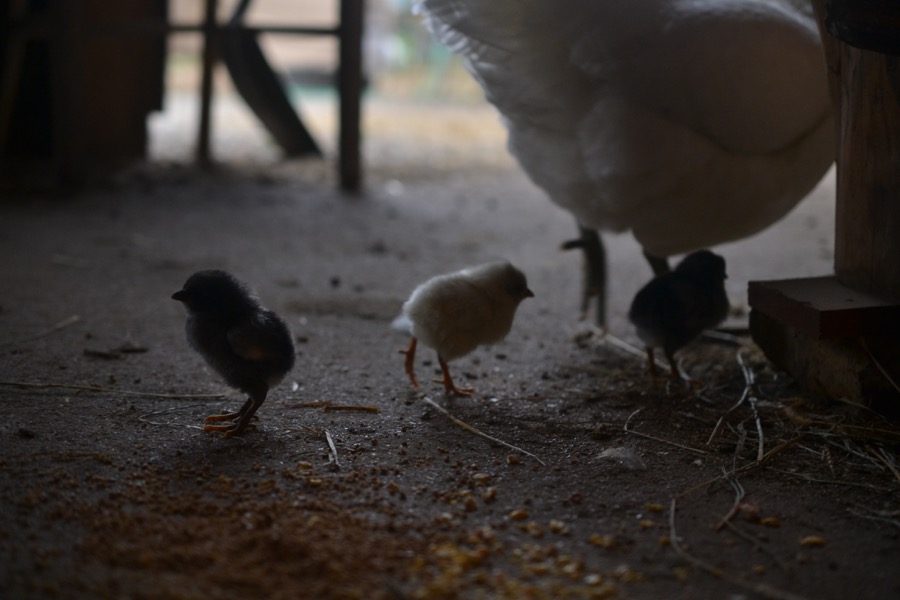
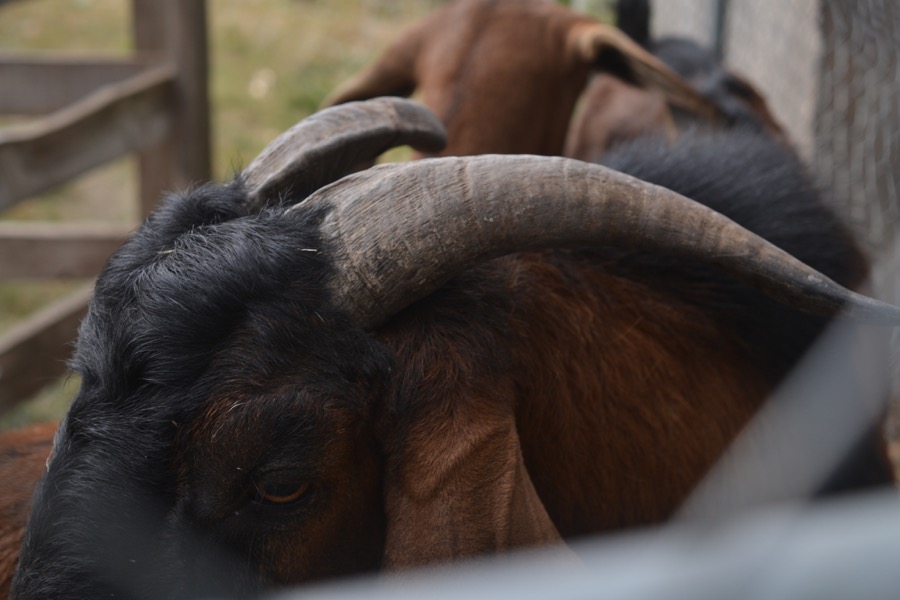
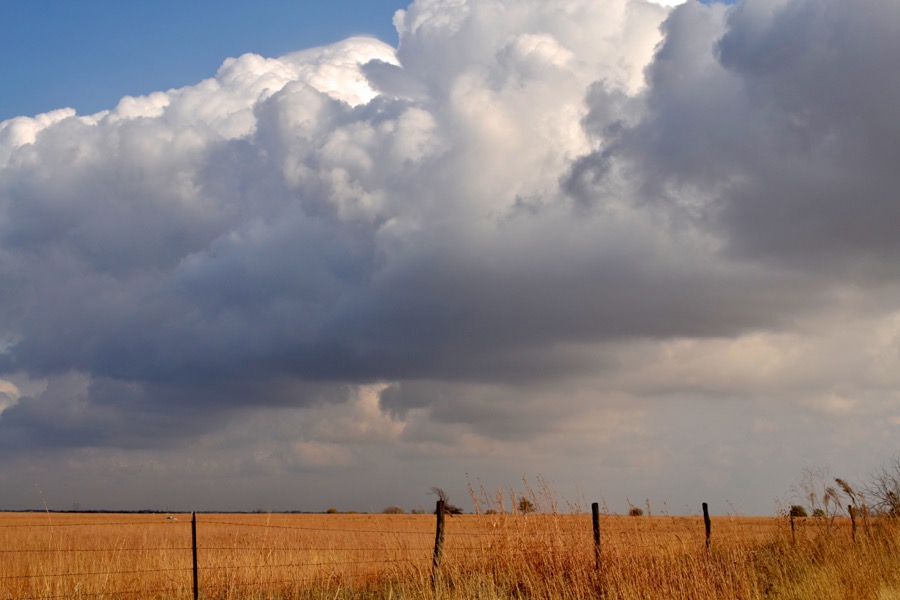
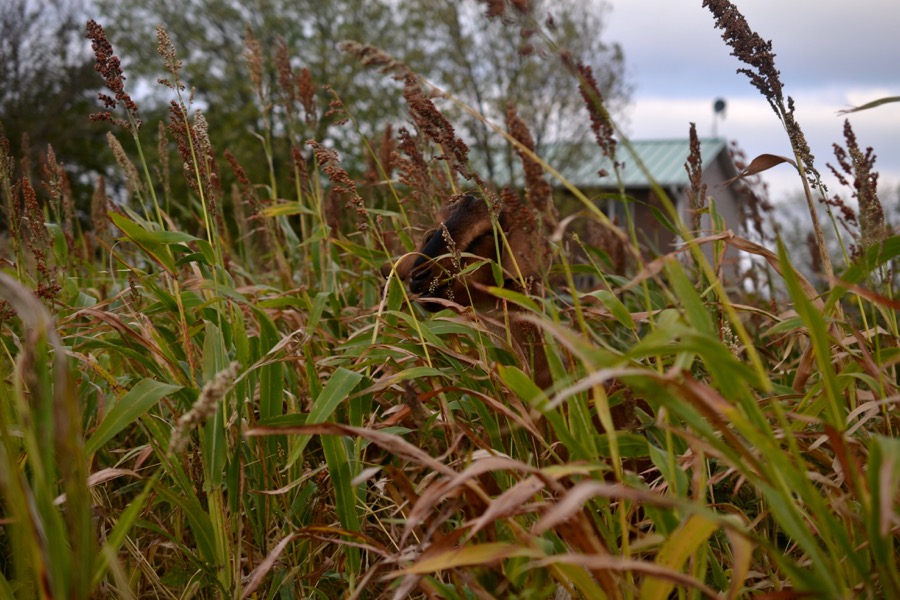
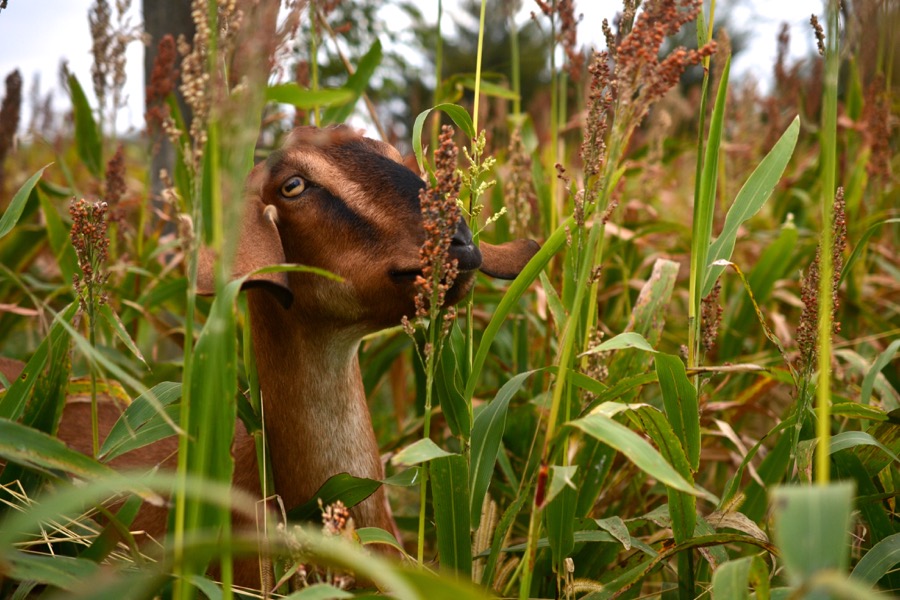
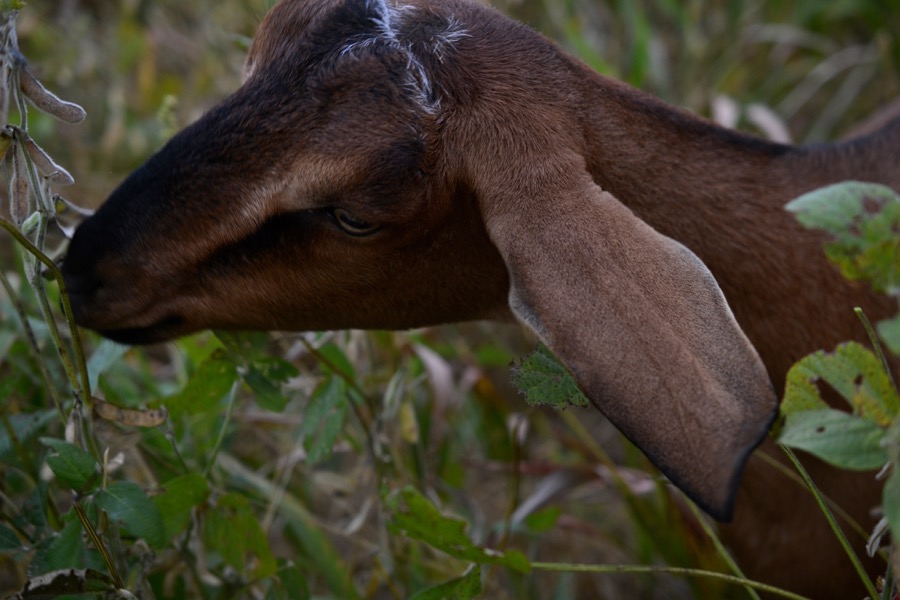
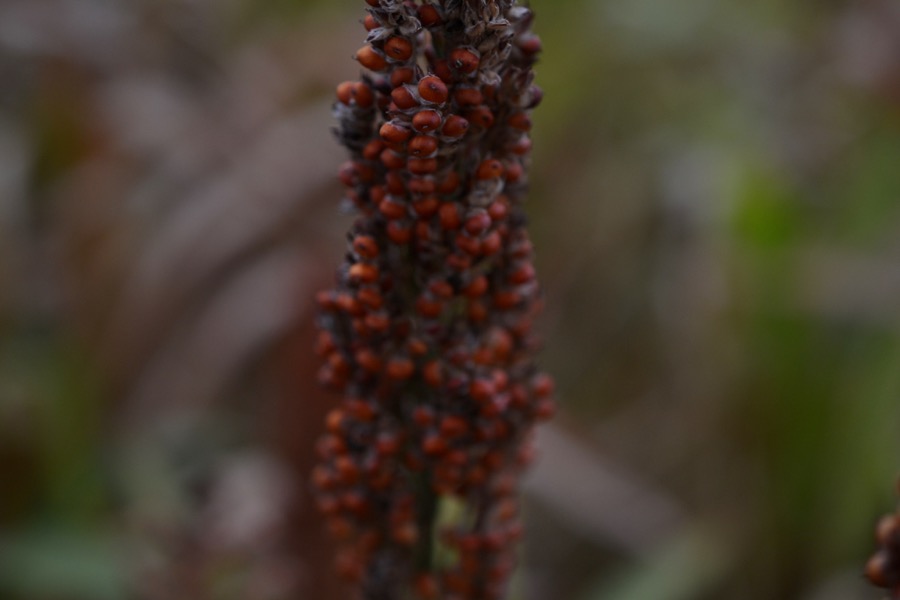
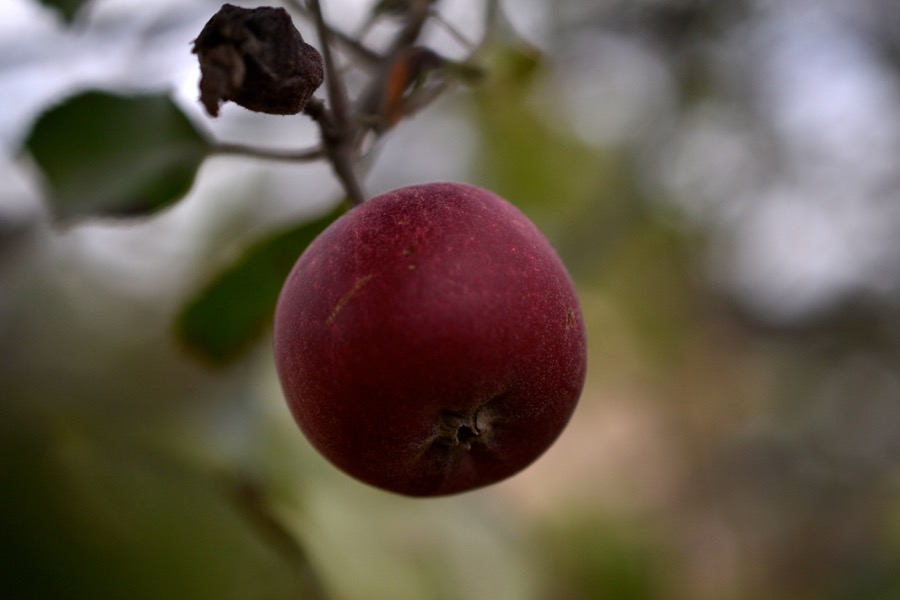
Husbandry in Harvest
Sally In The Garden, traditional fiddle tune performed on banjo and fiddle


Champion Table Build, Part 4: Base & Arc

preparing to fit the base to the leg assembly

defining a semicircle with 3 saw cuts

3 saw cuts get refined into facets with a paring chisel

and again
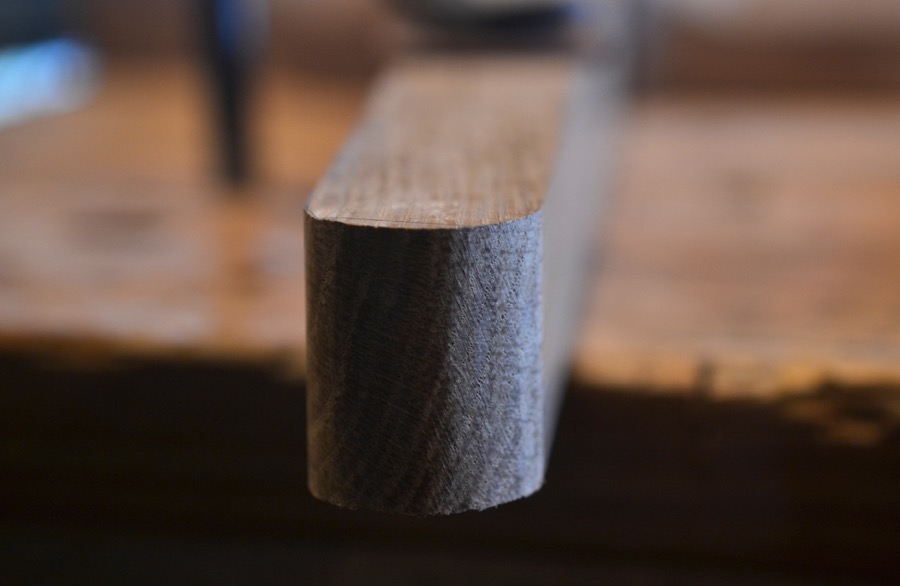
then shaped with a rasp

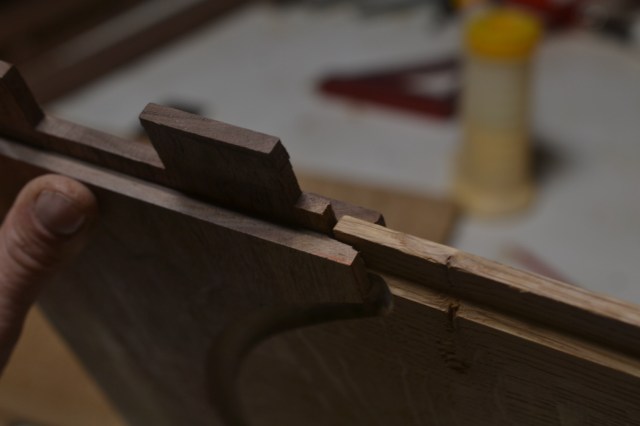
the base of one of the leg assemblies after the 1/2 lap-tapered dado has been cut

here, mated with the white oak leg
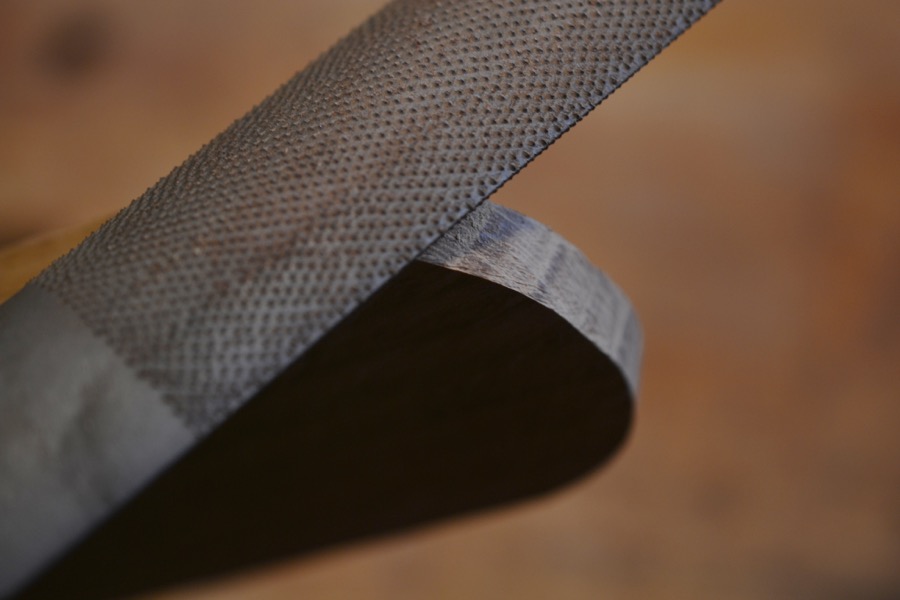
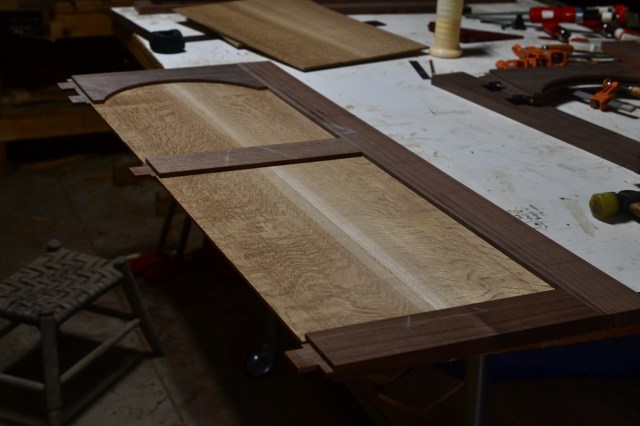
a different piece of white oak being shaped with a rasp, one of three slats joining the top of the leg assemblies together and to the table top

the slats also receive a long bevel
the slats will rest in the notches being cut into the top of this leg section
clearing out material from the notch with a 1″ chisel

establishing the final depth with a router plane

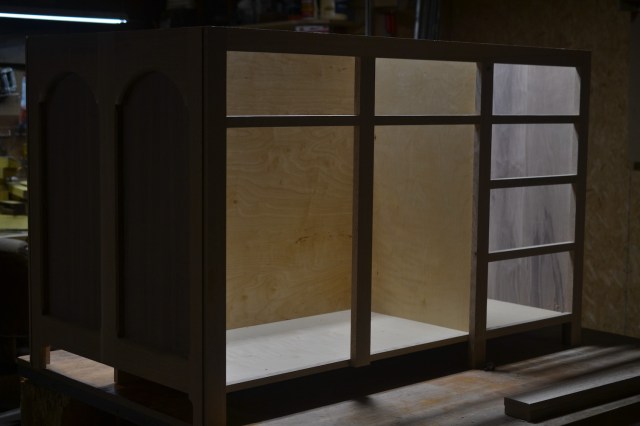
here the slats are temporarily in place

an arsenal of shaping tools to begin sculpting the legs

shaping inside-curves of the leg assembly with an aggressive rasp

forming a radius where the legs meet the base
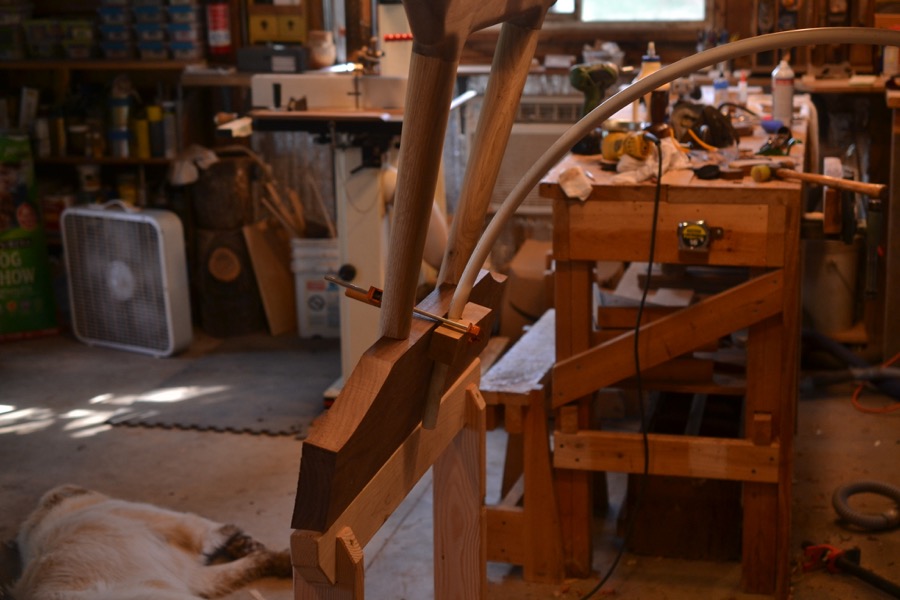
the preliminary drawings had a horizontal stretcher connecting the two leg assemblies at floor level. Having rough-shaped the components and taking a look, I started visualizing an arc instead. PVC pipe (already bent from a previous life in some low garden tunnels) offered a quick prototype to help see how it would look.

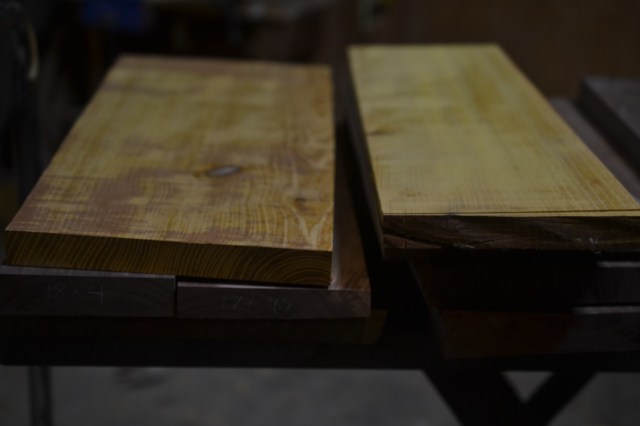
the arc made sense, so now setting about squaring up a white oak timber for re-sawing

re-sawn white oak and a glue-lamination form ready to make an arc

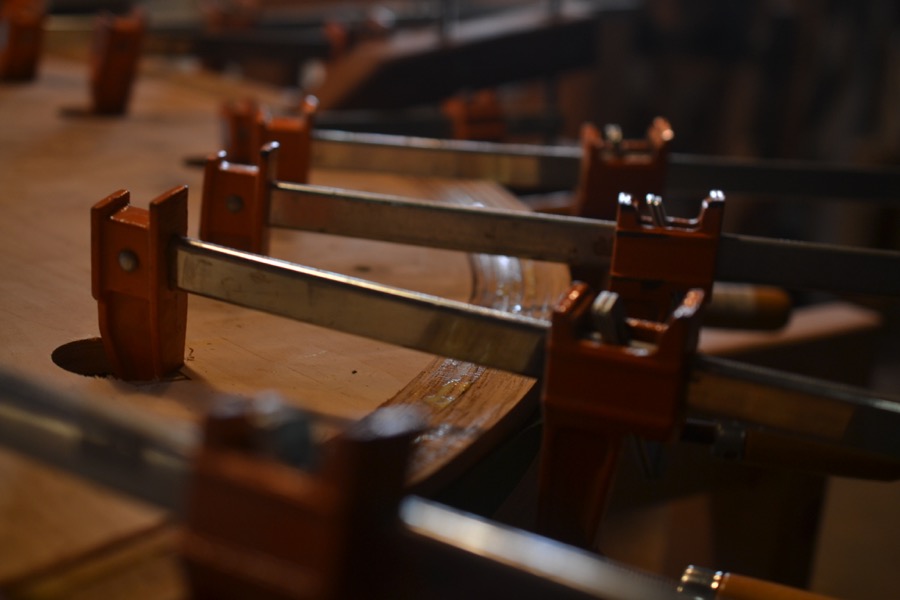
the glue lamination in the form- my 8 year old son was indispensable in this process, helping to roll glue, assemble, and clamp
rhythm is in unity to woodwork

the white oak timber, reconfigured as a messy arc

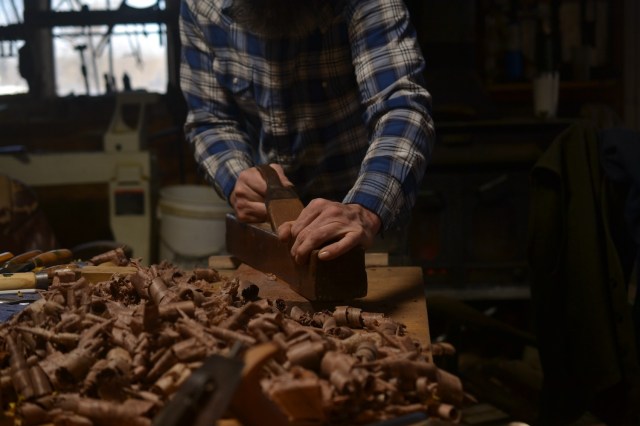
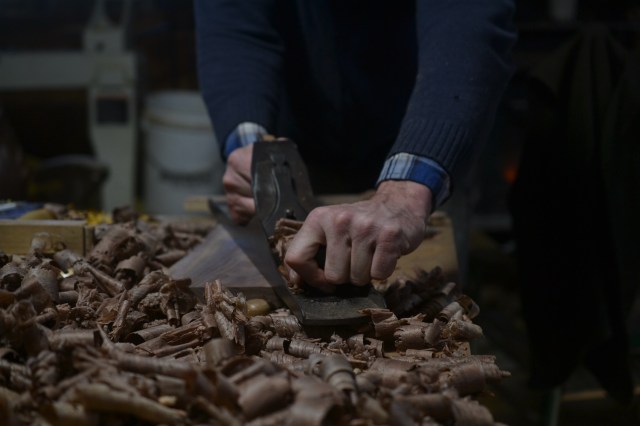
work for the jack plane
now the smoothing plane
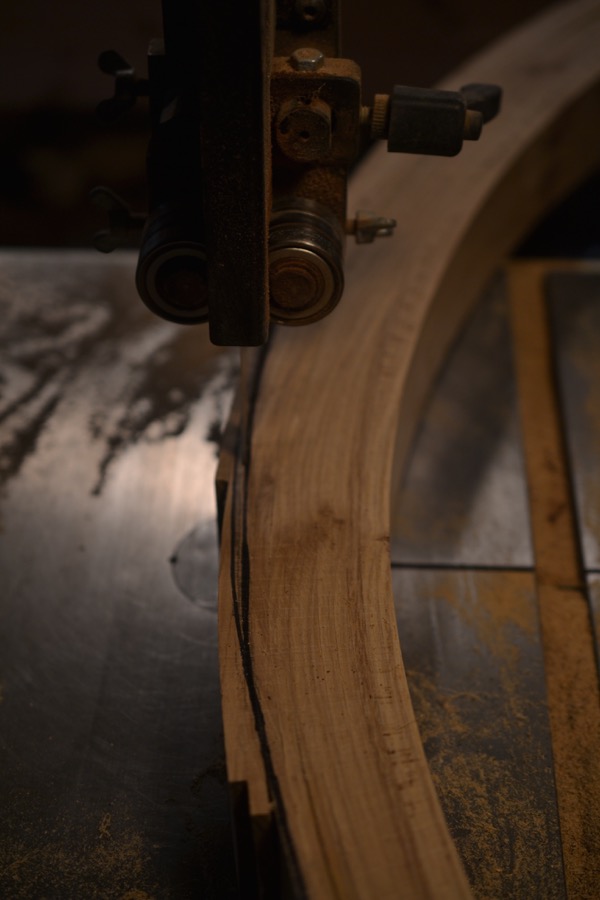
cutting the tapers along the length of the arc at the band saw
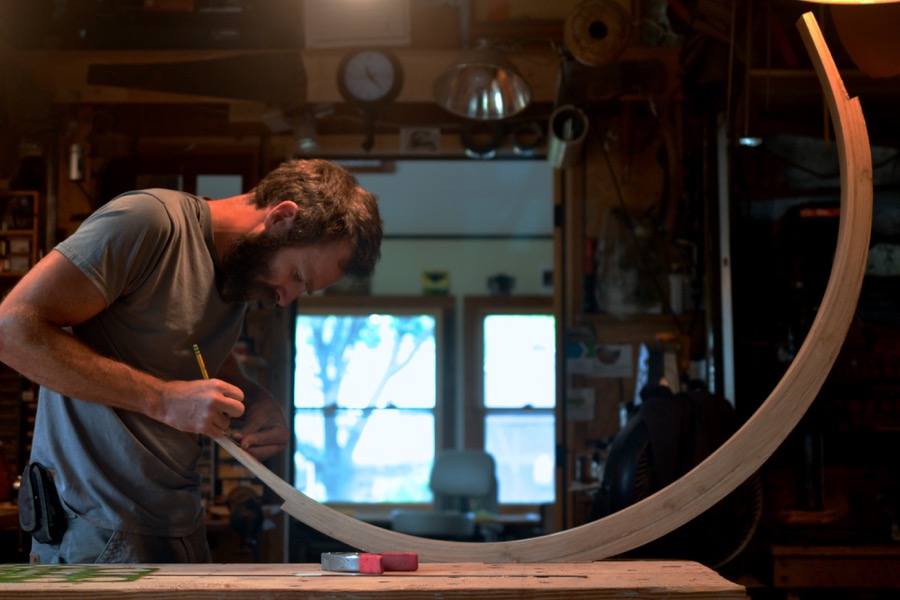
marking the taper at the width

cutting the taper at the width

more elbow grease with the smoothing plane

shaping the many curves and facets along the arc, first with a drawknife
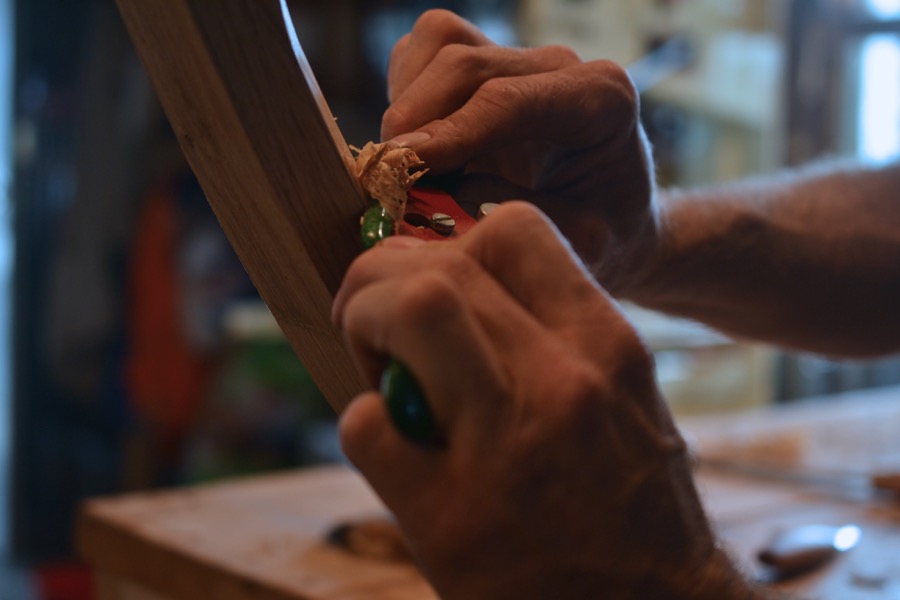
then with spokeshave
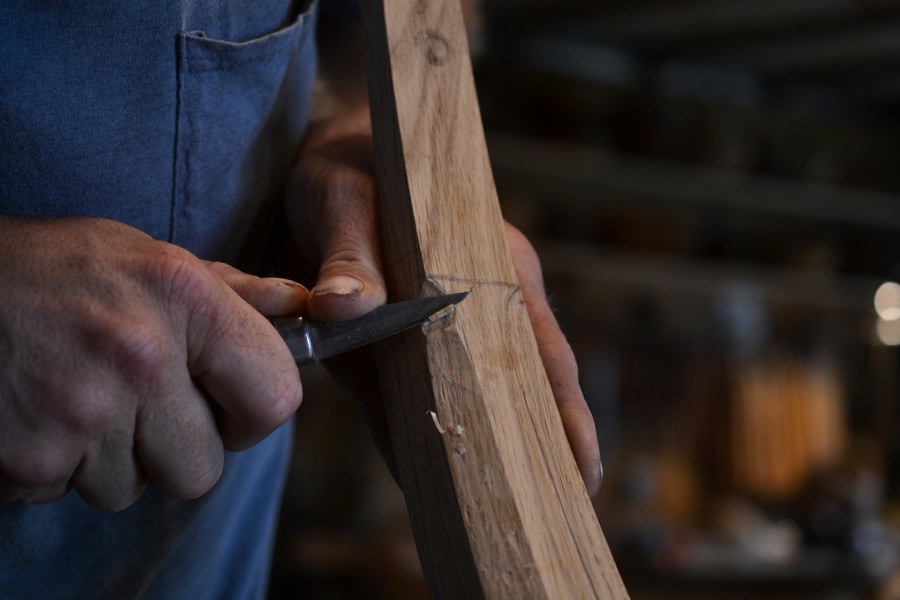
establishing details with knife
facets ease into curves

test fitting- some refining-shaping to go yet

setting the location of the chamfers on the leg-base
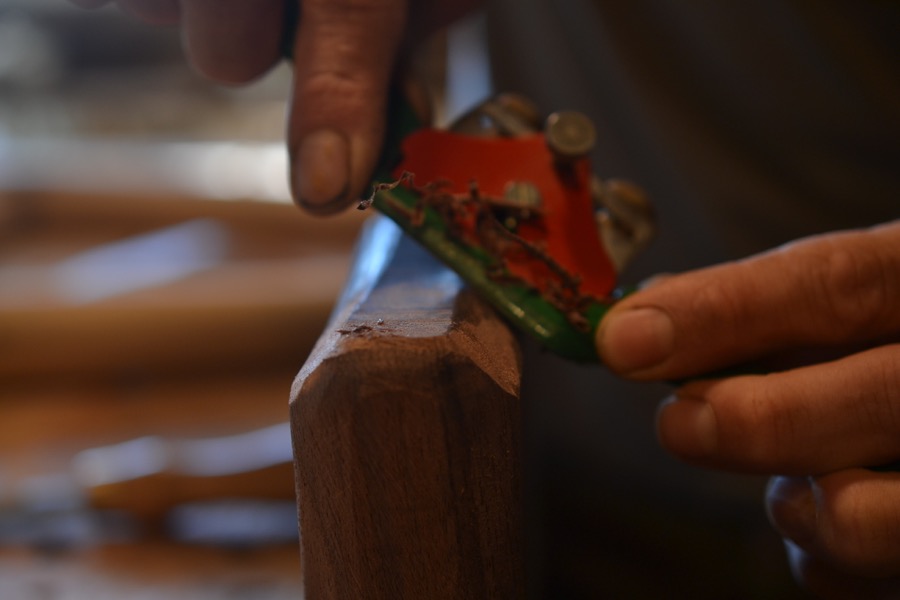
shaving away rasp markings
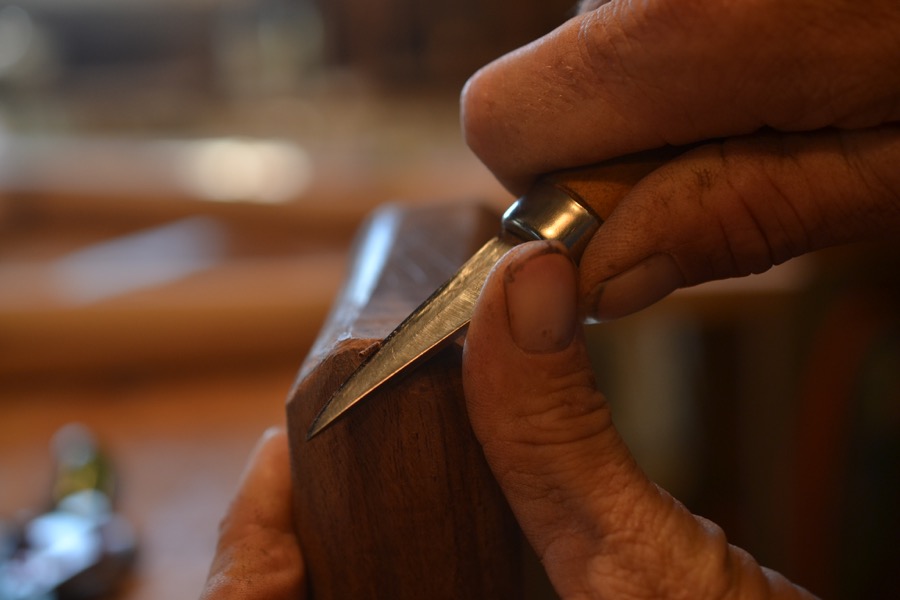
carving corner transitions

so many details to bring together- here the leg base is about done.
That’s it for this round- next week there will be lots of sanding, also carving and inlay work as the table finally starts to become unified. Thank you to everyone for following along, and for your encouraging comments.
The Champion Table Build, Part 3: Leg Joinery

flattening walnut stock with a wooden joiner for the top rails of the leg assembly

using winding-sticks to make sure there is no twist in the board

finishing up with a #7 jack plane

squaring up the remaining edges and dimensioning the walnut on the bandsaw

layout lines

initial shaping of the curves on the top rail of the legs

testing it against the table-top

sawing lengths of white-oak for the vertical posts of the leg assembly

the white oak after squaring-up

testing the concept and a few angles before committing

laying out the leg joints

establishing the sliding dovetail angle with a knife

cutting the front of the sliding dovetail

all the bandsaw work done, now the hand-tools will finish

paring the back cheek of the tenon

the joint is most of the way there- the waste between the mortise and the dovetail is yet to be removed

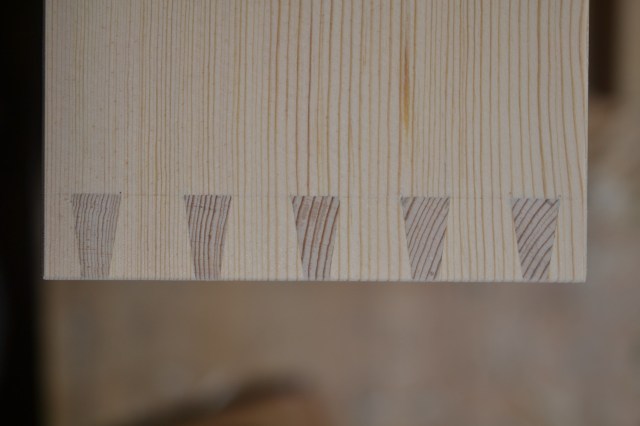
the four white oak legs all cut

the arsenal of tools to accurately transfer the dimensions of the tenon/ dovetails onto the walnut rails

marking

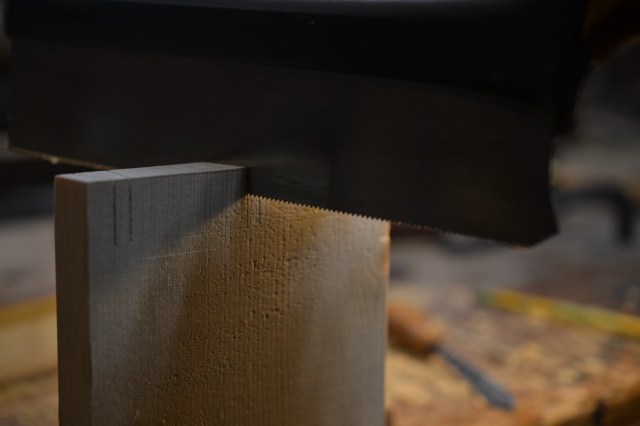
starting the cut for the sliding dovetail socket with a carcass saw

another view cutting sliding dovetail sockets

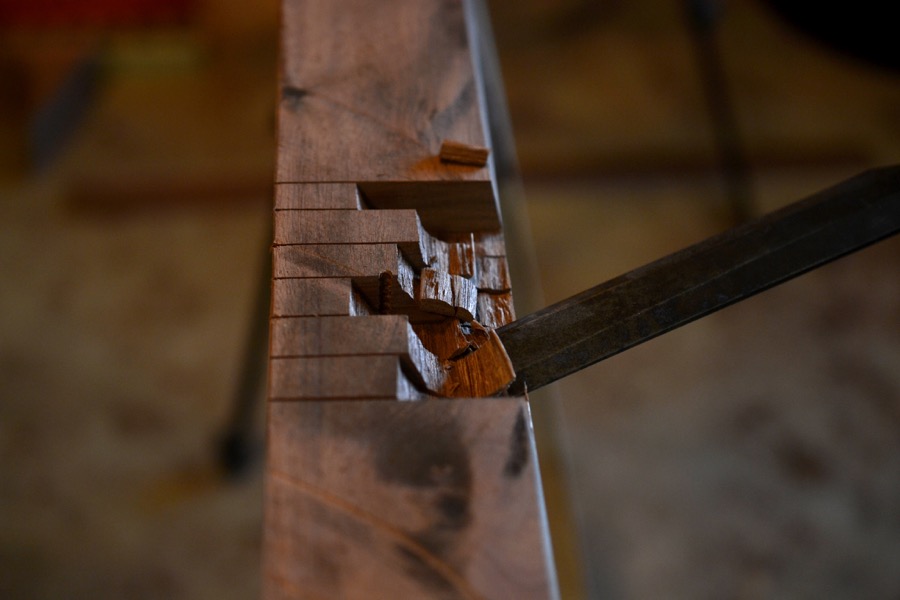
chopping out the waste in the socket

paring the sidewalls unreached by the saw

using a router plane to achieve an accurate floor of the joint- the leg on the cutter allows it to reach the angled corners

another view of the router-plane

starting the mortise with a 3/4 mortise chisel

the first row is delicate- just establishing the shape and protecting the corners

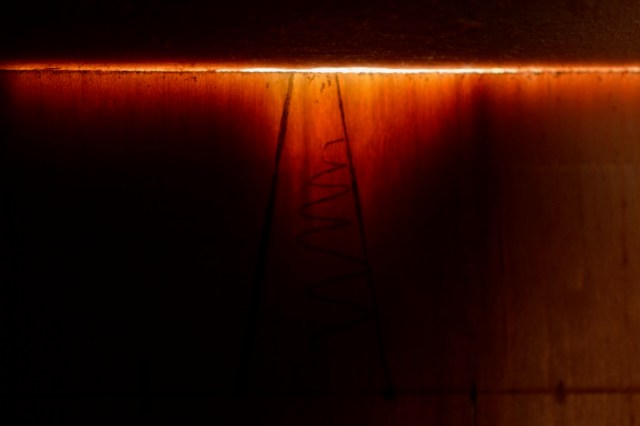
going the full depth of the mortise with an auger – you can see the round-topped sliding dovetail socket parallel to the mortise

squaring the mortise the rest of the way with the mortise chisel

cleaning the sidewalls with my extra-big paring chisel

thank God, they fit!

step one is successful- to get to this point took endless drawings and two complete practice joints and a lot of patience

marking the leg rails for some shaping/ sculpting cuts on the band saw

the top rails post rough-shaping, and the taper of one of the white-oak legs marked with blue tape

dry re-assembly just to make sure

the glue-up

next week will concern the joining of the bottom rail and the final shaping of the leg assemblies
Der Aufbau des Champion-Tisches, Teil 2: Rand

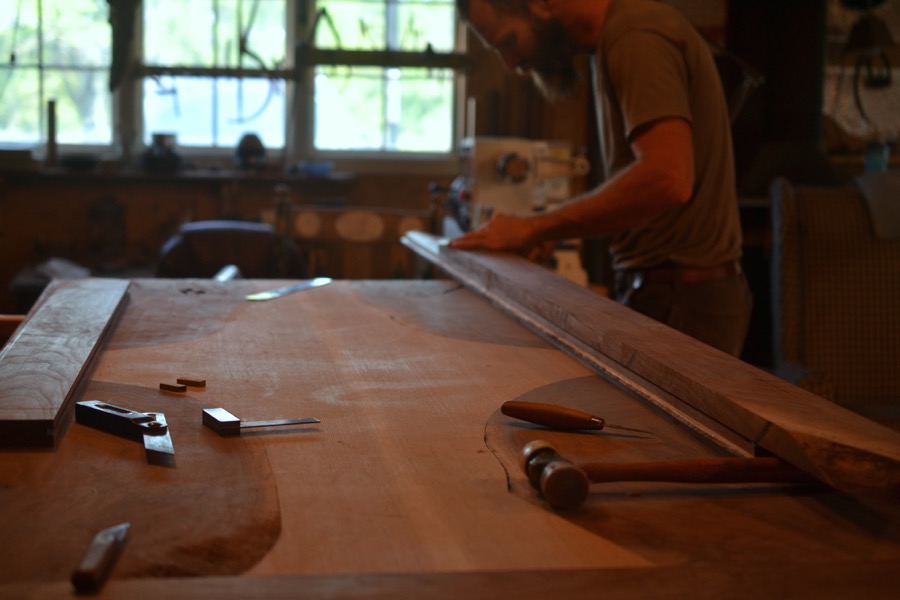
surface preparation with a Stanley #80 scraper

the swirly walnut grain is difficult to plane but the scraper is able to deal with it efficiently
beginning to fit the side rails and bread-board ends

marking the end cuts with a sharp knife
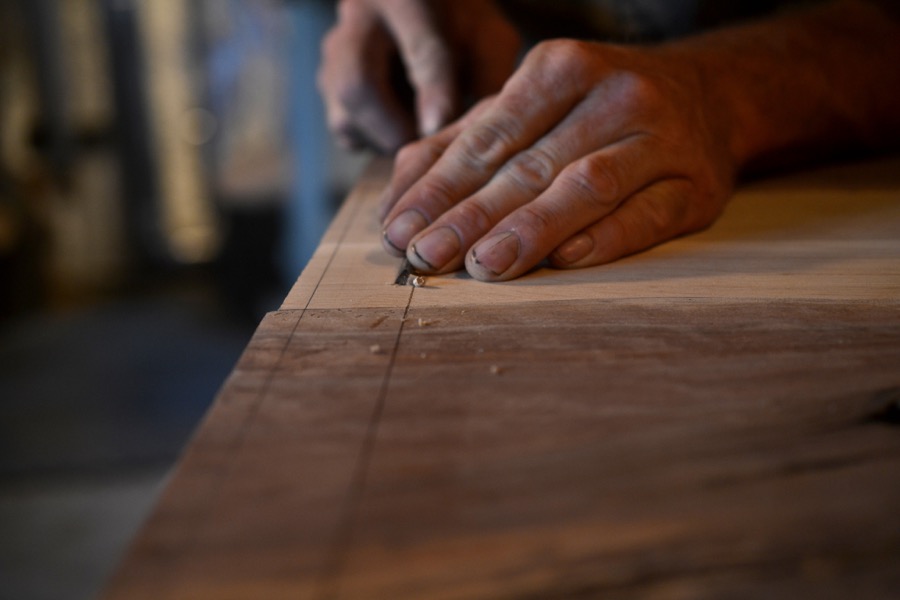
then creating a shoulder along that line with a chisel assures a clean cut without tearing the grain
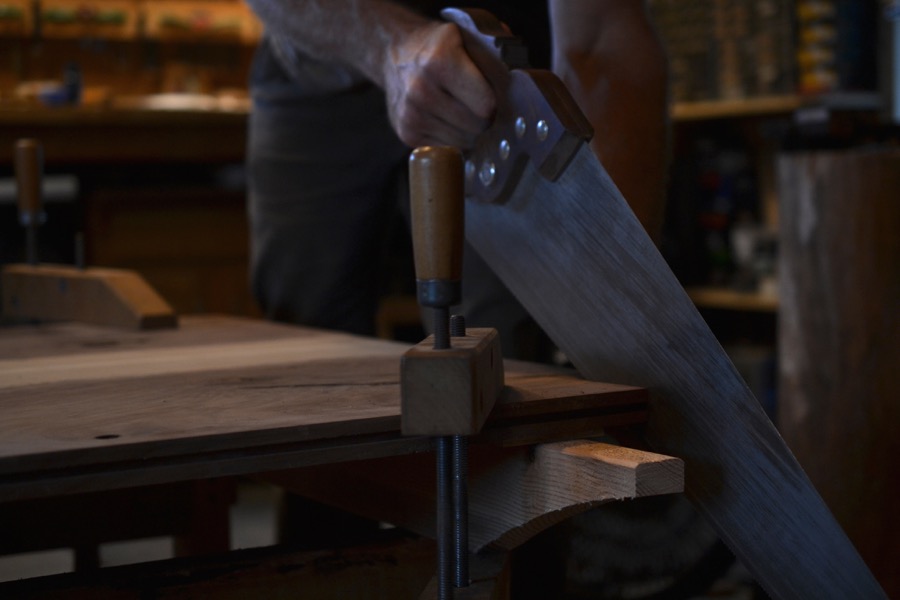
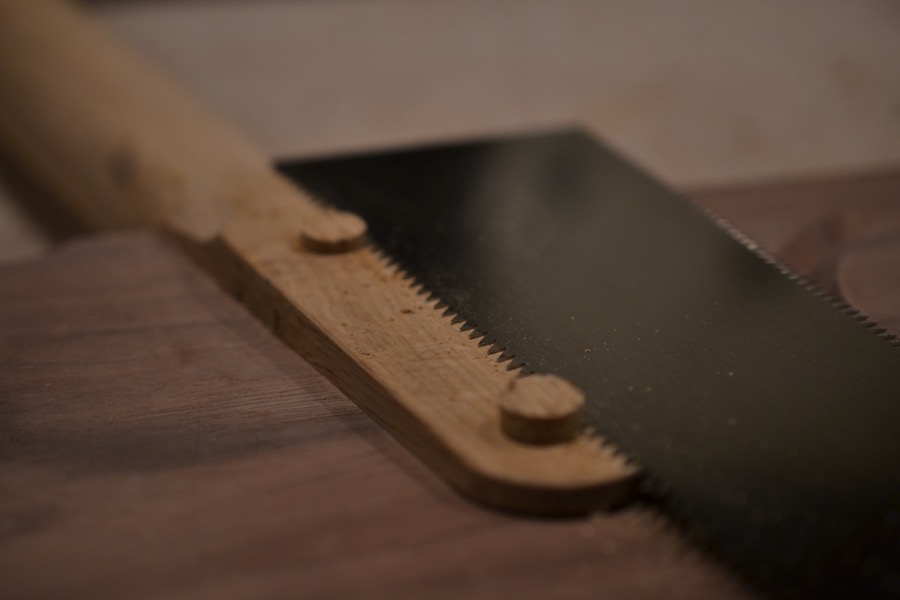
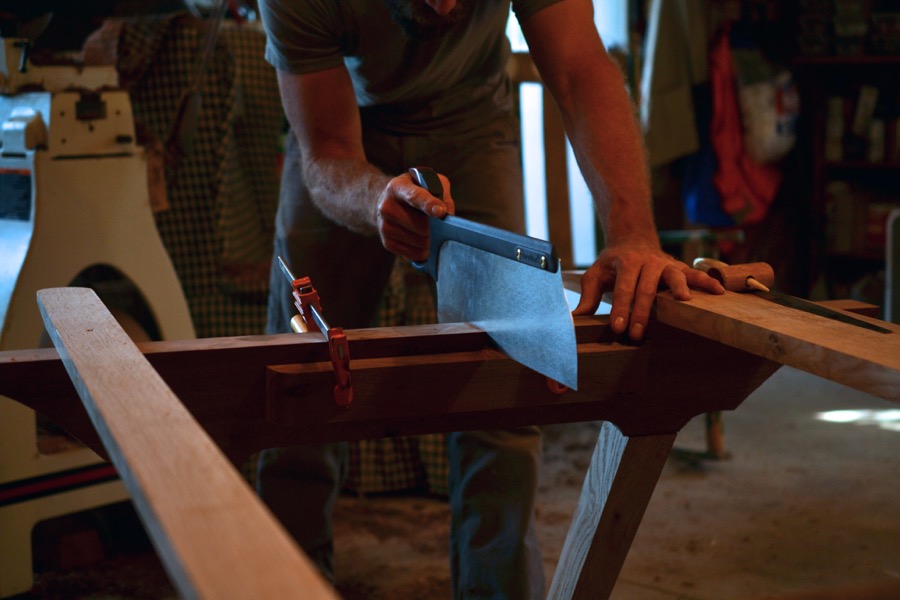
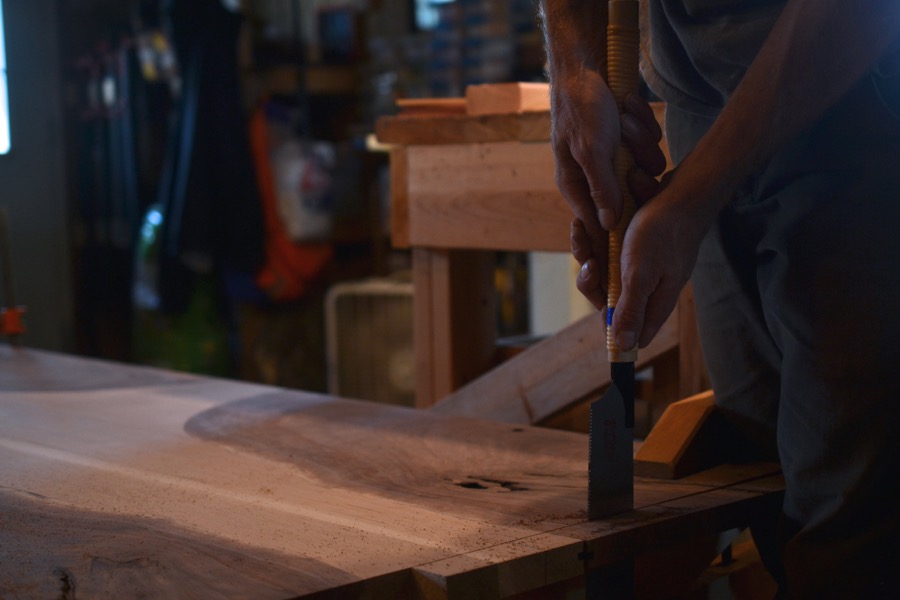
cutting along the shoulder with a sharp crosscut saw

a small array of saws to do this job
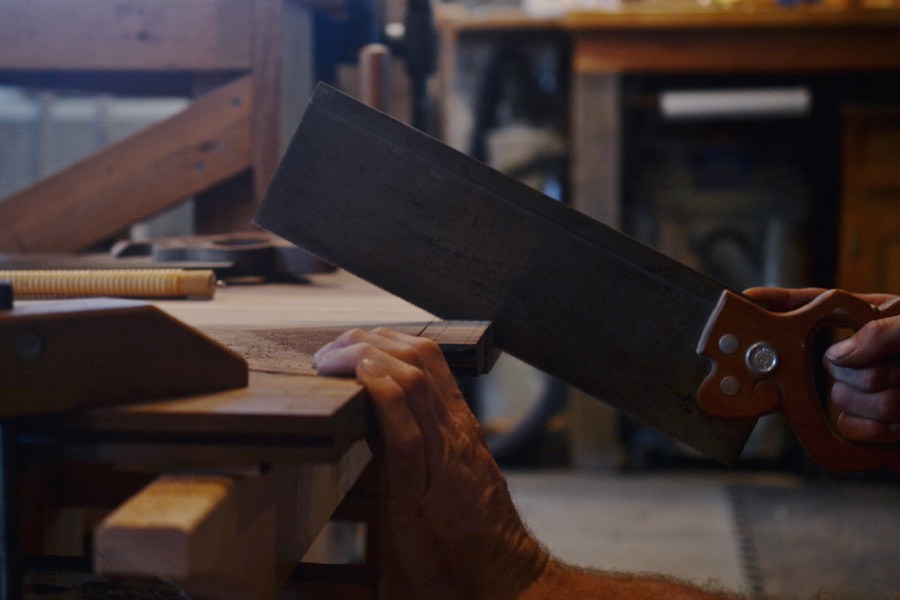
cutting the central breadboard tenon
coming up to the other side with a pull-saw

both ends of the table are now cut

cutting the base of the tenon “cheeks”

really no other position to accurately make this cut
cutting away the “cheeks”

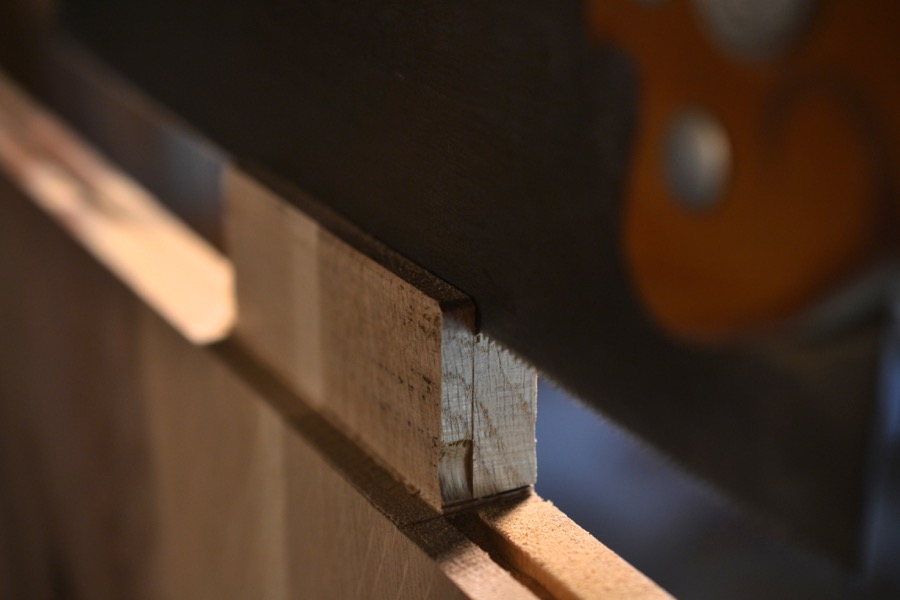
the finished tenon, and a groove has been cut to receive a floating tongue to align the breadboard
laying out the positions of the mortise and tenons on the side rails and breadboards

cutting the tenon on the side rails

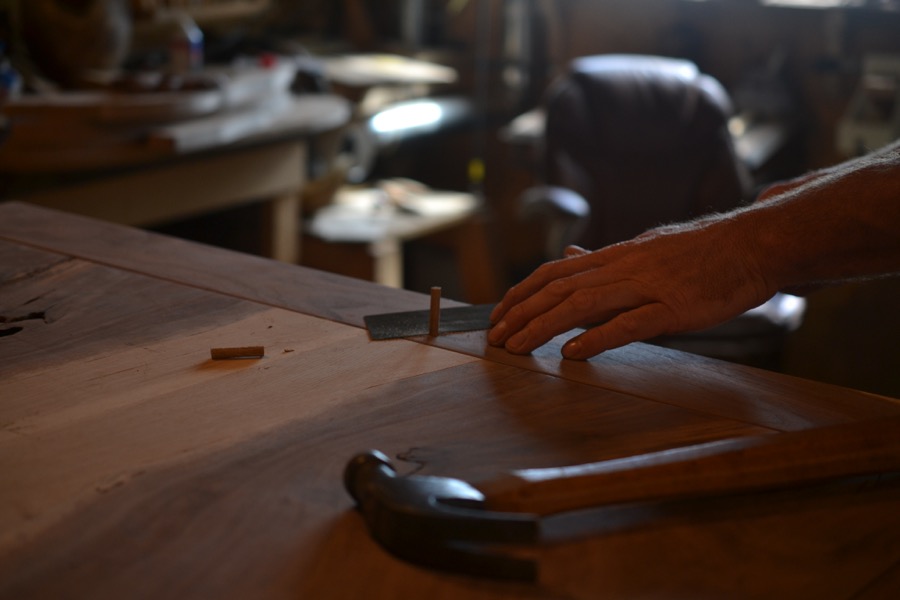
checking for a tight fit. the side rails are attached with glued tongue and groove joints, while the breadboards are “floating”, held in place by a tongue and groove joint and two “draw-bored” mortise and tenon joints, which will allow for expansion and contraction where the grain intersects perpendicular rather than parallel, yet holding the boards tight to the edge of the table. Two opposing corners are pinned miters and the other two are mortised. imagine the table being able to expand in width along the length of the two boards left long to see the allowance for seasonal cross grain movement.

treating the edges before the final assembly

drilling for the dowels for the pinned miter joints where the live edges come together

a brad point drill marks the center of the tenon inside

re-marking the tenon with an offset so that the dowel pin will “draw” it tight to the edge of the table. the holes will be elongated laterally to allow for joint movement.
altering geometry with violence

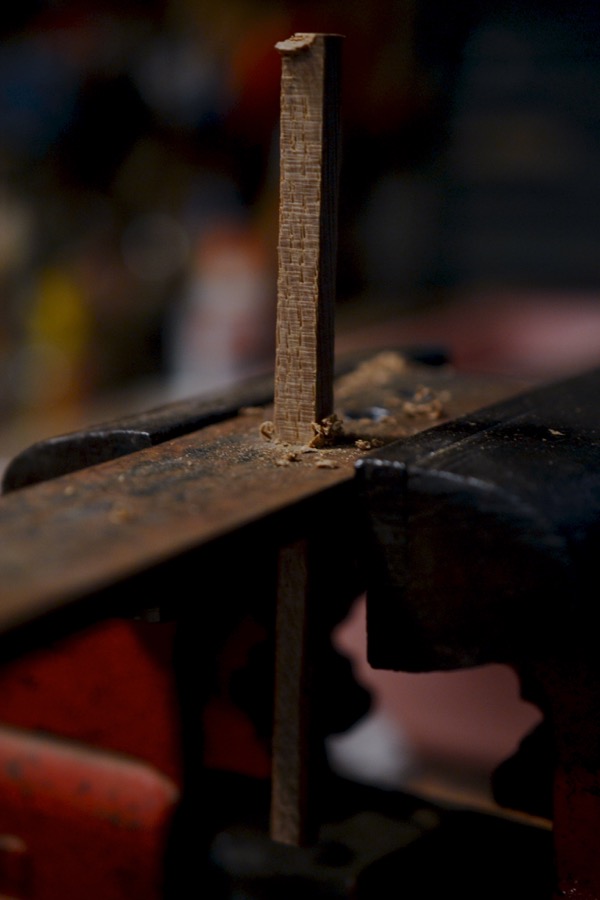
shaping the dowel pins by pounding the straight oak through a succession of smaller holes drilled in a steel plate until they are round and the size I need
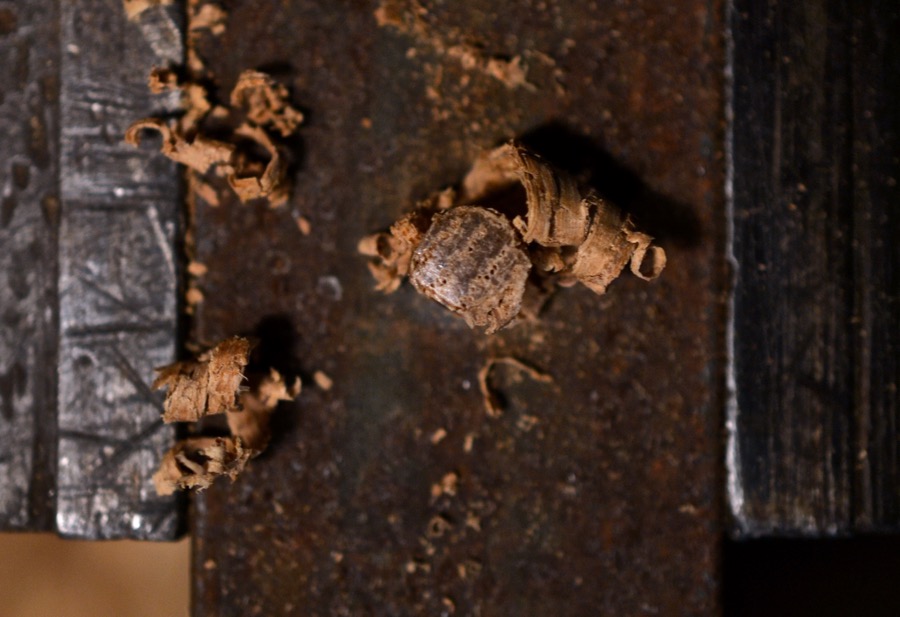
nearly there

a batch of pins
planing a taper

the taper will allow the pin to engage the offset hole in the tenon and slowly pull it tight
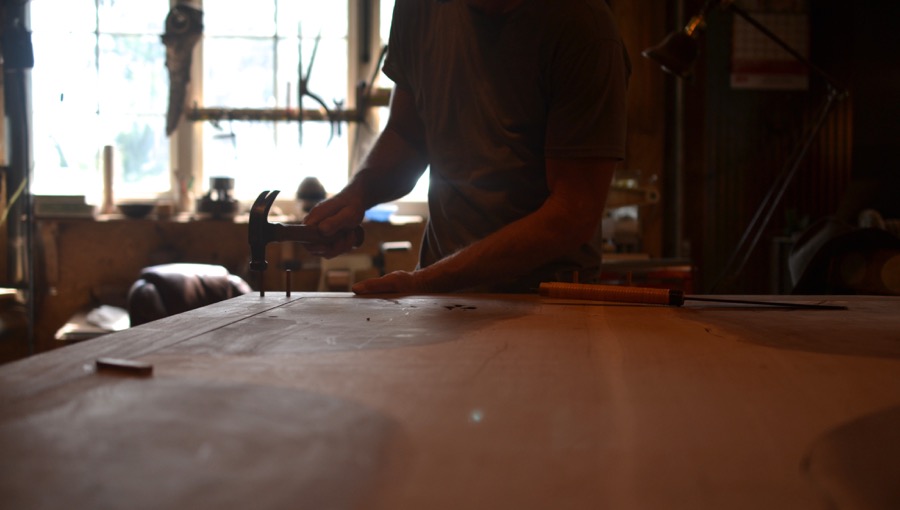
pounding the pins home for the final assembly

a little help form a ratchet strap to pull the center tight
cutting away the exposed ends with a saw
a tightly pinned joint

the top all joined. there will be a considerable amount of detail work on the top yet, but first the base
