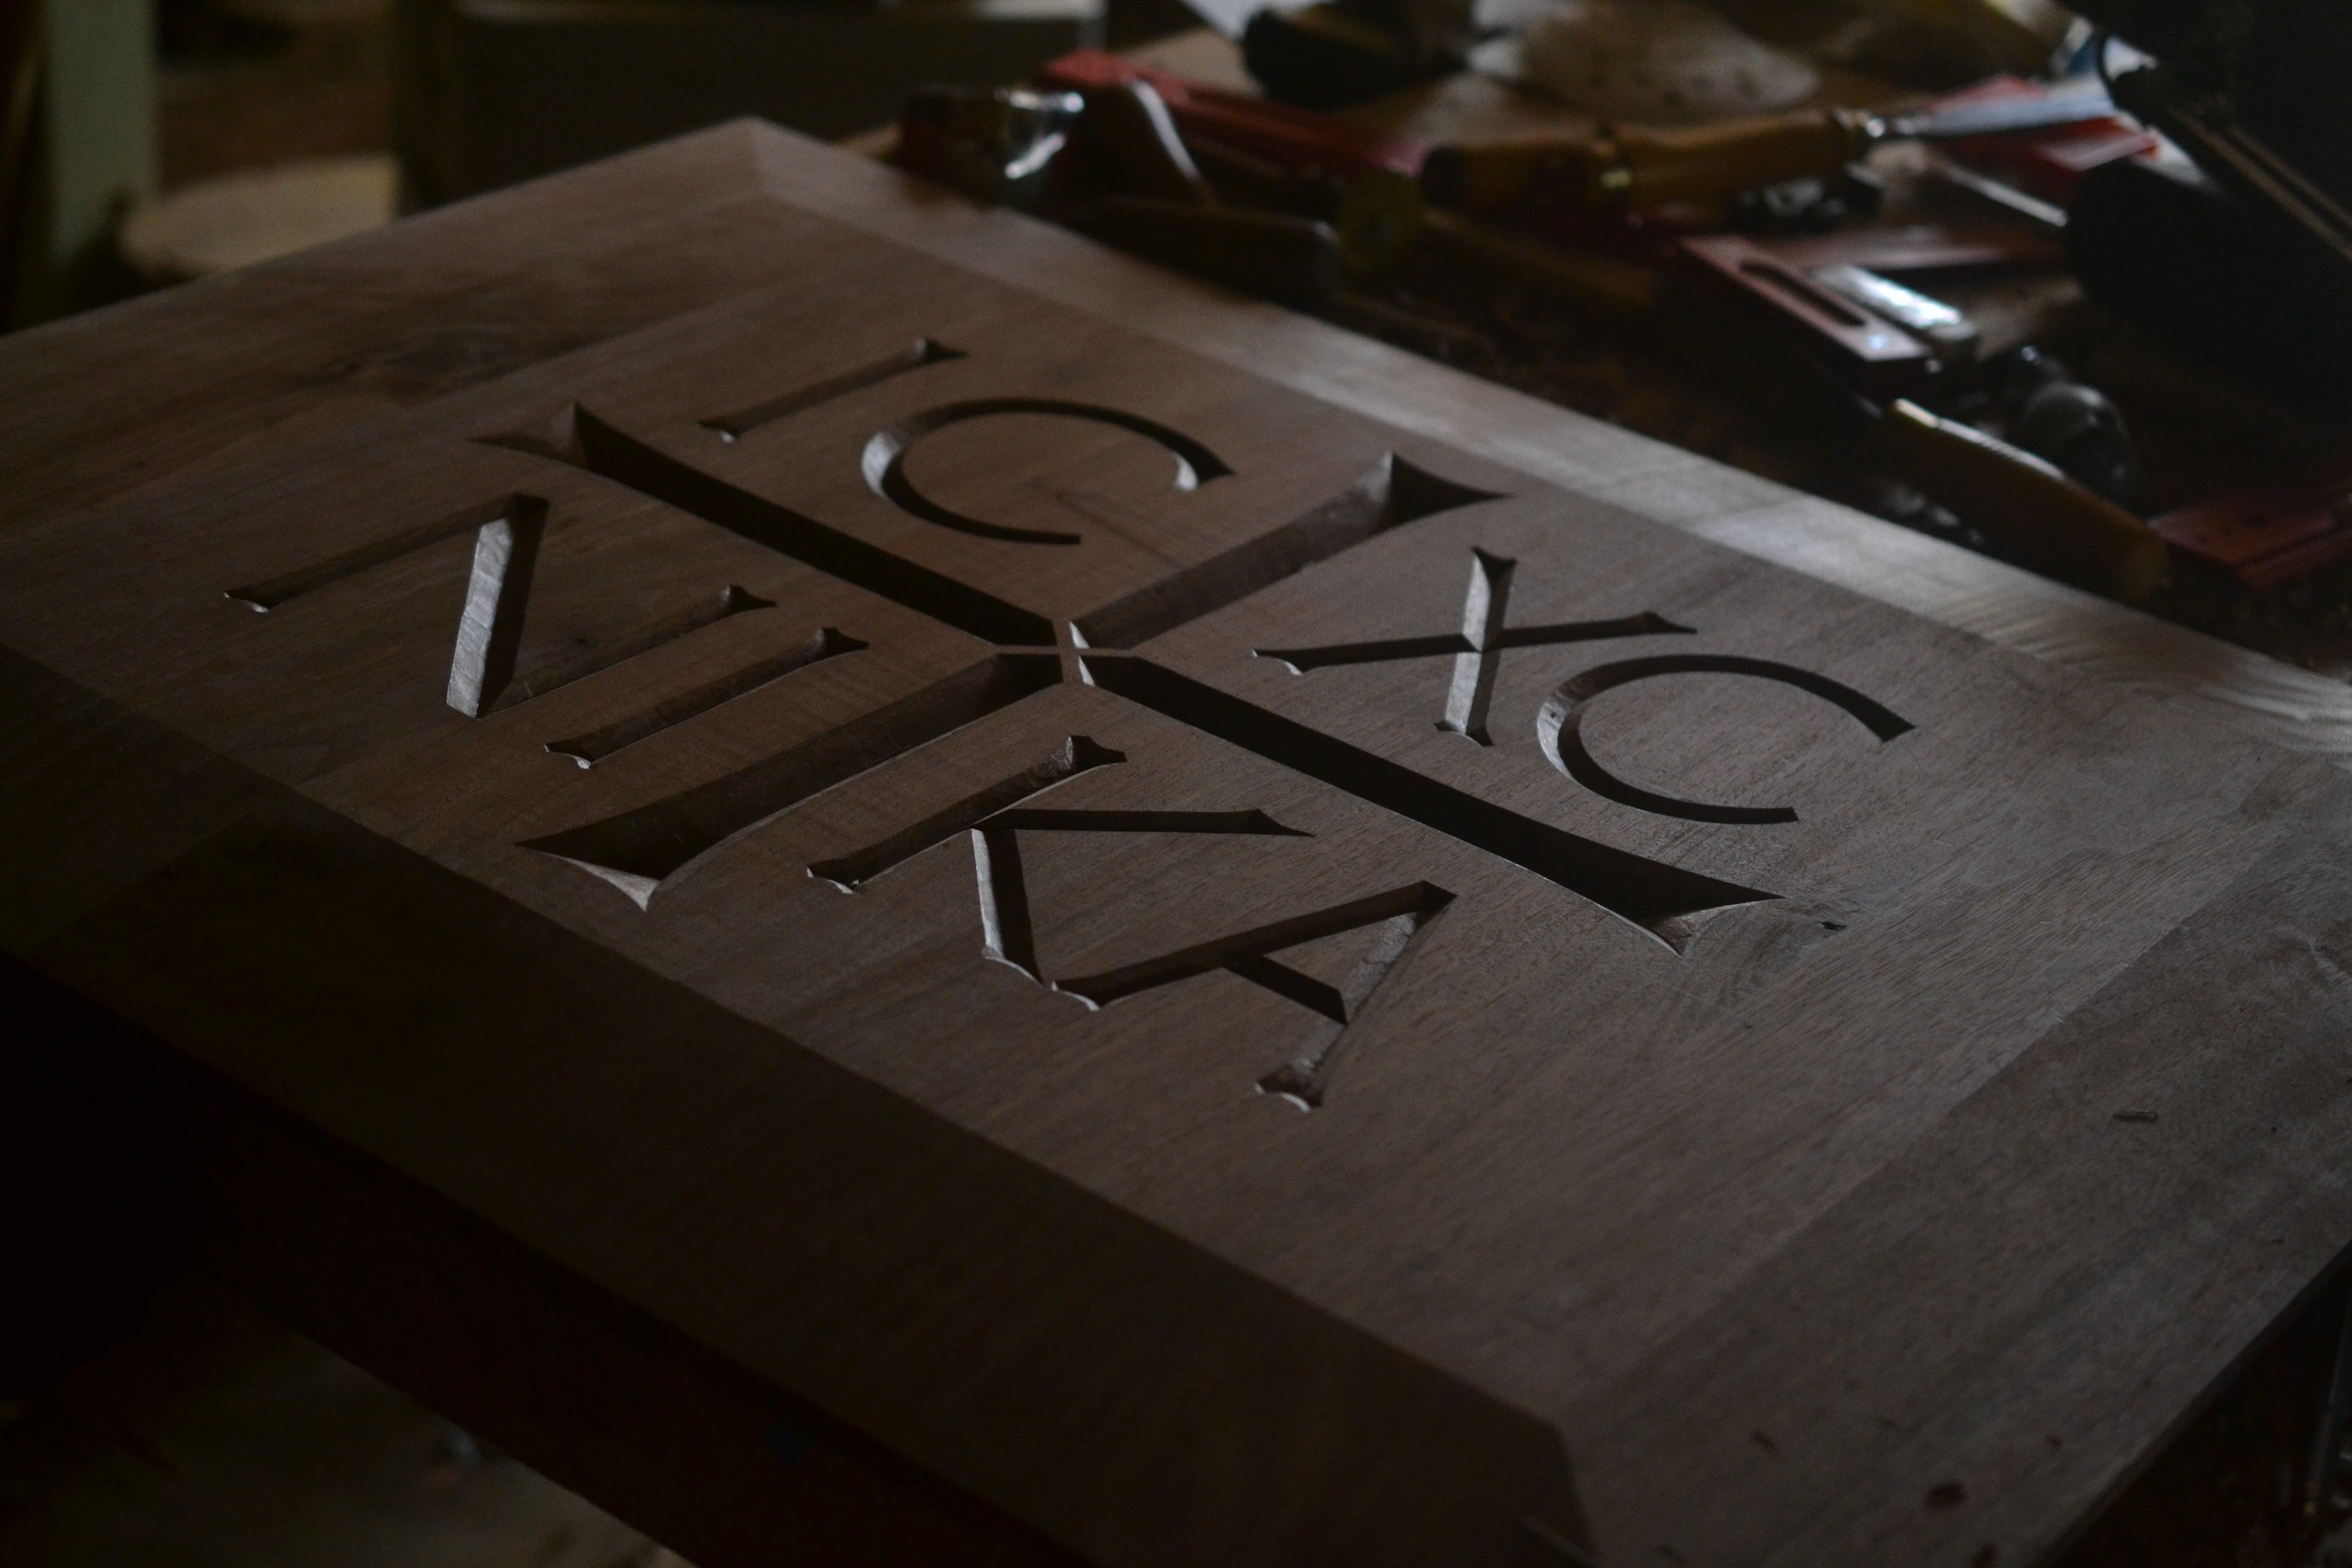
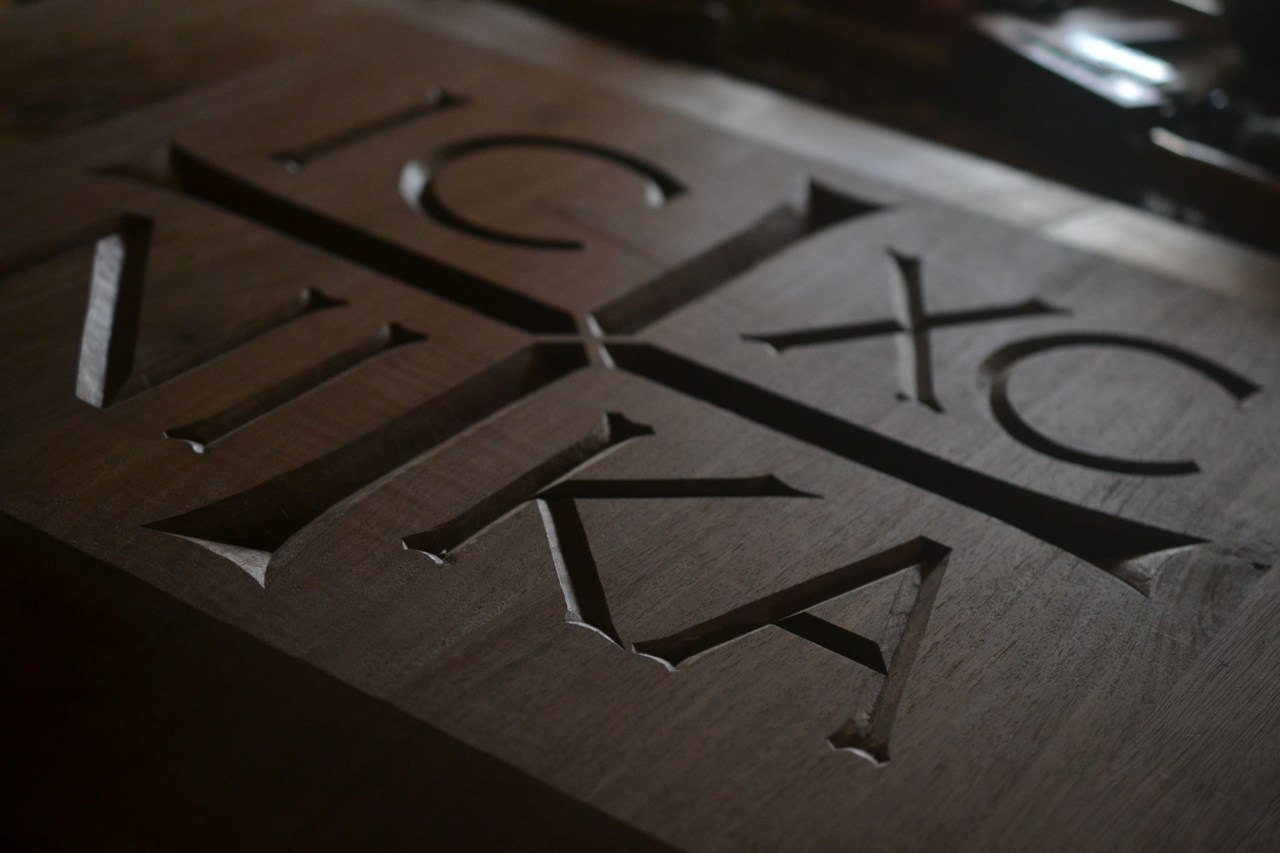
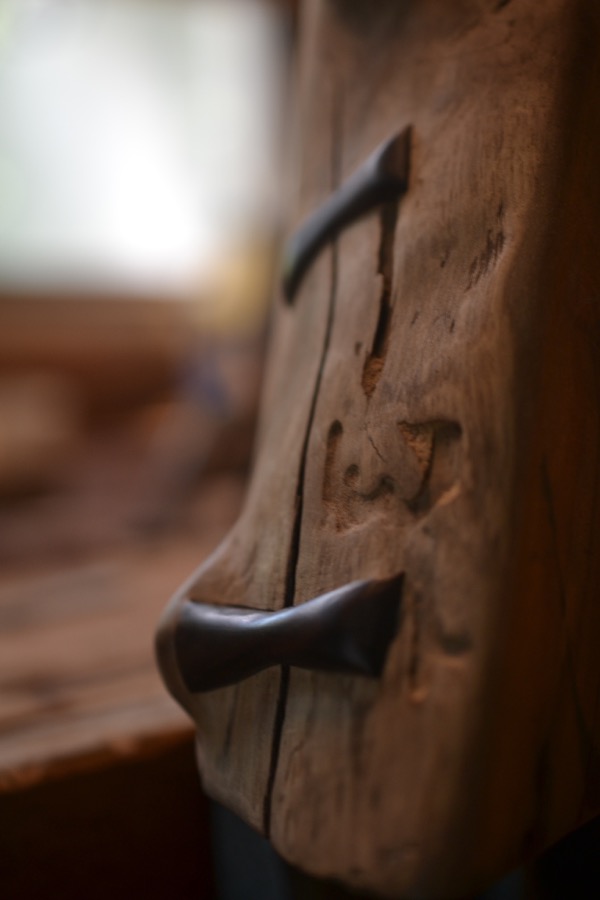
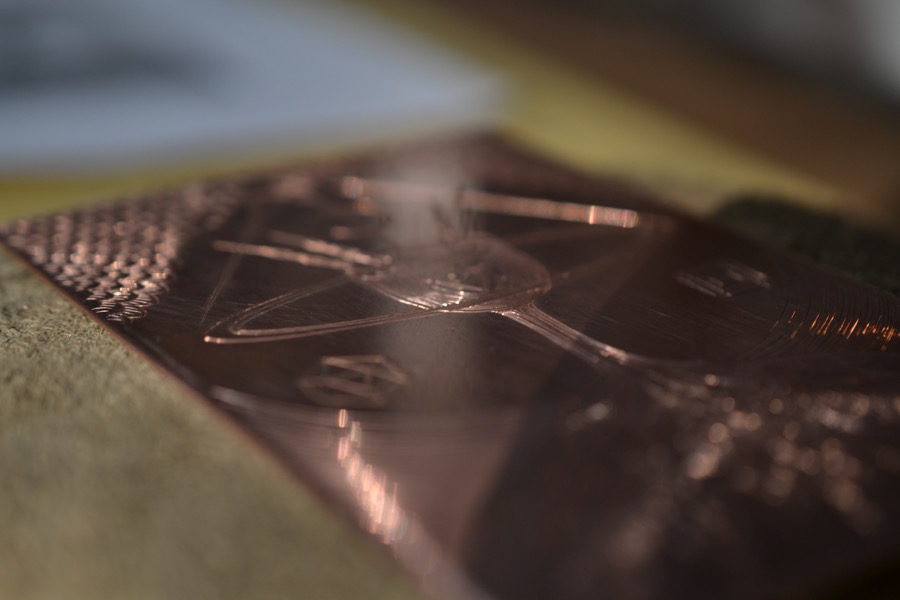
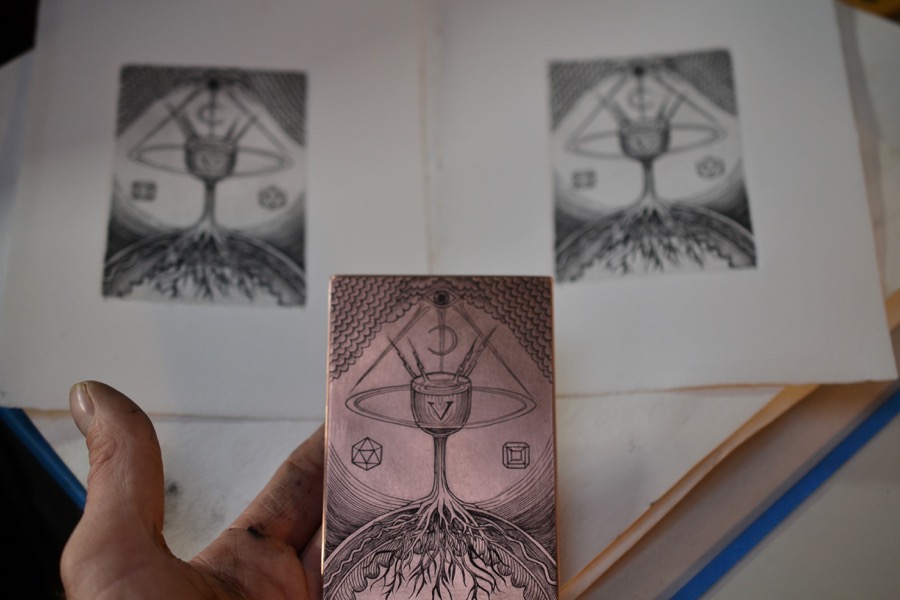
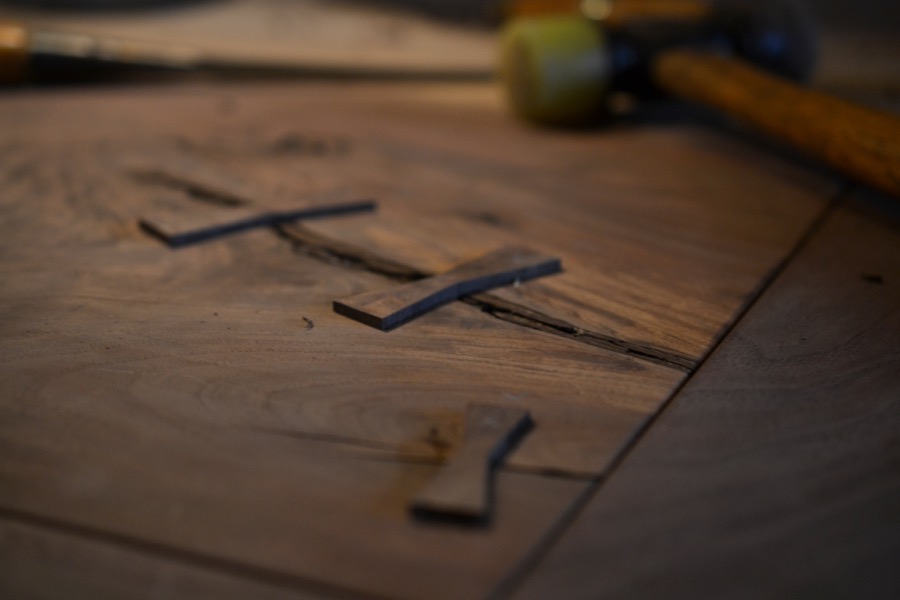
Christogram in black walnut as the central panel in a pulpit that my friend Taylor Johnson is building.
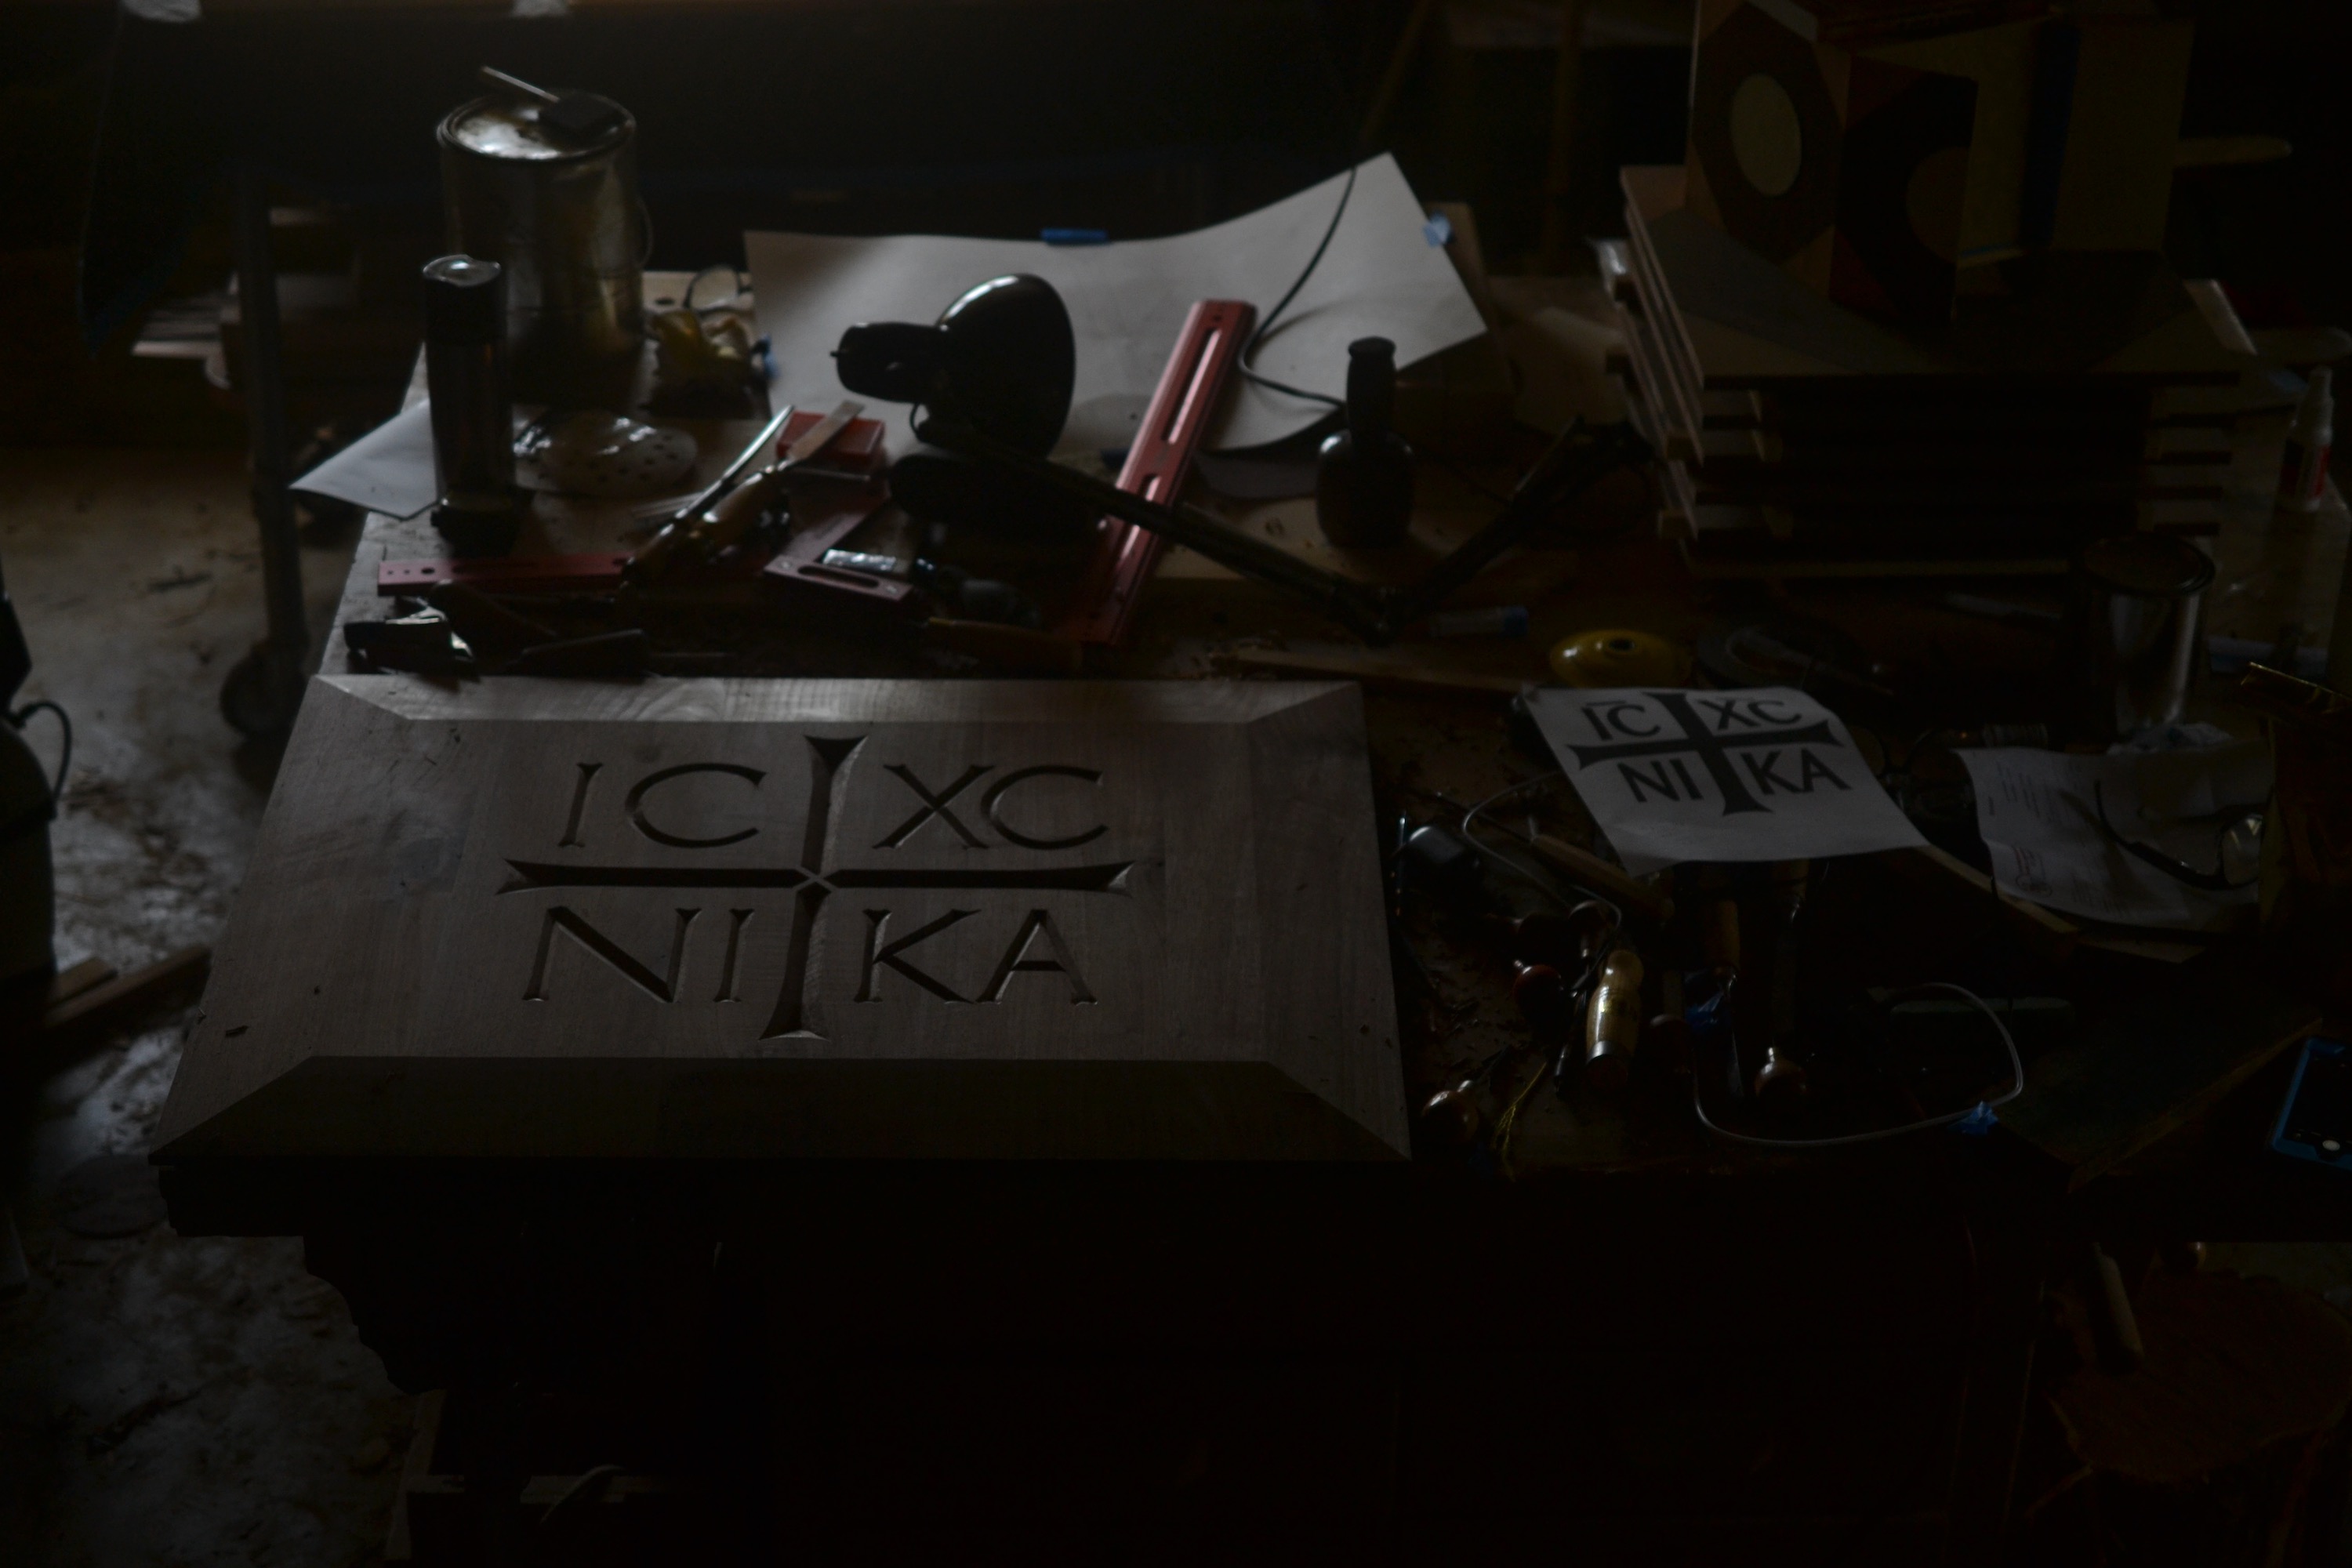
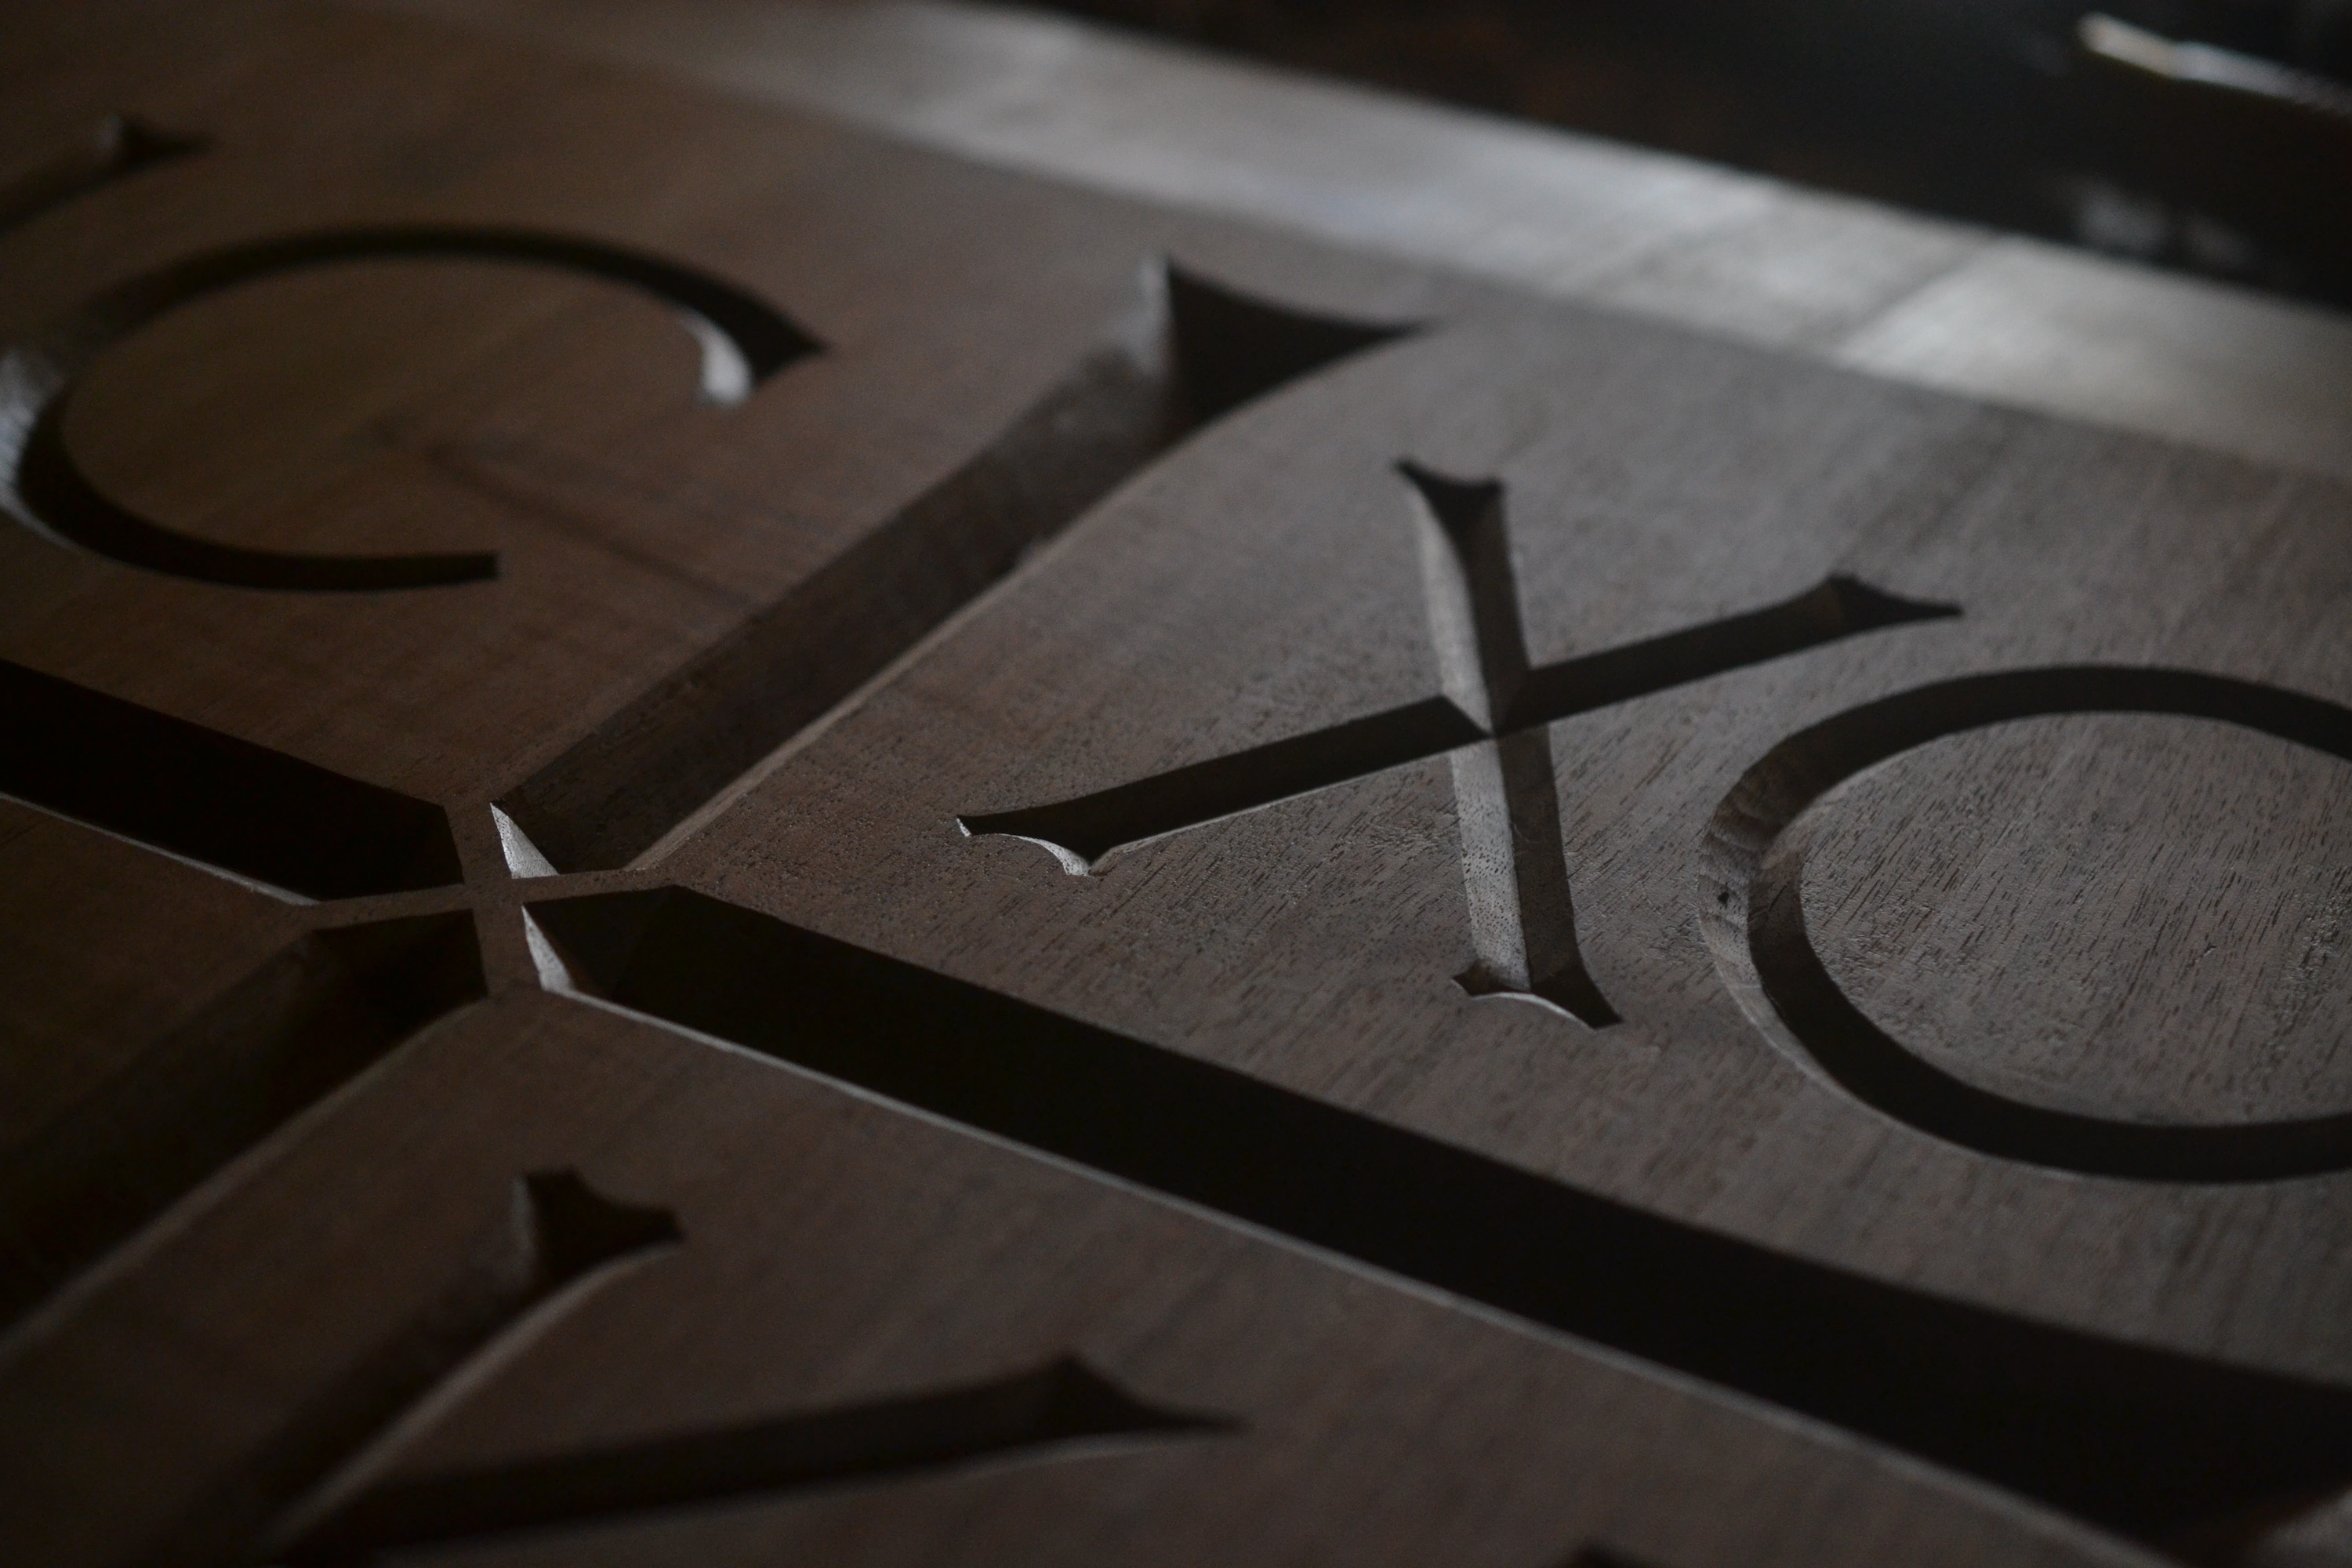

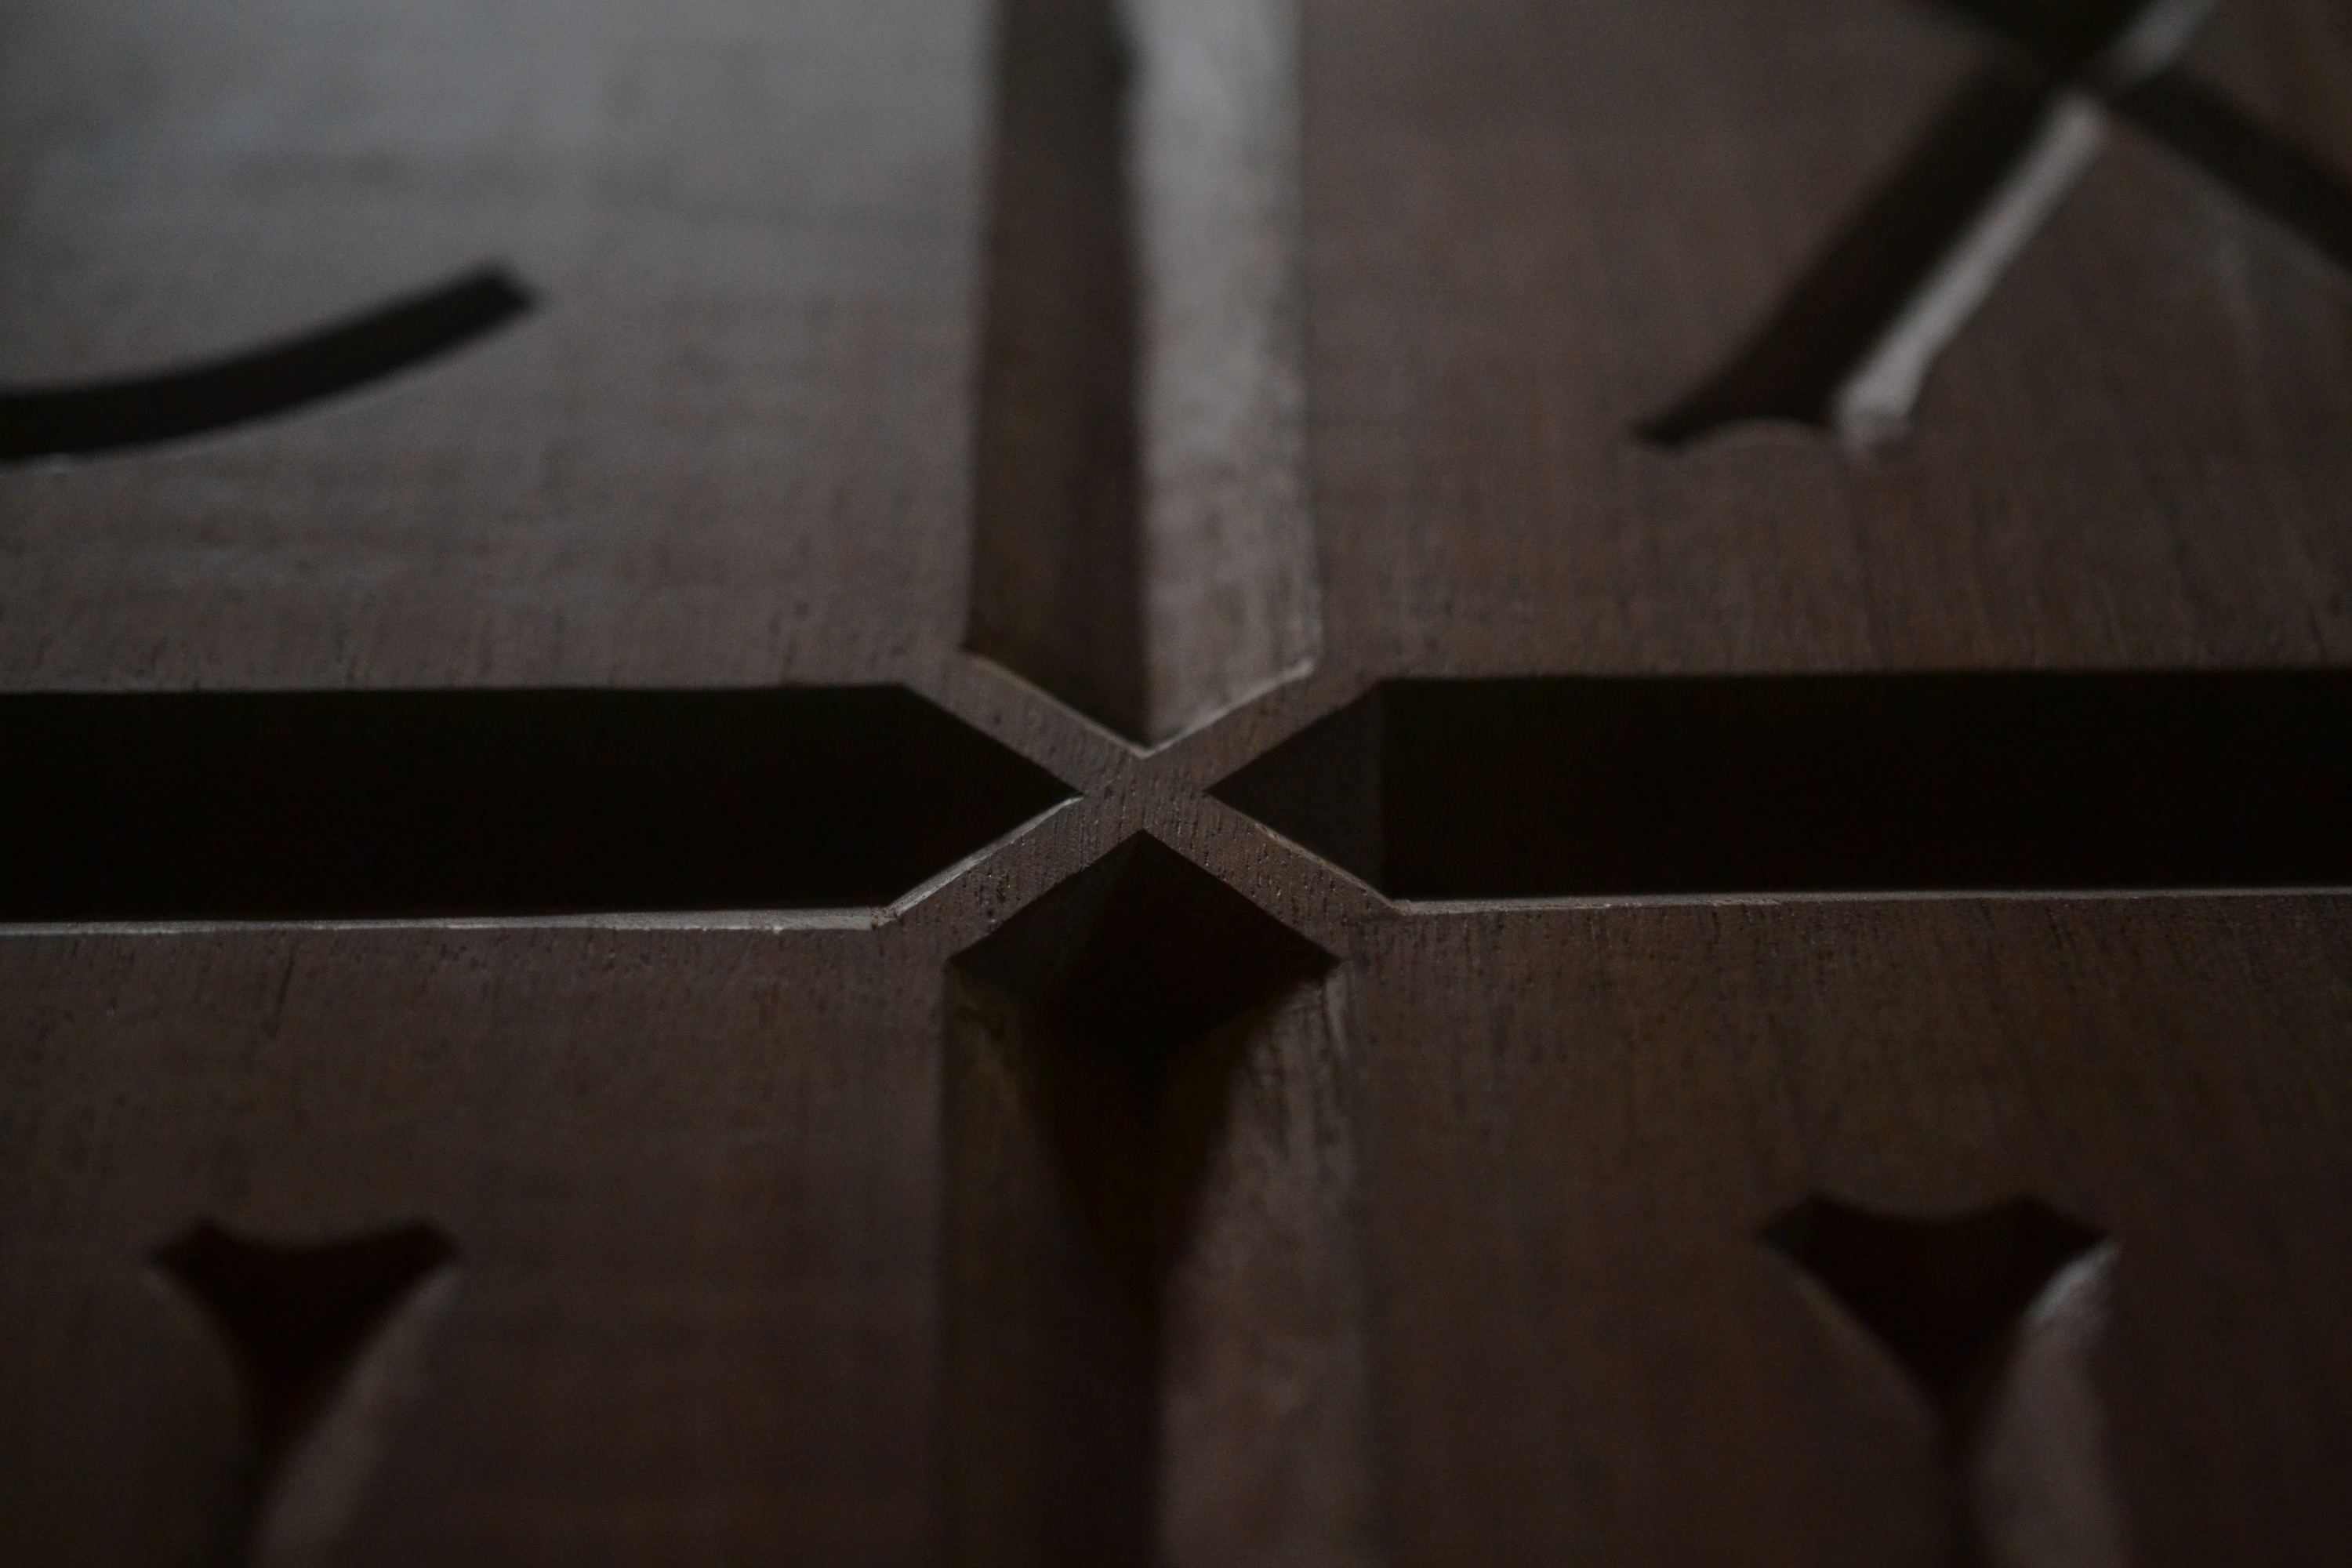
Christogram in black walnut as the central panel in a pulpit that my friend Taylor Johnson is building.
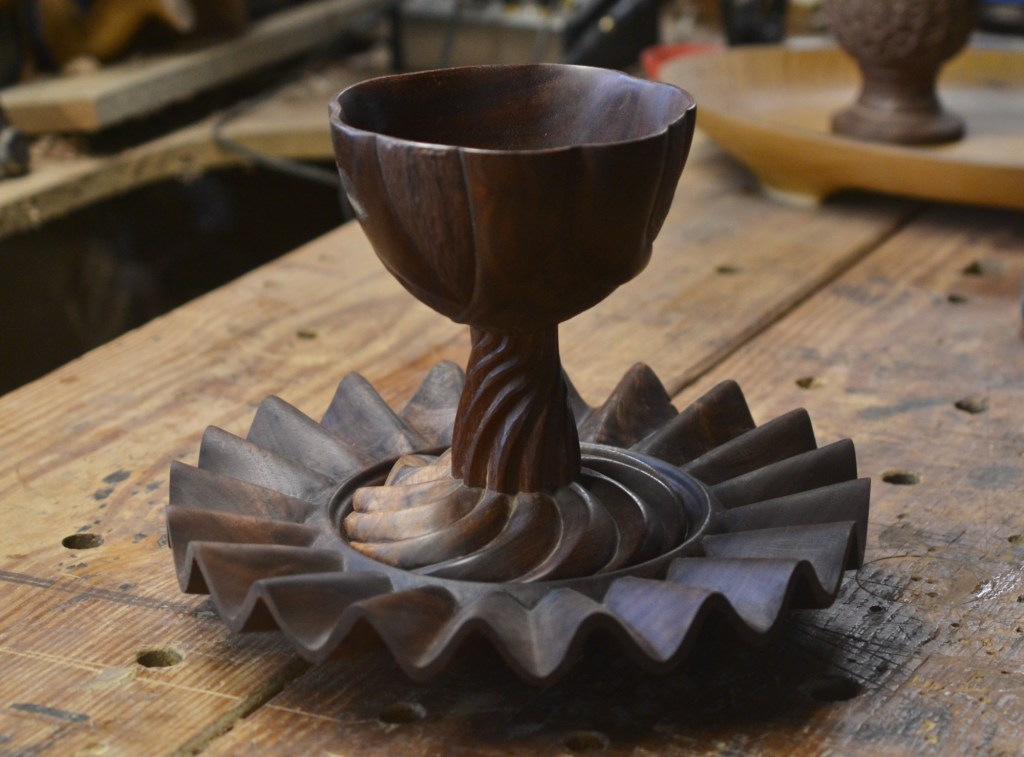
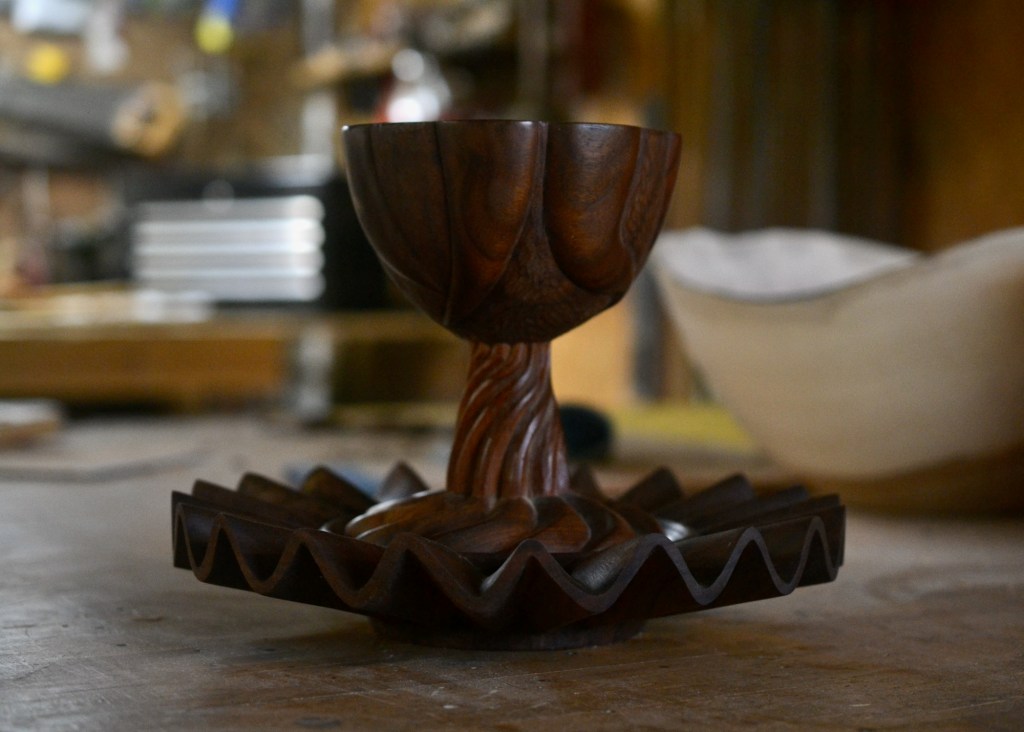
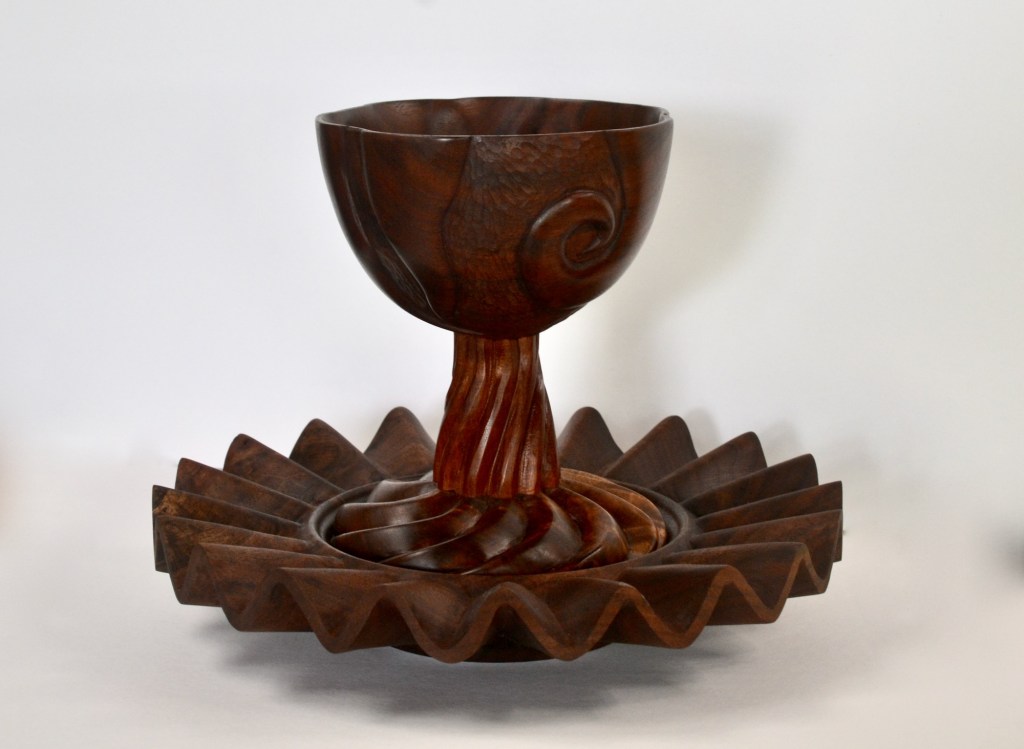
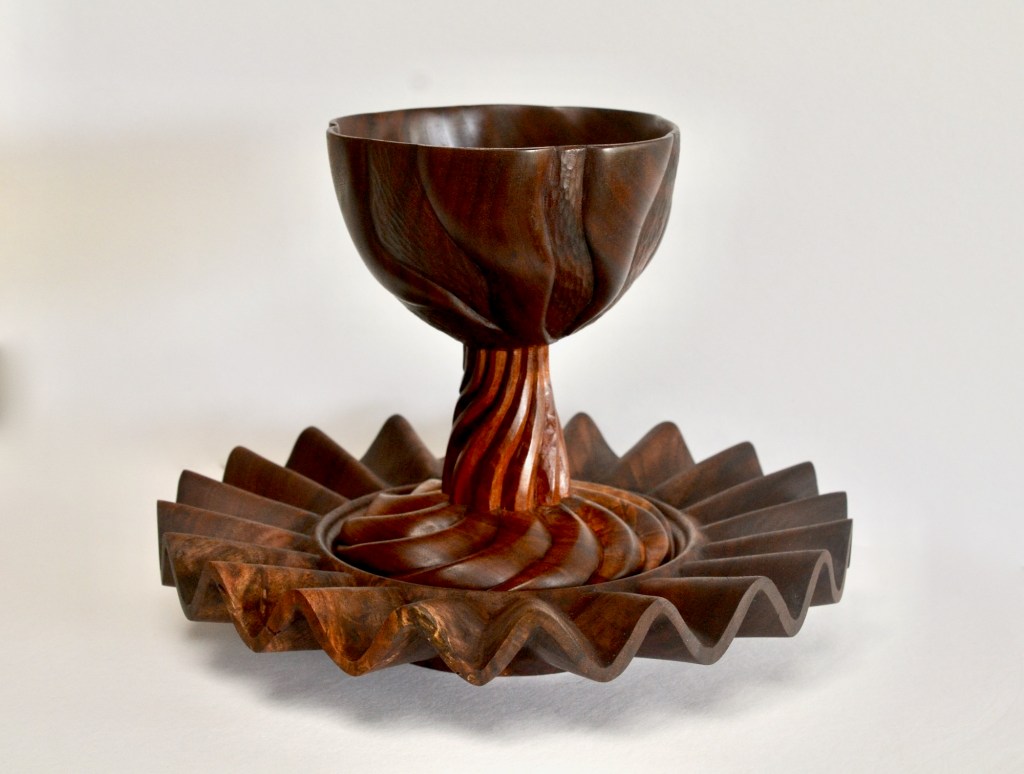
The cup has been waiting for a plate for years. This summer the opportunity came to carve one, and to send them both together to their new home with my friend Robbie Pruitt.

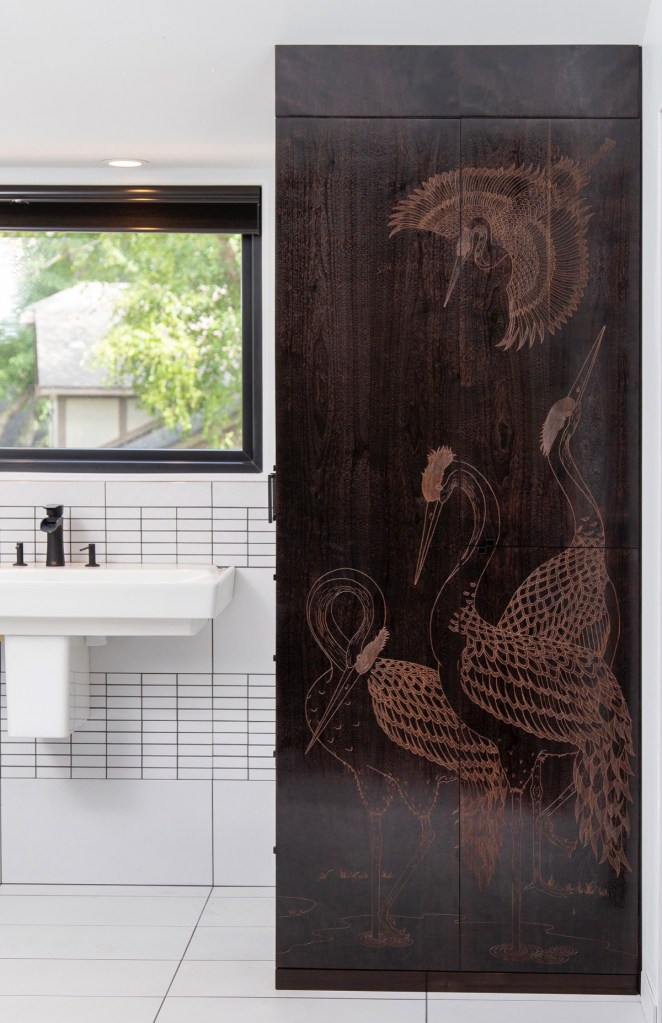
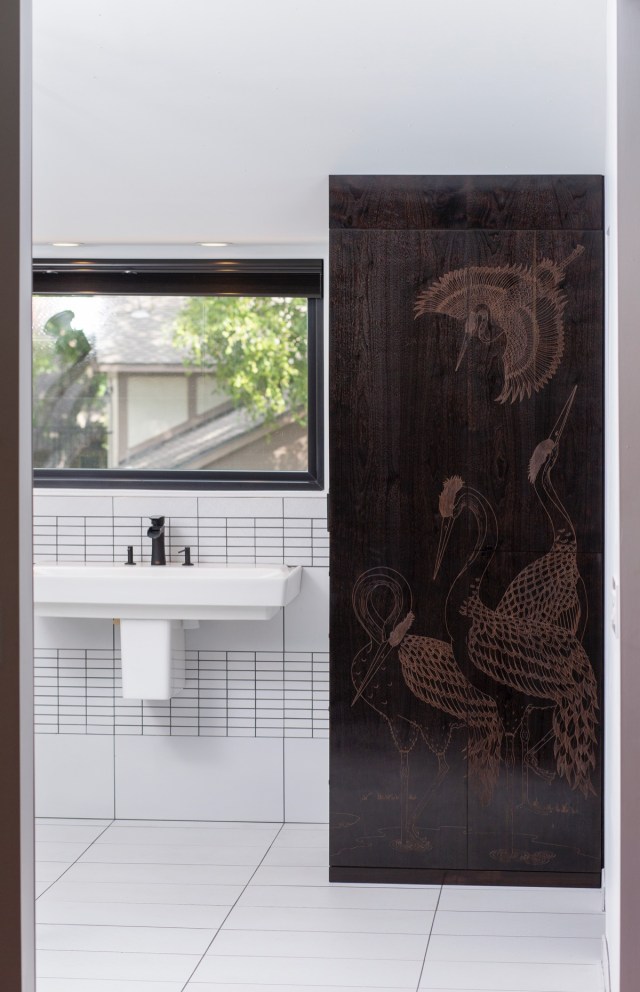
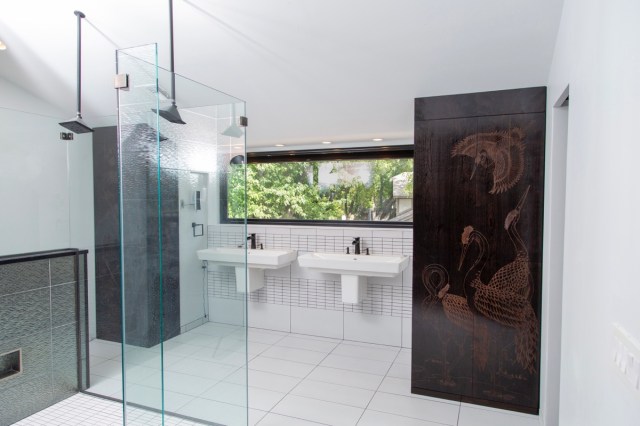
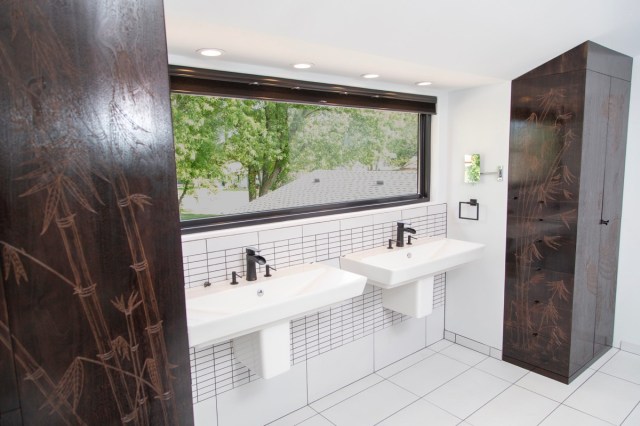
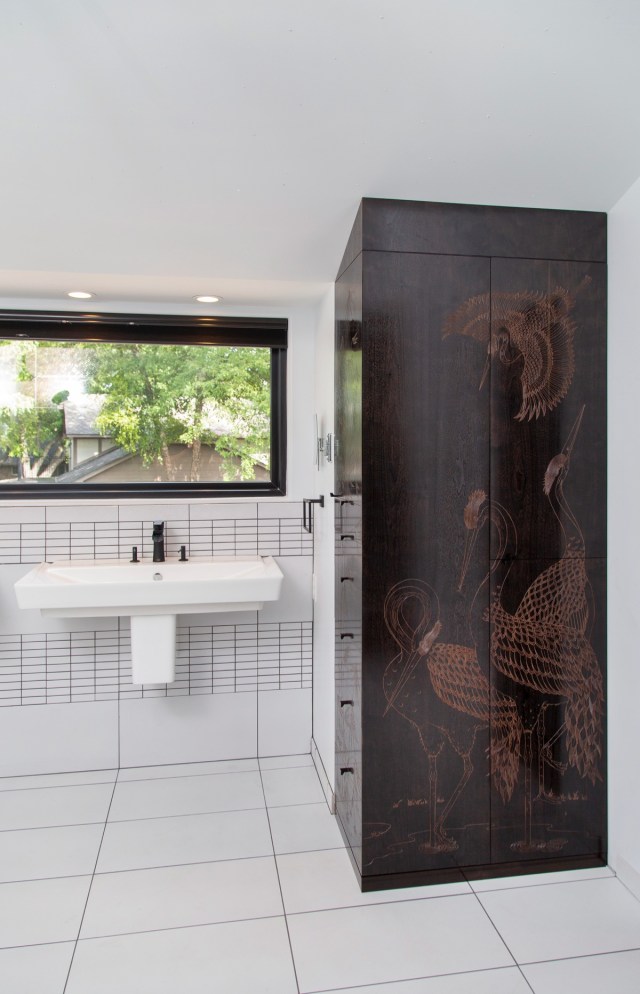
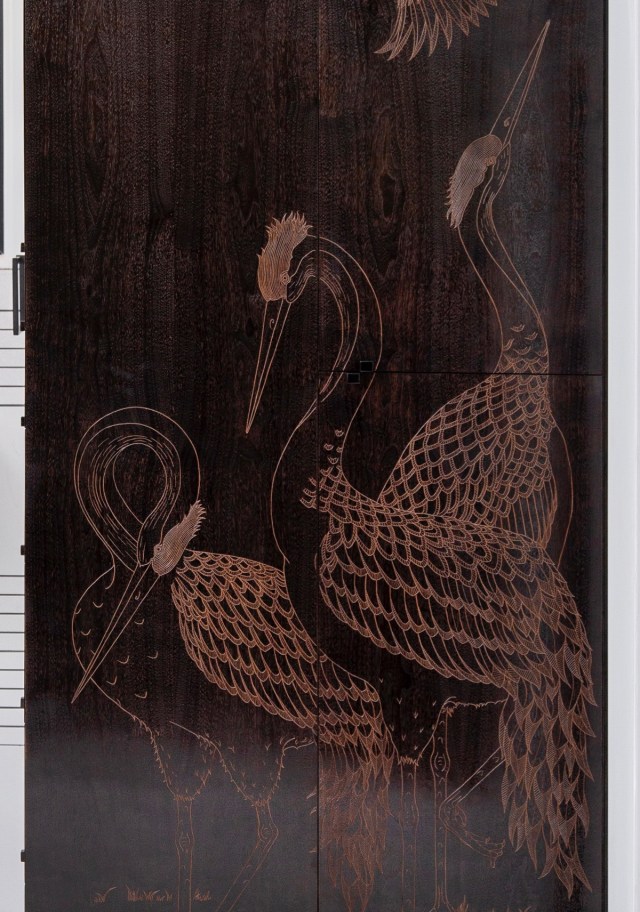
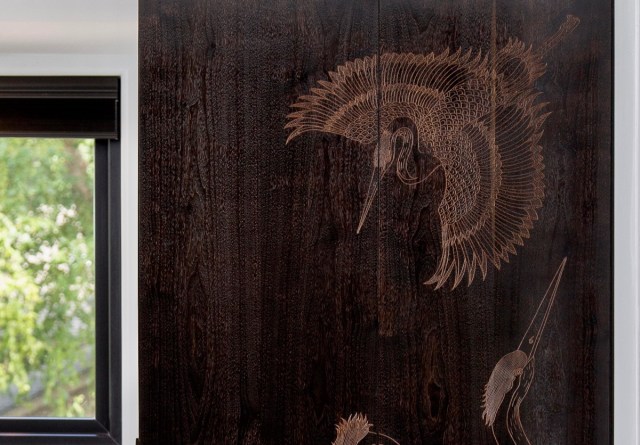
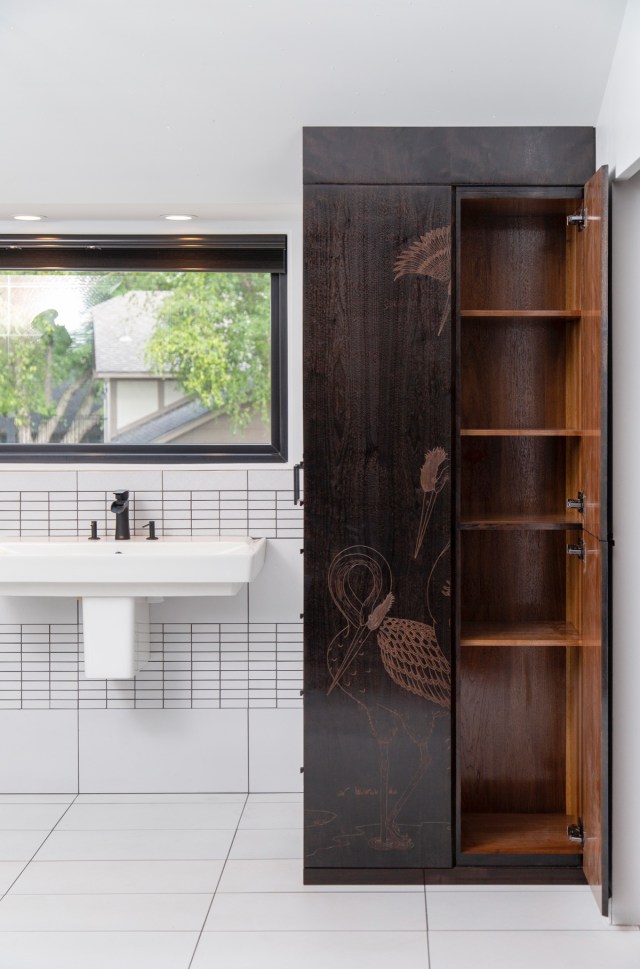
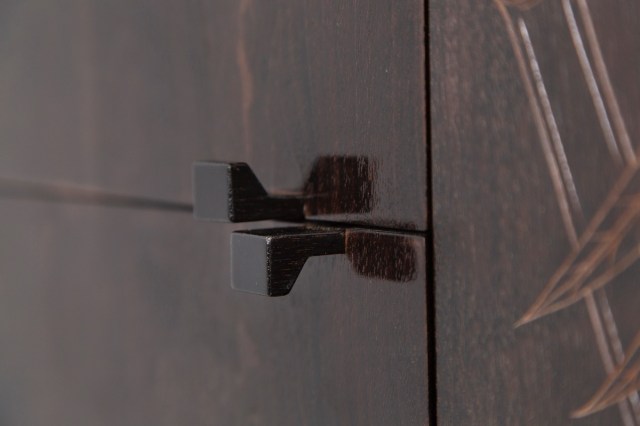
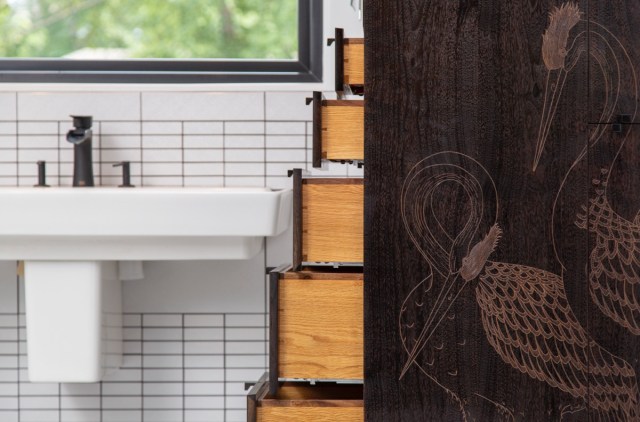
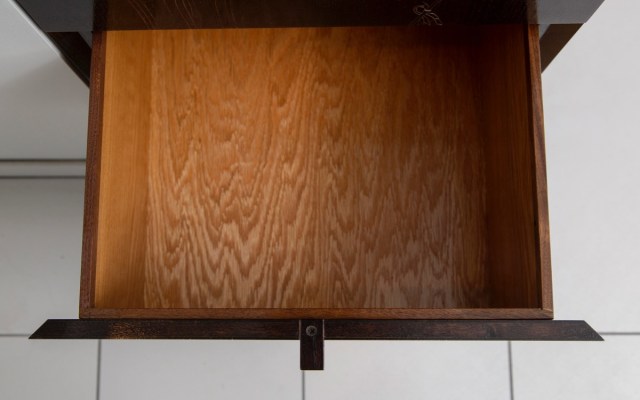
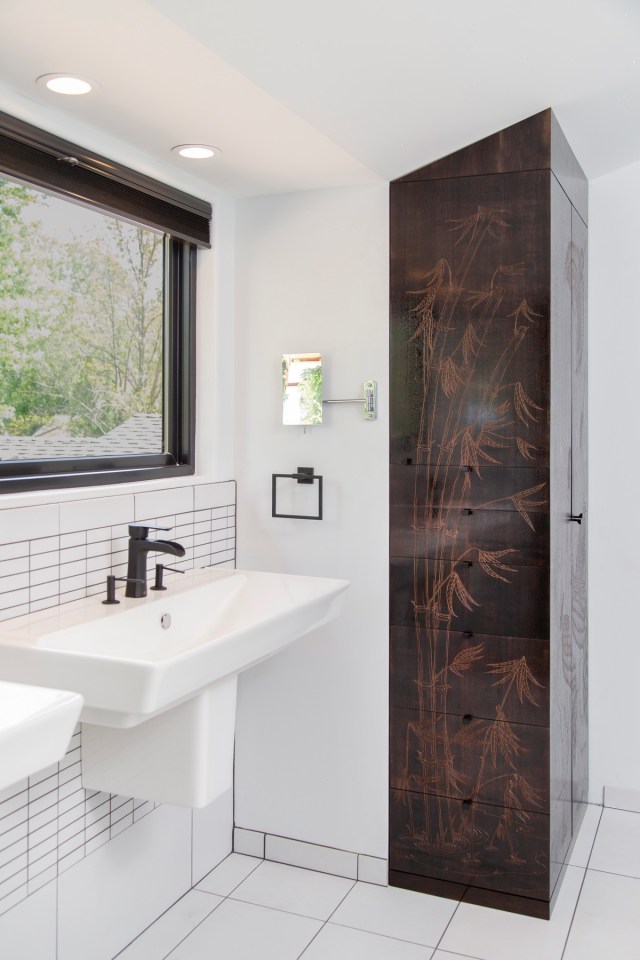
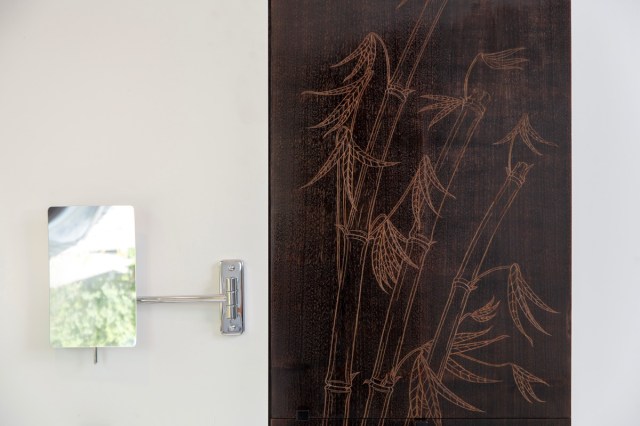
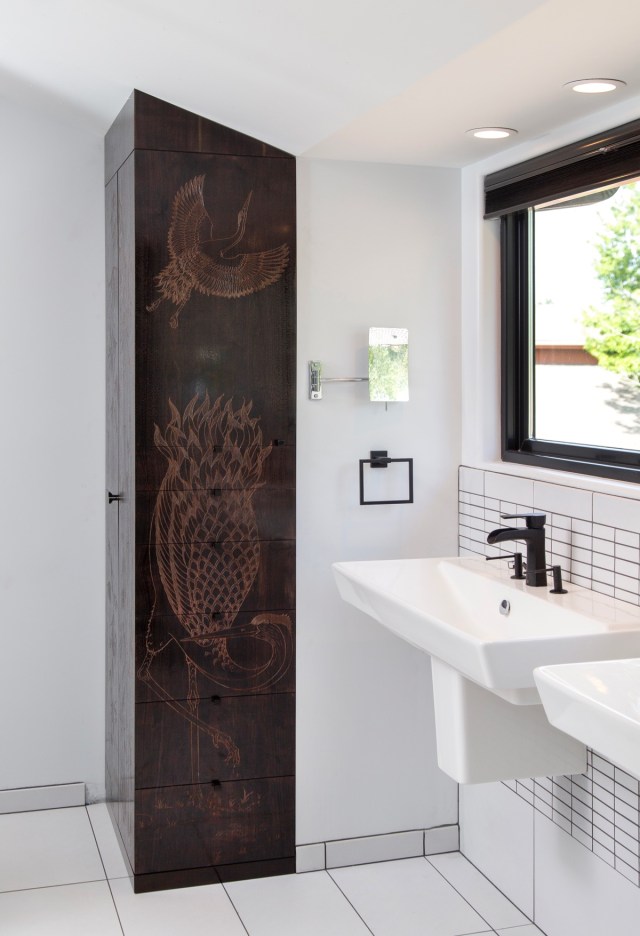
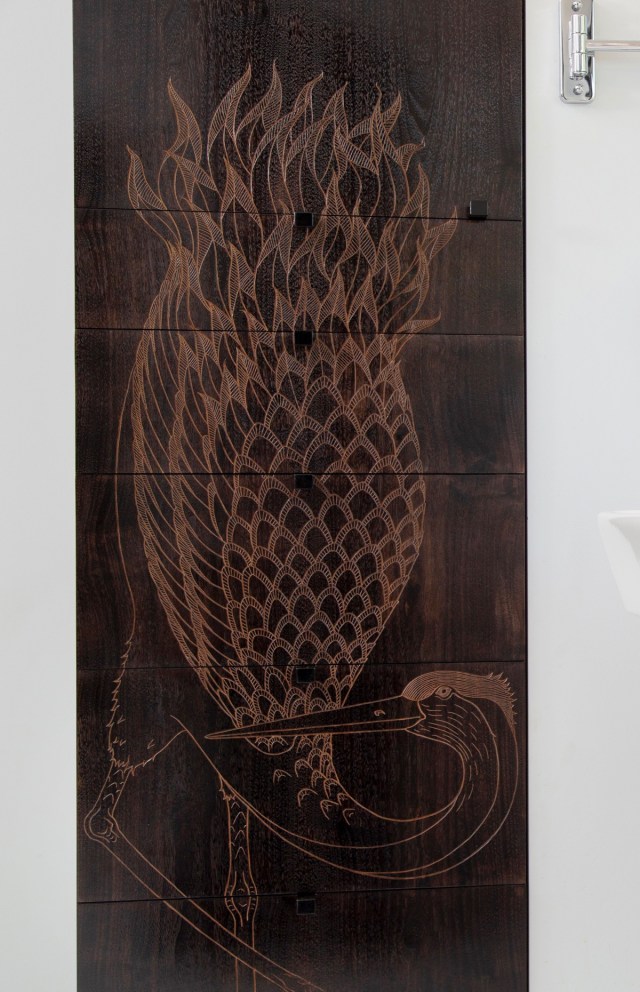
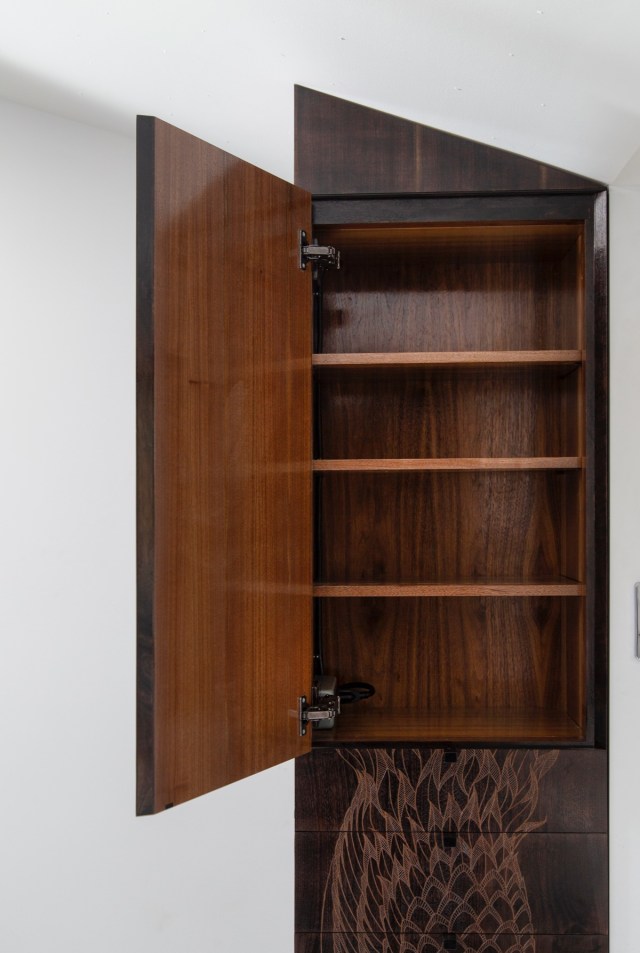
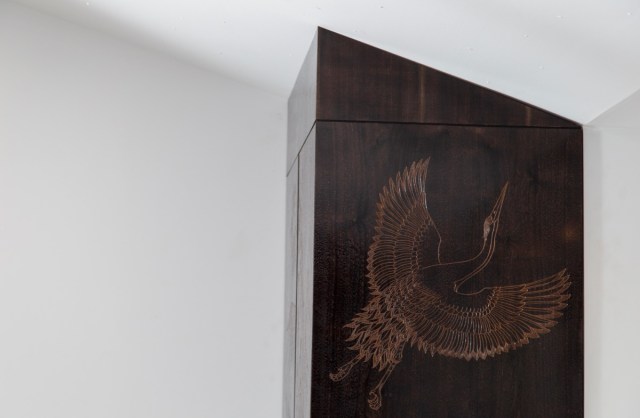
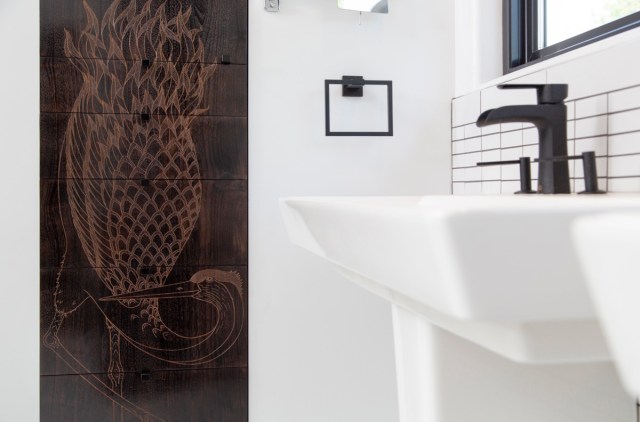
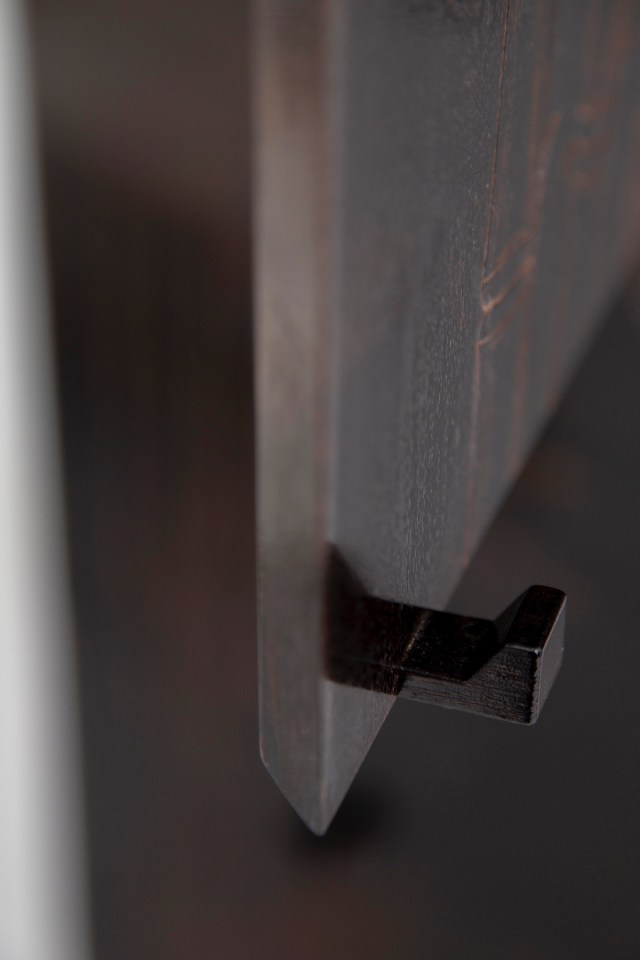
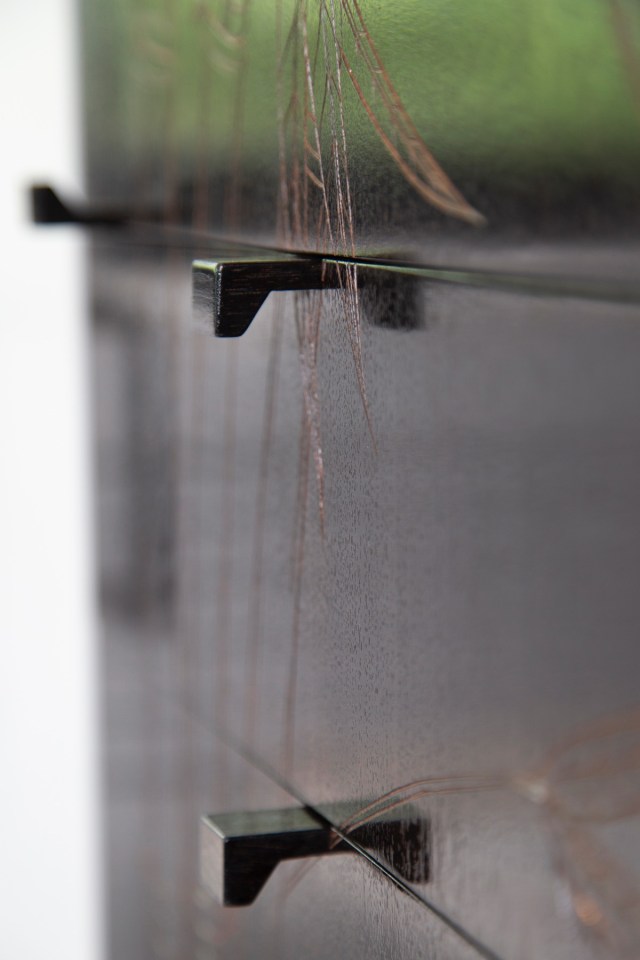
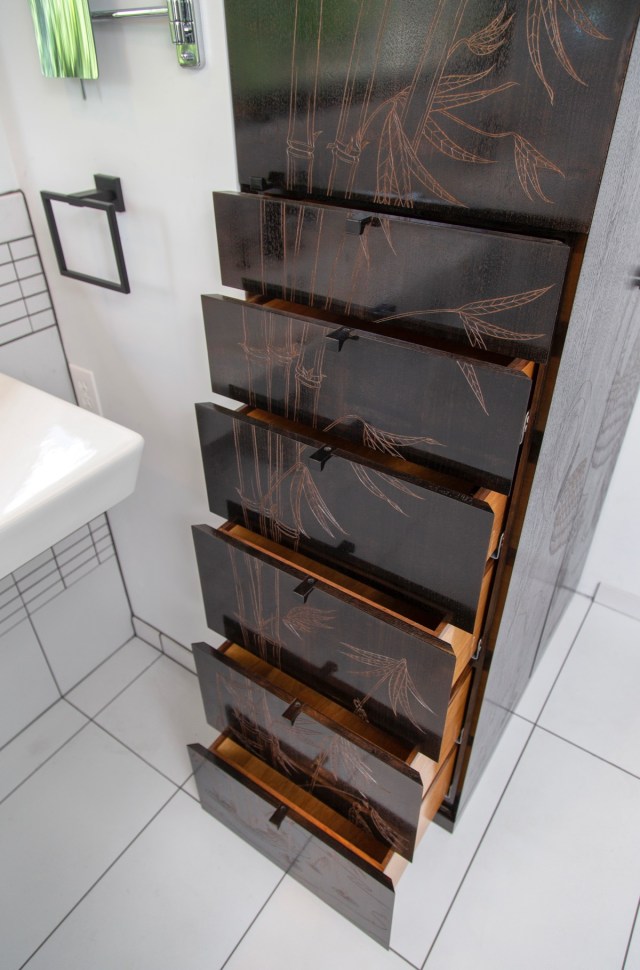
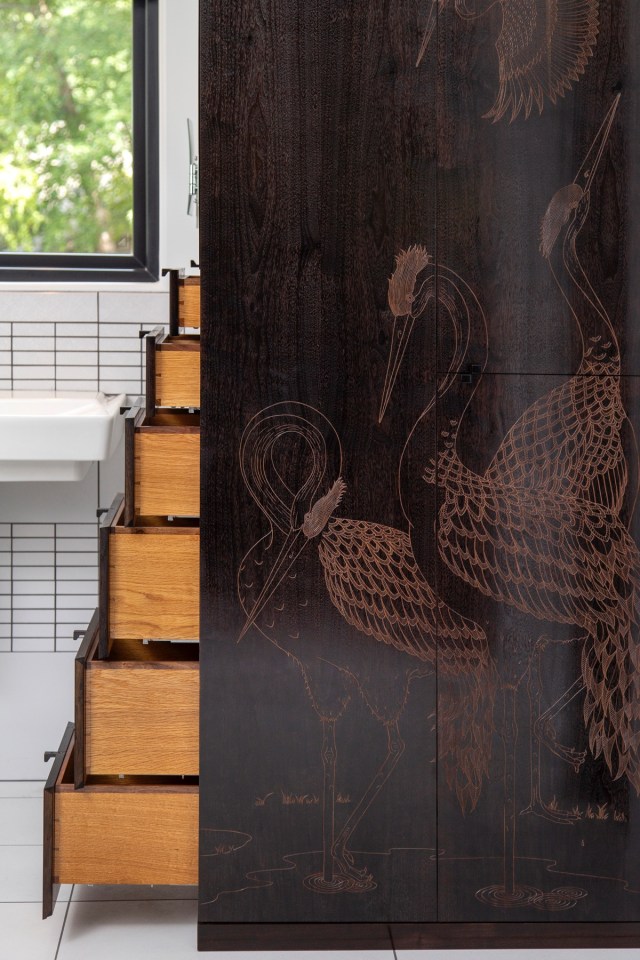
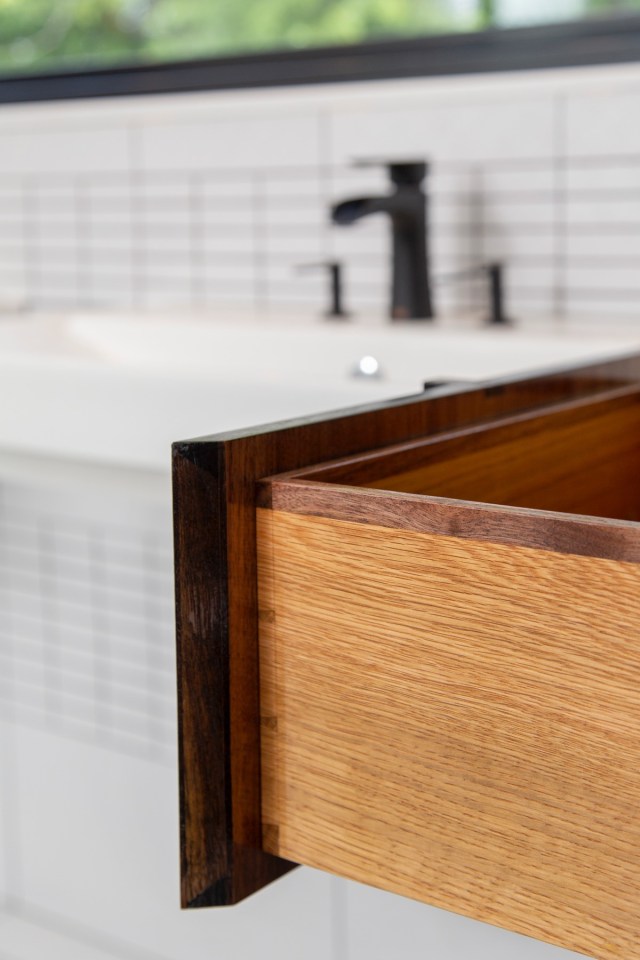
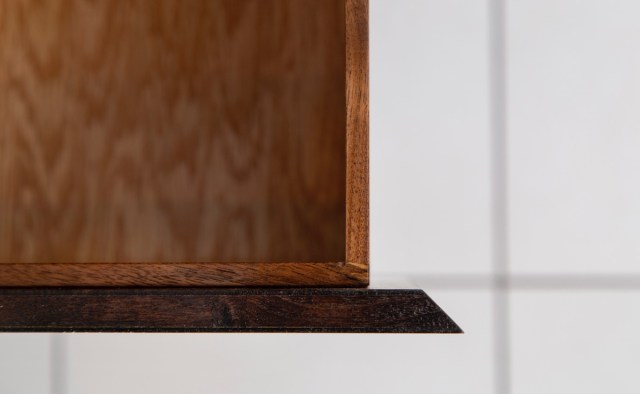
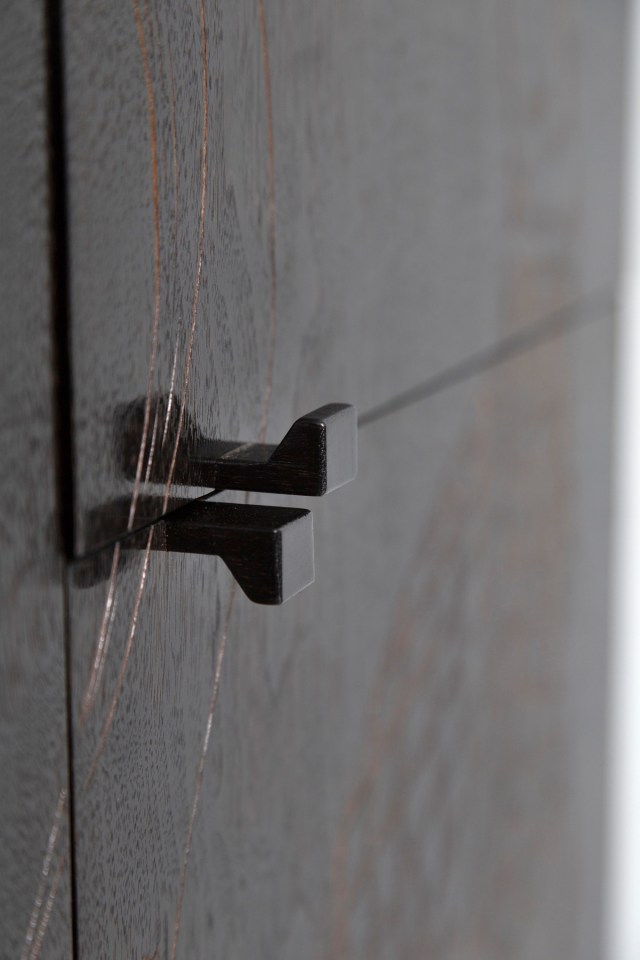
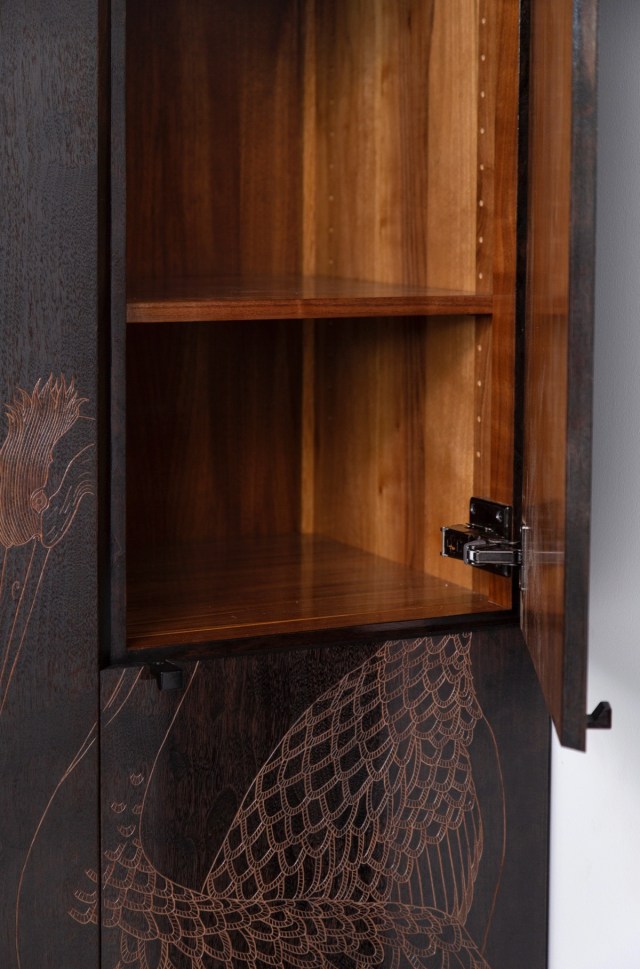
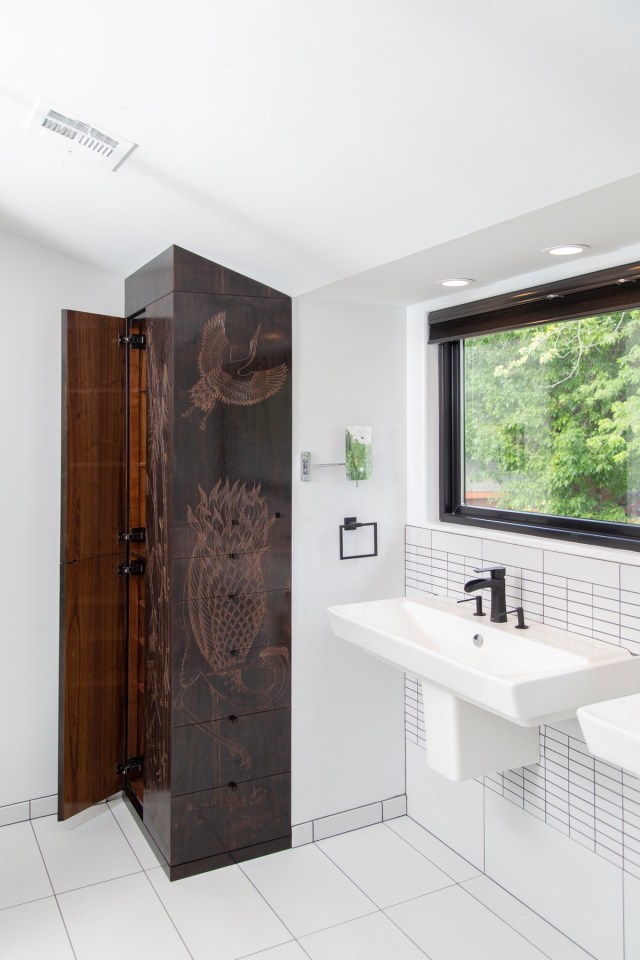
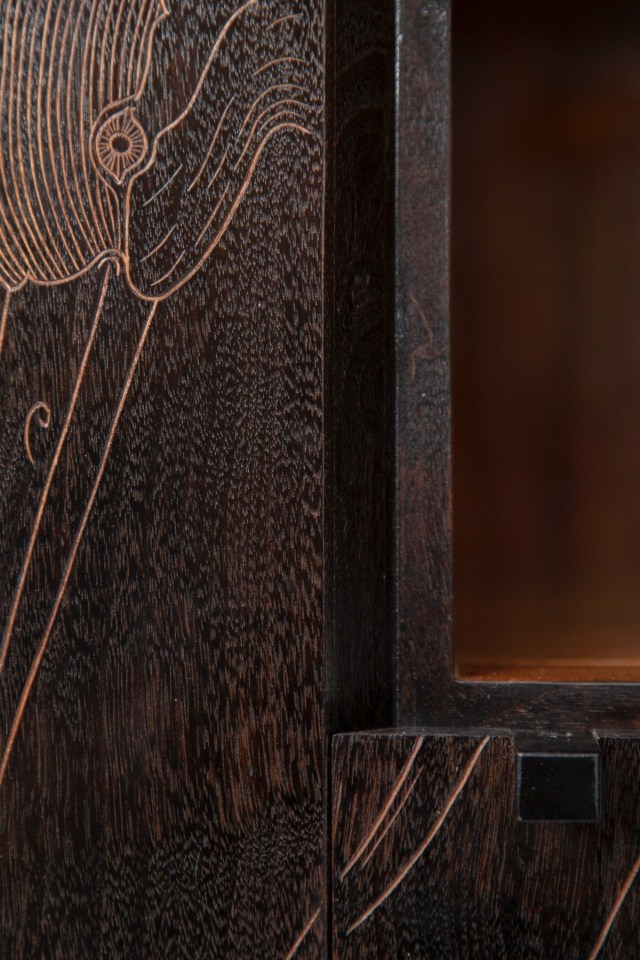
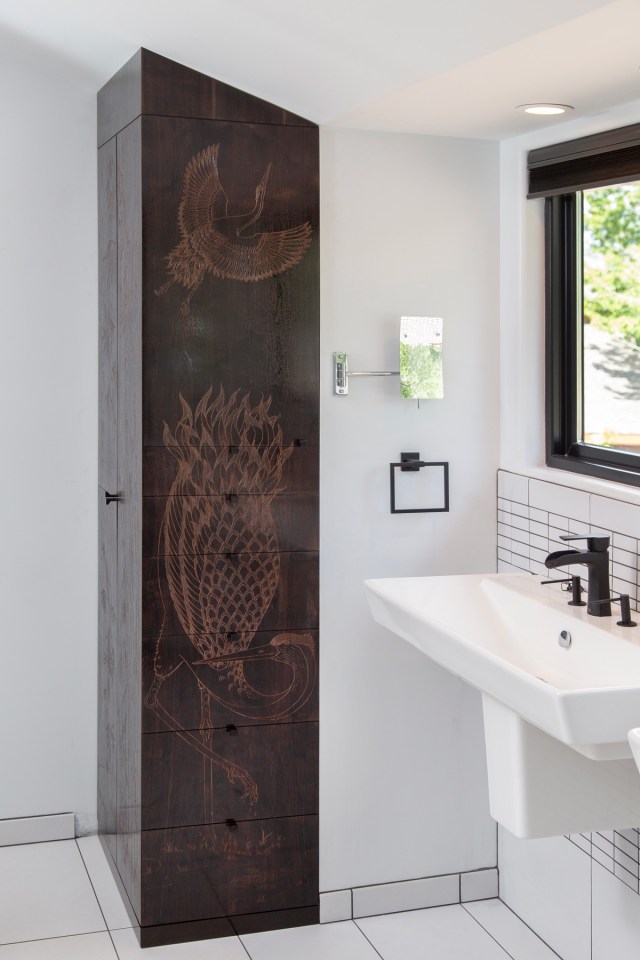
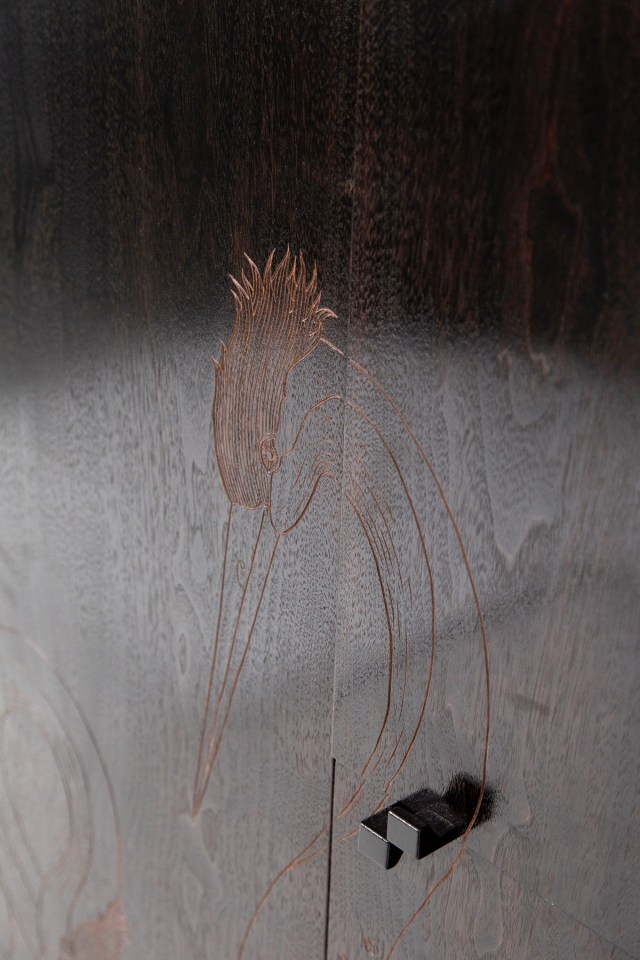
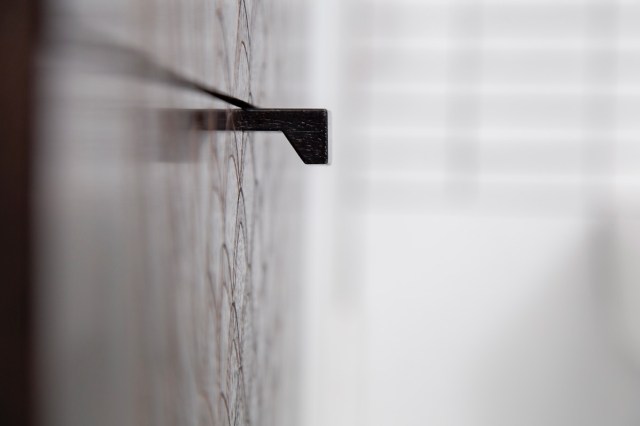
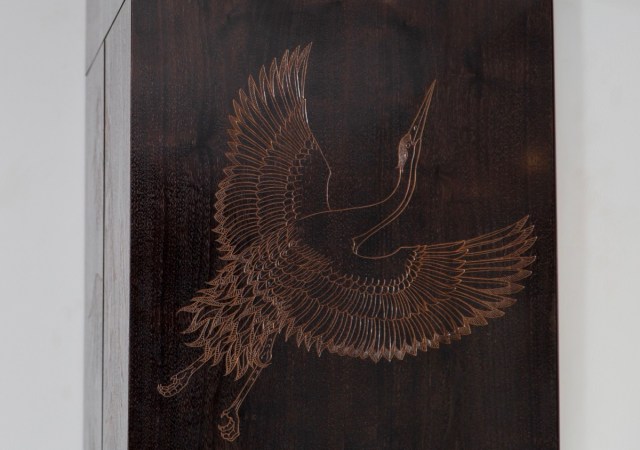
Below is a gallery of images of a pair of cabinets built for the bathroom of a couple in Wichita. They are constructed from native (specifically South Eastern Kansas) black walnut, solid and veneered, and white oak. The exterior surfaces were “ebonized” using a process which employs the chemical reaction of an iron solution with tannins in the wood, rendering it black. The design of cranes and bamboo were carved into the surface revealing again the natural color of the walnut in the incised lines. I hired Taylor Johnson to build the casework itself. Using traditional methods, the interior framework is a solid skeleton held together with dovetail and mortise and tenon joints. Taylor fabricated plywood with extra thick shop-made walnut veneer to be able to handle carving without passing through to the inner layers. His focus and skill allowed me to give attention to the design challenges and the artwork and carving and exterior finishing the cabinets. My gratitude goes out to Taylor for his tenacity and dedication to excellence, and also to Steve Hebert, who generously gave his time and energy to brilliantly photograph the cabinets in situ.


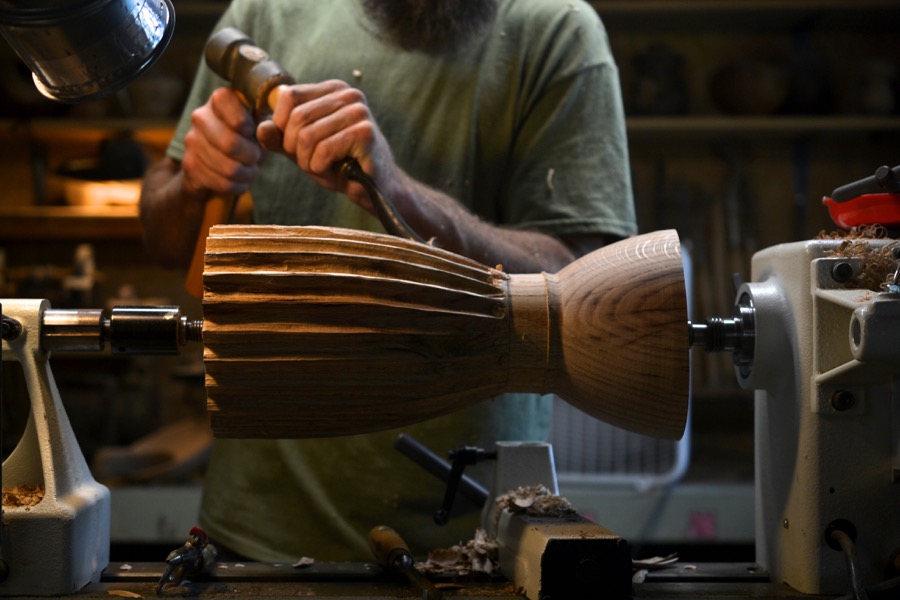
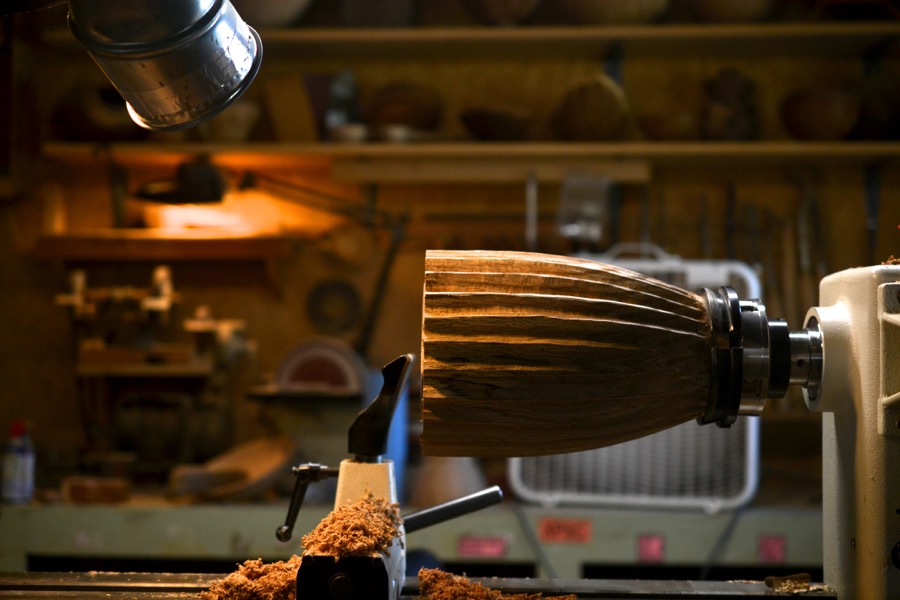
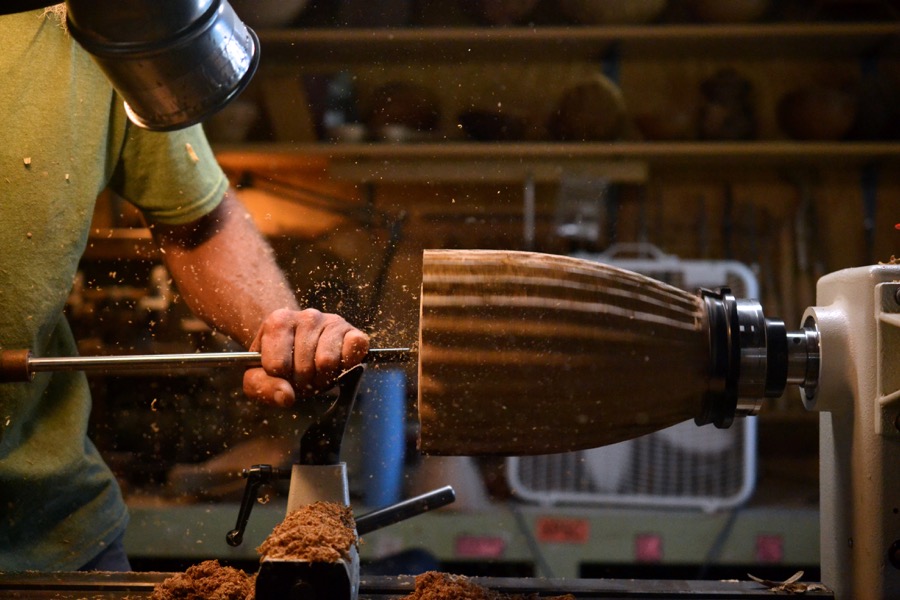
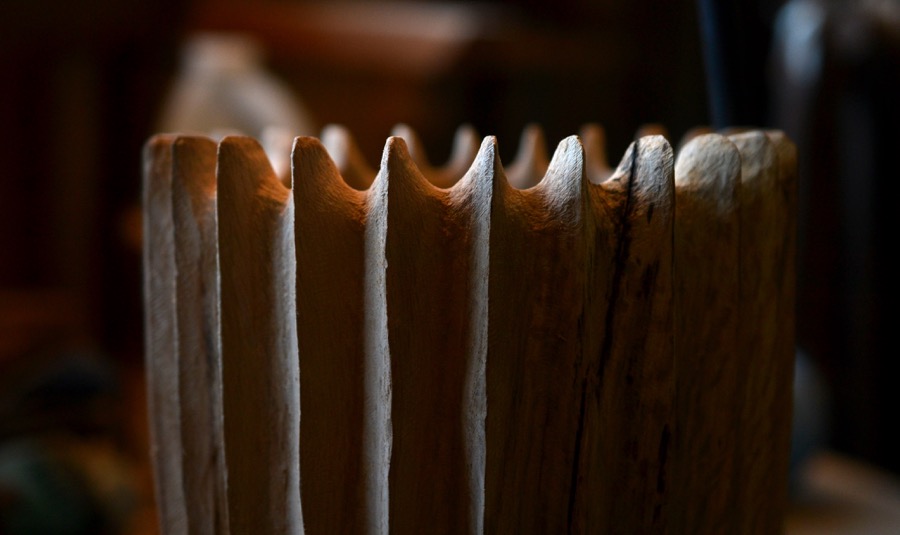
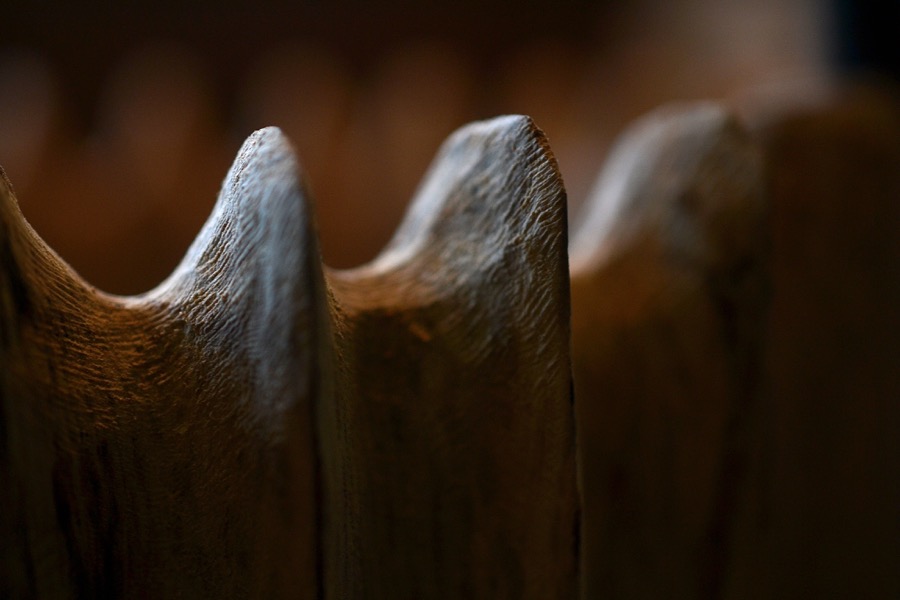
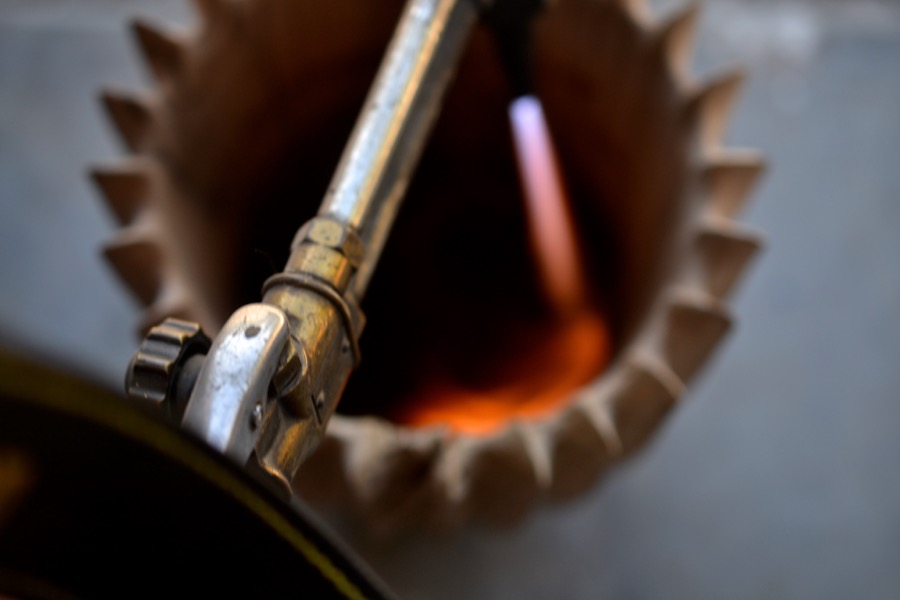
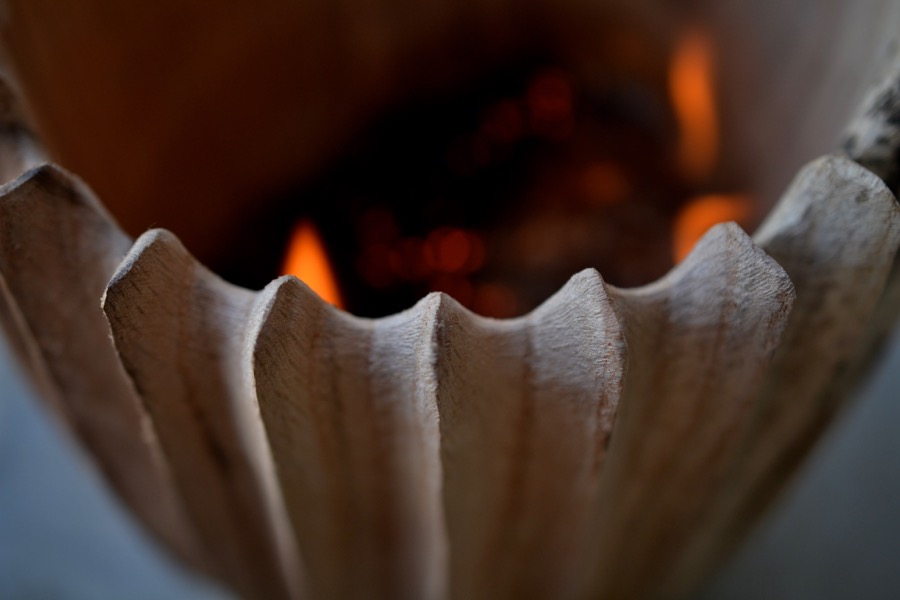
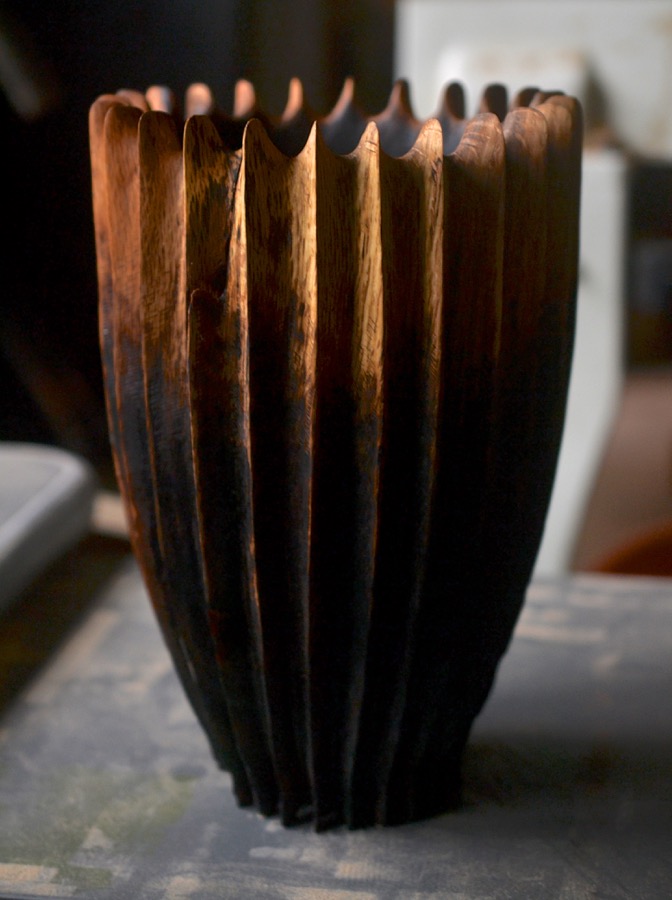
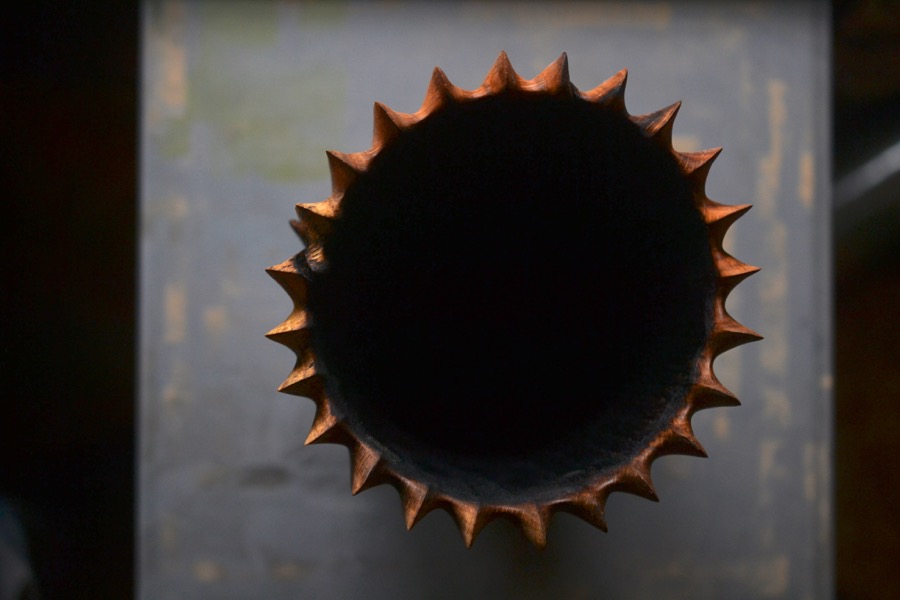
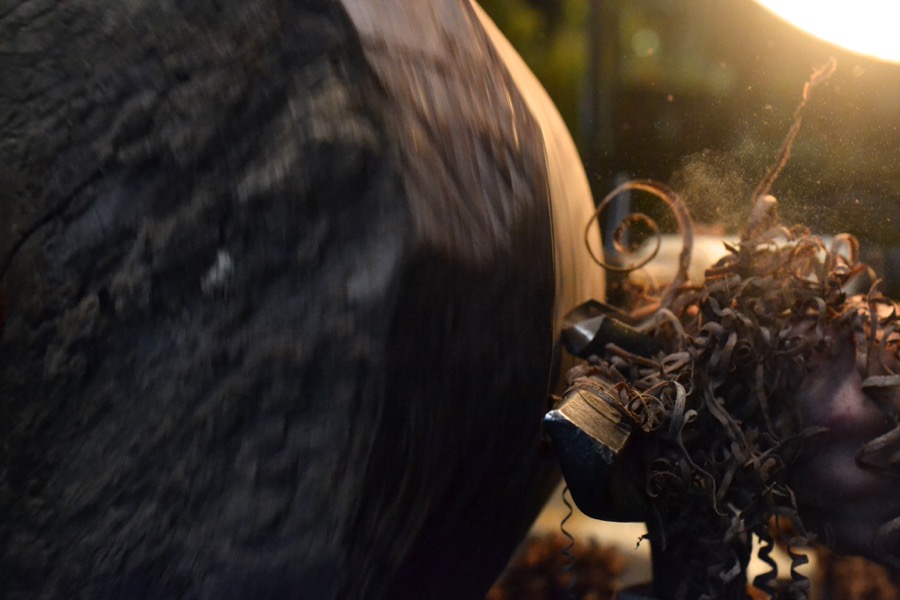
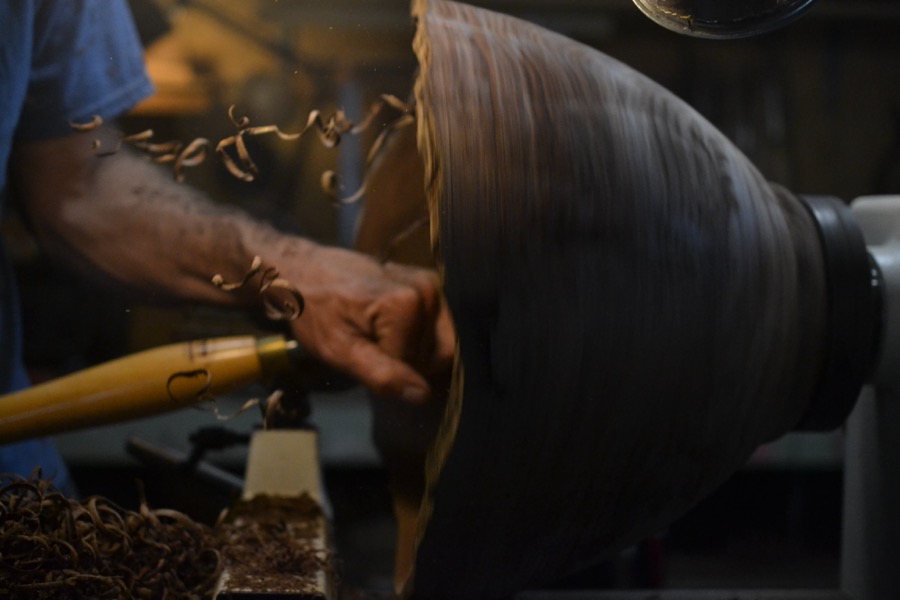
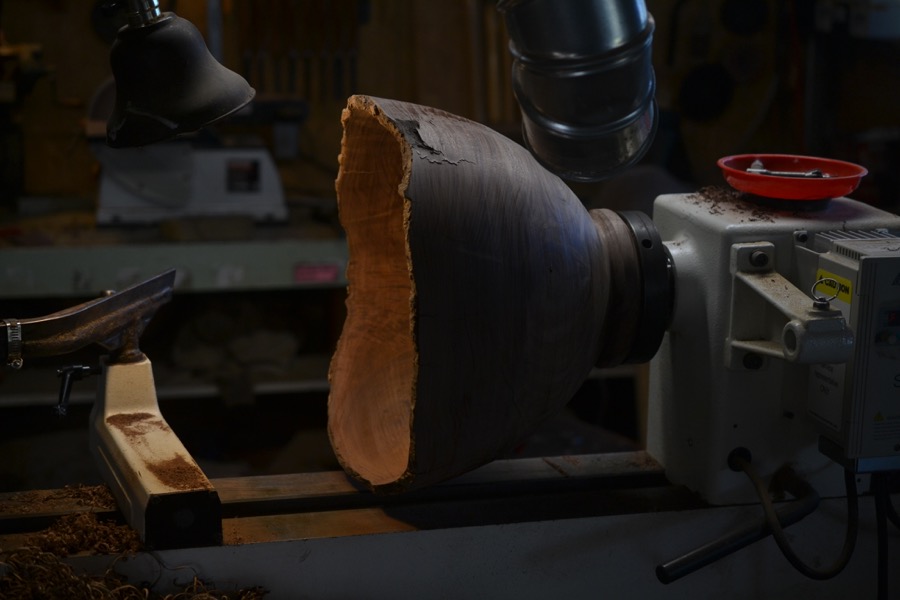
Benthic: of, relating to, or occurring in the depths of the ocean (from Merriam-Webster). So dubbed by my friend, Tom, this form is known as The Benthic Vessel (in red oak). No one is sure whether they like it or not at first, including me.


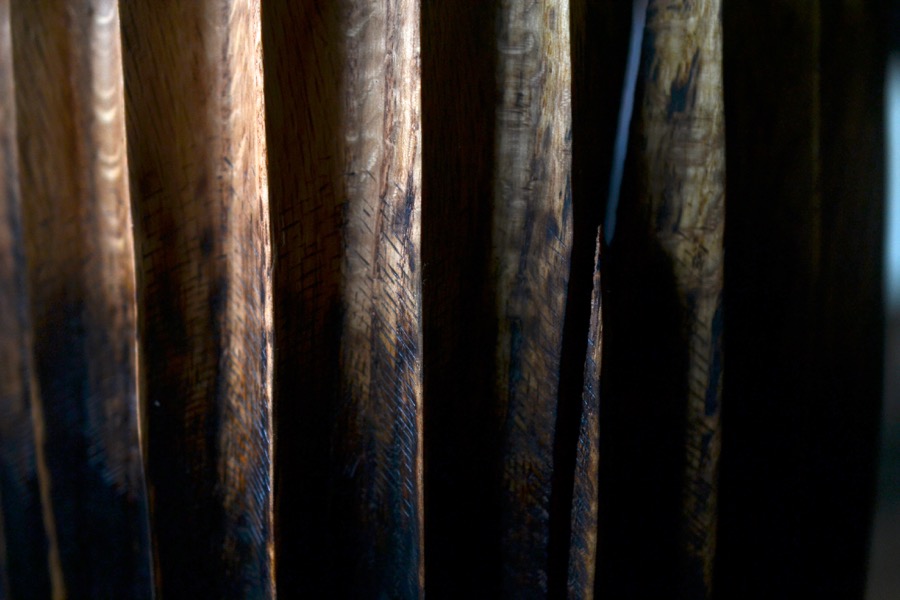

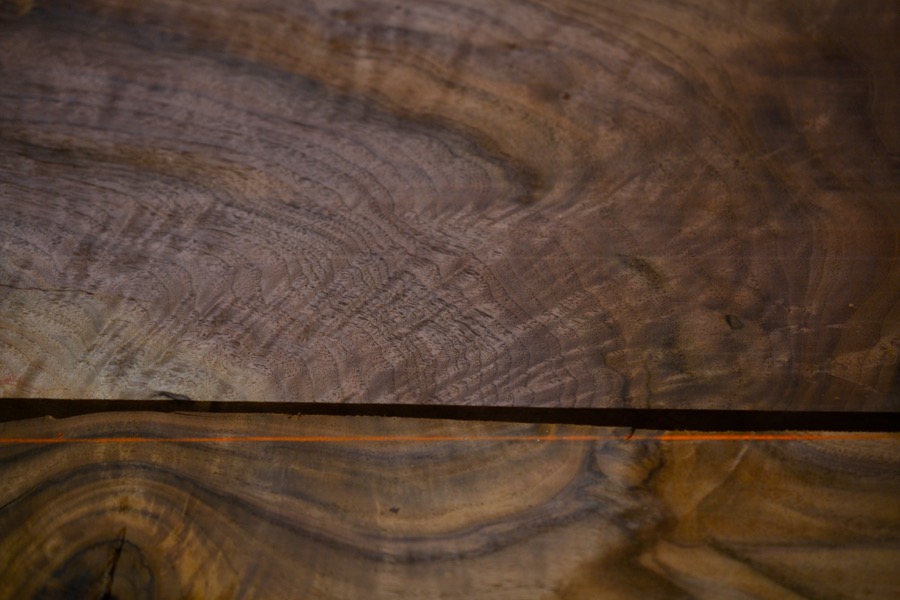
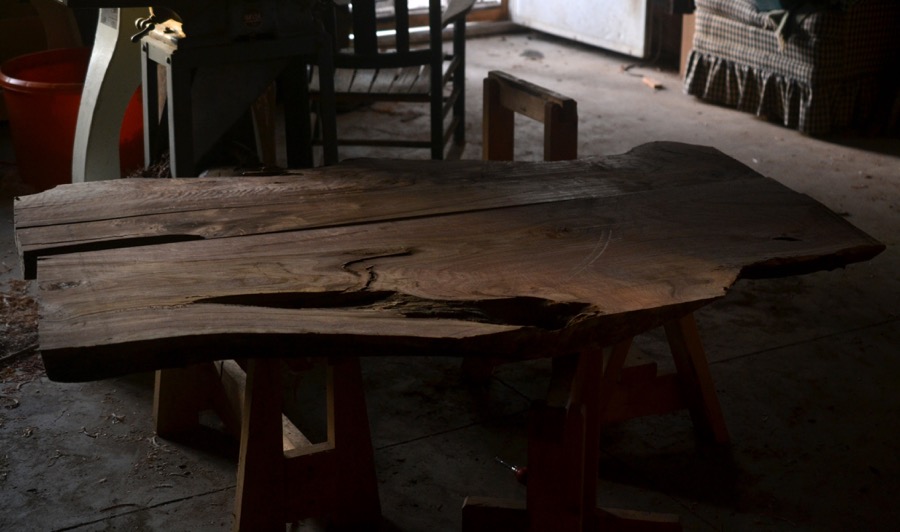
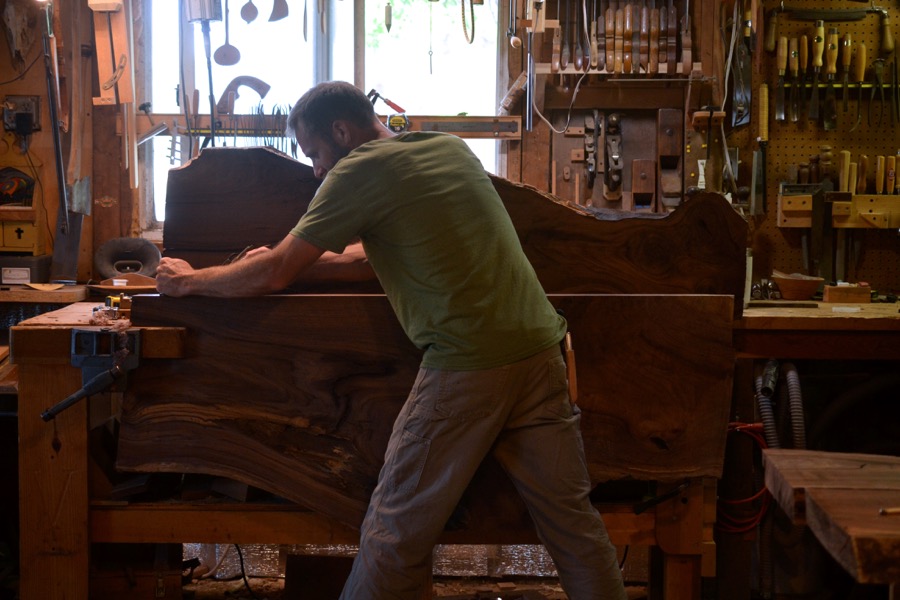
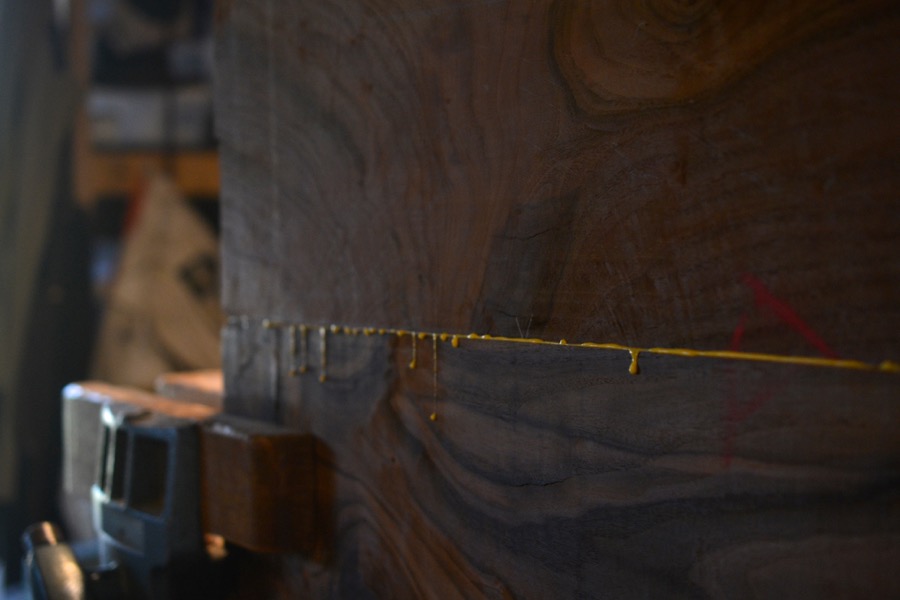
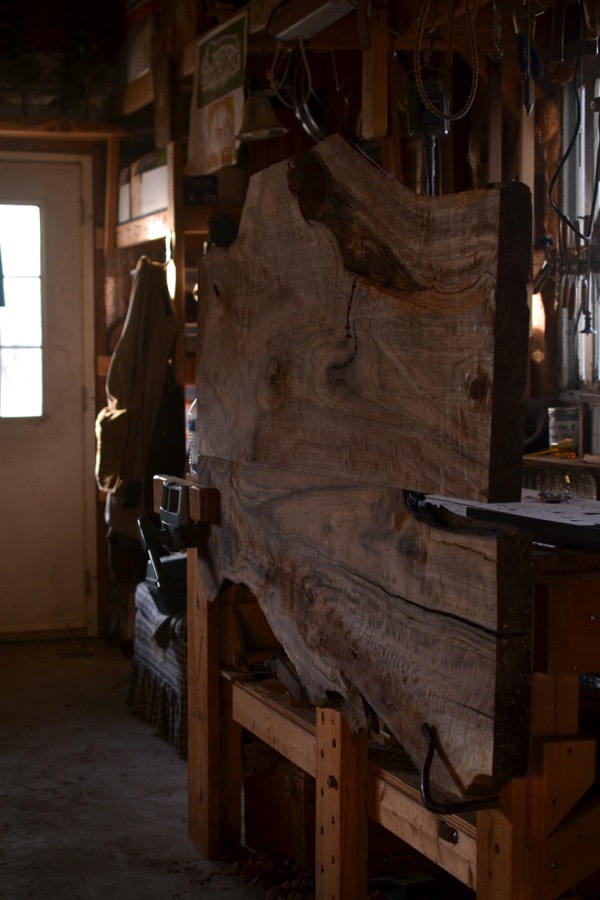
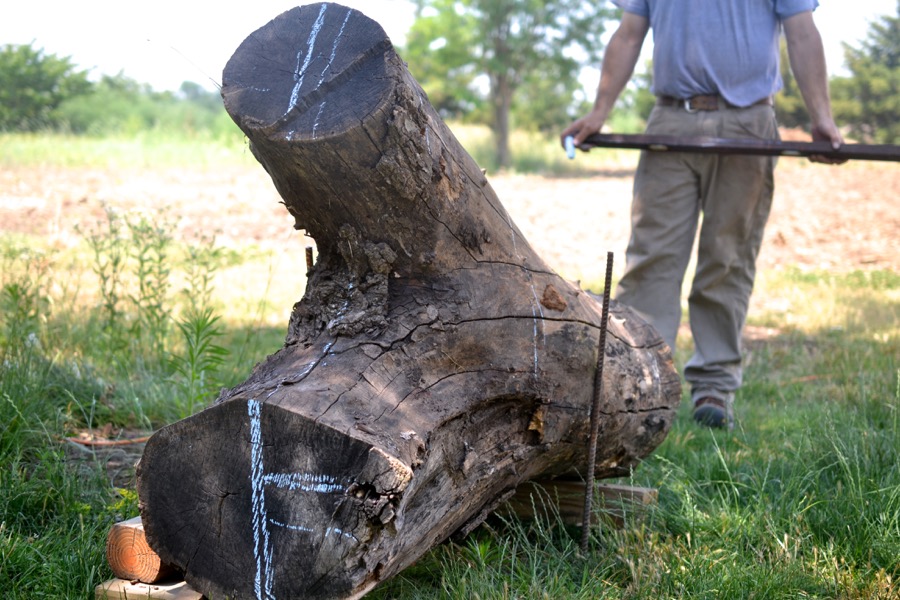
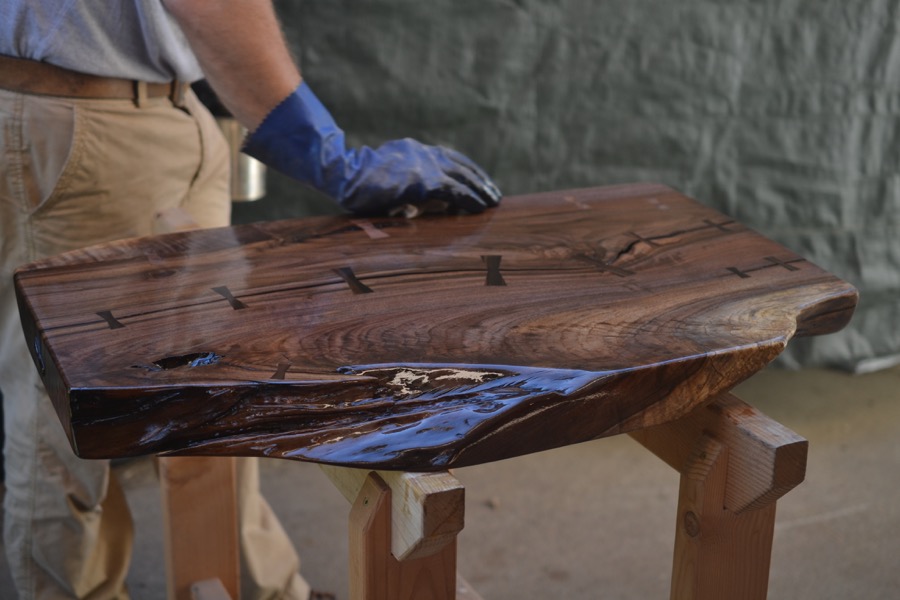
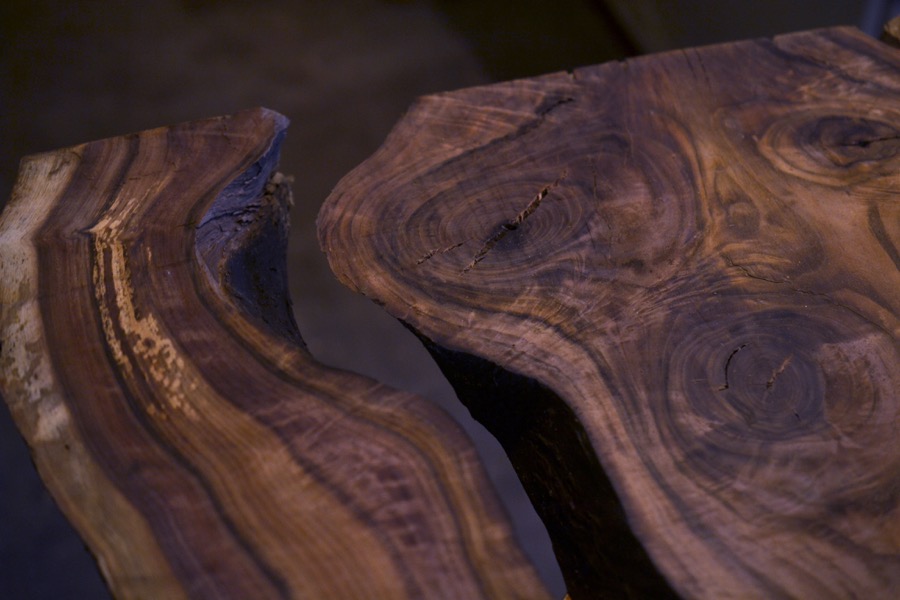
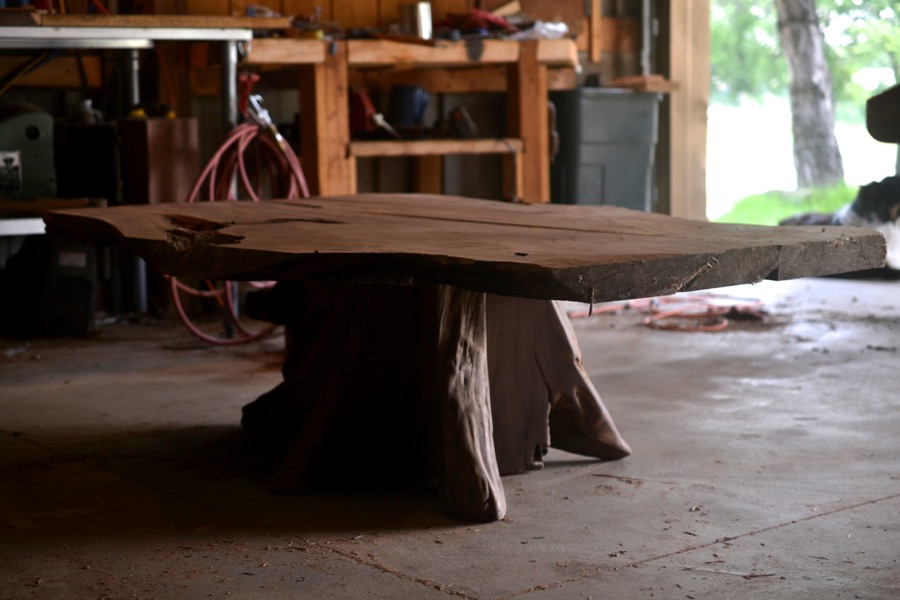
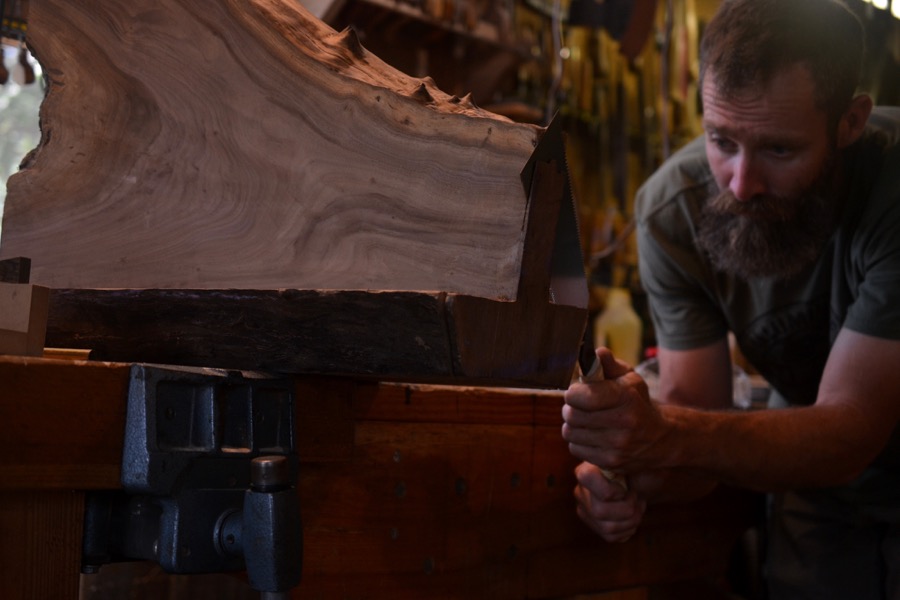
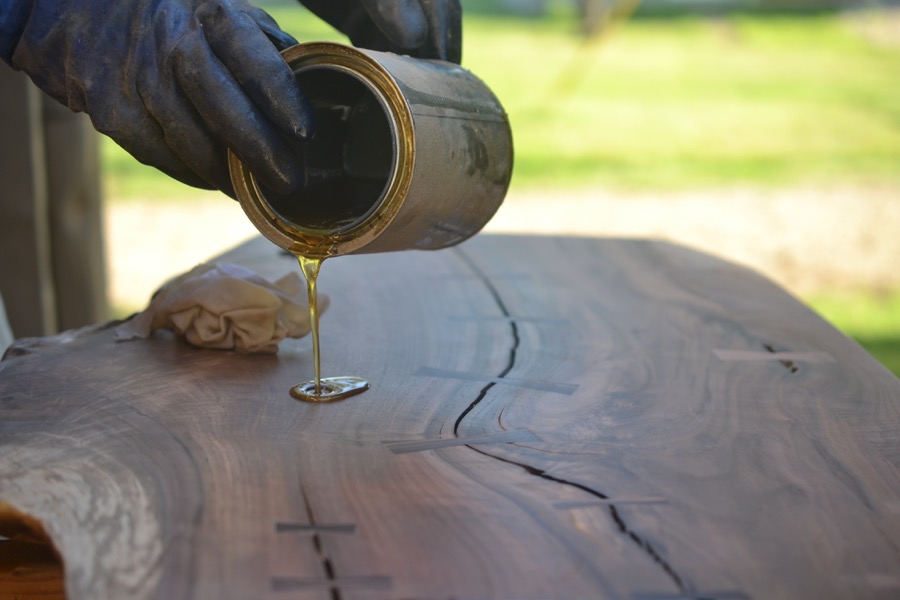
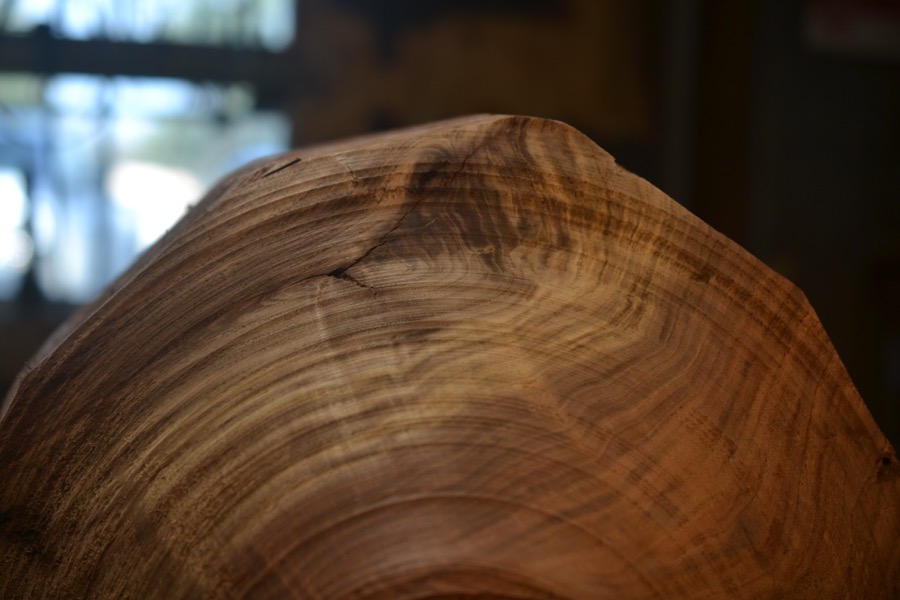
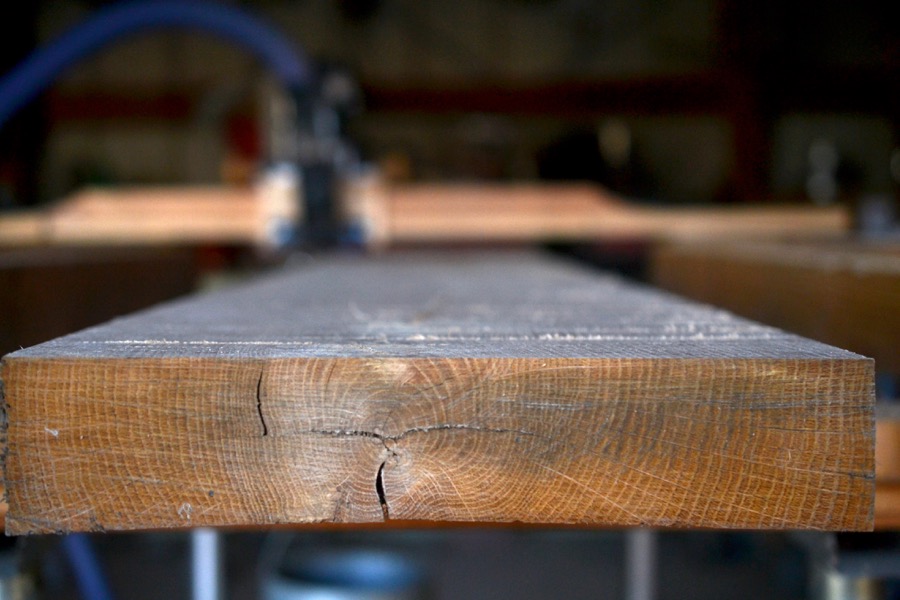
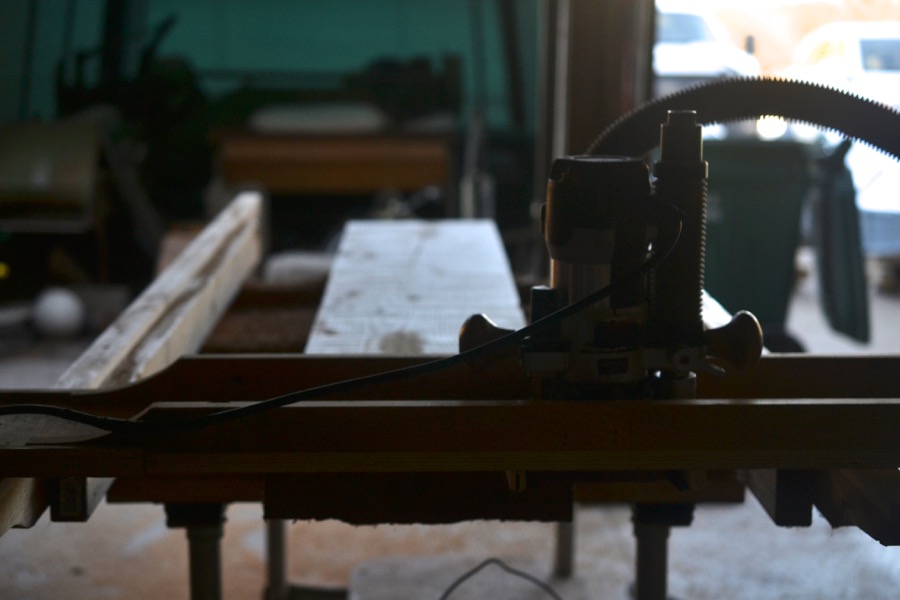
These images document a build in its early stage of a family of black walnut tables, centered around a richly grained and beautifully colored walnut tree which we salvaged from a farm near Winfield, Kansas. The tables are a collaboration between my best friend/business partner and myself, sharing designing and building tasks to create, what we hope, are some authentically good pieces of furniture in the continuing tradition of live-edge/natural-slab furniture.


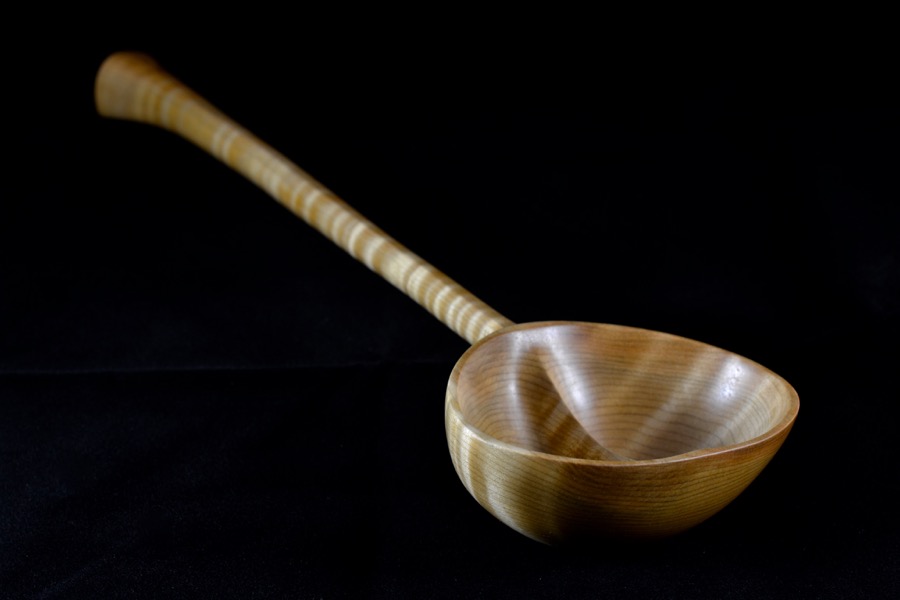
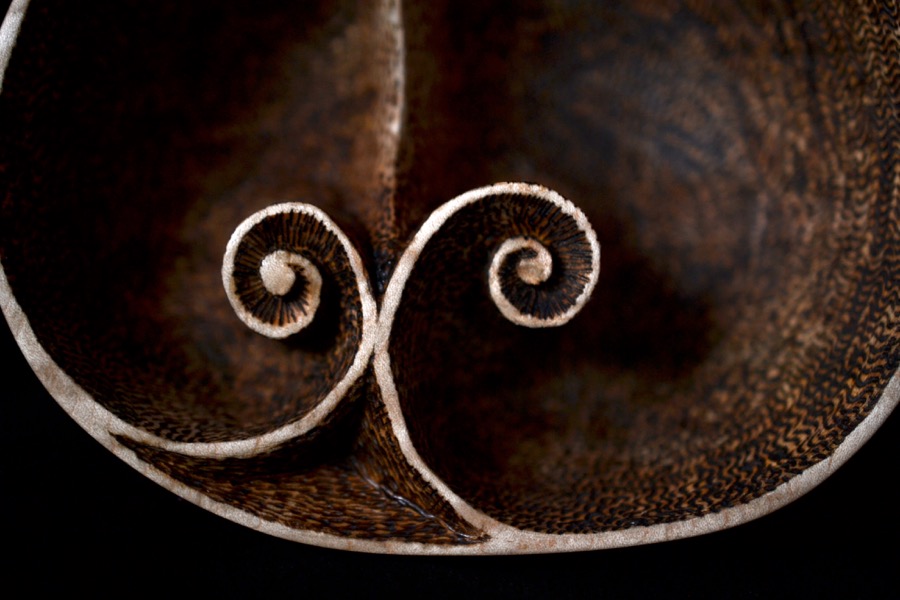
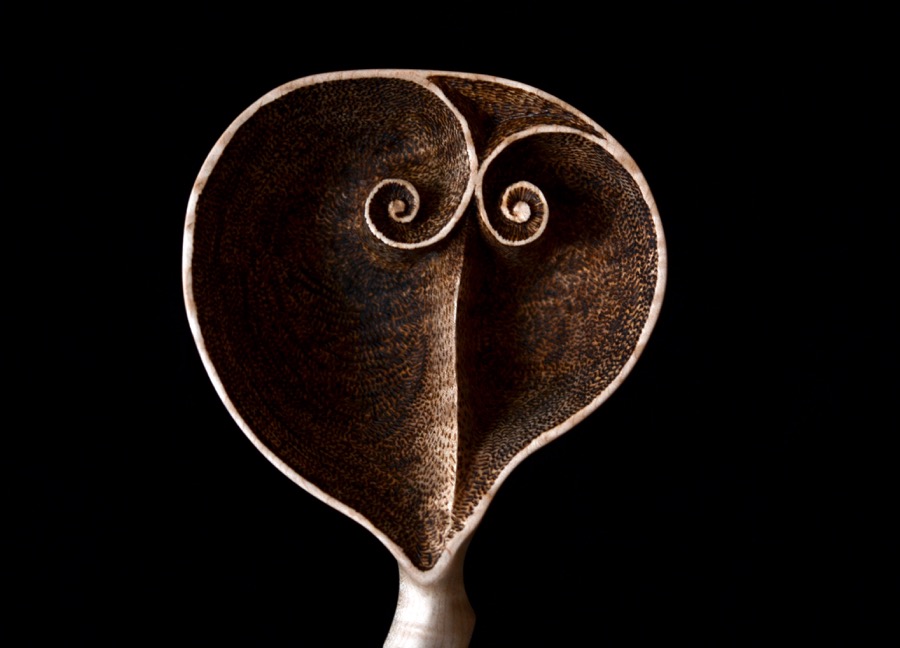
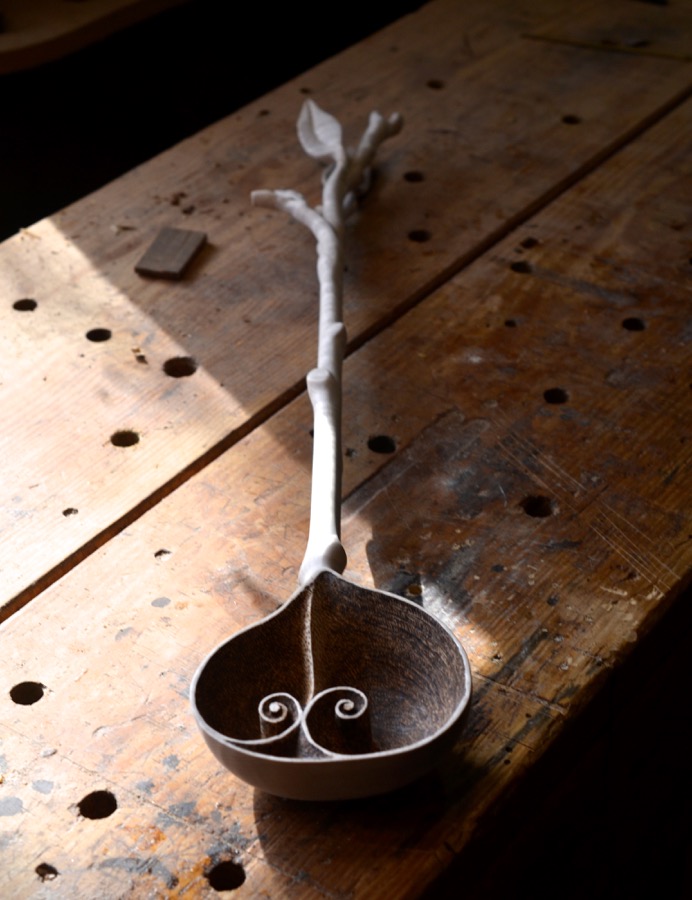
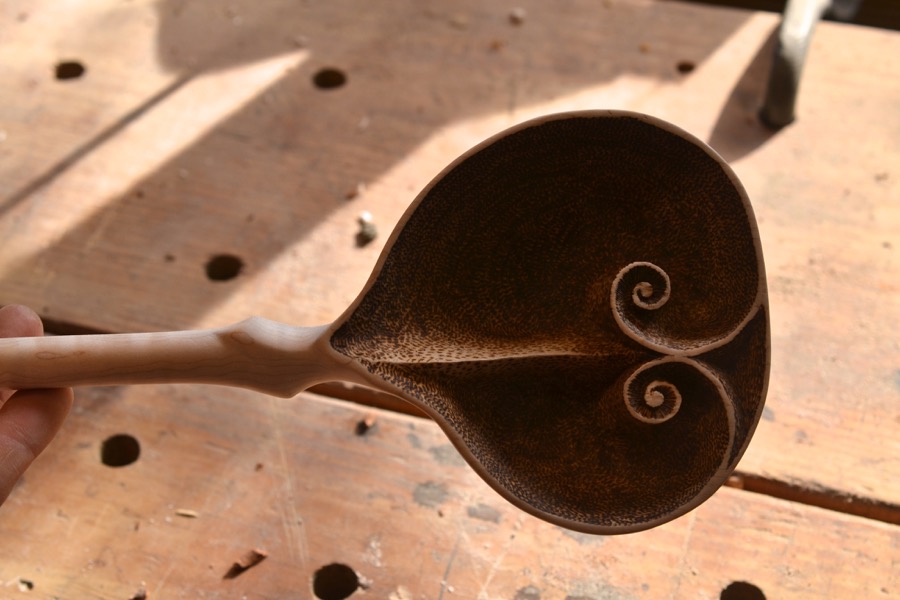
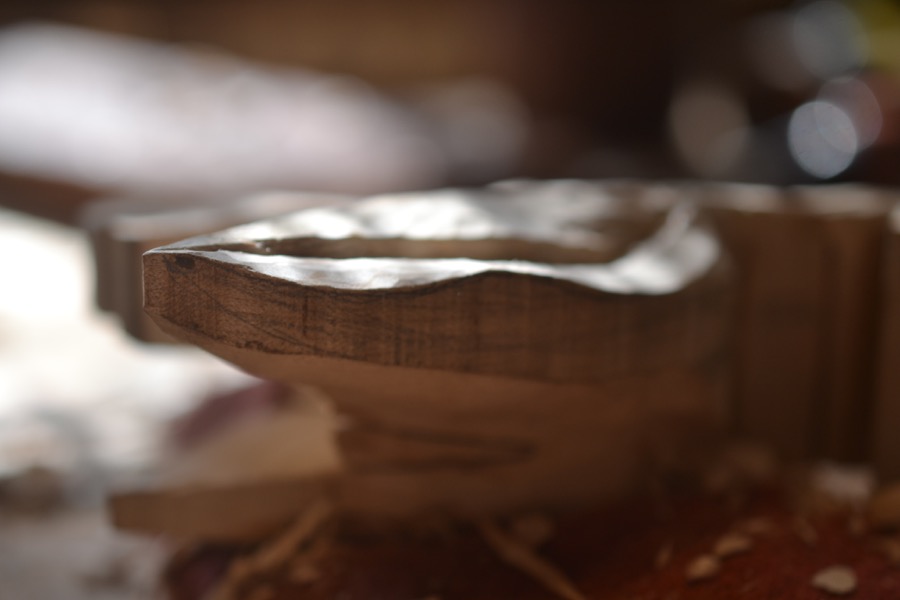
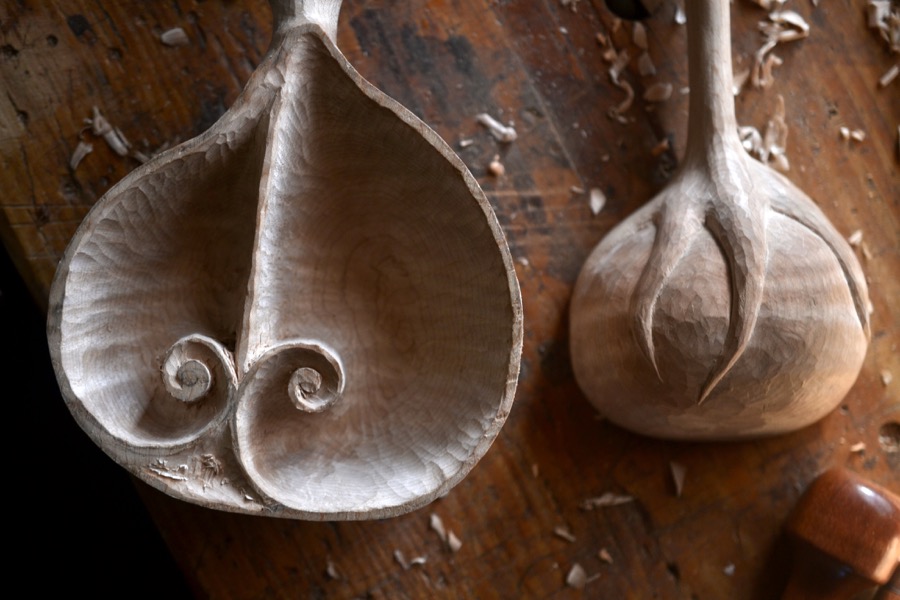
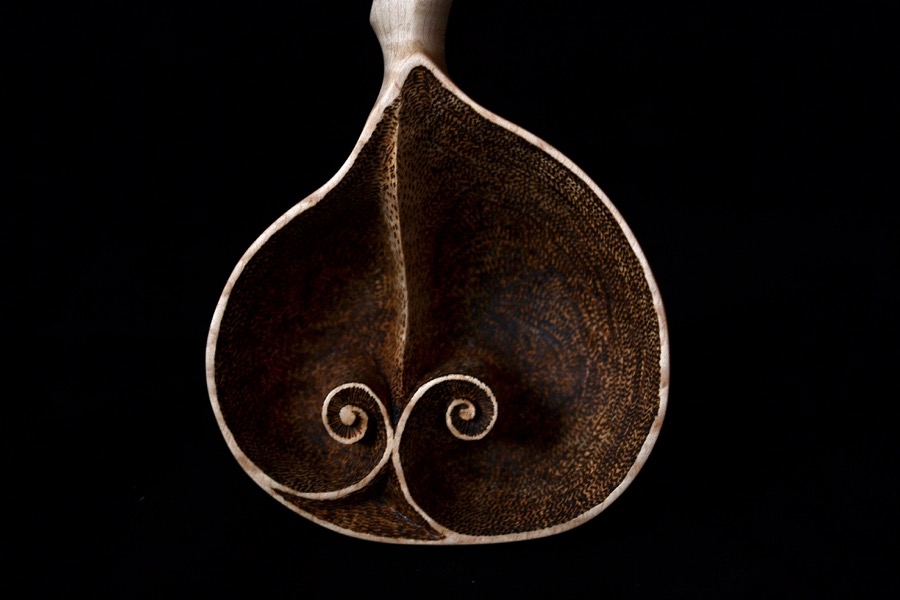 Carved from figured hard maple, the bowl was composed around two golden ratio (1.618) spirals.


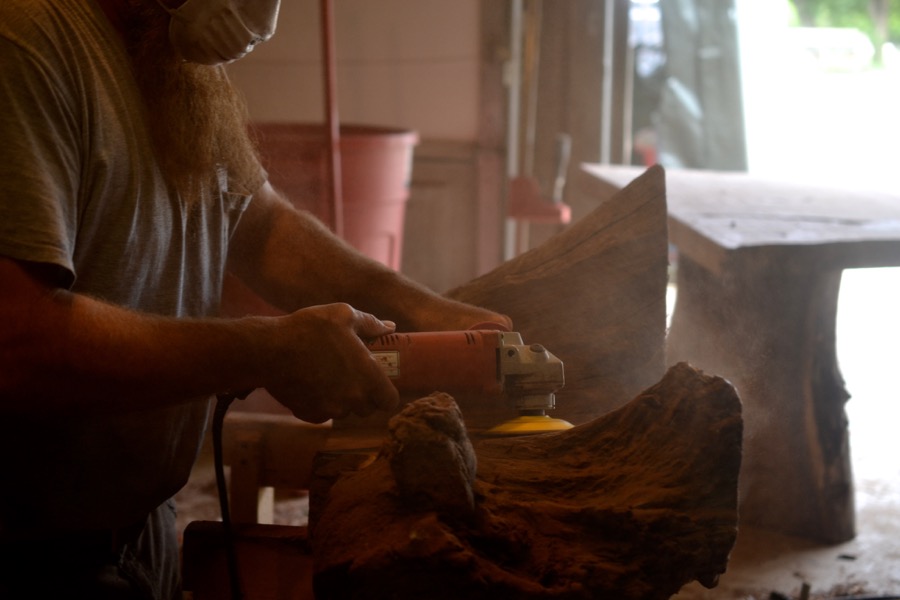
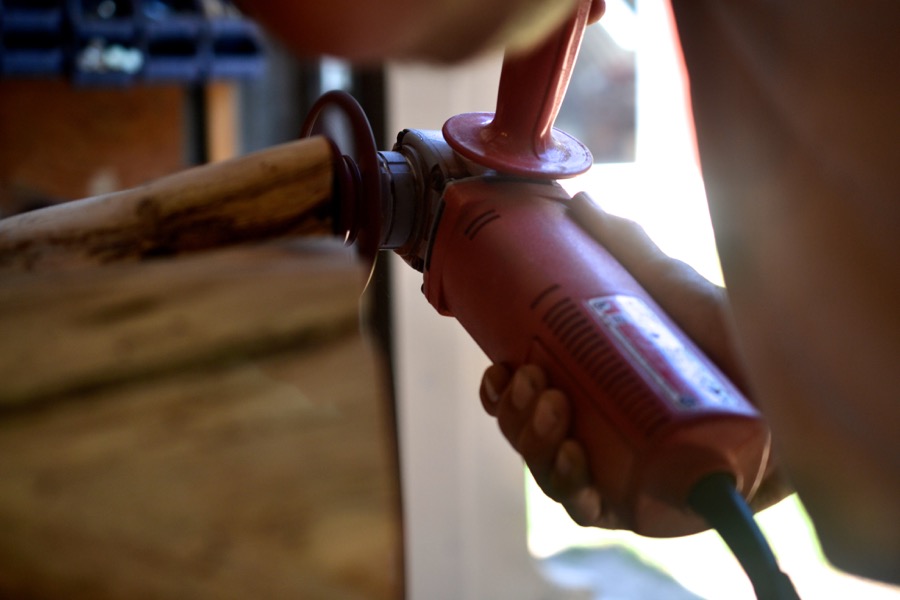
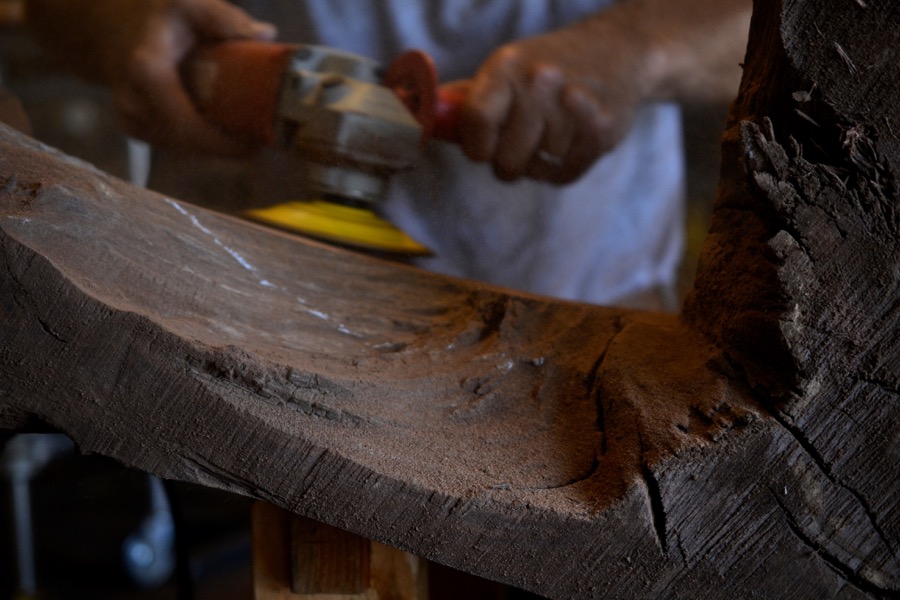
sanding and refining the shape of the legs

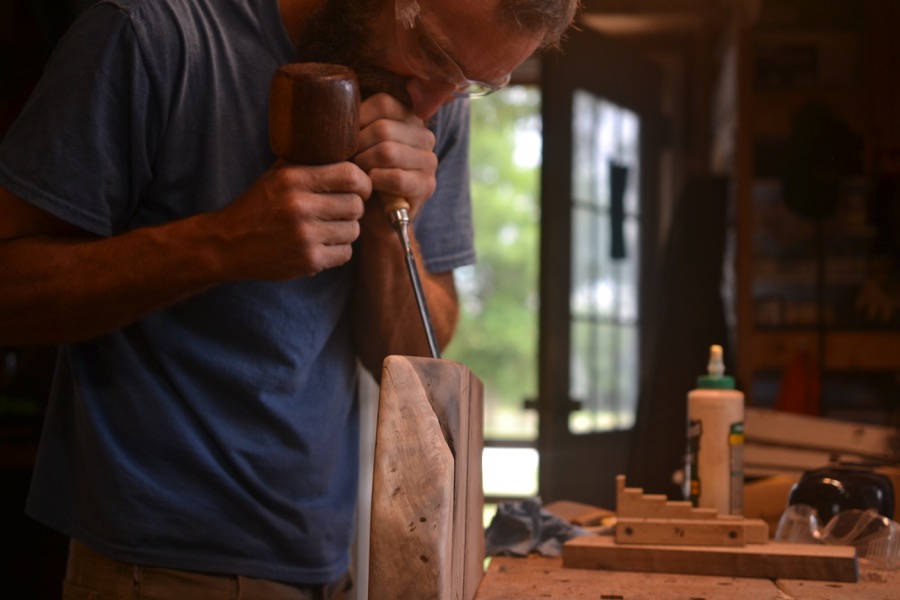
carving some details into the lower horizontal member of the leg assemblies

“C” for Champion
the lower leg joints, reinforced with screws, concealed by pegs

cut flush and sanded

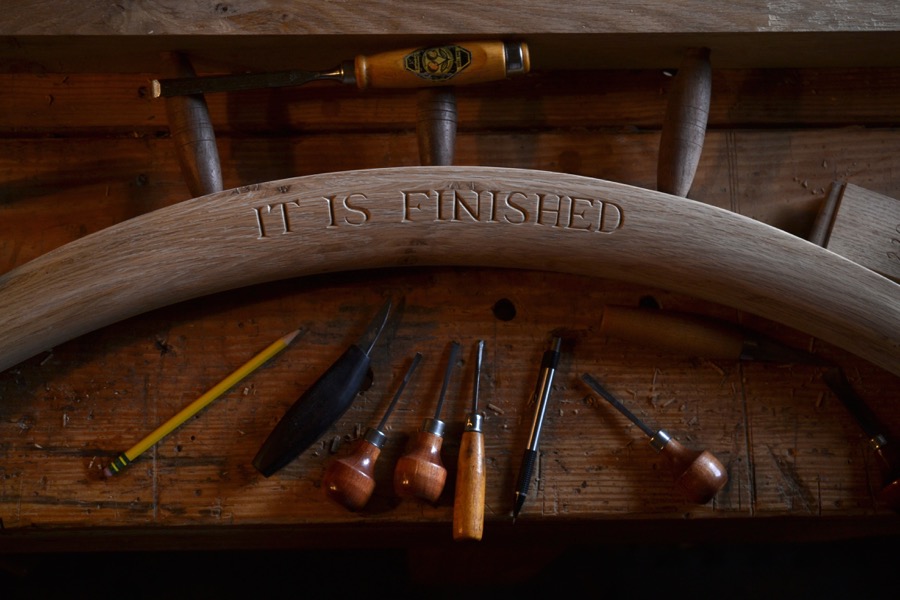
the legs are finished, awaiting only final sanding immediately prior to finishing

refining the shape of the arc, the brace between the leg assemblies

one of many facet transitions and chamfers across the arc

another of those transitions, in this case, the arcs contribution to the connecting joint

adjusting the shoulder of the arc where it meets the walnut of the leg assembly

a lot of enjoyment watching the play of light and shadow

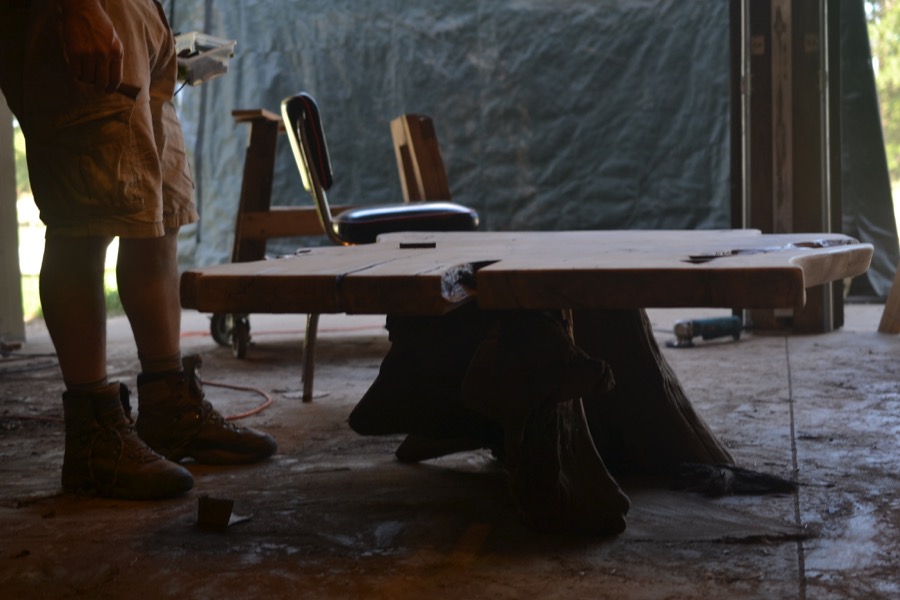
lets of test fitting of the base
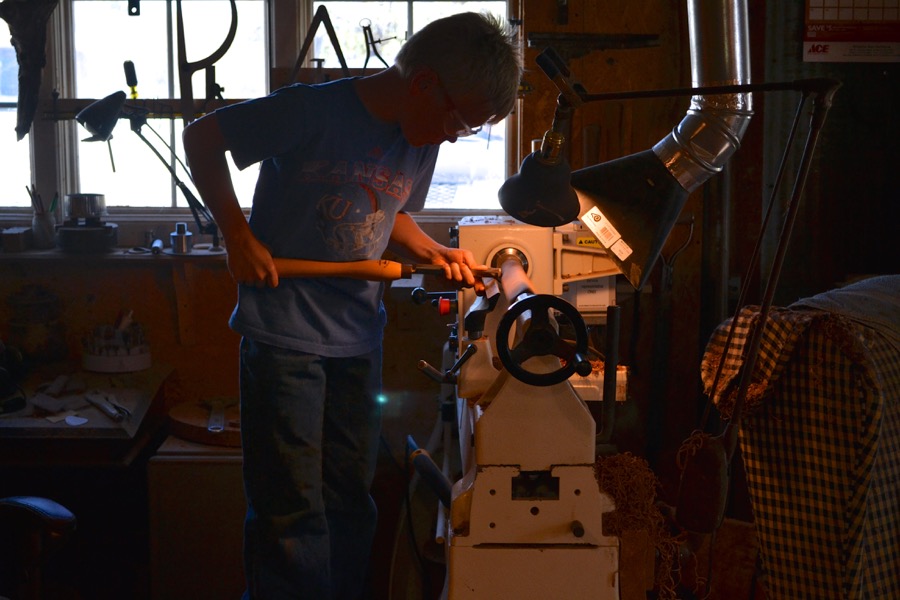
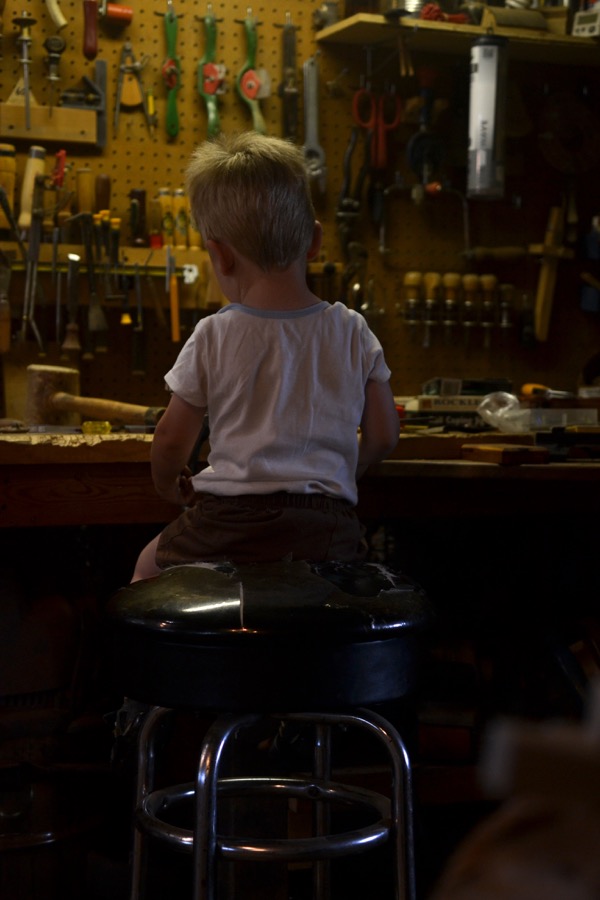
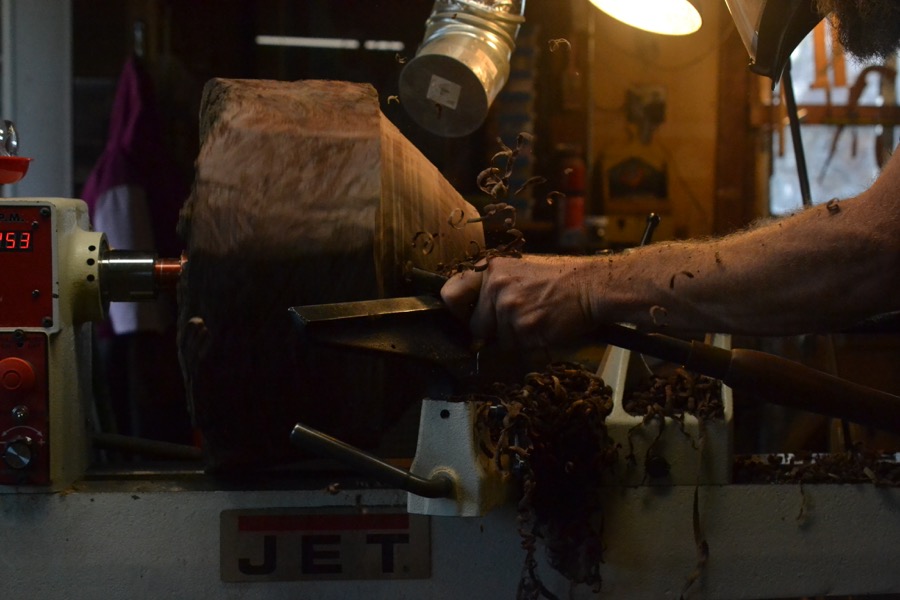
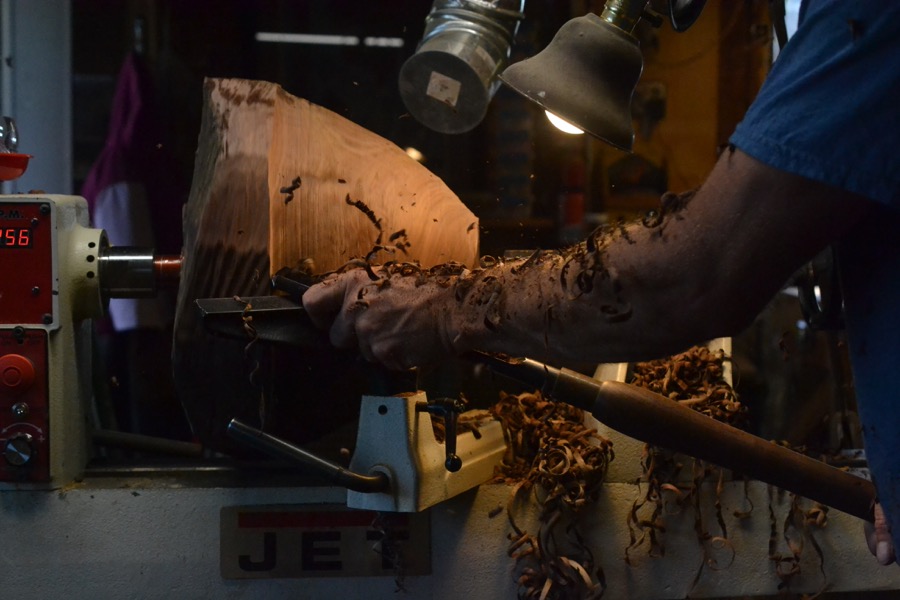
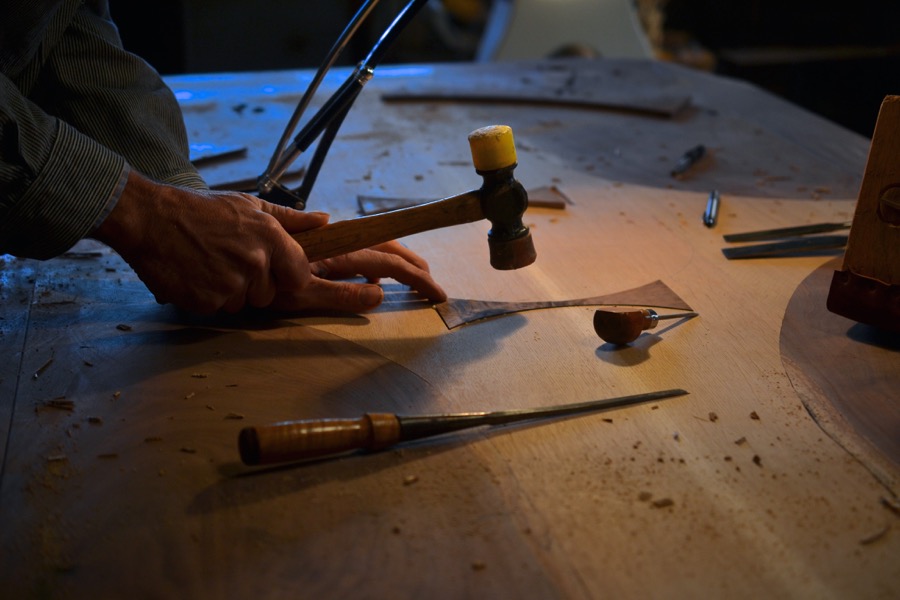
my son roughing out a billet of walnut for some stubby spindles. The spindles will connect the arc to the top-central horizontal rail connecting the leg assemblies, preventing any propensity to rack along the length of the table
here are the spindles in place as well as a bit of carving on the side of the arc

another view of the arc, upside down, an enjoyable shape- part moon, part smile, part rainbow, part horns, it is one of my favorite parts of this table

beginning work on the table-top again- softening the edges with a block plane
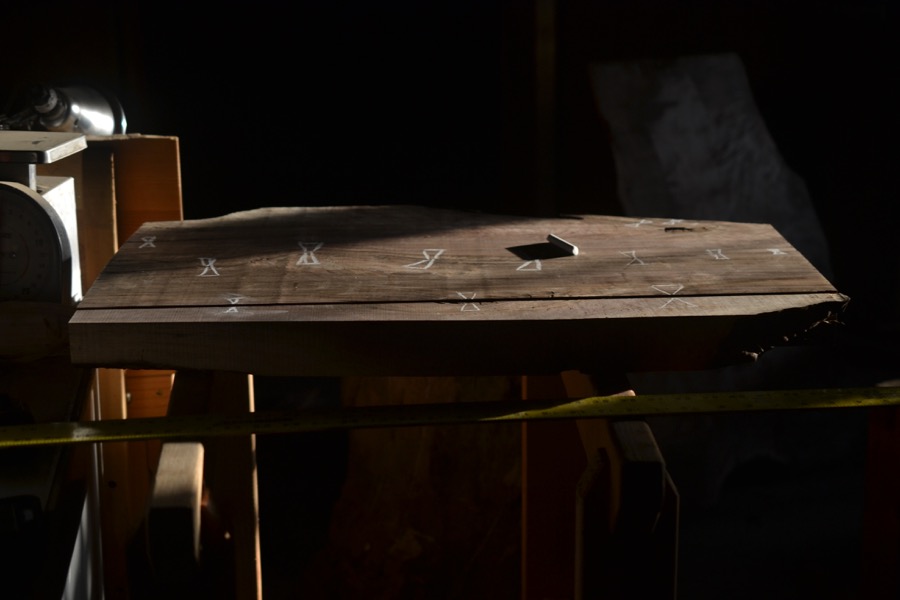
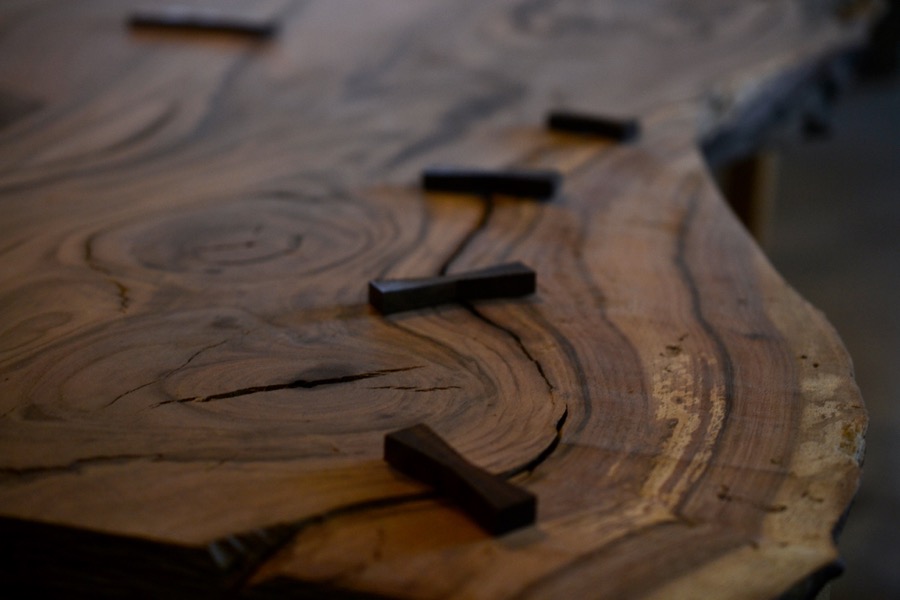
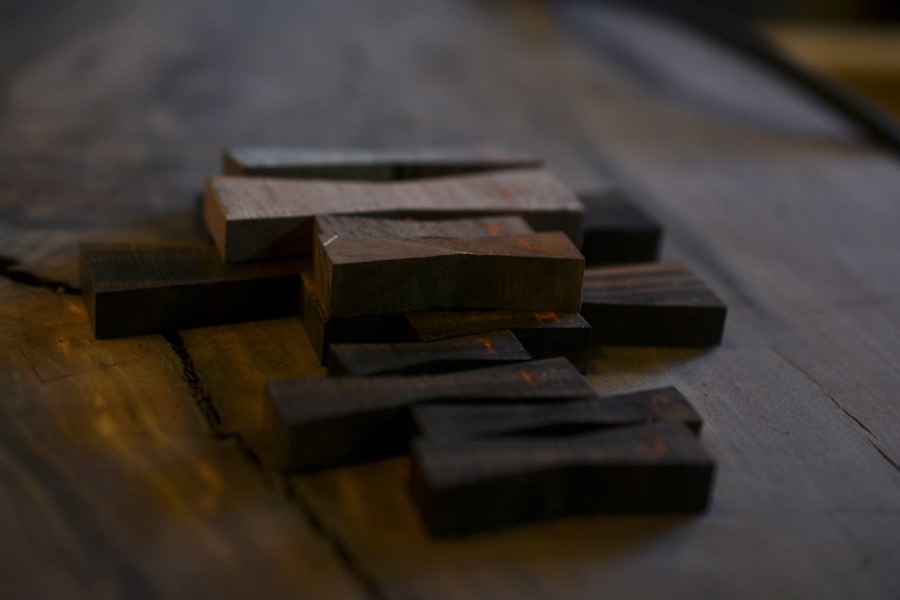
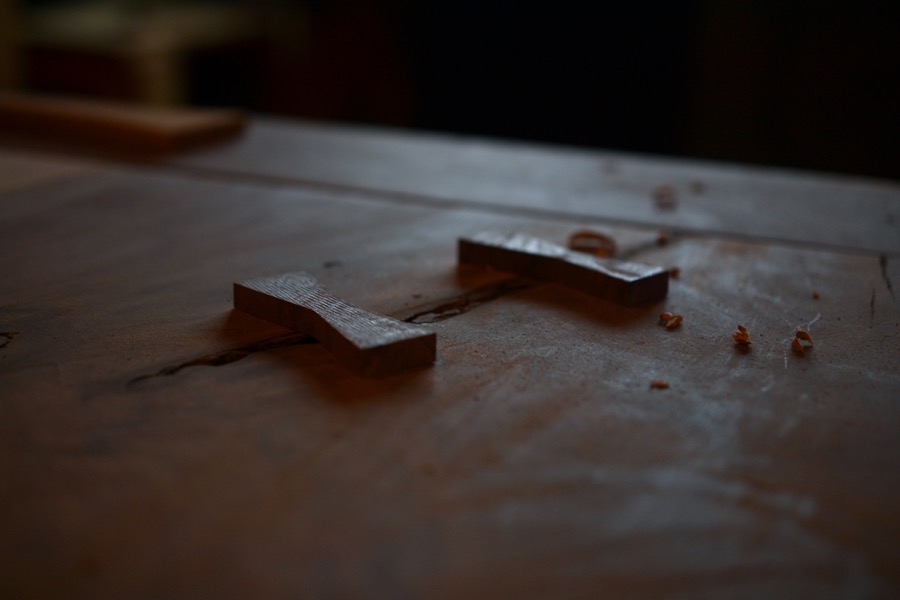
after making paper versions, laying out some walnut shapes that will be inlayed into the table-top
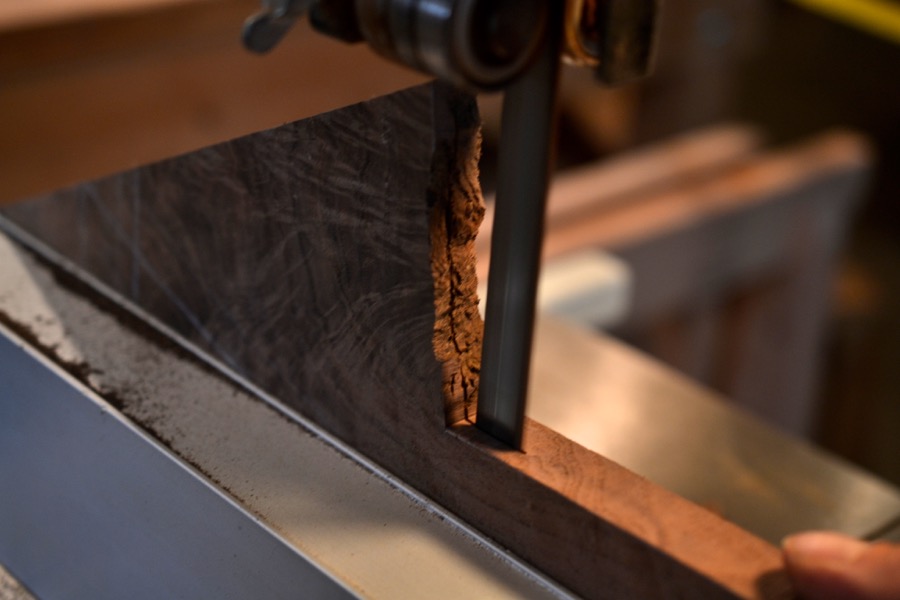
re-sawing bits of highly figured walnut for all of the special details
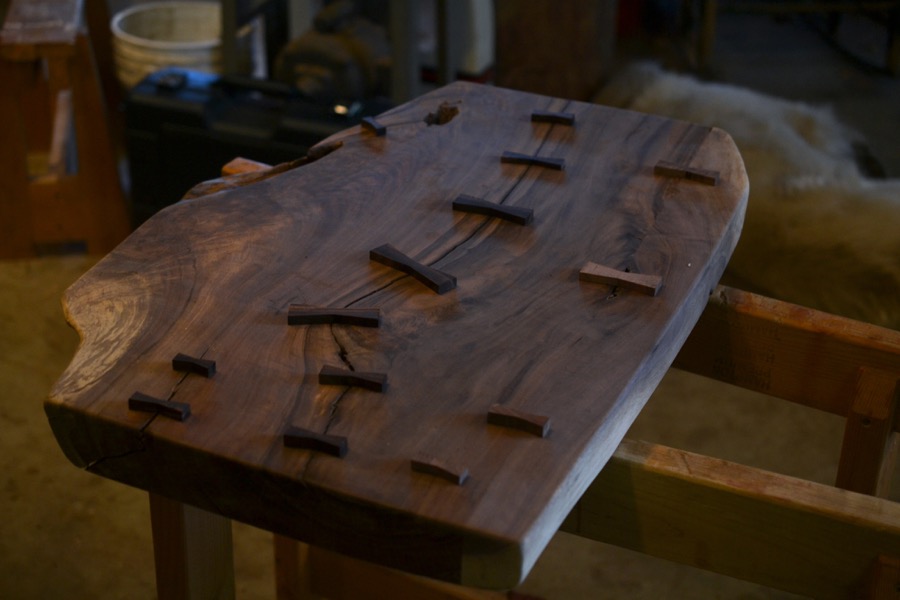
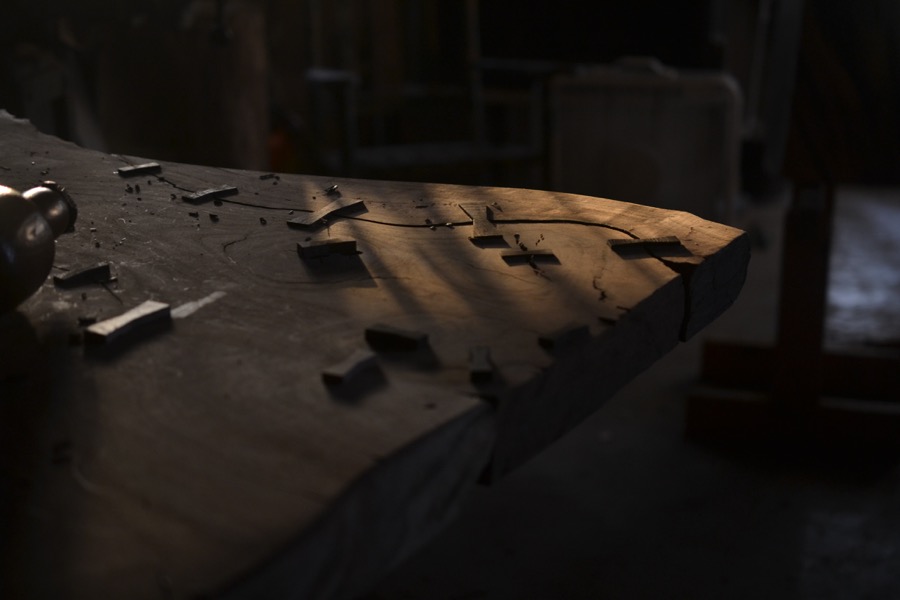
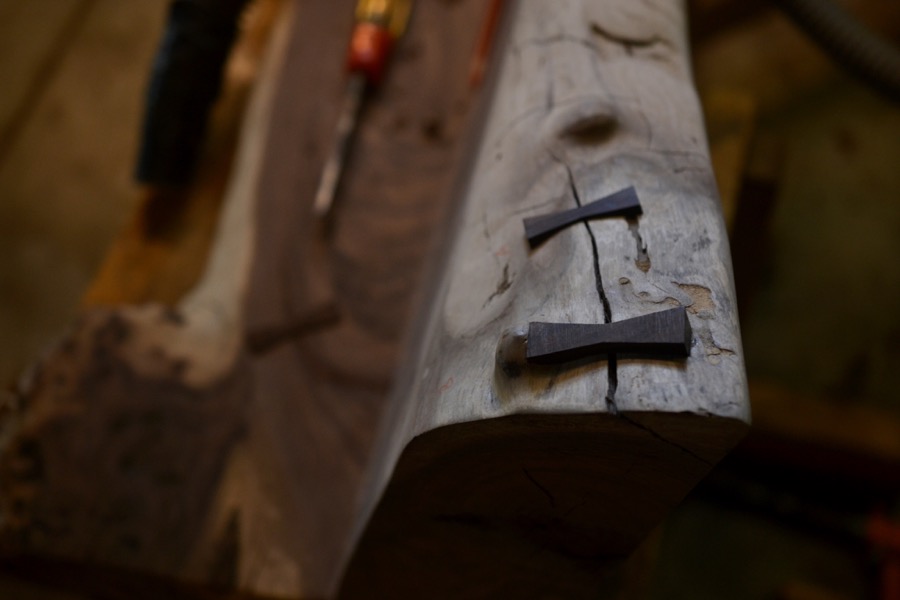
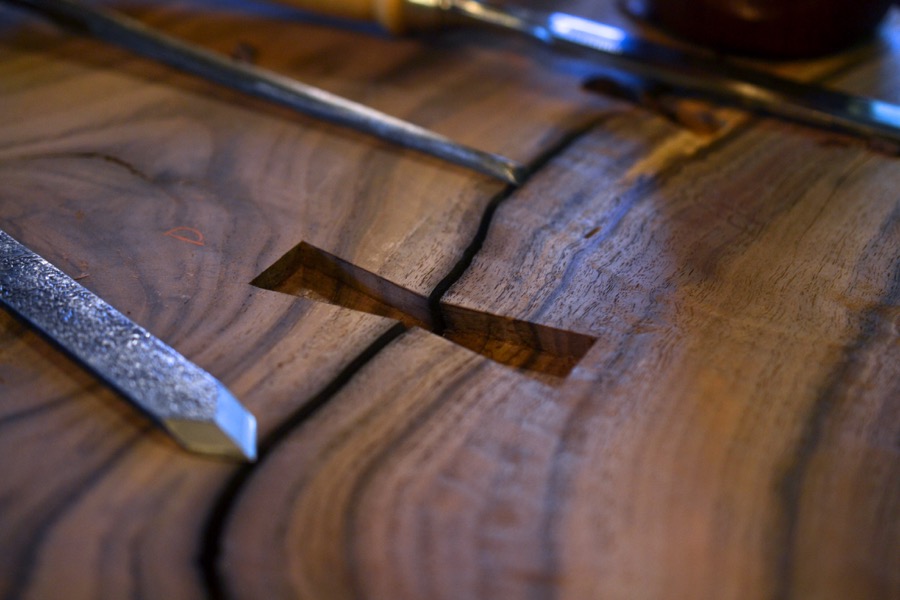
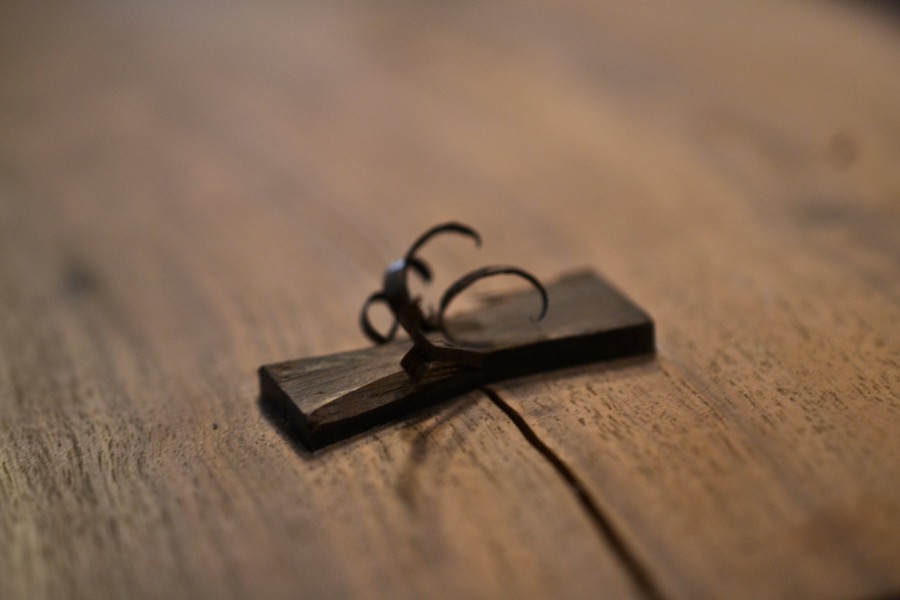
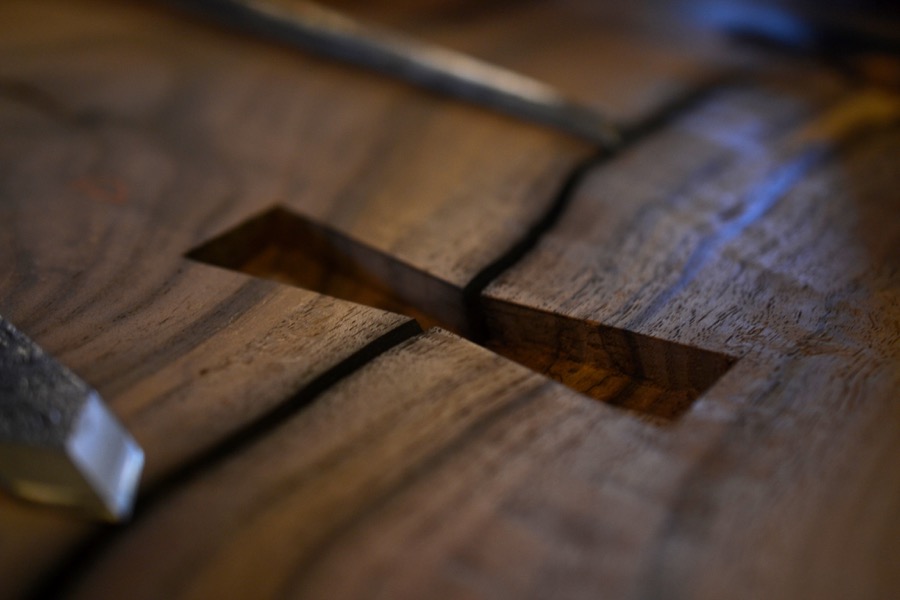
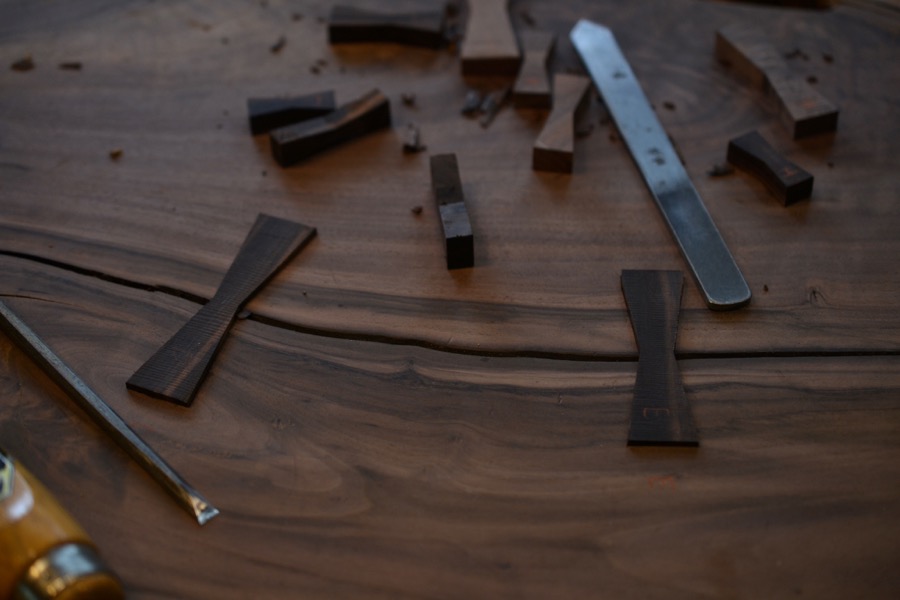
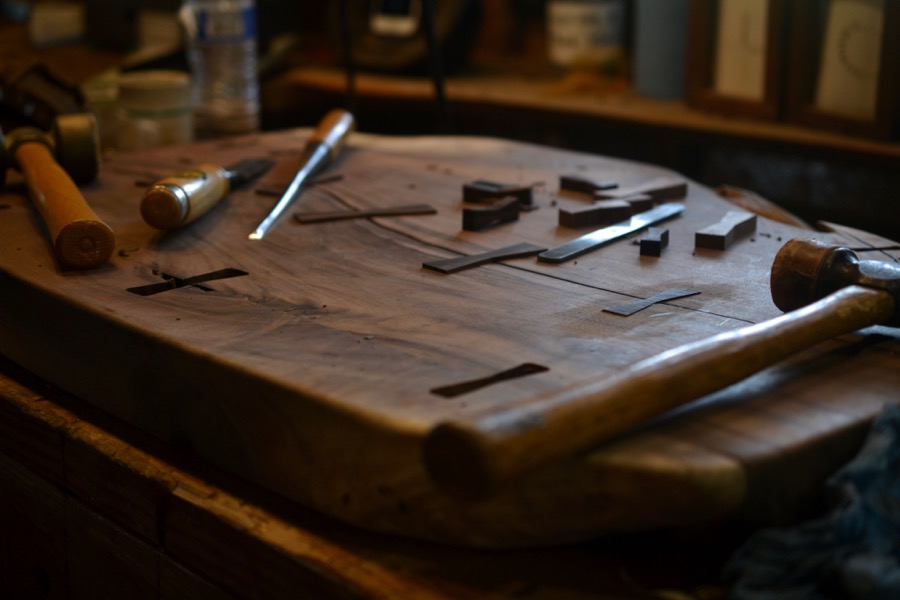
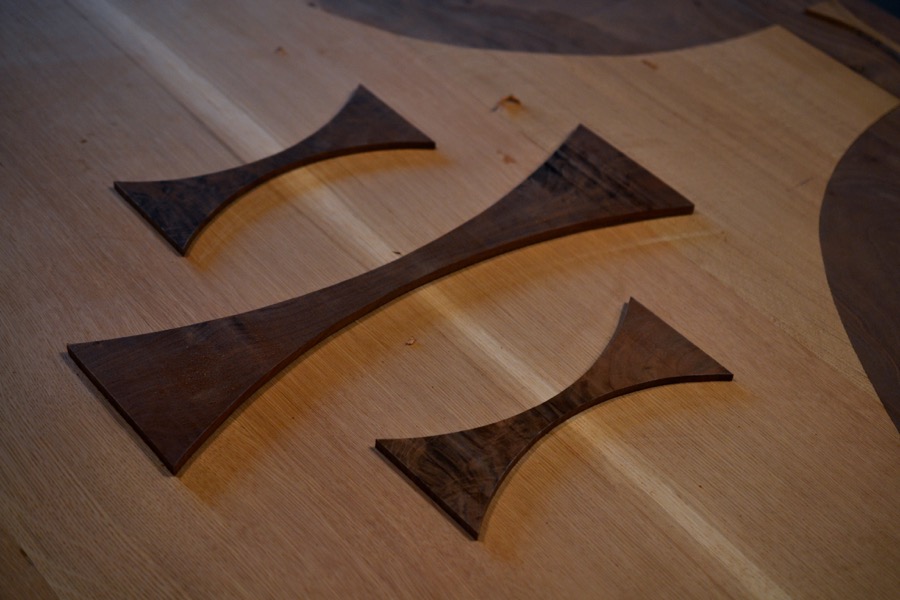
along with the decorative inlays, being positioned here are some butterfly-keys, which help to stabilize the splits and inclusions in the walnut making up the table-top
after determining the composition and placement, all the parts get some double-sided carpet tape…

…and are then stuck in place so that they don’t shift when their outlines are being scribed into the top with a knife

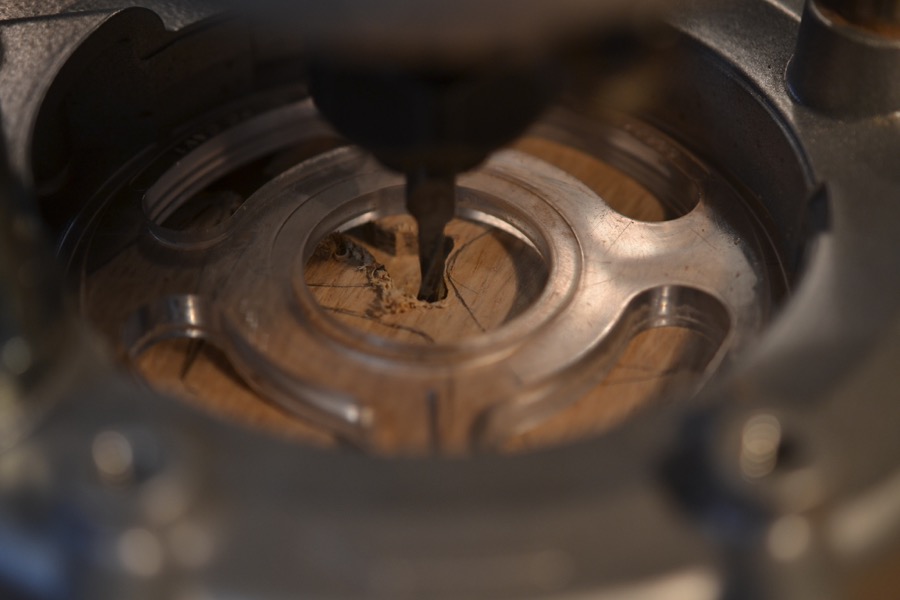
after everything has been scribed, the majority of the cavity is established with a small spiral carbide bit in the electric router

the rest of the inlay cavity is cut out with sharp chisels. The scribe-line is particularly nice at this stage, giving a positive registration for the tip of the chisel

there was a place on one of the walnut planks that had a corner that couldn’t get reconciled in the flattening stages without making it too thin- the remedy was a patch of really pretty walnut

clamps were used on the top, where they could reach whatever was being inlayed

cleaning the floor and corners of one of the recesses for those butterfly keys

glue and clamp…
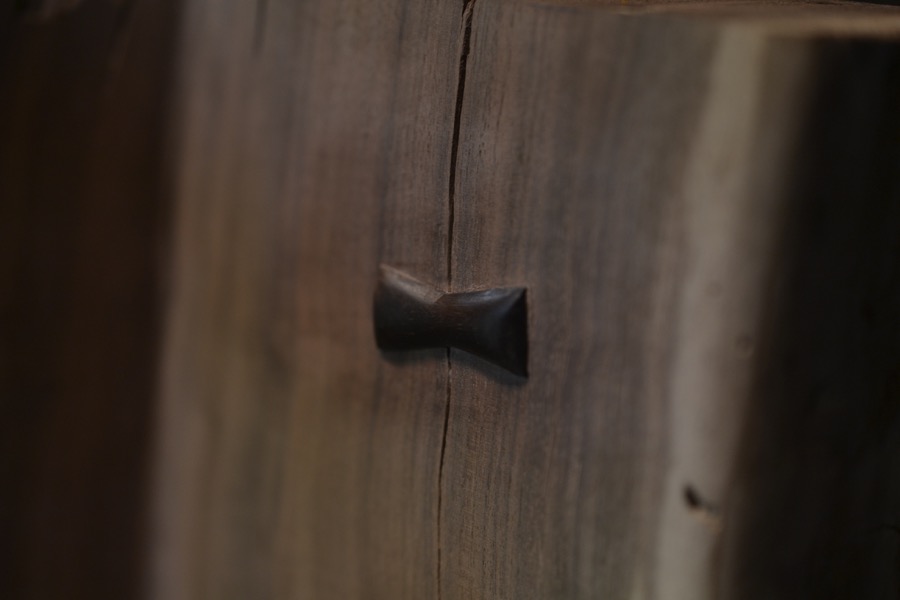
a little congregation of butterflies ready to be made flush with the top, the crack itself, will get filled with epoxy, after the bark has been removed
cutting out some of the inlay cavities for the central design
lots of chopping up to the line
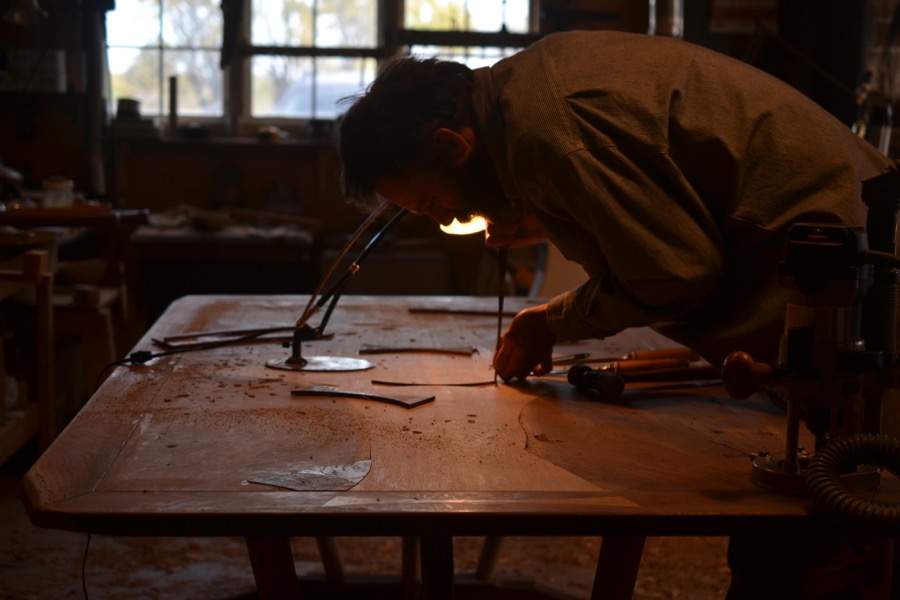
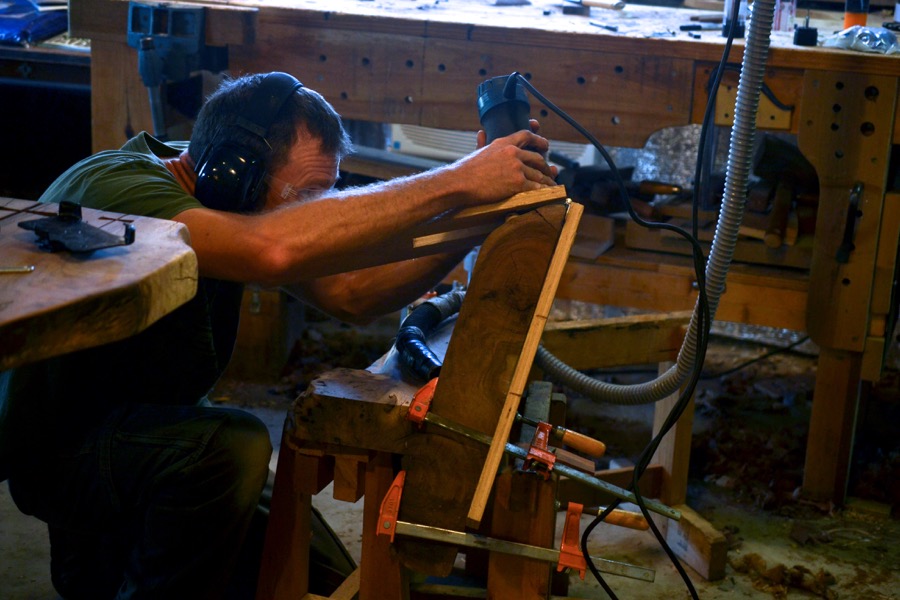
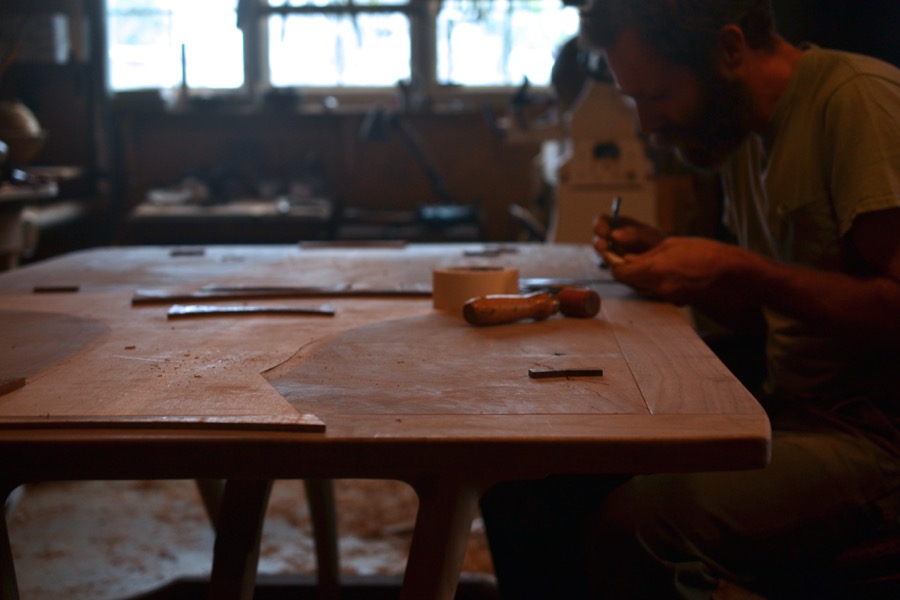
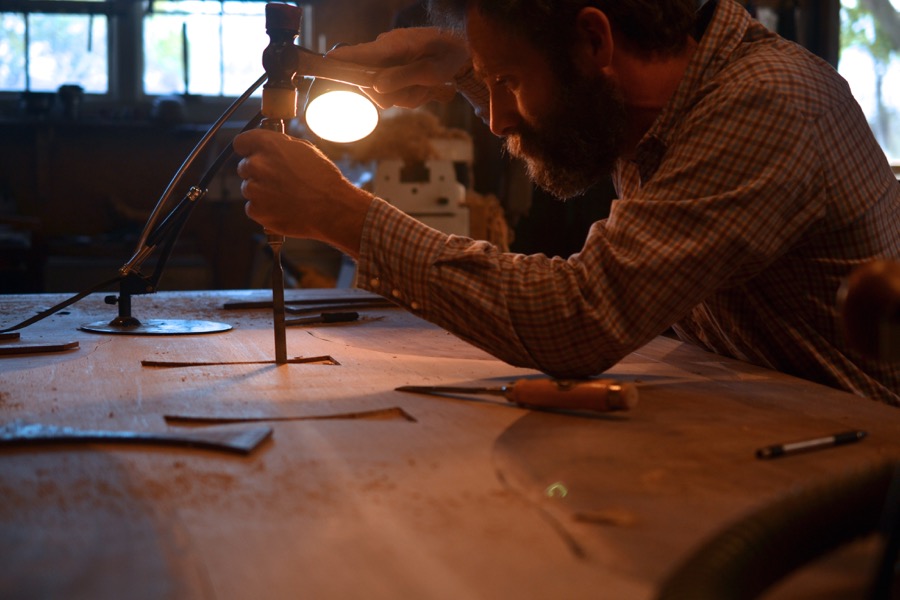
there are a lot of pictures of me hunched over the top of this table, because I was hunched over the top of this table a lot
piece by piece, being tapped into place with my indispensable two-sided rubber mallet

planing the first round of inlays fush to the surface

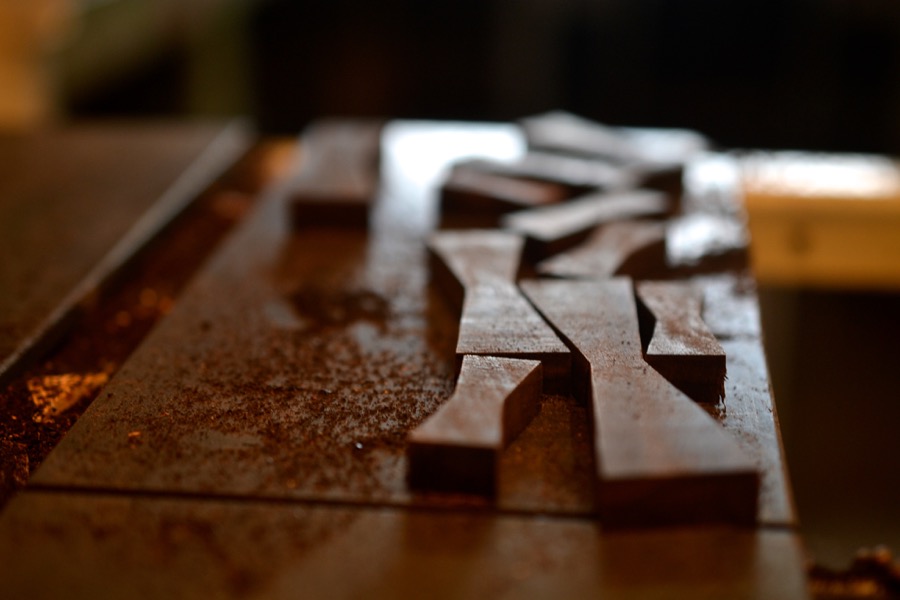
glueing up some ebony for the next round of inlay work

the elements of the central design positioned and ready

a few more ebony details being cut out at the scroll saw

the slow process of accurately scribing every edge with an “Exacto” knife
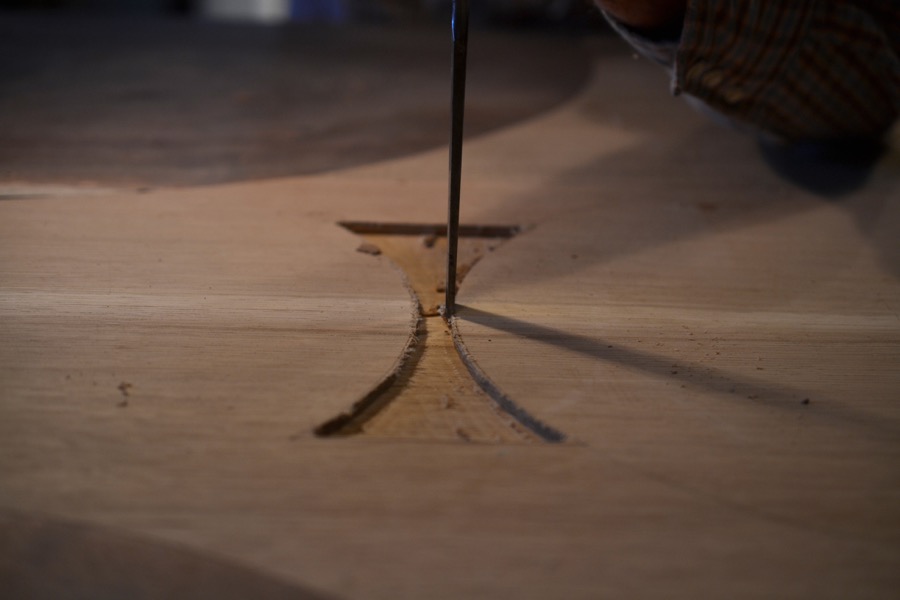
clearing out as much as possible with the router, carefully to stay just shy of my lines

my life for a good portion of October
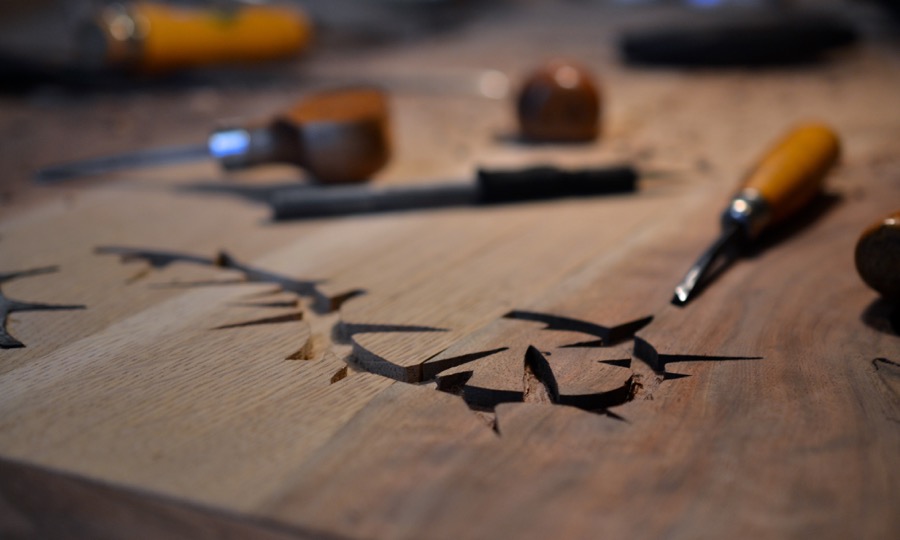
ofter hours of knife, chisel, and dental tool work, the inlay cavity for the crown of thorns is about ready for the ebony

a modified dental tool in action clearing out the acute corners of the cavities, somewhat appropriate

…still hunched over…

some of the inlay uses molten sulphur… being melted here in a spoon
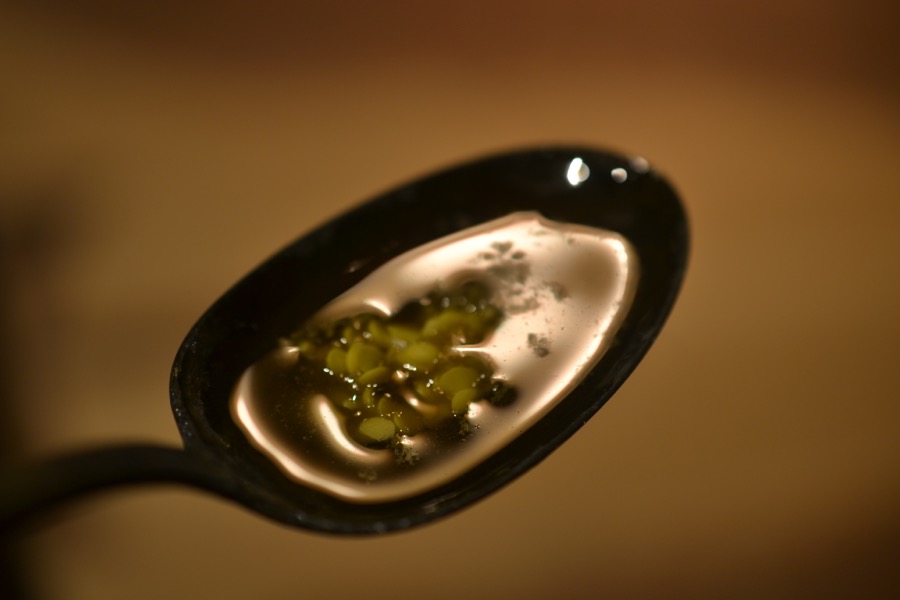
molten sulphur is an eerie and beautiful thing, if not pungent to the point of being toxic
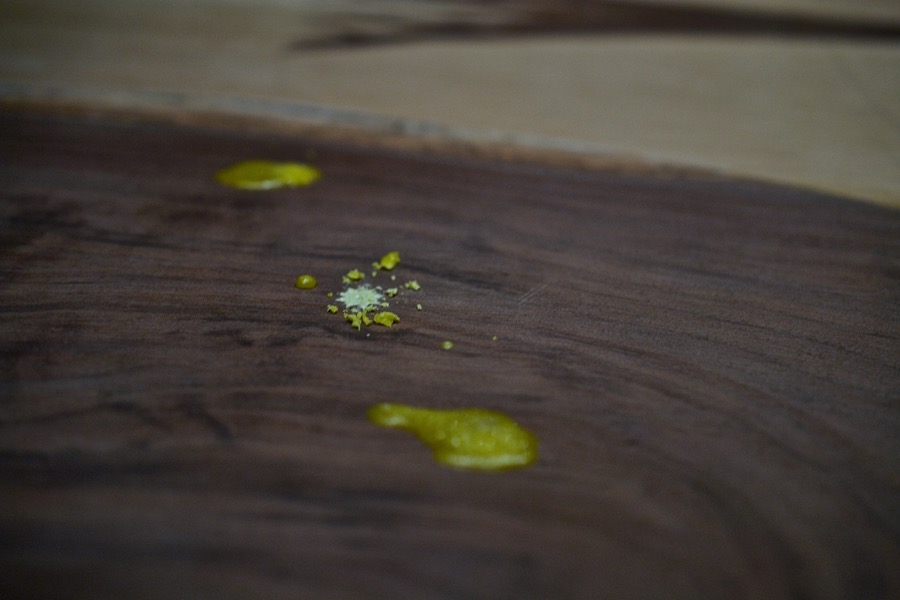
poured into carved voids it marks a lovely luminous contrast to black walnut
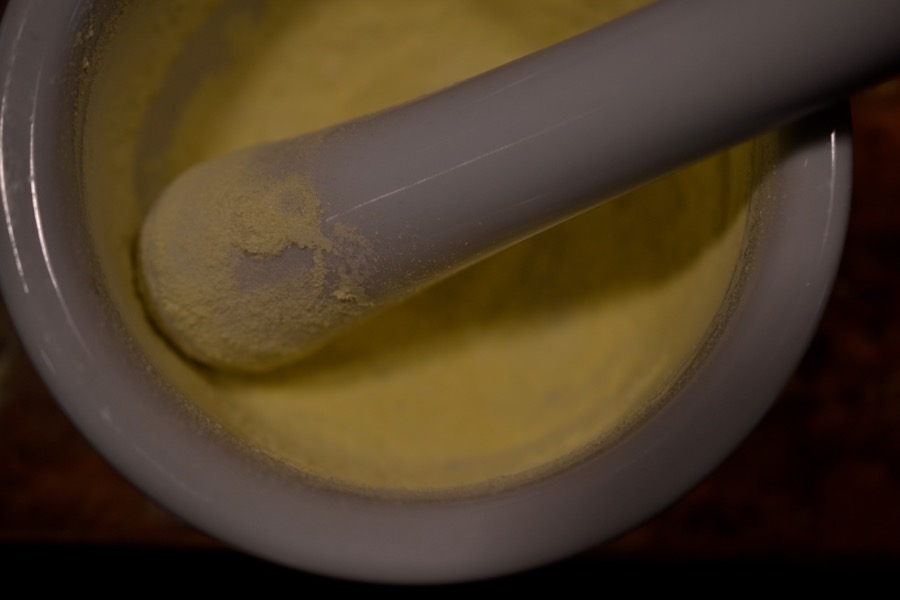
also very porous- not so good for a table top- an improved sulfur inlay was devised. First grinding some sulphur crystals with mortar and pestle…

the sulphur pigment is then introduced to some two-part epoxy

the resultant paste is pressed into the top layer of the earlier sulphur inlay, filling the pores and yielding a slightly tougher surface
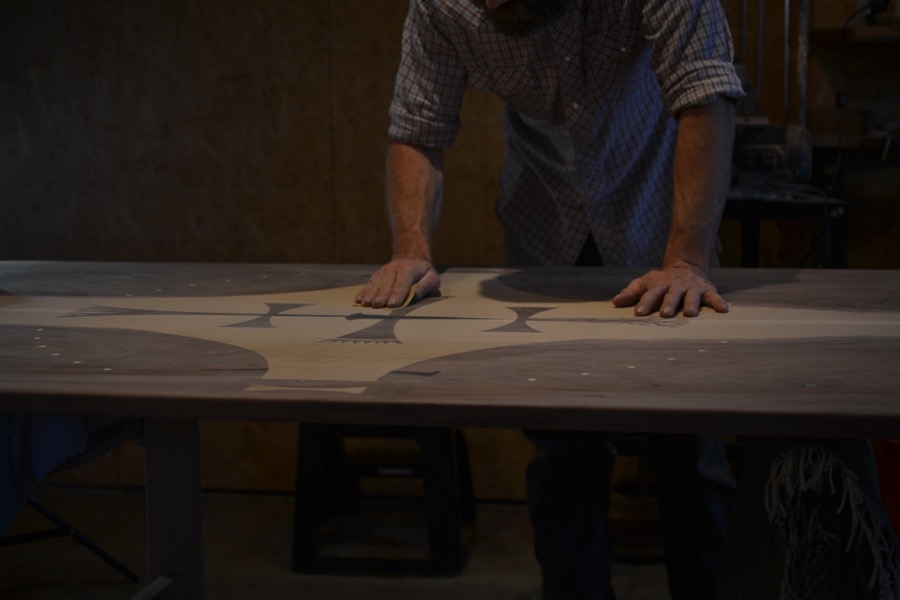
the inlay work done and all the other voids being filled with epoxy, final sanding has begun

as the process goes, there are many flaws in my inlay work that need to be addressed. Out come the pigments and filler

it is an enjoyable process that takes me into the realms of another of my lines of work

then more sanding
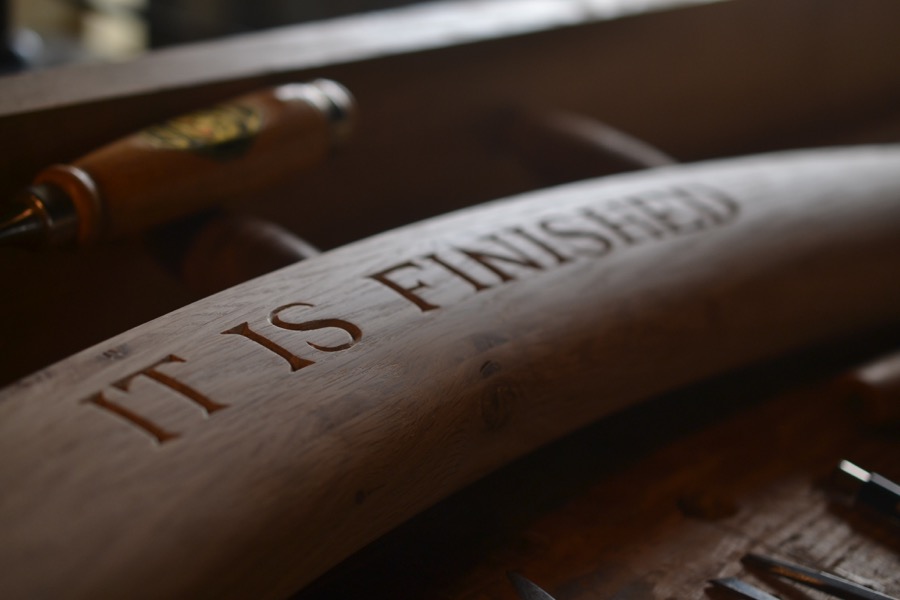
this marks the end of this second to last post in the building of the Champion Table, I won’t reveal the finished piece until it’s new owners have had a chance to see it in person. Thank you all for offering your support and comments, or just following along silently. I remain immensely grateful for the kind encouragement which each represents, and I look forward to sharing the finished piece with you all as well.
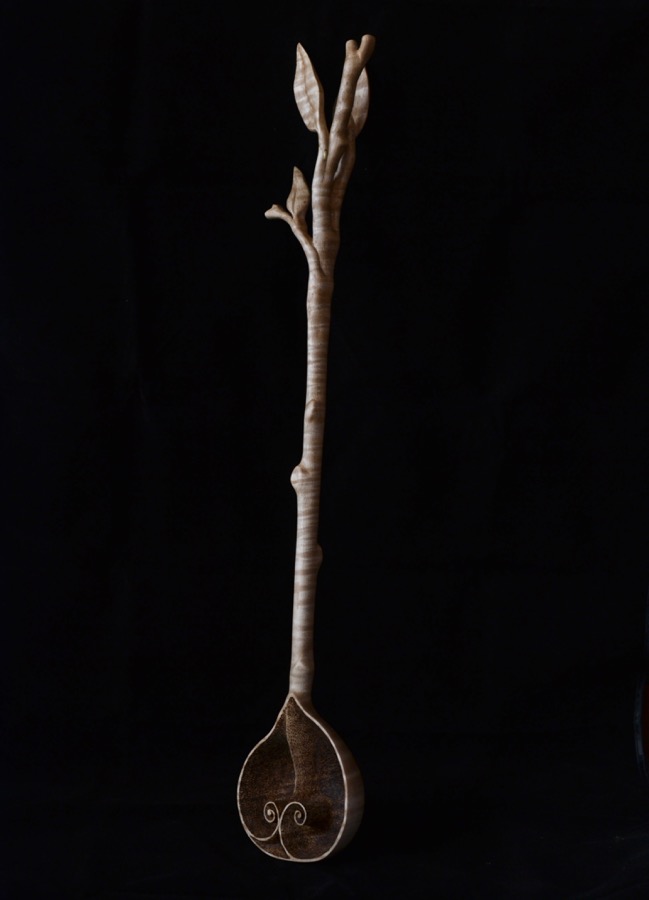
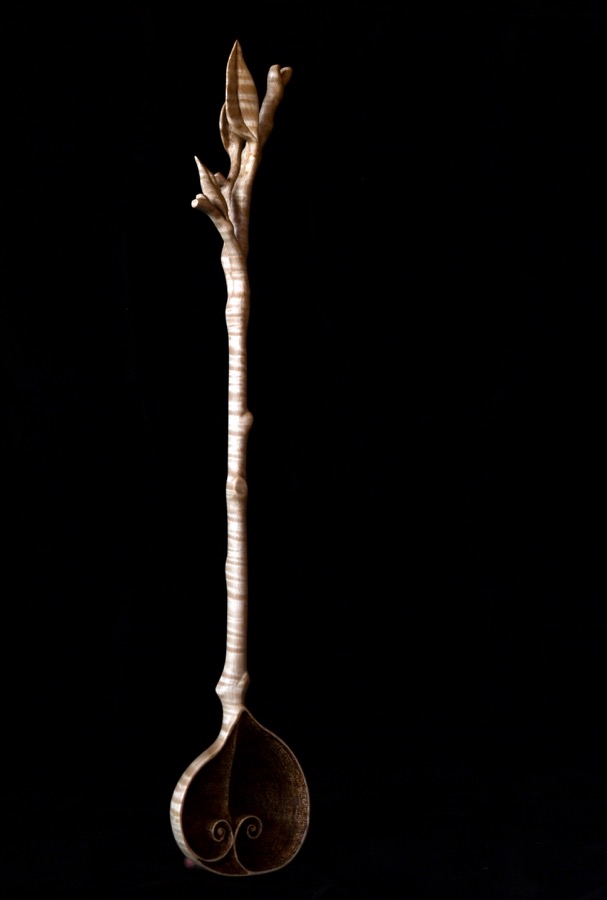
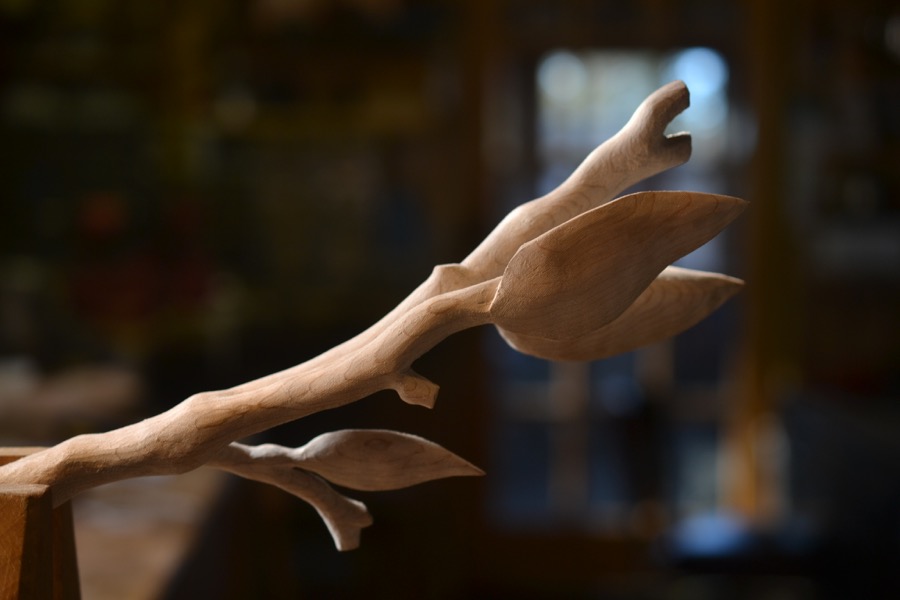
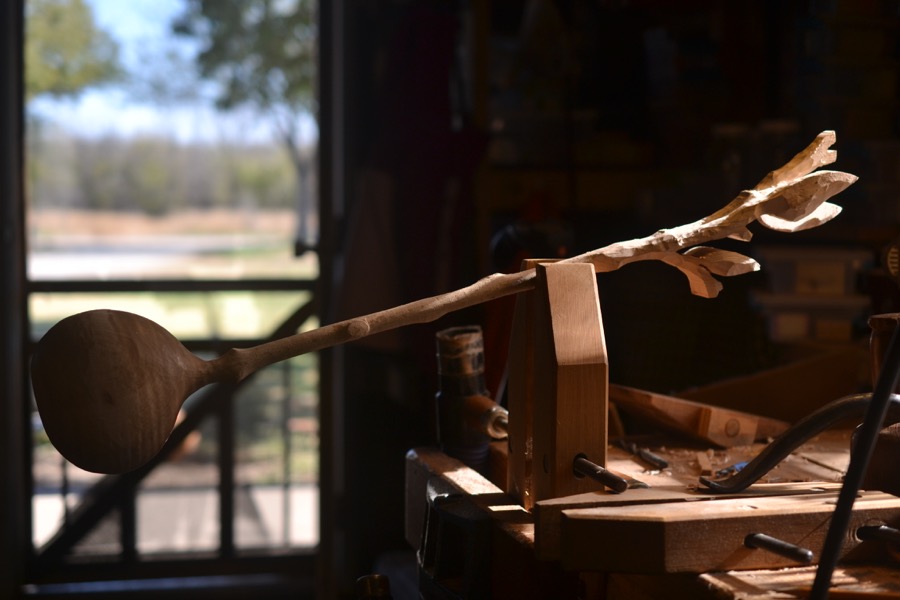
“Johnny” is a spoon carved in figured hard maple.