
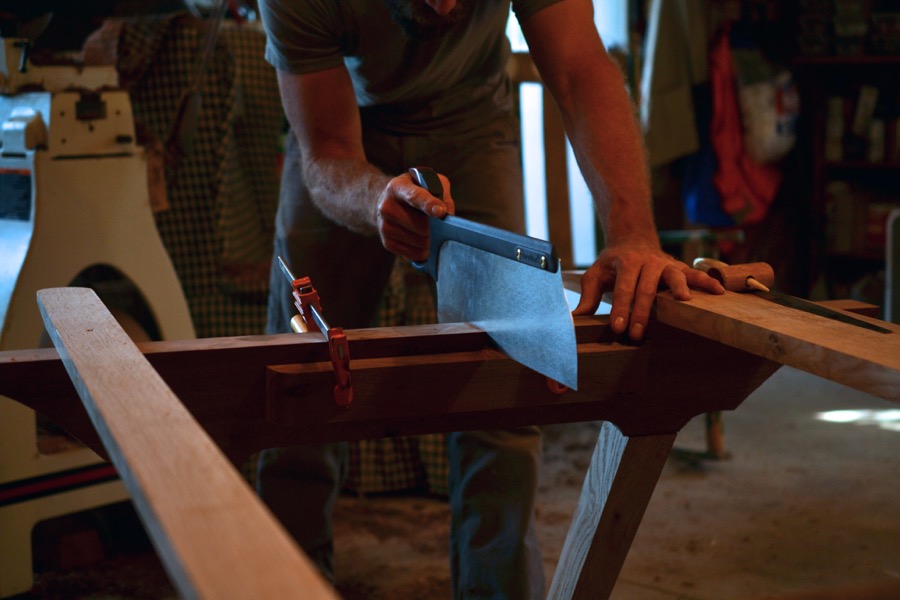
preparing to fit the base to the leg assembly

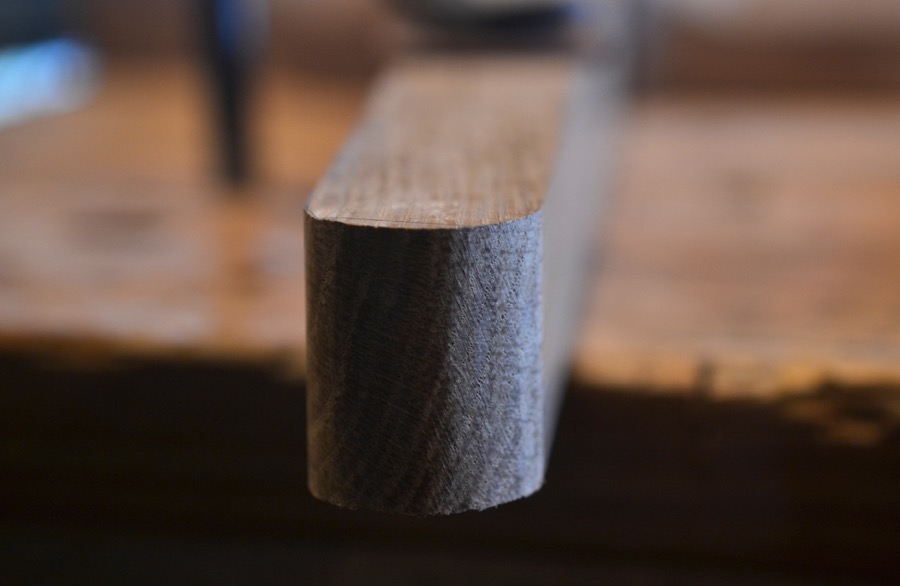
defining a semicircle with 3 saw cuts

3 saw cuts get refined into facets with a paring chisel

and again
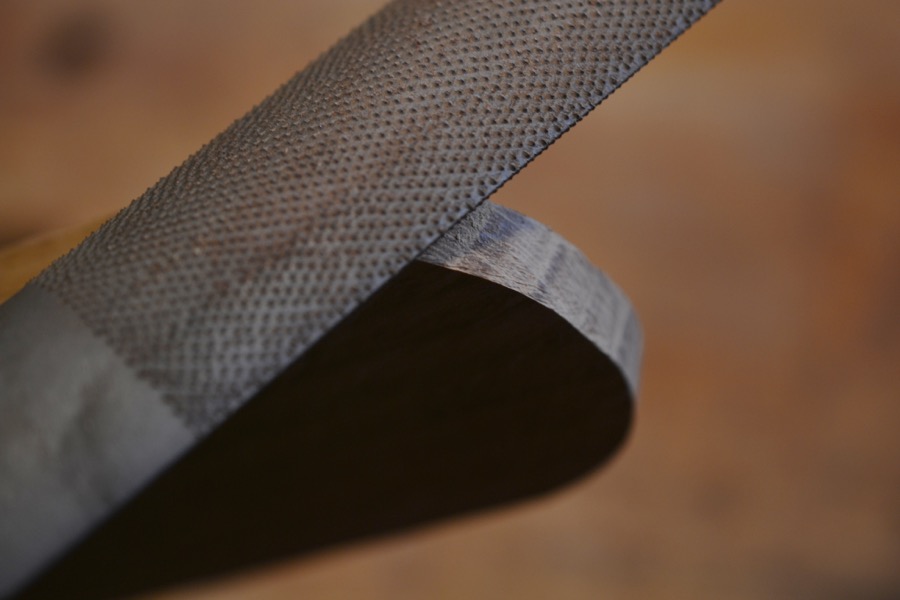
then shaped with a rasp

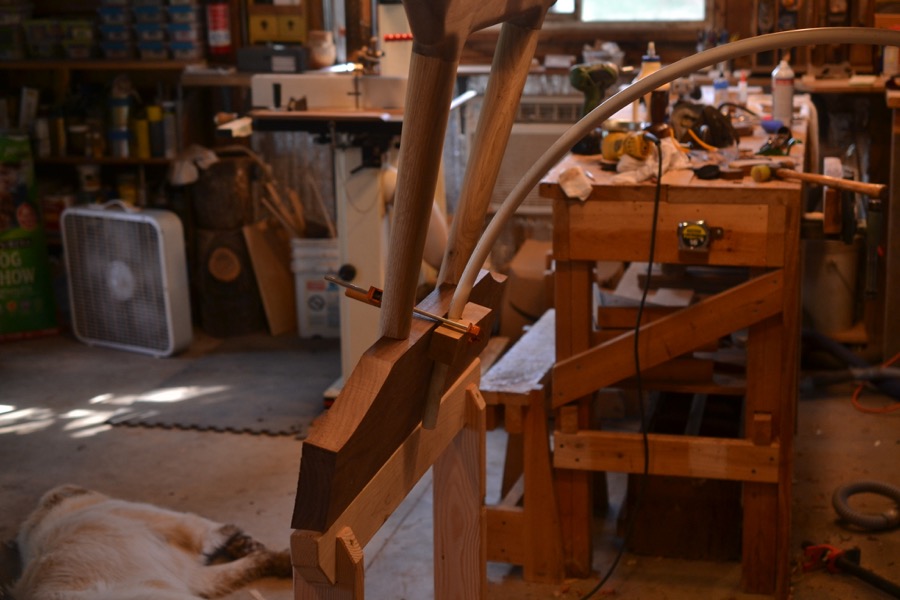
the base of one of the leg assemblies after the 1/2 lap-tapered dado has been cut

here, mated with the white oak leg
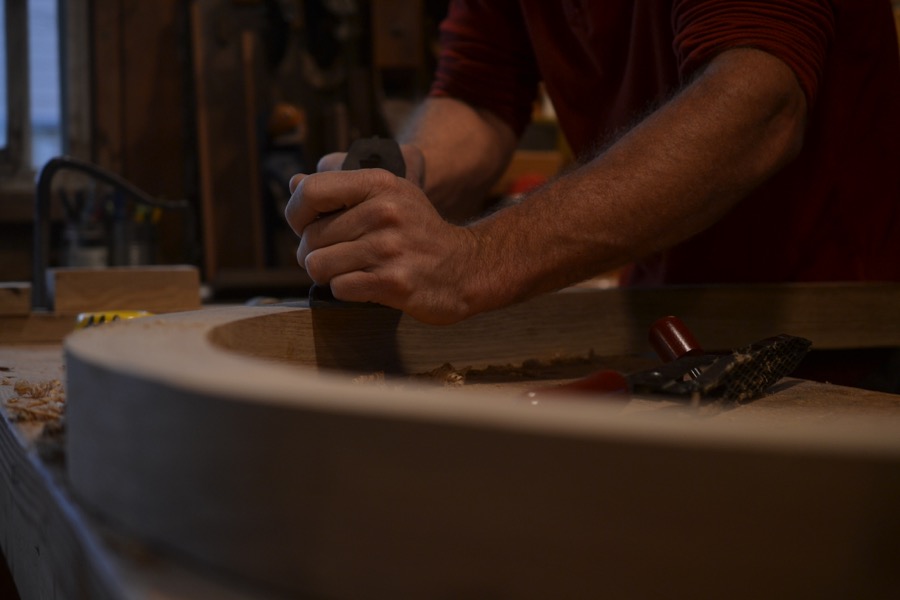
a different piece of white oak being shaped with a rasp, one of three slats joining the top of the leg assemblies together and to the table top

the slats also receive a long bevel
the slats will rest in the notches being cut into the top of this leg section
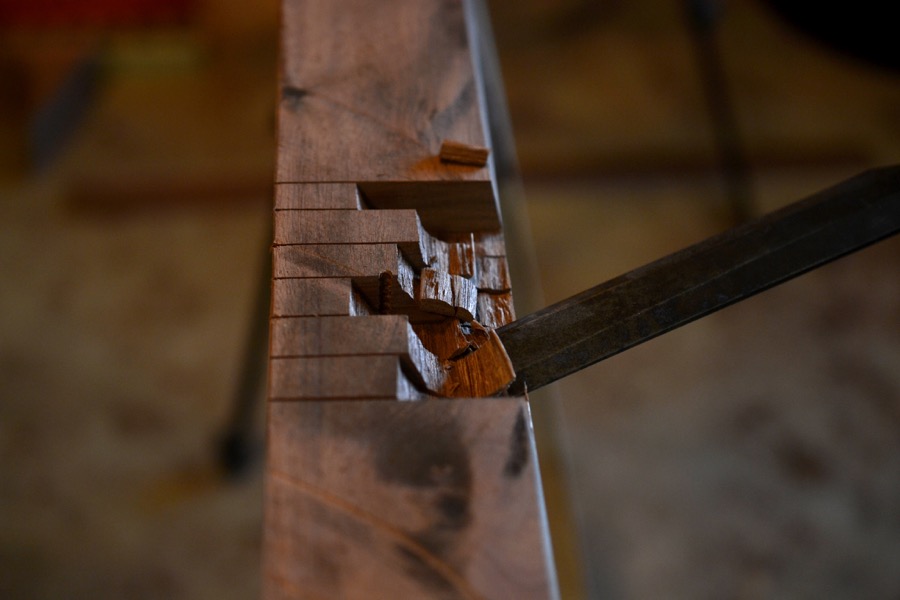
clearing out material from the notch with a 1″ chisel

establishing the final depth with a router plane

here the slats are temporarily in place

an arsenal of shaping tools to begin sculpting the legs

shaping inside-curves of the leg assembly with an aggressive rasp

forming a radius where the legs meet the base
the preliminary drawings had a horizontal stretcher connecting the two leg assemblies at floor level. Having rough-shaped the components and taking a look, I started visualizing an arc instead. PVC pipe (already bent from a previous life in some low garden tunnels) offered a quick prototype to help see how it would look.

the arc made sense, so now setting about squaring up a white oak timber for re-sawing

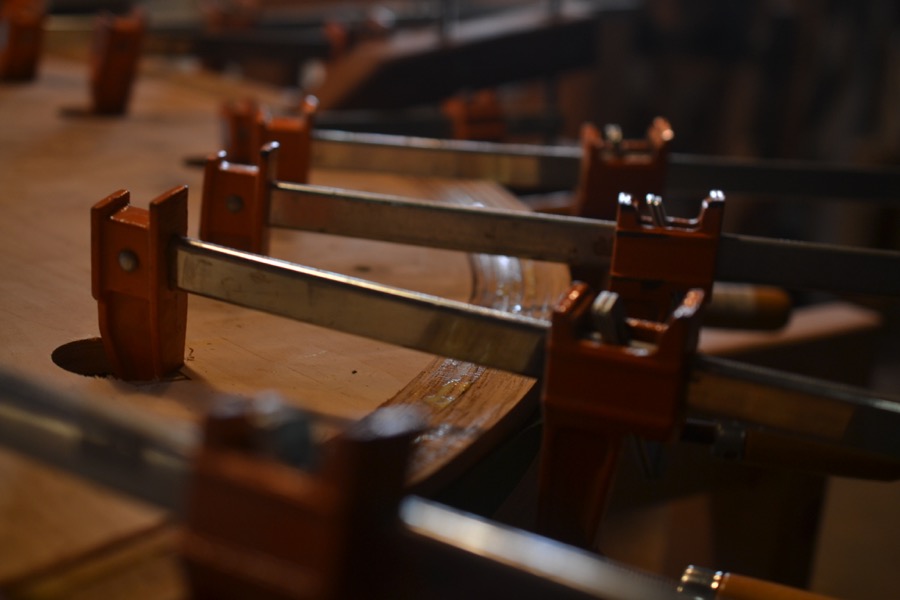
re-sawn white oak and a glue-lamination form ready to make an arc

the glue lamination in the form- my 8 year old son was indispensable in this process, helping to roll glue, assemble, and clamp
rhythm is in unity to woodwork

the white oak timber, reconfigured as a messy arc

work for the jack plane
now the smoothing plane
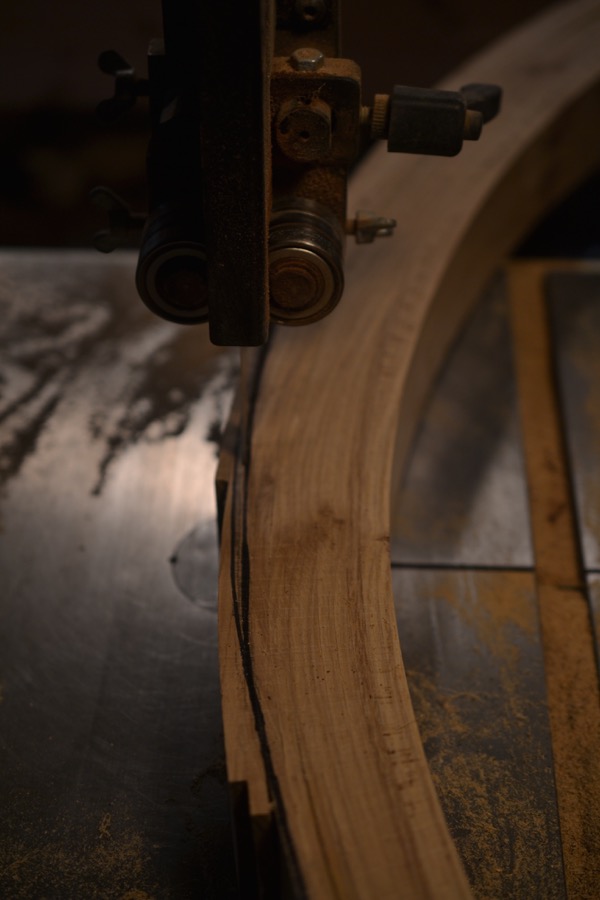
cutting the tapers along the length of the arc at the band saw
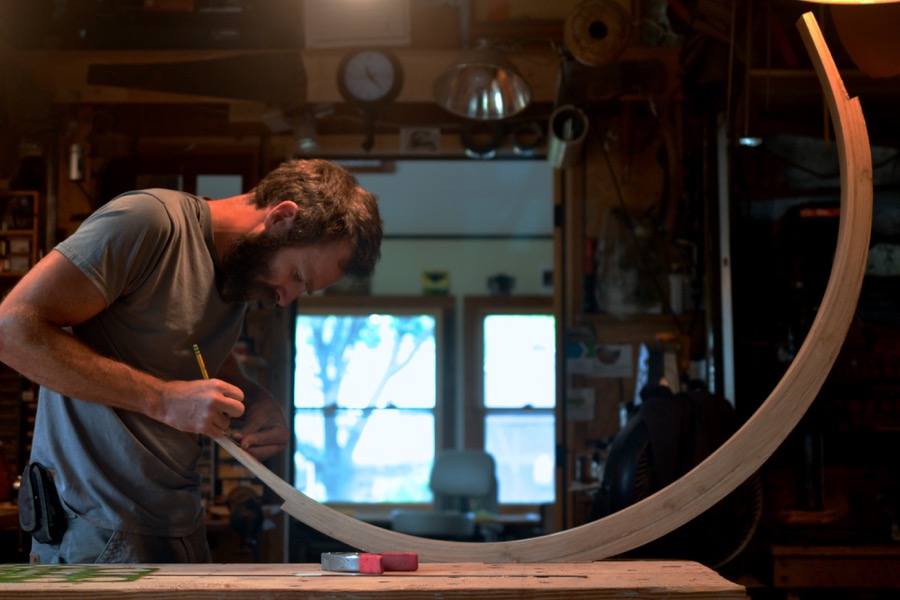
marking the taper at the width

cutting the taper at the width

more elbow grease with the smoothing plane

shaping the many curves and facets along the arc, first with a drawknife
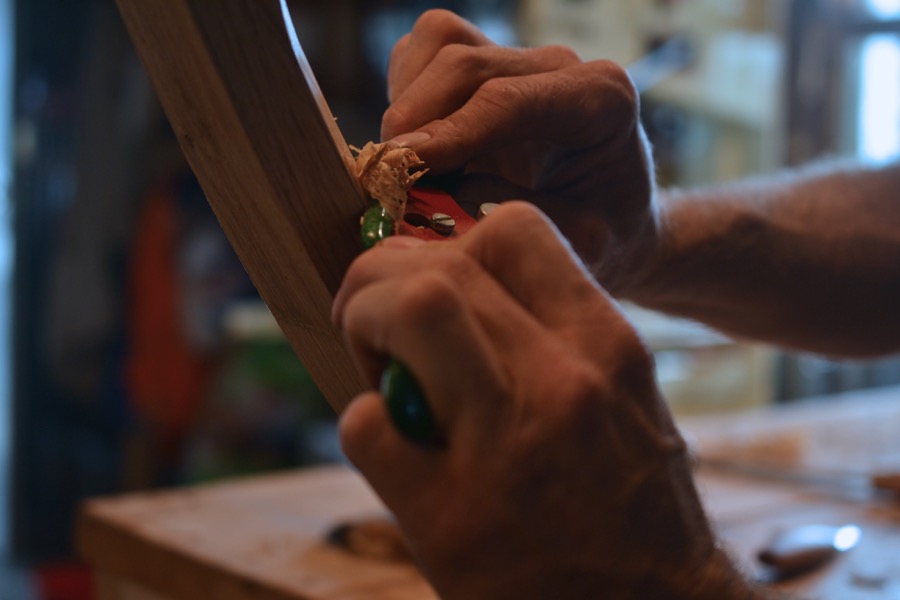
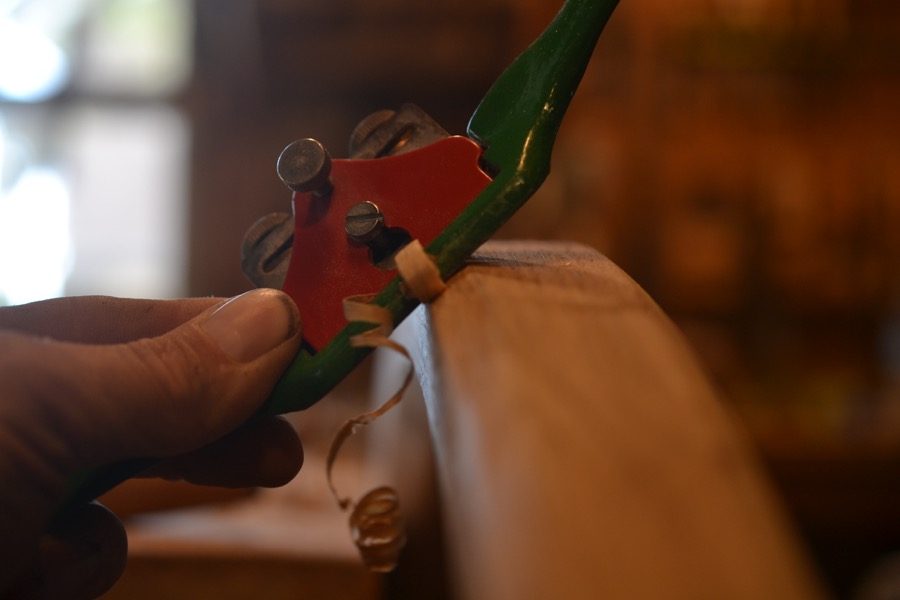
then with spokeshave
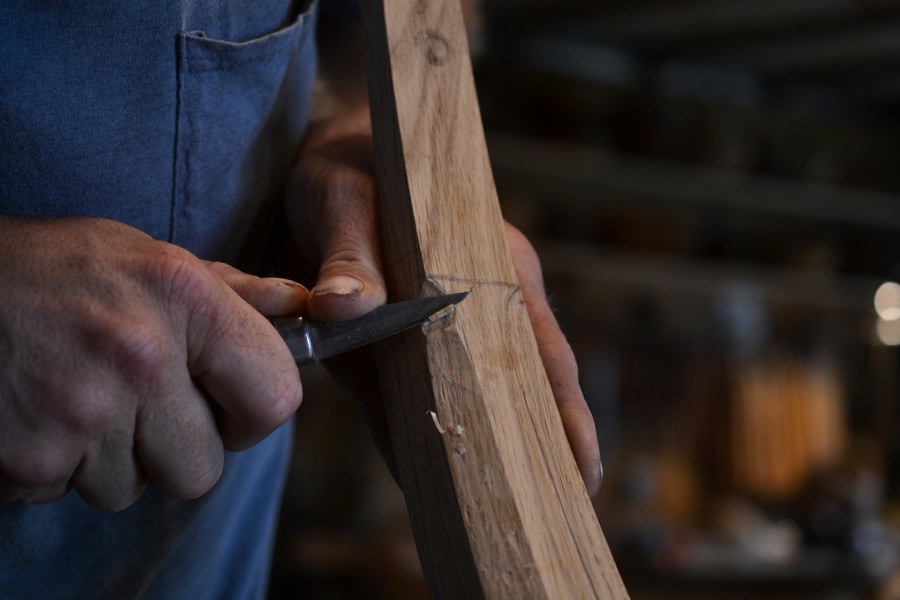
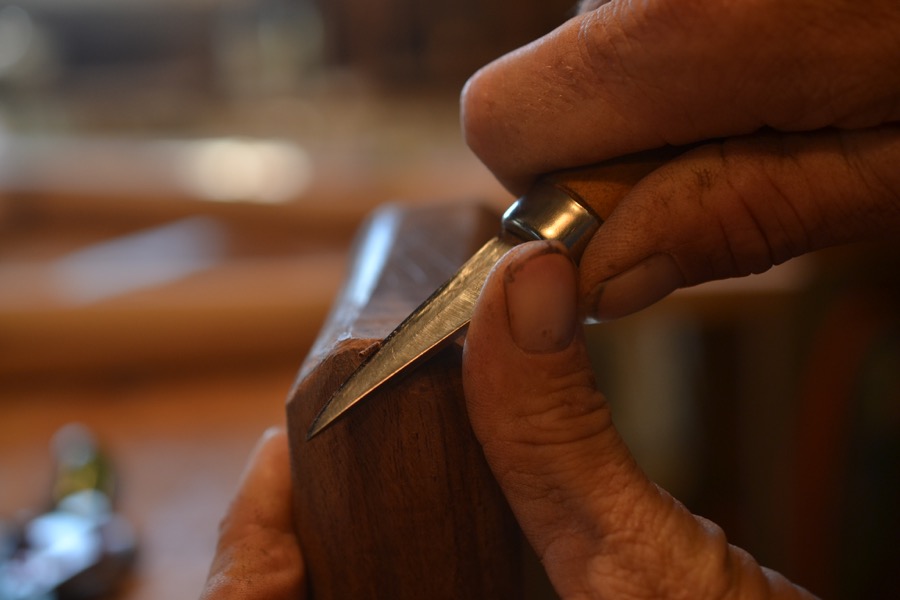
establishing details with knife
facets ease into curves

test fitting- some refining-shaping to go yet

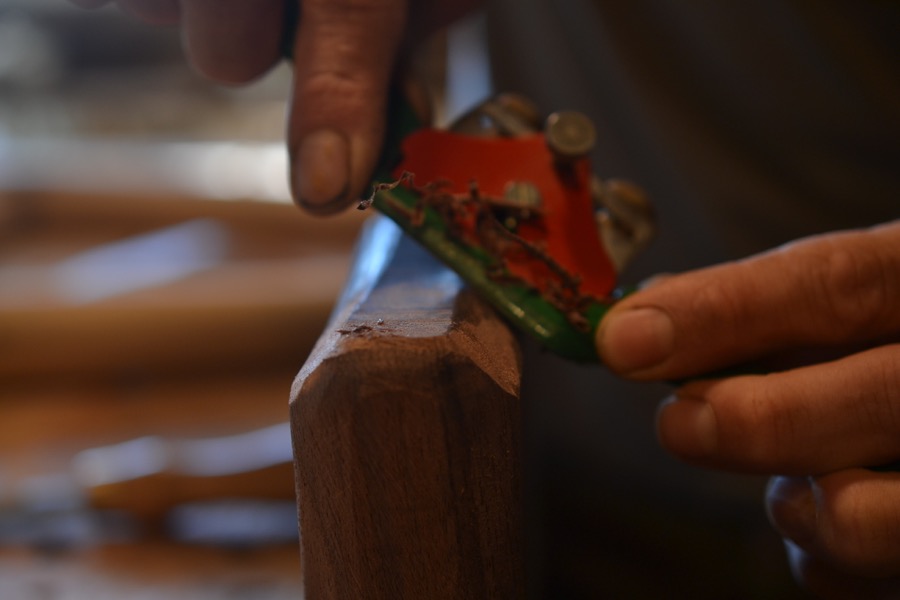
setting the location of the chamfers on the leg-base
shaving away rasp markings
carving corner transitions

so many details to bring together- here the leg base is about done.
That’s it for this round- next week there will be lots of sanding, also carving and inlay work as the table finally starts to become unified. Thank you to everyone for following along, and for your encouraging comments.
