
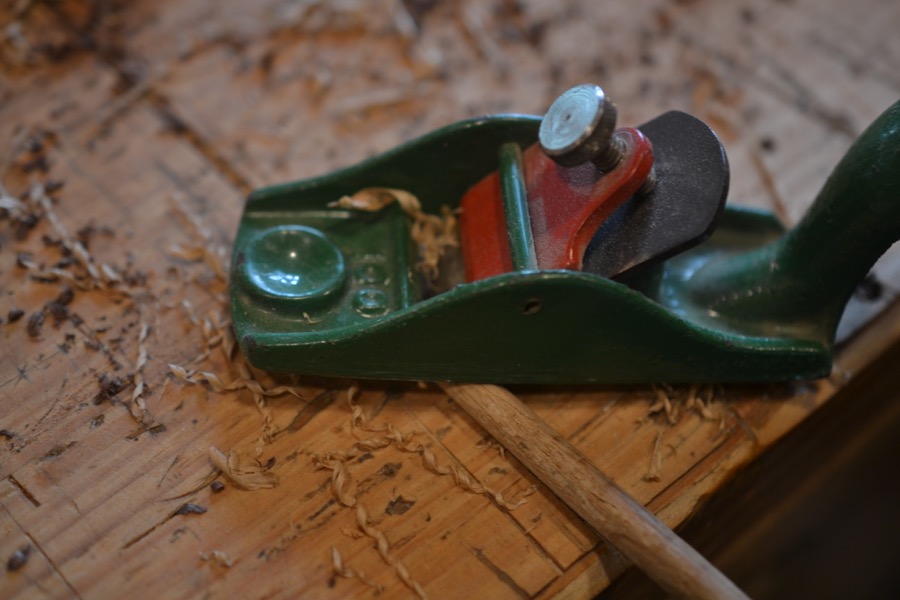
surface preparation with a Stanley #80 scraper

the swirly walnut grain is difficult to plane but the scraper is able to deal with it efficiently
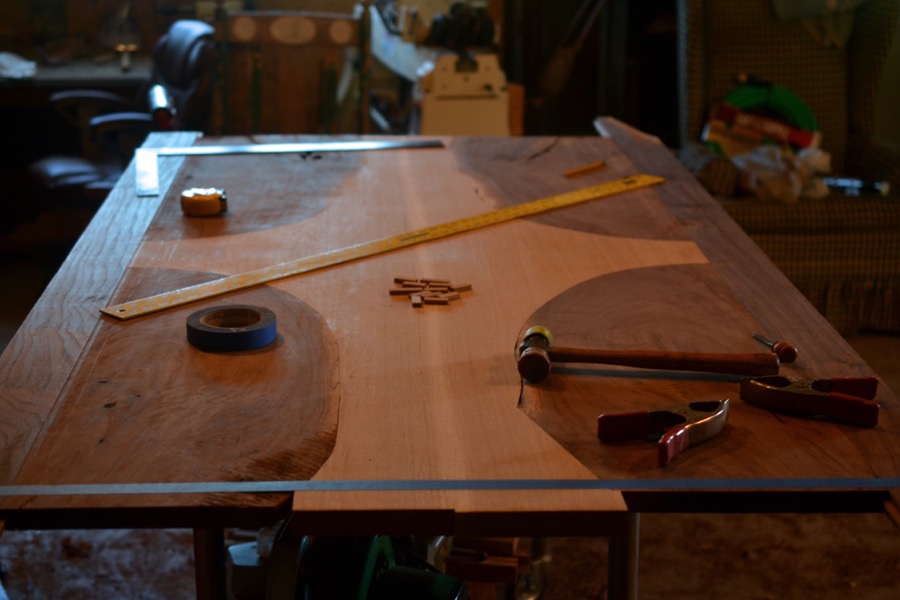
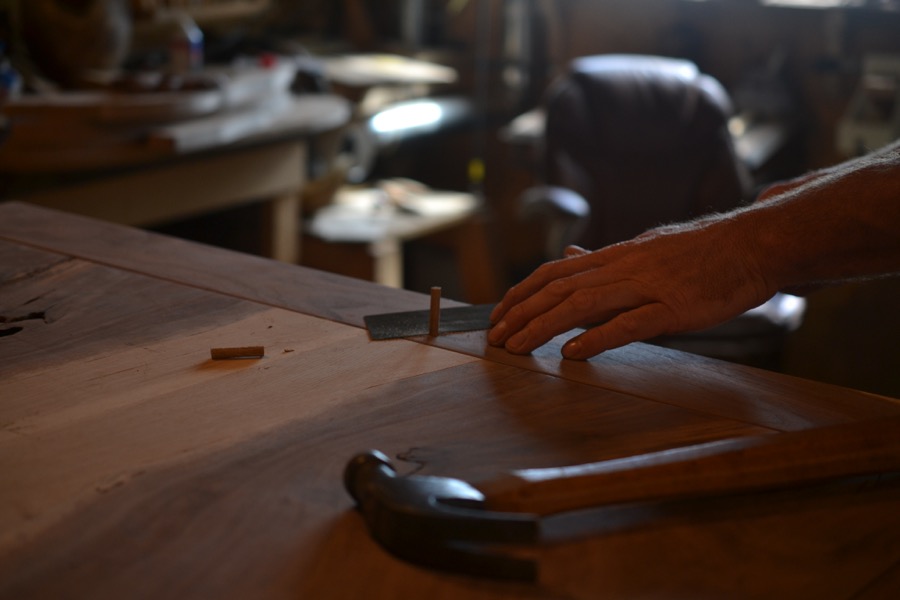
beginning to fit the side rails and bread-board ends

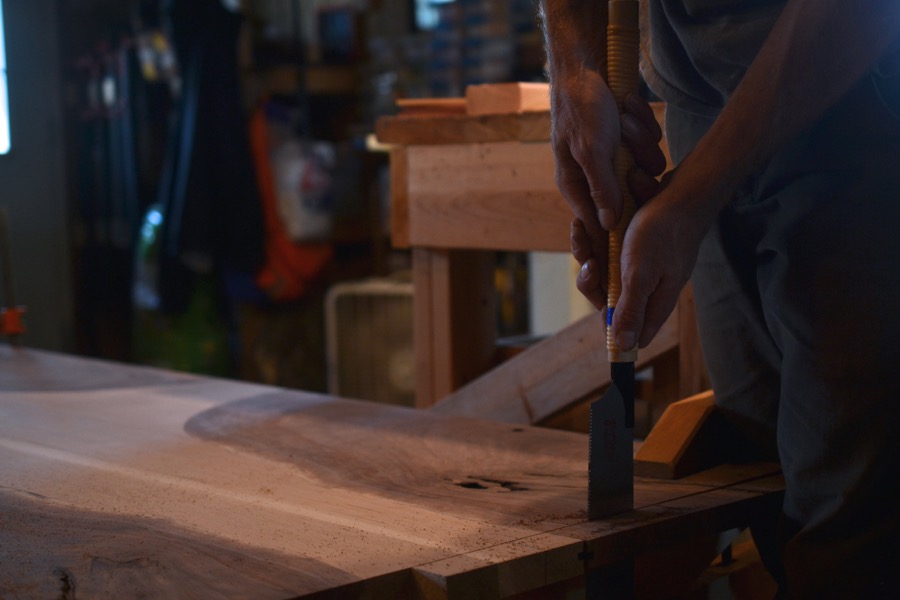
marking the end cuts with a sharp knife
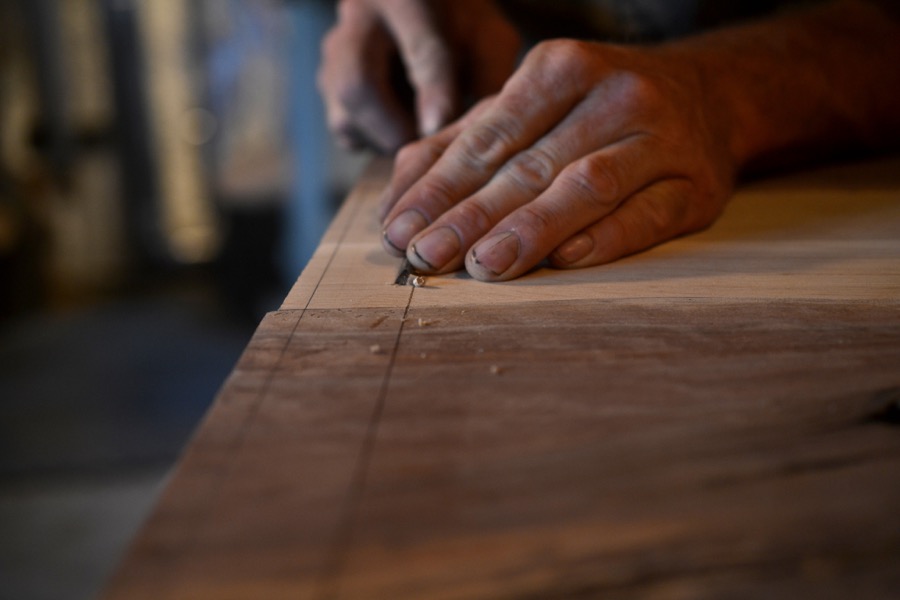
then creating a shoulder along that line with a chisel assures a clean cut without tearing the grain
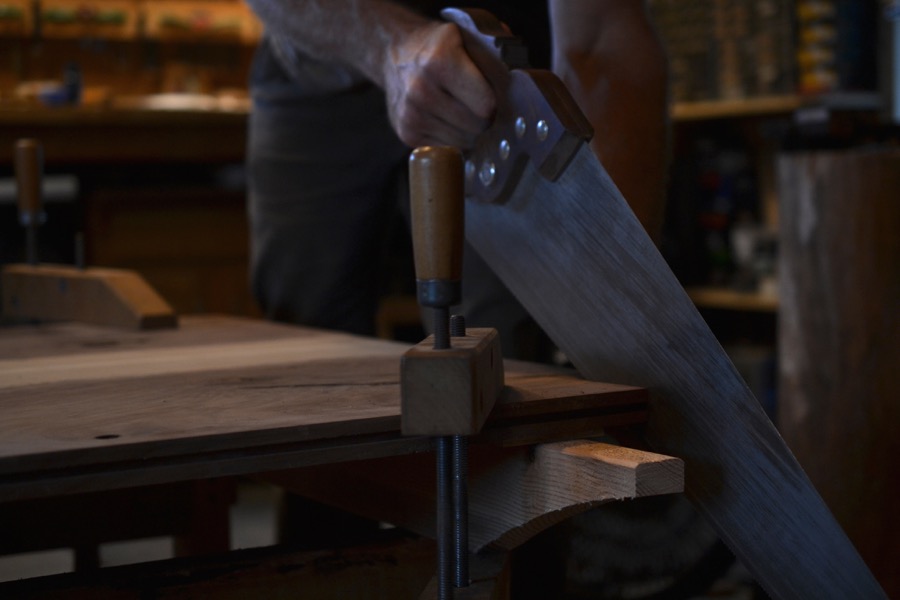
cutting along the shoulder with a sharp crosscut saw

a small array of saws to do this job
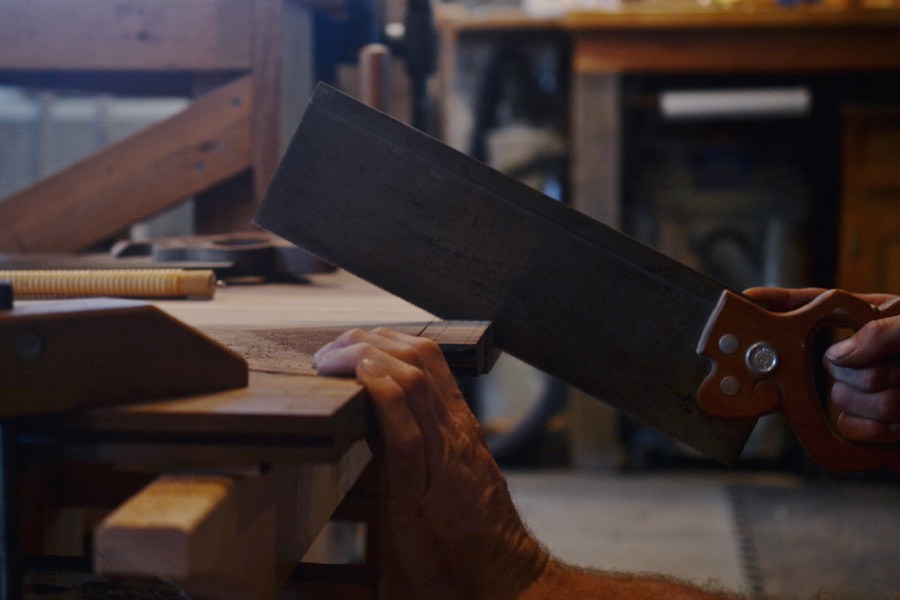
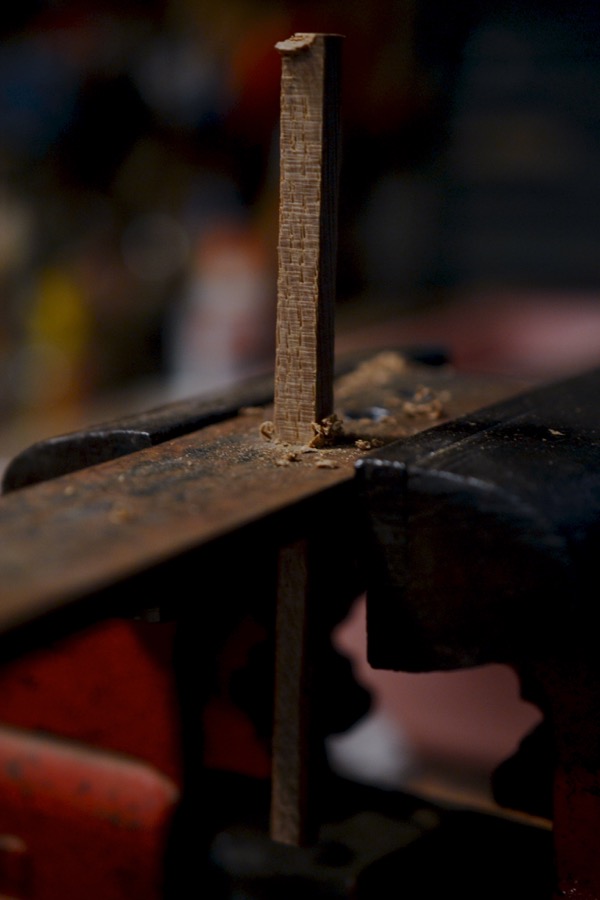
cutting the central breadboard tenon
coming up to the other side with a pull-saw
both ends of the table are now cut

cutting the base of the tenon “cheeks”

really no other position to accurately make this cut
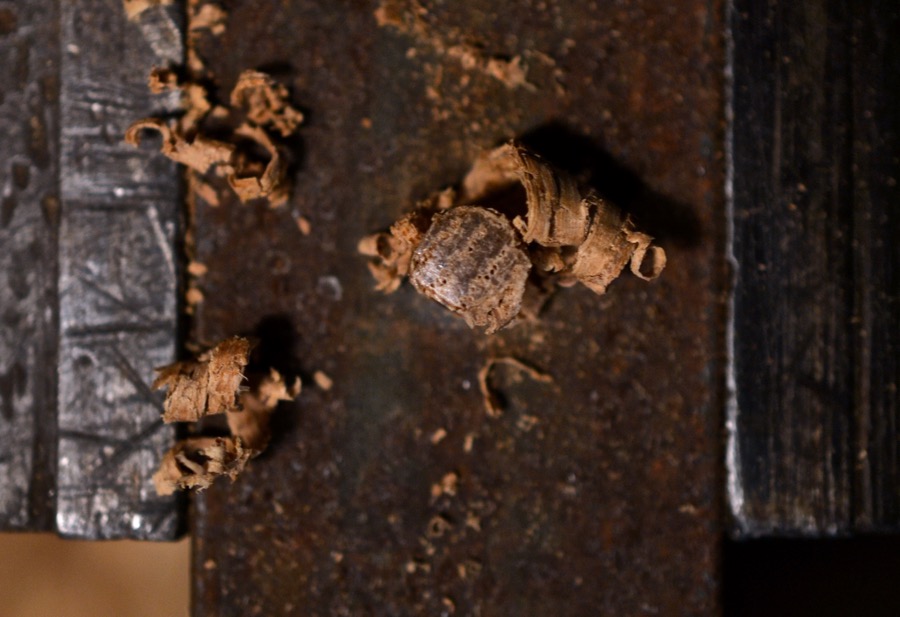
cutting away the “cheeks”

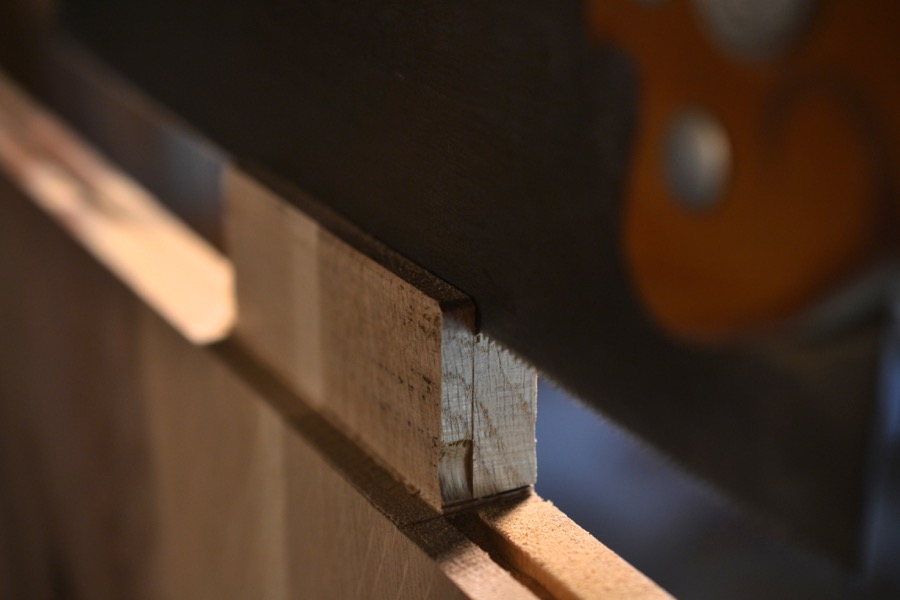
the finished tenon, and a groove has been cut to receive a floating tongue to align the breadboard
laying out the positions of the mortise and tenons on the side rails and breadboards

cutting the tenon on the side rails

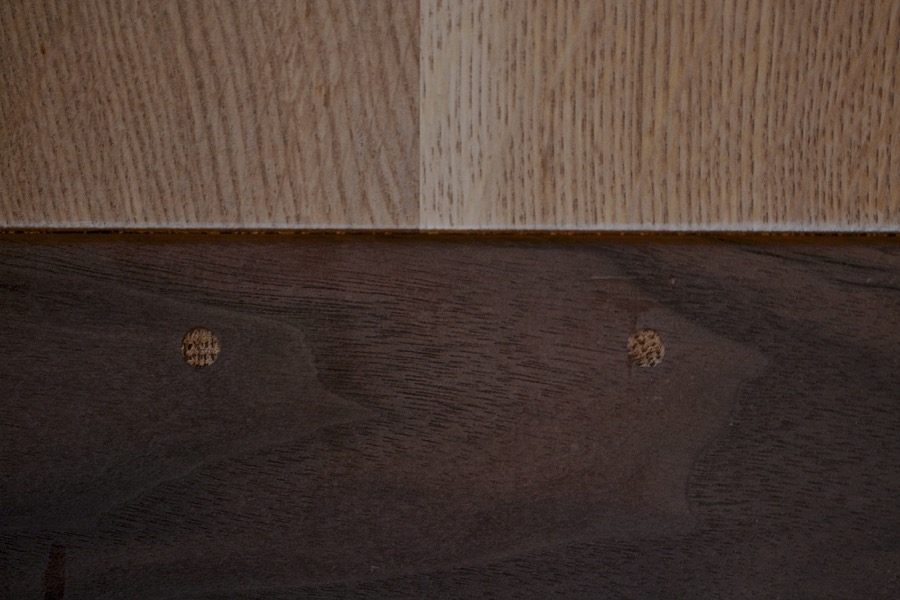
checking for a tight fit. the side rails are attached with glued tongue and groove joints, while the breadboards are “floating”, held in place by a tongue and groove joint and two “draw-bored” mortise and tenon joints, which will allow for expansion and contraction where the grain intersects perpendicular rather than parallel, yet holding the boards tight to the edge of the table. Two opposing corners are pinned miters and the other two are mortised. imagine the table being able to expand in width along the length of the two boards left long to see the allowance for seasonal cross grain movement.

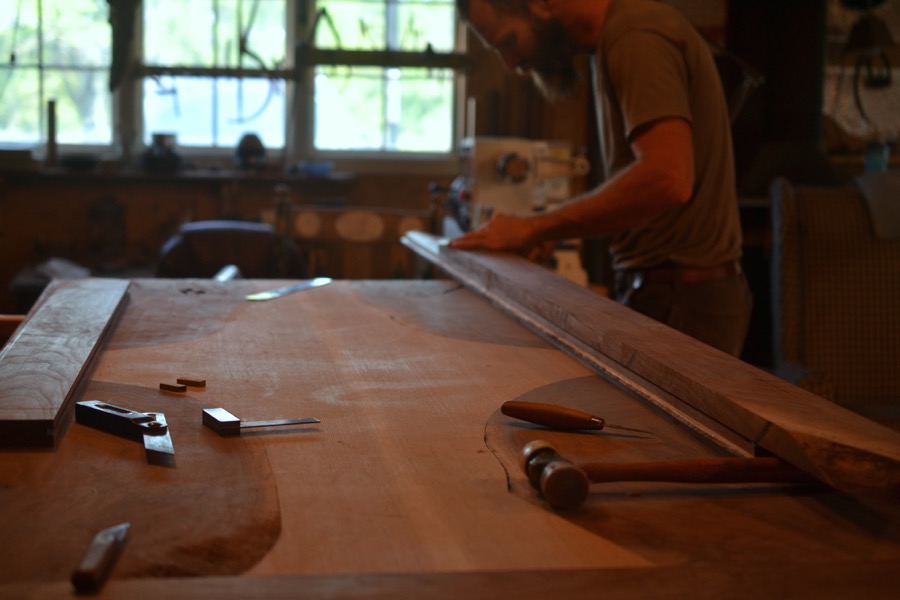
treating the edges before the final assembly

drilling for the dowels for the pinned miter joints where the live edges come together

a brad point drill marks the center of the tenon inside

re-marking the tenon with an offset so that the dowel pin will “draw” it tight to the edge of the table. the holes will be elongated laterally to allow for joint movement.
altering geometry with violence

shaping the dowel pins by pounding the straight oak through a succession of smaller holes drilled in a steel plate until they are round and the size I need
nearly there

a batch of pins
planing a taper

the taper will allow the pin to engage the offset hole in the tenon and slowly pull it tight
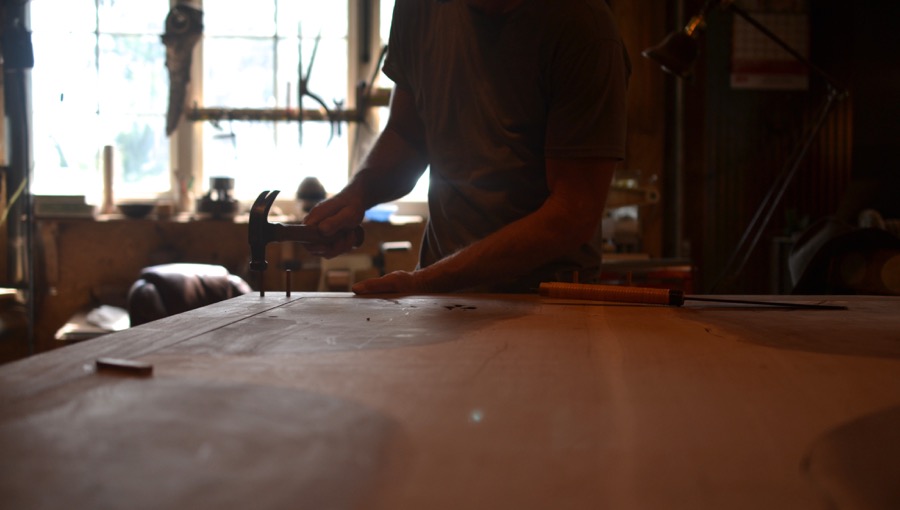
pounding the pins home for the final assembly

a little help form a ratchet strap to pull the center tight
cutting away the exposed ends with a saw
a tightly pinned joint

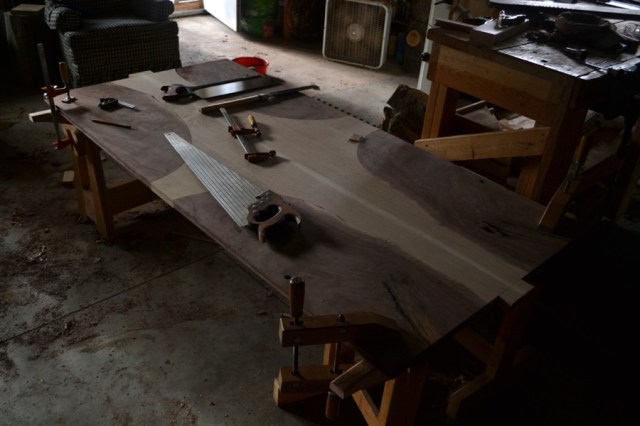
the top all joined. there will be a considerable amount of detail work on the top yet, but first the base

Gorgeous, Jack!
Thanks, Rick.
Makes me want to toss our cherry dining room table off our deck and buy your masterpiece!! Incredible
Thank you so much!
That really looks great. I like the details you provided in the pictures and texts, Keep it going Jack.
Great work Jack really beautiful!
Thanks a lot, Astrid. I appreciate it.
Gorgeous and incredible, as usual, my friend. I love seeing your process!
Thanks, my friend.
Getting in position atop the workbench, a good one there.
Yeah, Ernest, I often find myself up there for one reason or another. Maybe it is my roofer genetics.
It reminded me of a picture of Krenov in a similar position from one of his books.
Dear Jack,
amazing work so far! I really love to come and see what you build. That makes me want to construct a table on my own.
Concerning the headline I think you did not find the right translation. As a German I read it like: The Champion, chart of the construction. You probably mean “(Der) (Auf)bau des Champion-Tisch(e)s” [der Aufbau is more like building a house (erection), the e is optional, der Tisch is a table to sit at, Tabelle is a chart] or “Der Champion-Tisch-Bau”. I thought you may want to know…
I am looking forward to your next post.
Cheers
Sven
Sven,
Thank you so much for the comment, and the correction of my German. I really have no right to make German titles to my posts. I suppose, I am hoping to give some honor to my Germanic roots. I made the correction, but please let know if I am still off somewhere. I am very grateful for your patient and gracious explanation of the proper words for my title.
Jack