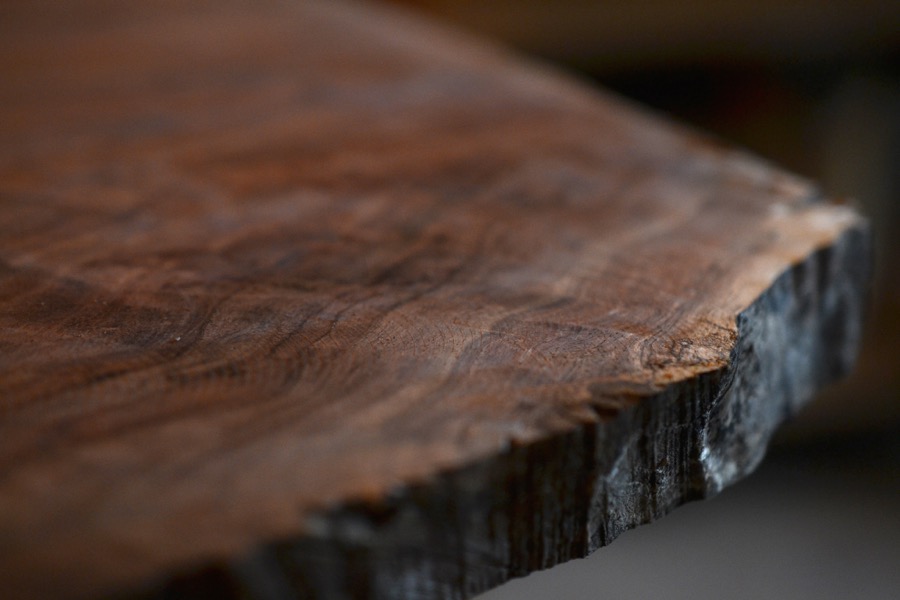
the beauty of God’s edge
composing pieces
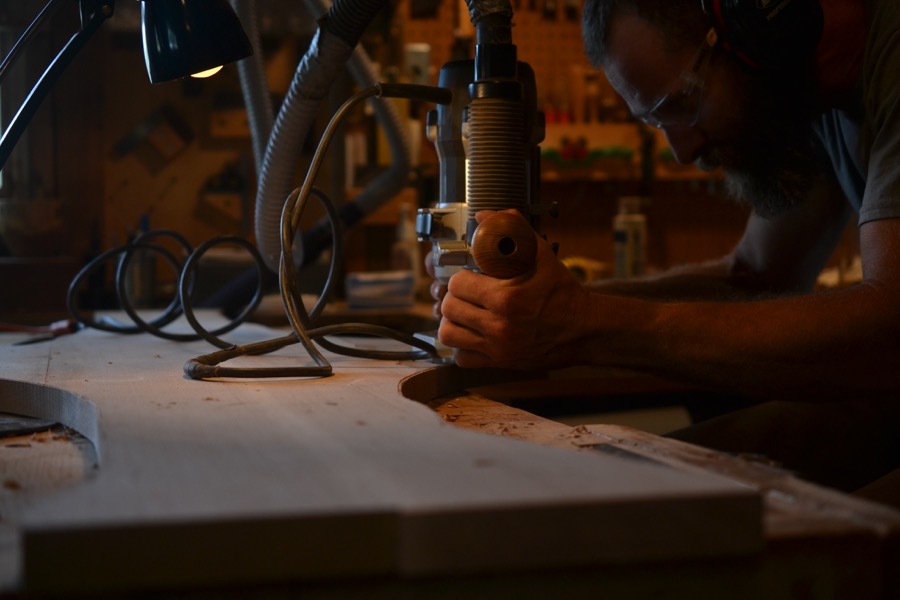
flattening black walnut with a router and jig
more looking, more composing
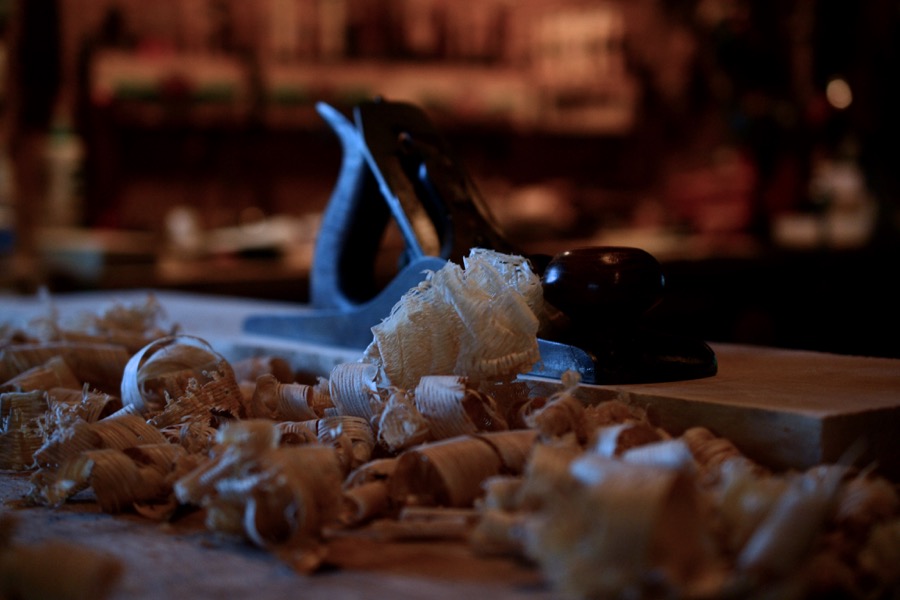
smoothing and shaping edges
smoothing and joining white oak
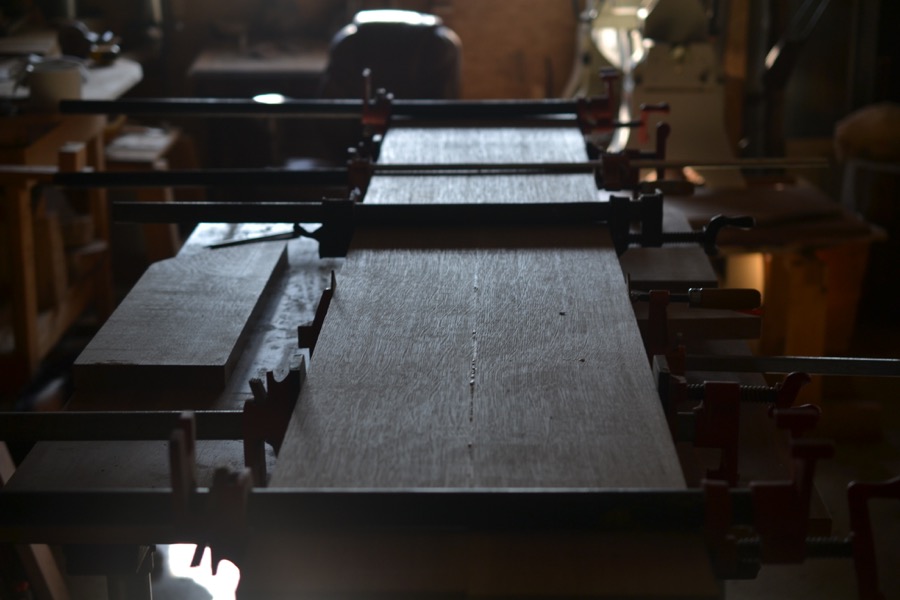
assembling white oak panels
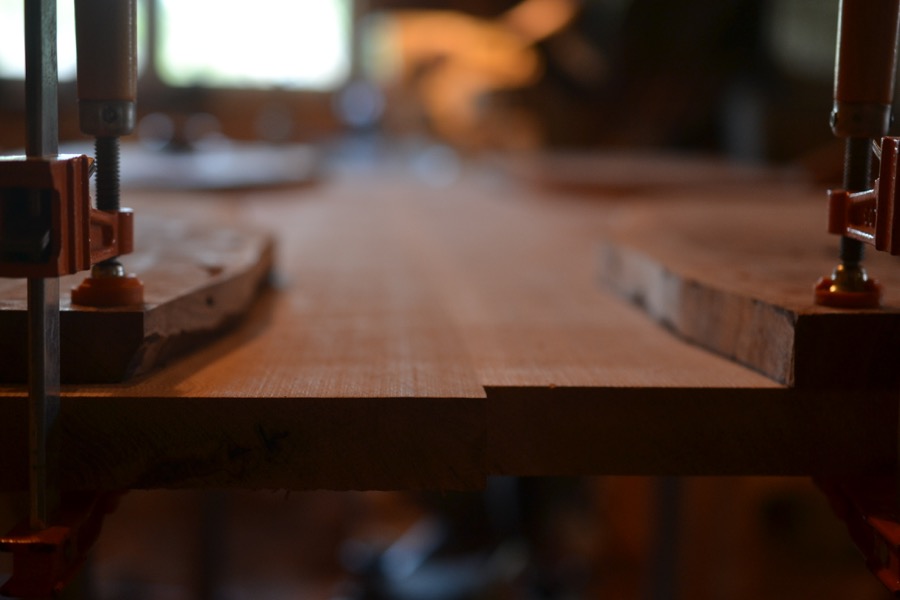
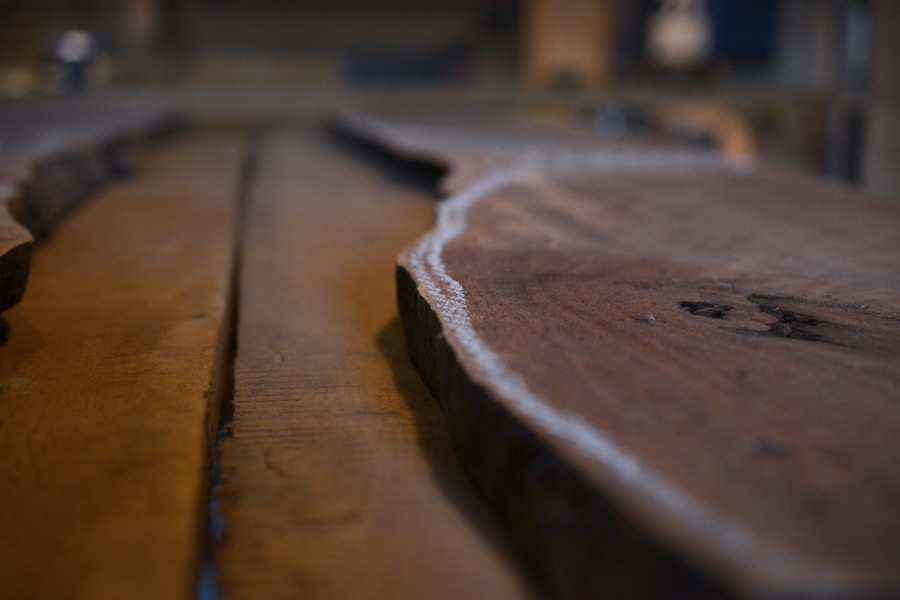
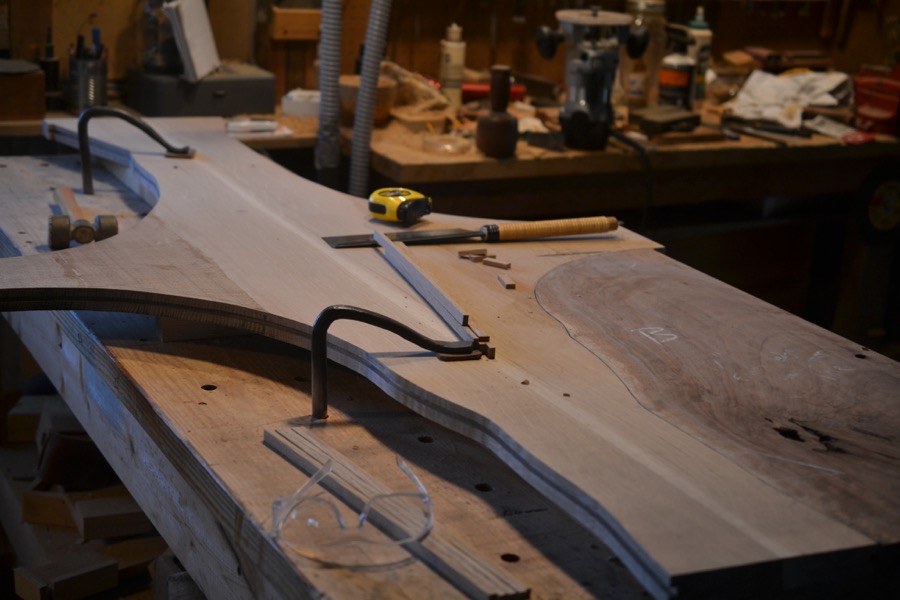
white oak and black walnut adjusted and clamped for scribing

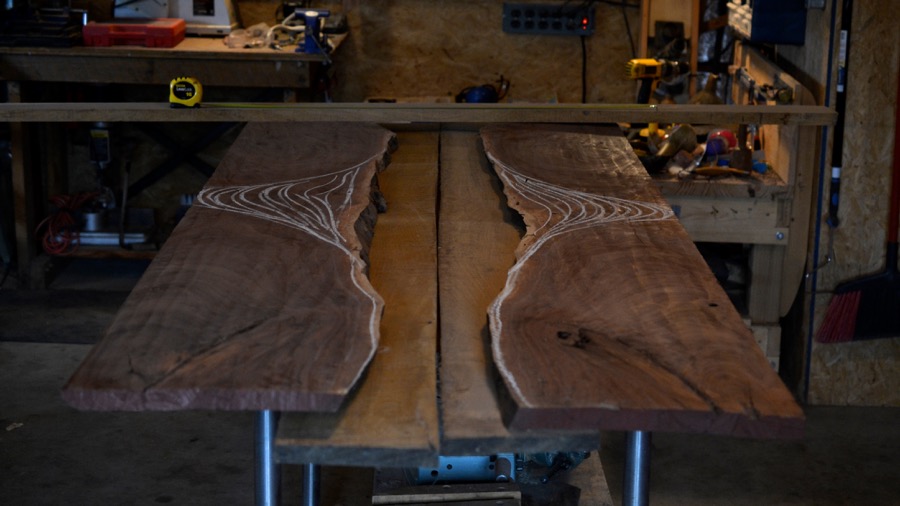
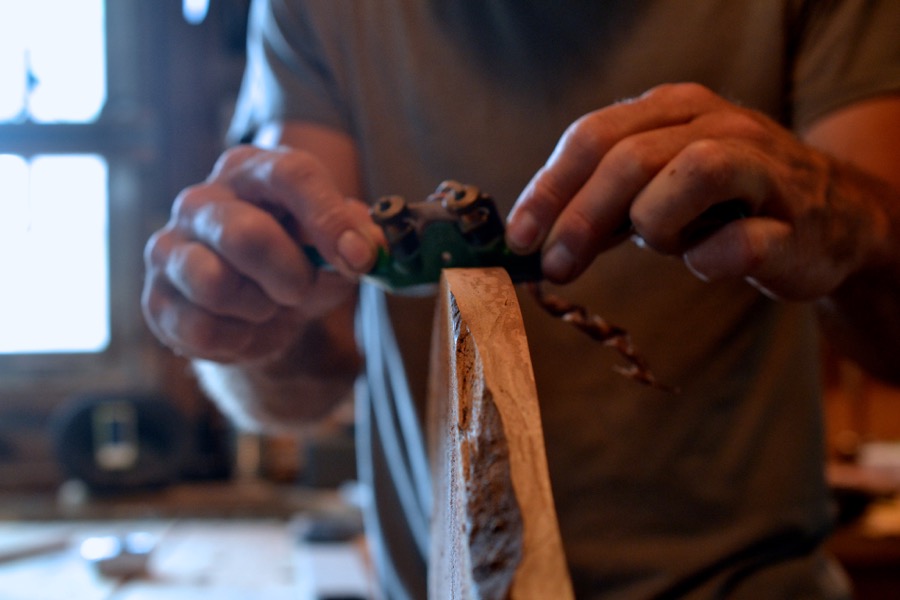
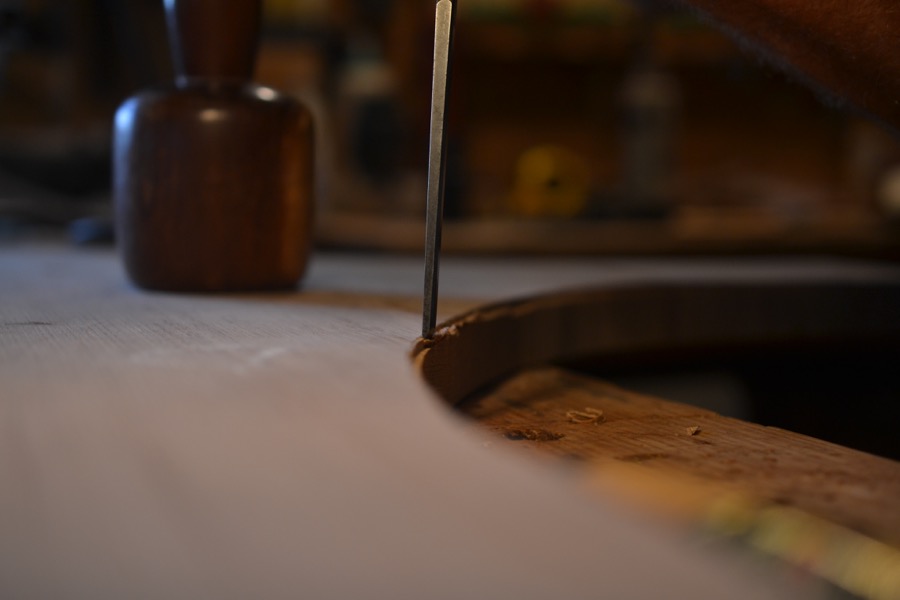
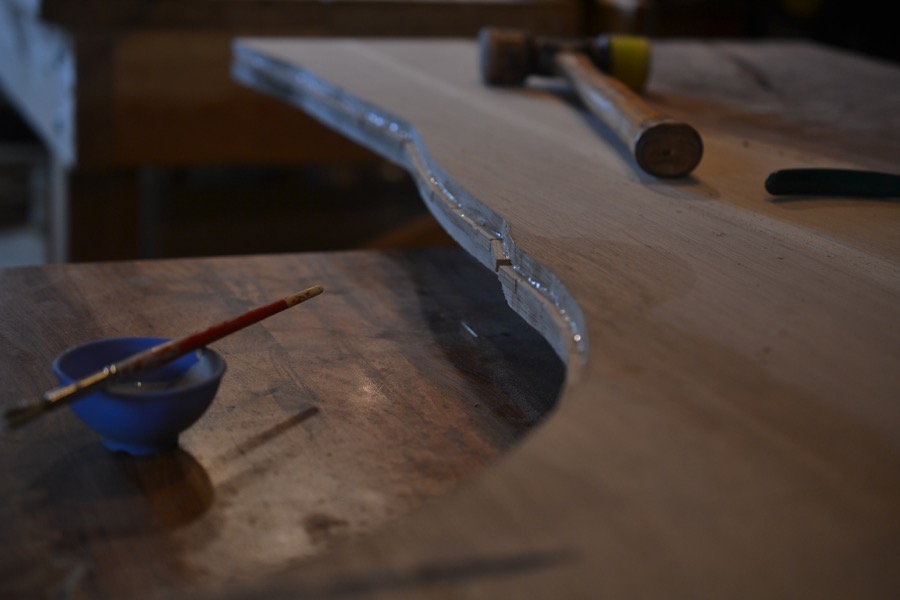
knife scribing every curve
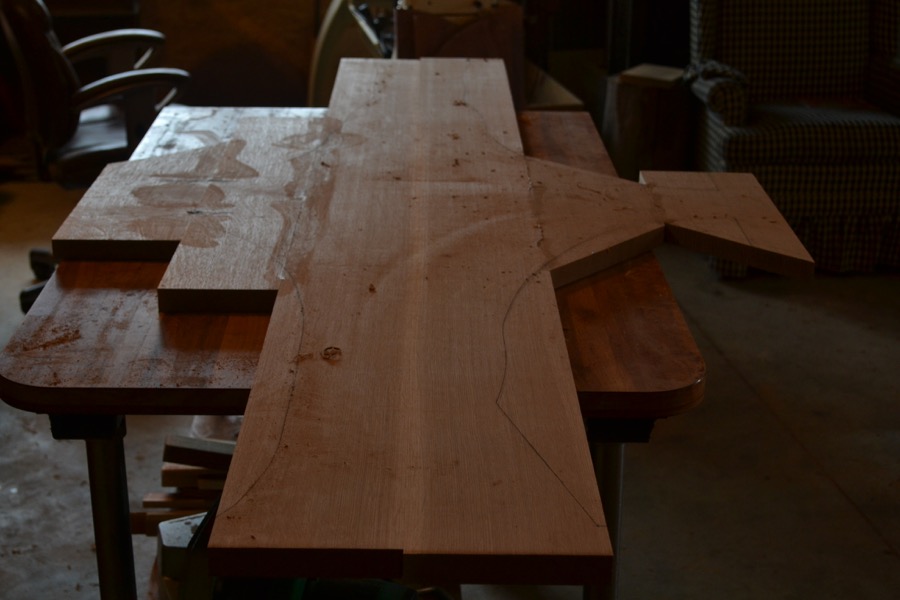
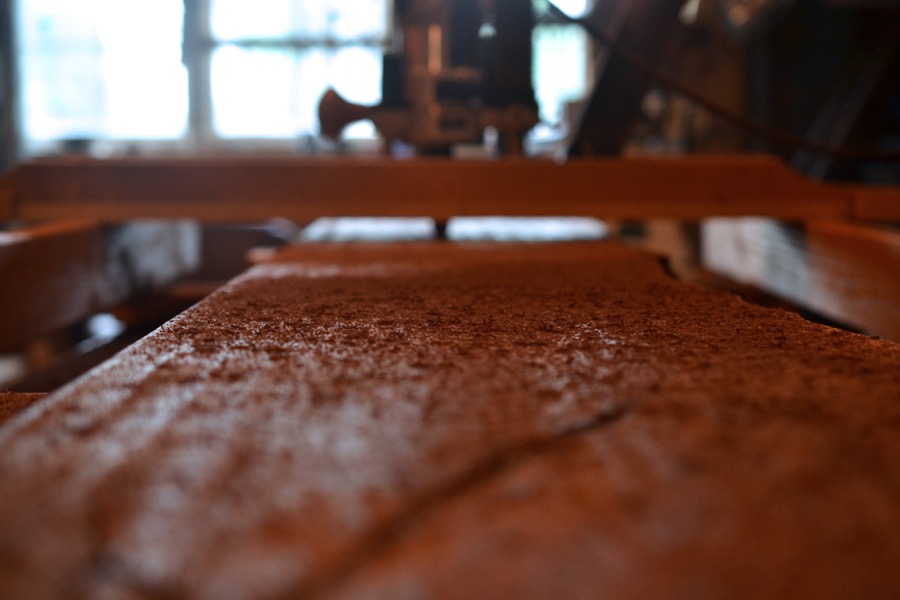
the white oak panel marked and ready to cut
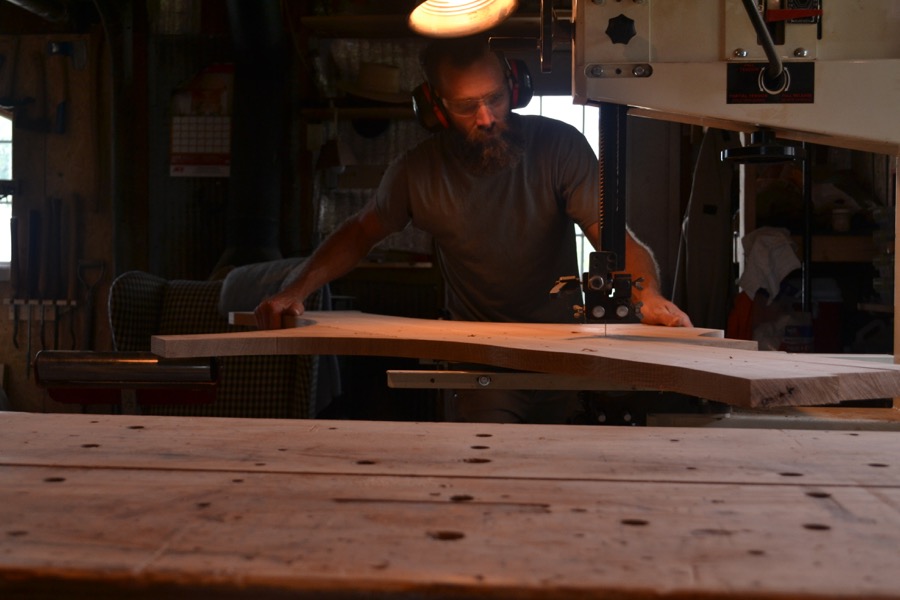
rough cutting on the bandsaw, staying about 1/16th to 1/8th away from the scribed line

cutting the line deeper
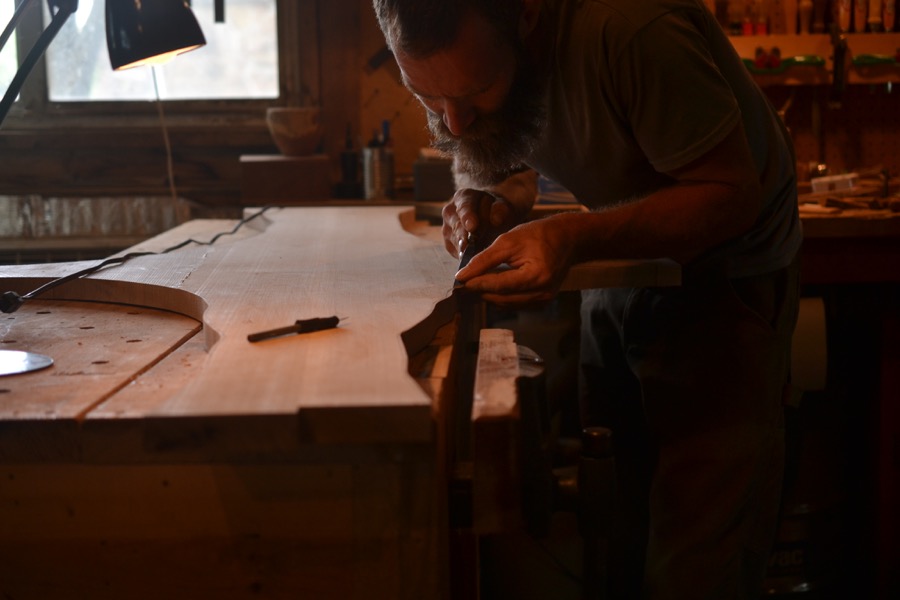
paring away the waste to establish a shoulder along the scribe-line

making the shoulders broad and deep
chopping and paring right up to the line
the shoulder becomes a jig to cut the rest of the piece right to the line using a pattern bit and router
after cutting a slot for a floating tenon, dry-fitting pieces

the floating tenons cut and laid out
tenons glued in

glued and clamped

joining and smoothing the new edges

on to the next step…

Very interesting project. How does this intriguing design account for the differing seasonal expansion and contraction characteristics of walnut and white oak along curving joint lines? Just curious. Thanks for showing your technique in detail. It opens up a realm possibilities. I’m always glad when your blog shows up in my inbox.
Thank you, Don. I always enjoy hearing from you. As to your question, I made sure to orient parallel all the grain of the top. The walnut curves are sections of a longer piece, and the oak, as it fills the “negative space”, is running in the same direction as the walnut it encounters. So expansion and contraction should be relatively even across the curve. The only place where there is a joint of perpendicular grain is the breadboard ends (which haven’t appeared yet in this post), and they are attached via tongue and groove and draw-bored mortise and tenons, sans-glue. I hope that explanation is coherent, Don. Let me know if I could explain any point more.
I do like your lighting concept in the workshop Jack.
Thank you, Ernest.
Even if it is to make photos it still makes a nice atmosphere.