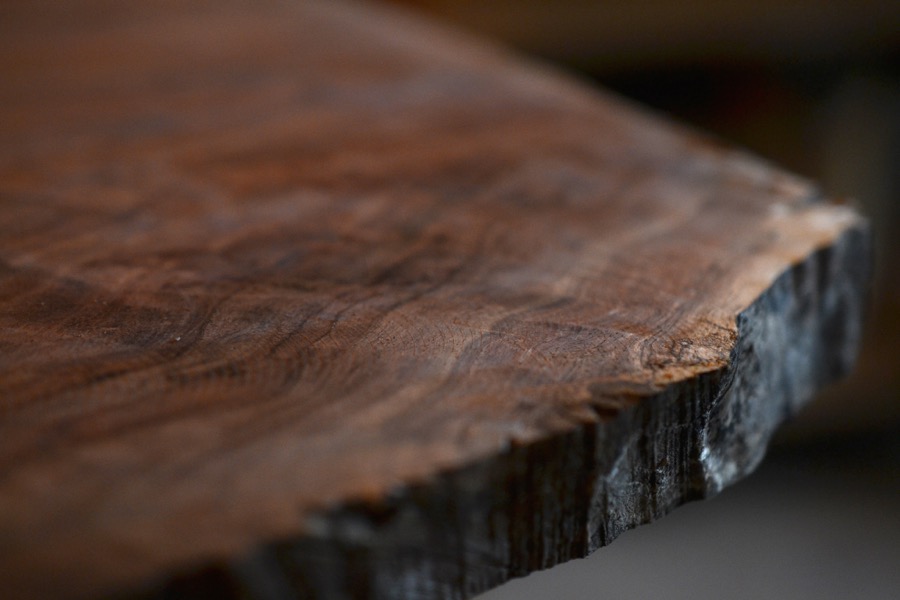
the beauty of God’s edge
composing pieces
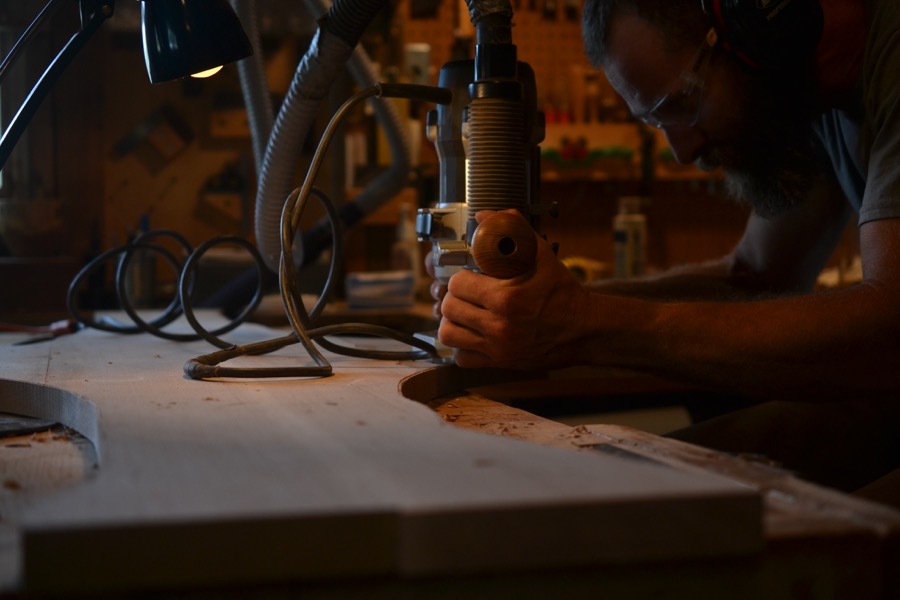
flattening black walnut with a router and jig
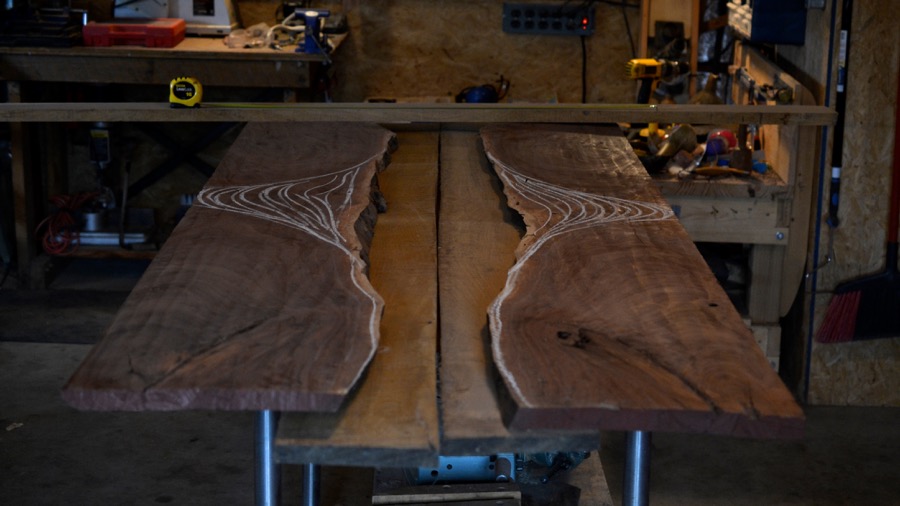
more looking, more composing
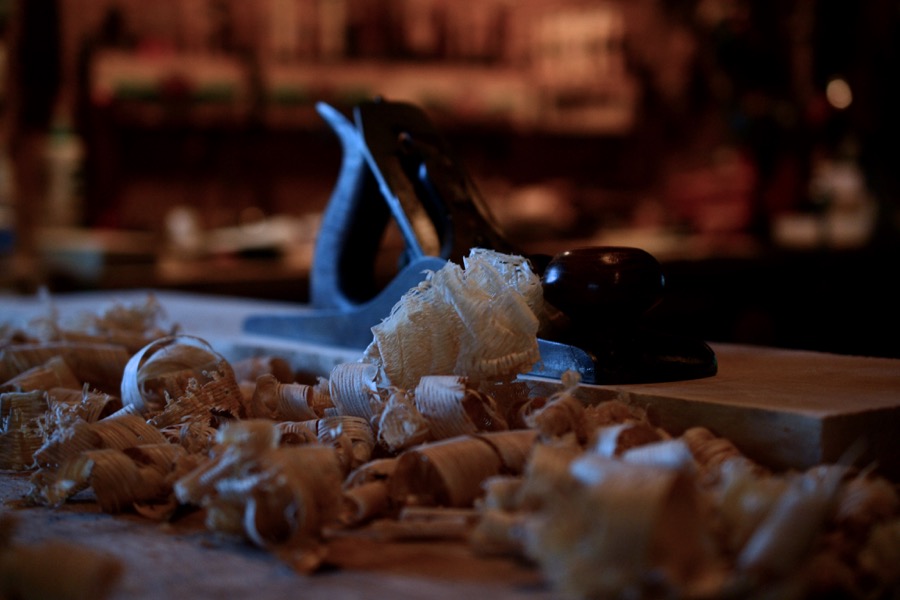
smoothing and shaping edges
smoothing and joining white oak
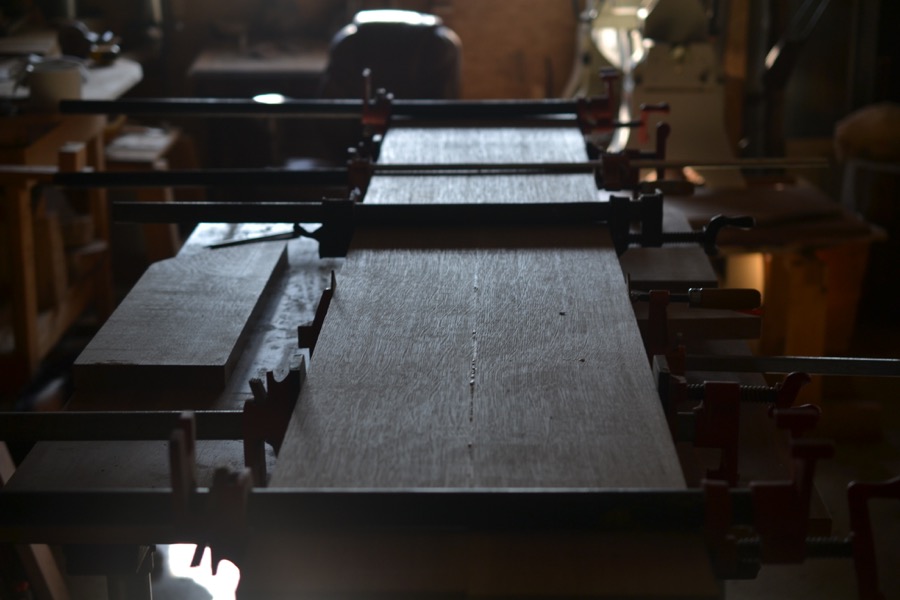
assembling white oak panels
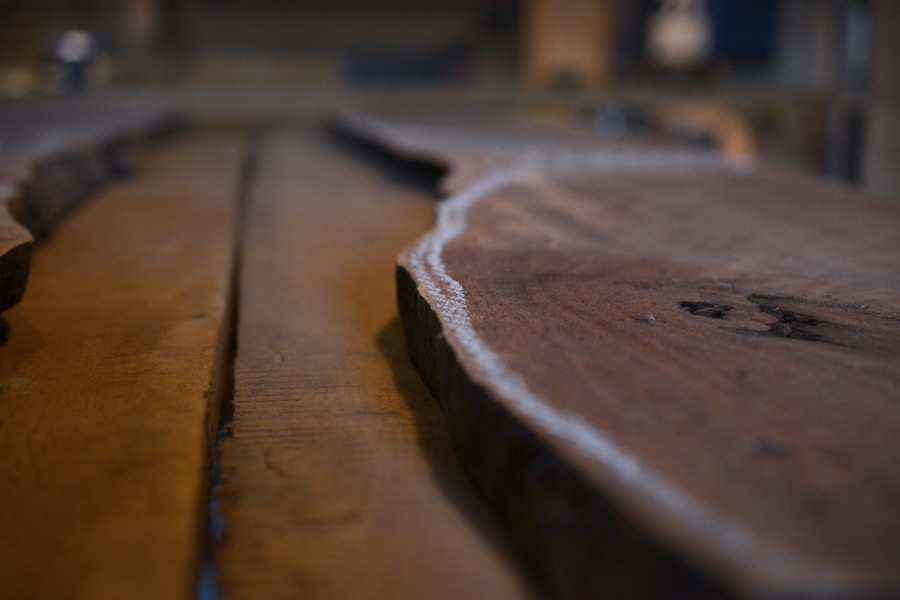
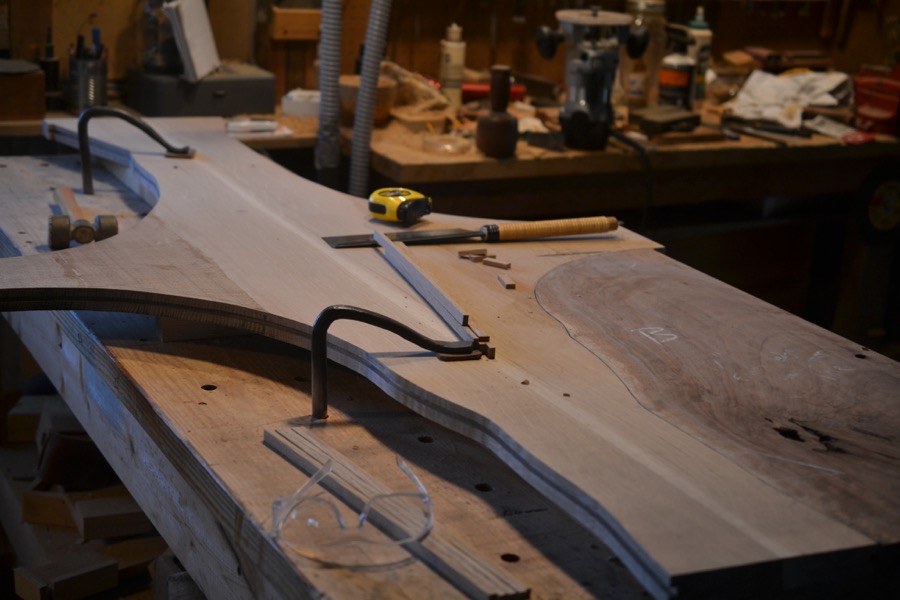
white oak and black walnut adjusted and clamped for scribing

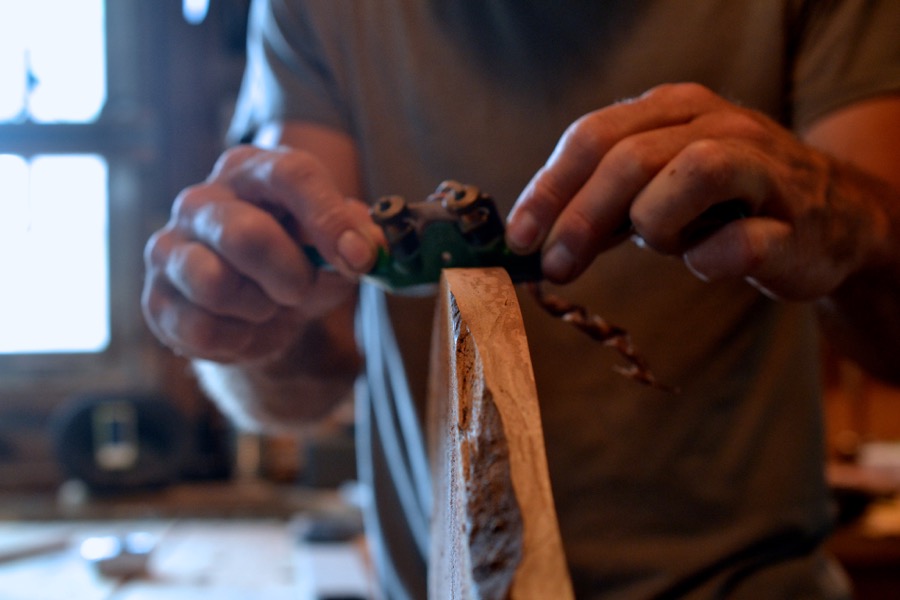
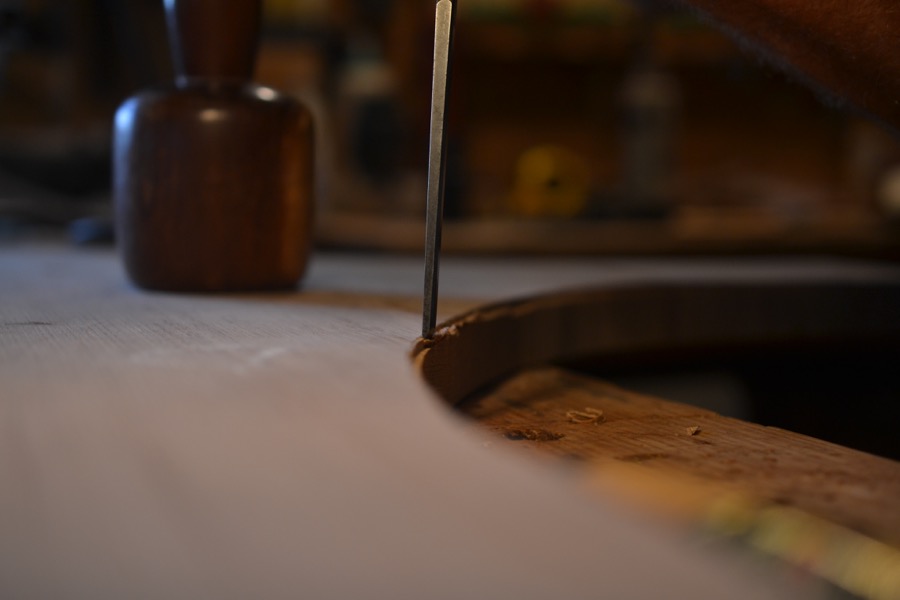
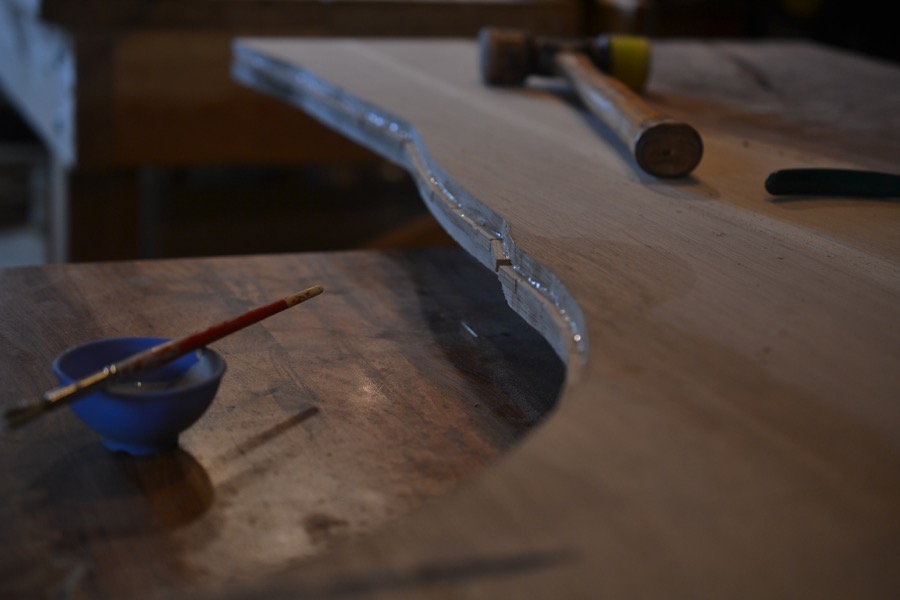
knife scribing every curve
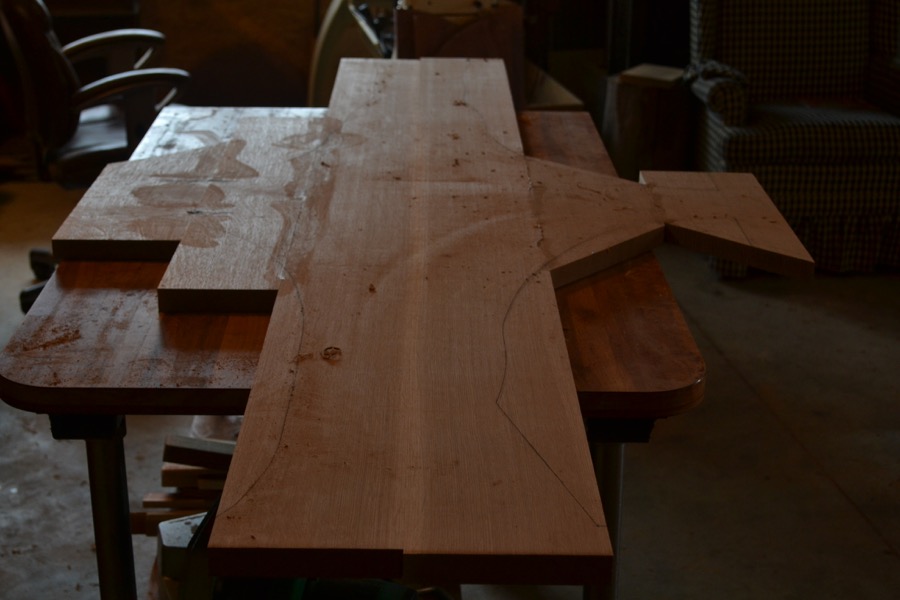
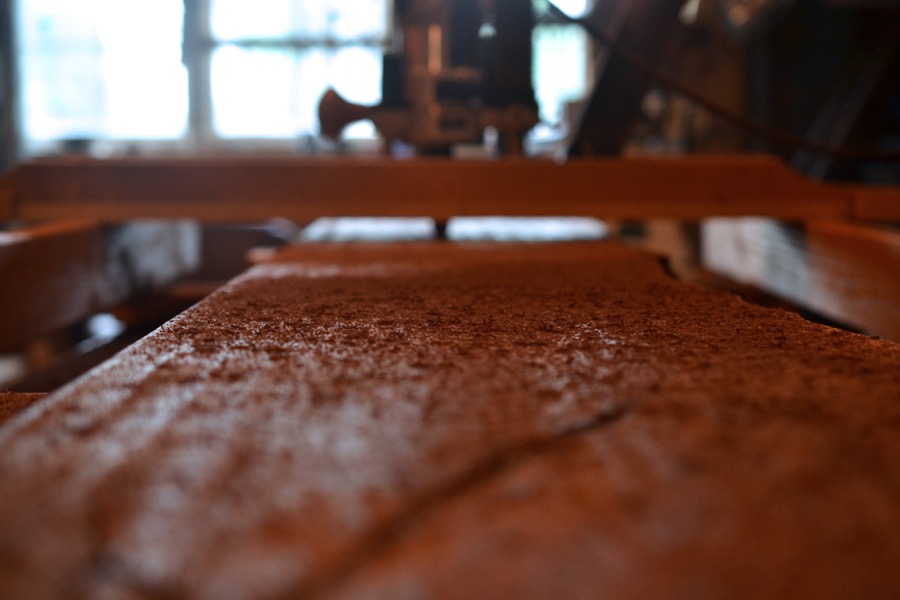
the white oak panel marked and ready to cut
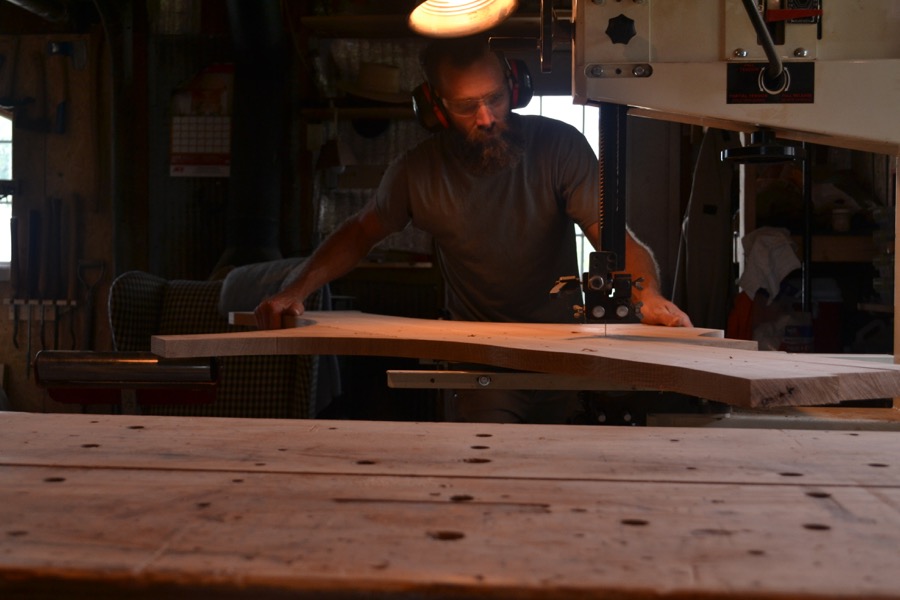
rough cutting on the bandsaw, staying about 1/16th to 1/8th away from the scribed line

cutting the line deeper
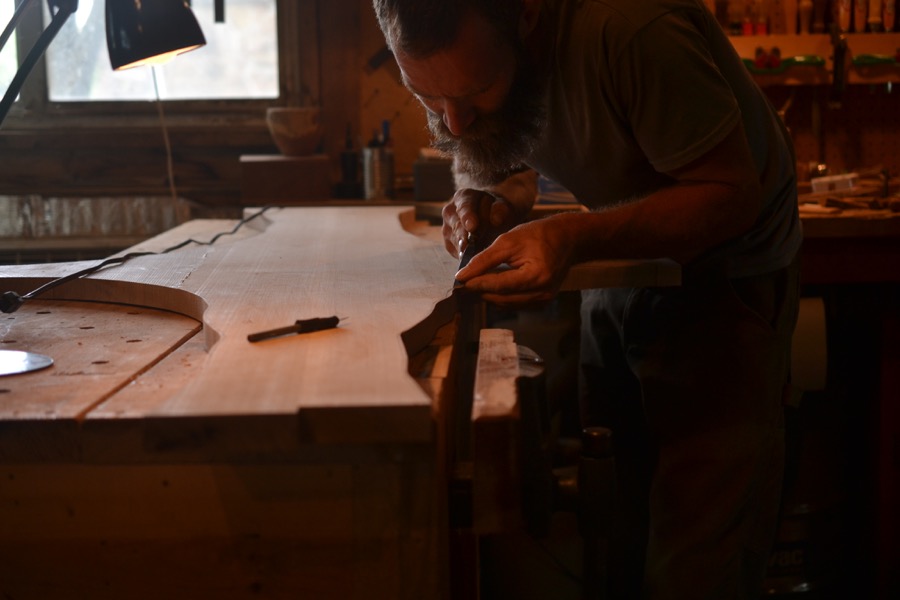
paring away the waste to establish a shoulder along the scribe-line

making the shoulders broad and deep
chopping and paring right up to the line
the shoulder becomes a jig to cut the rest of the piece right to the line using a pattern bit and router
after cutting a slot for a floating tenon, dry-fitting pieces

the floating tenons cut and laid out
tenons glued in

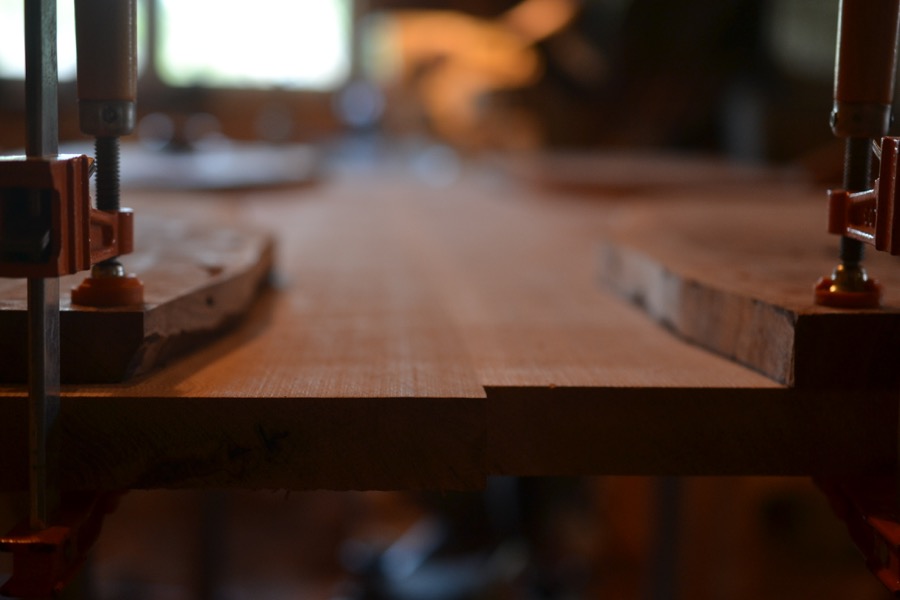
glued and clamped

joining and smoothing the new edges

on to the next step…
