


Carving bowls helps me to live on the land
Carving bowls helps me to live on the land

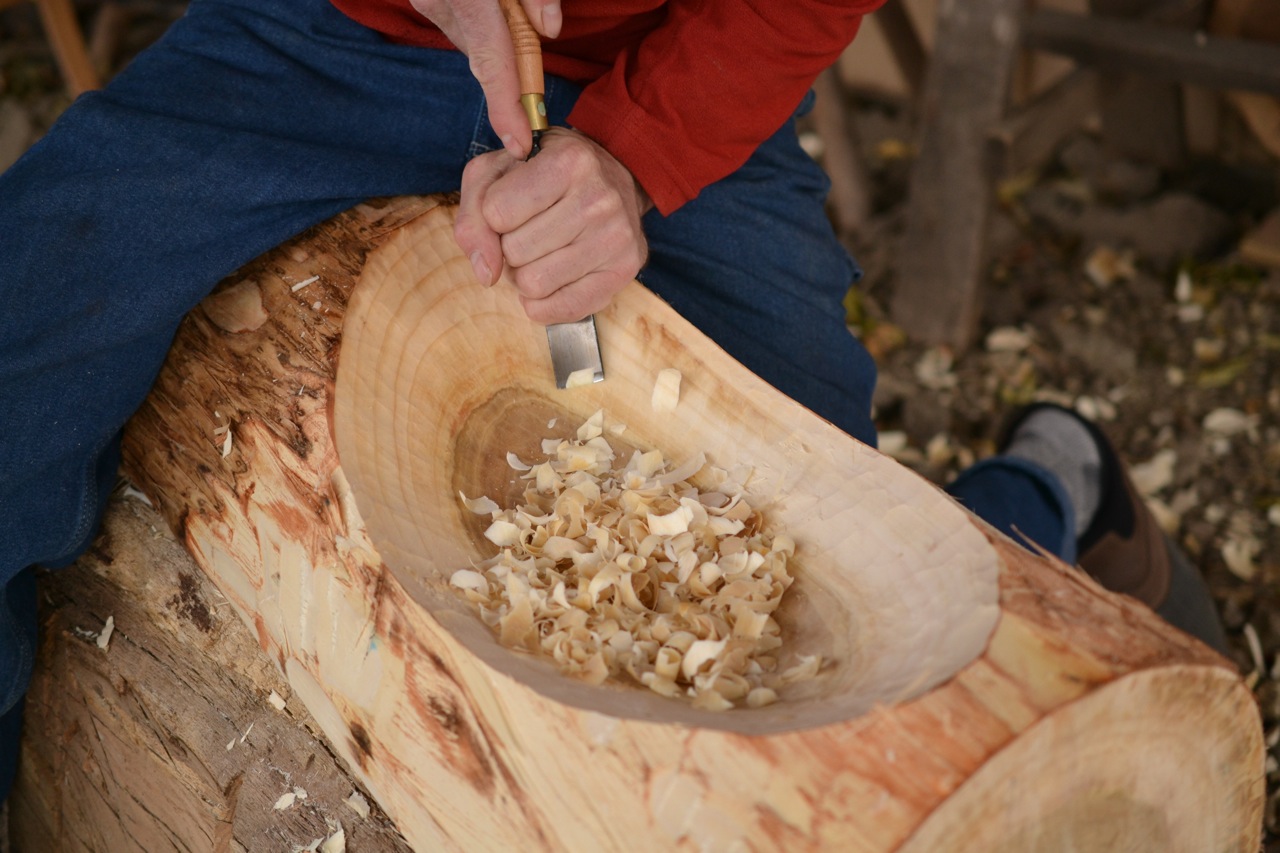
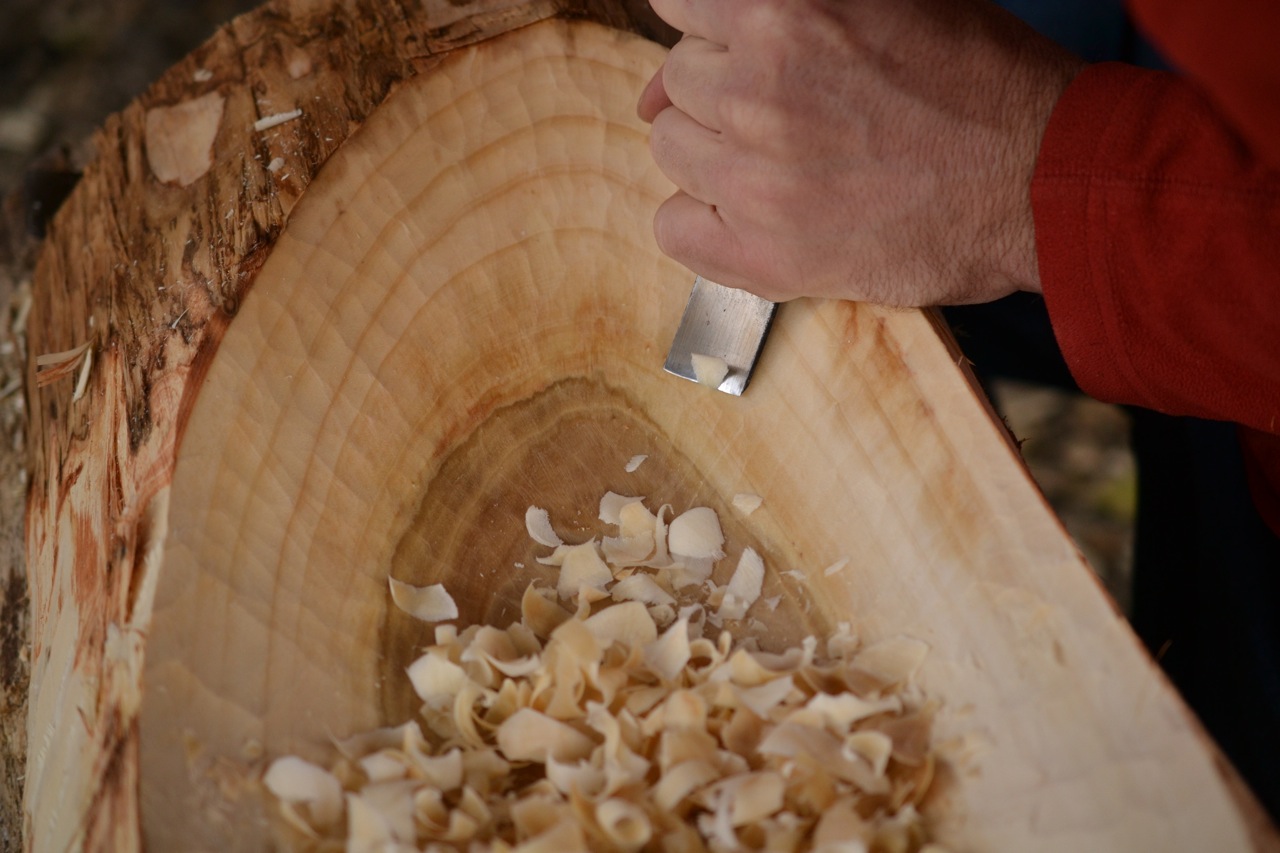
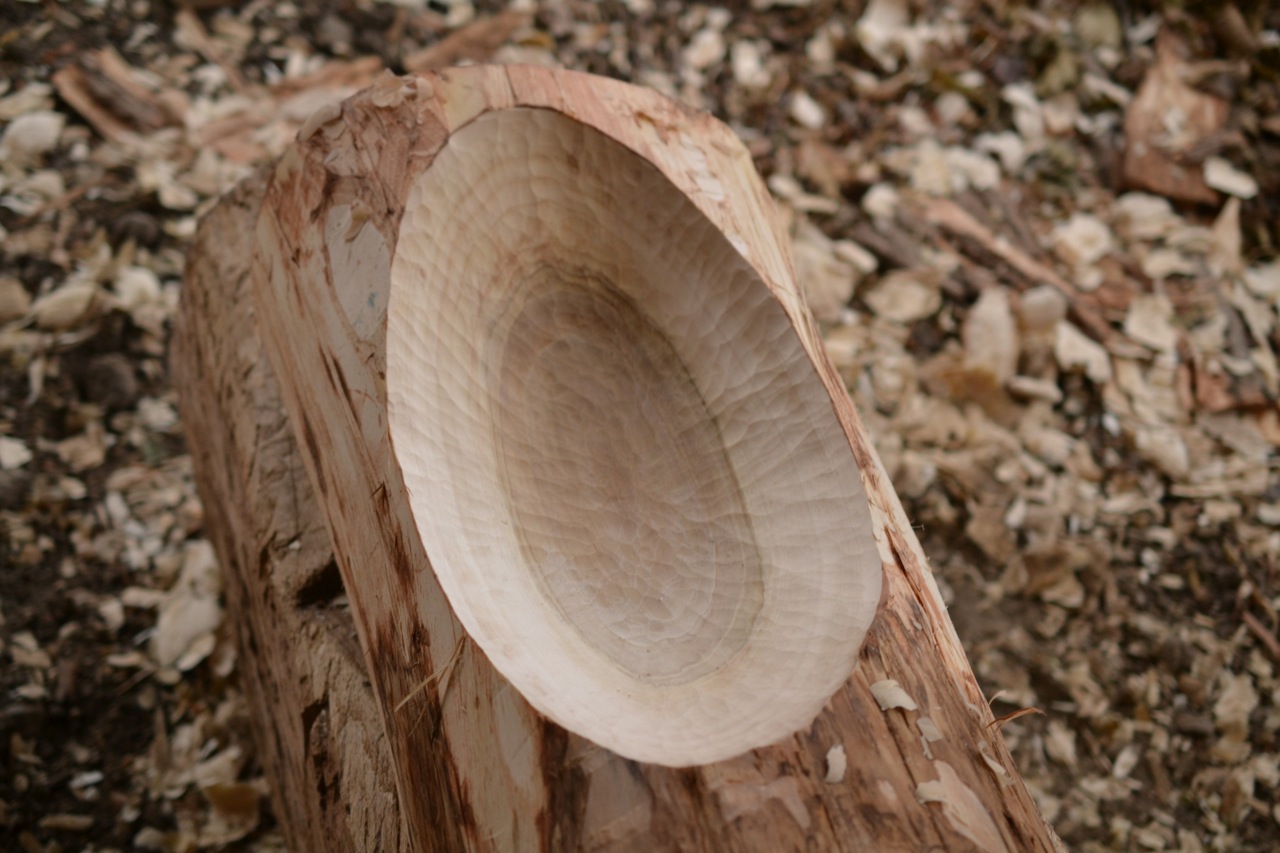
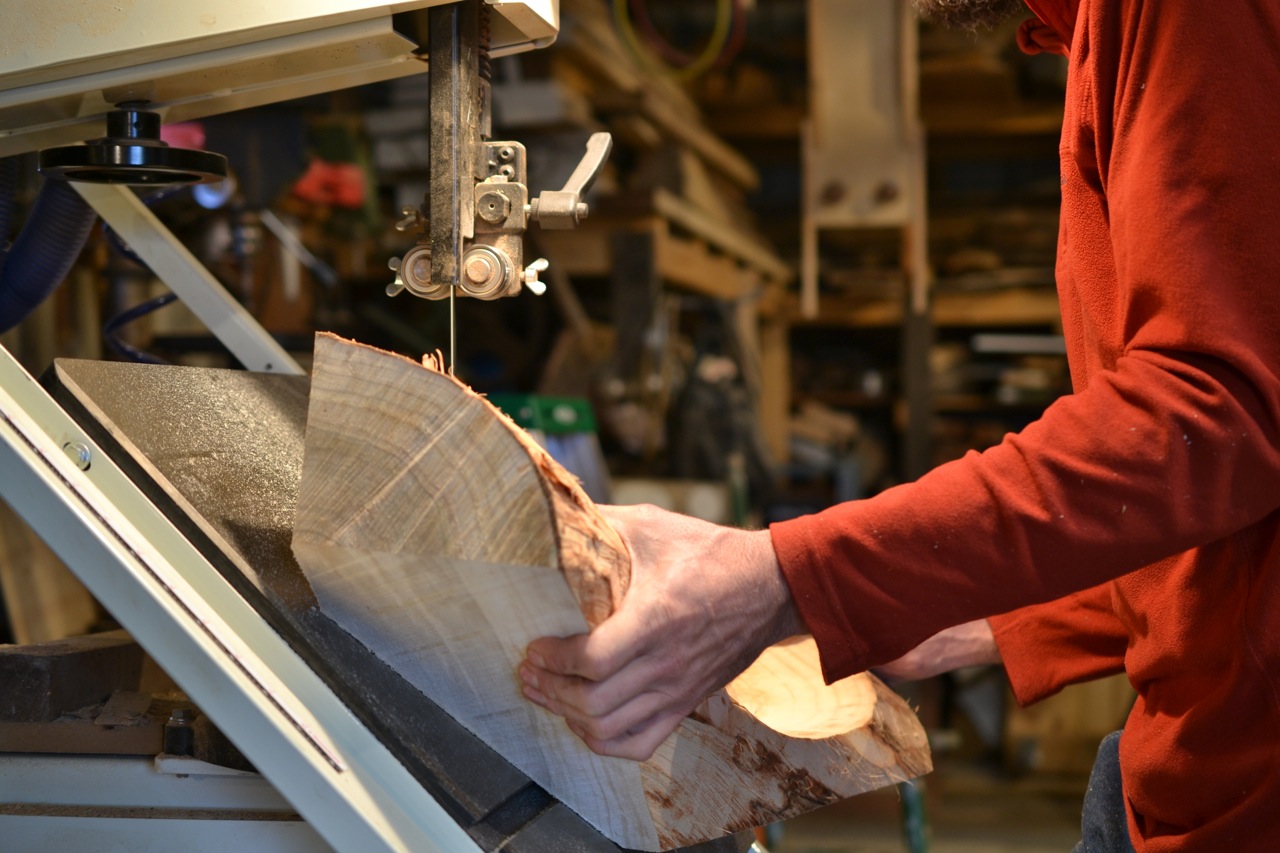
Below is a gallery documenting the process of carving a large bowl from 1/2 of a cottonwood log.


The following is part 1 of a photo essay on a rustic and a little bit twisty red oak hall table build.

Composing

Roughing out the leg spindles

Cutting the tenons to width

Establishing taper with a gouge

Breather, almost there

Leveling out with a jack plane

Down to size with the spoker

After shaping with an angle grinder and hand sanding through many grits


Leg # 2 at dawn

Side by side

Composing again

About 11 days left and a lot of work to go

Here is my small woodrick inspired by the folks at Plimoth Plantation. With a small door to admit the chickens. 
From the top.

From the west

Dressing a plank of red oak. The radius of the iron leaves tracks.
The iron with a pail-bottom radius takes heavy shavings.

Chainsaw-milled and well seasoned,

Cut just north of the heart with enough character to remain functional.

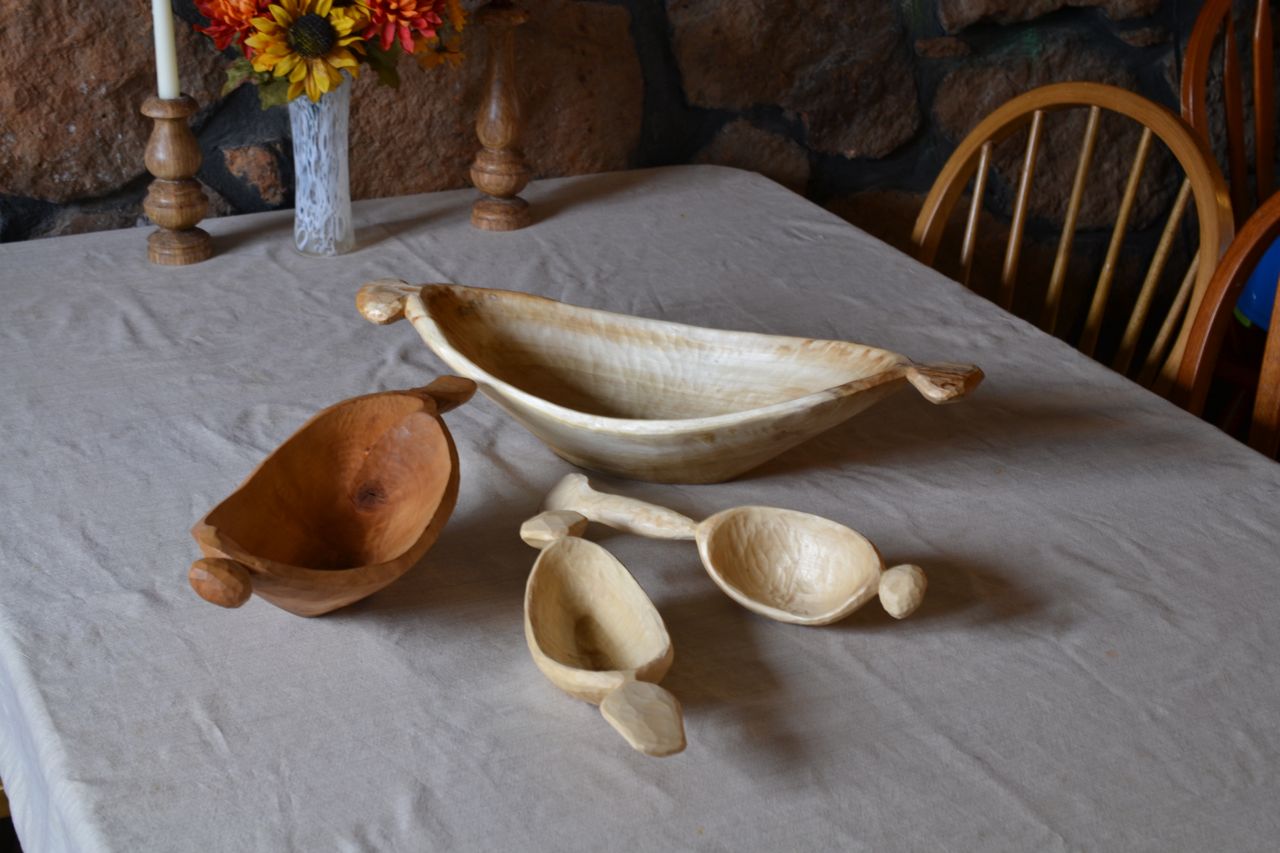
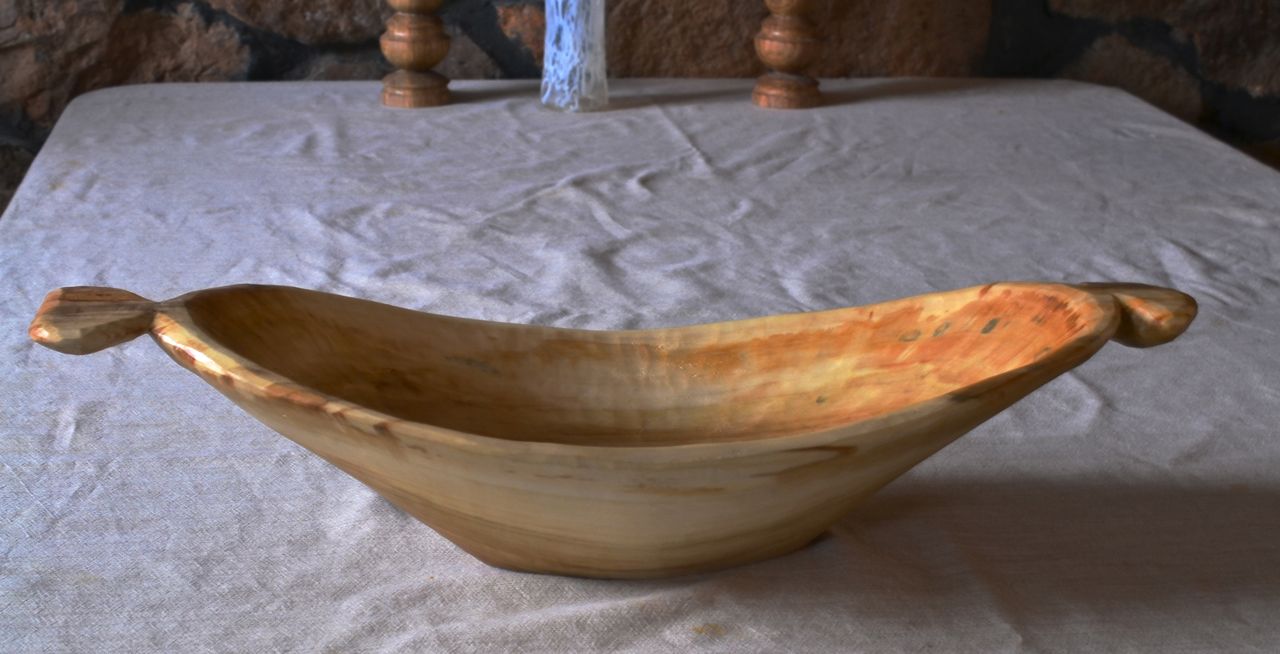
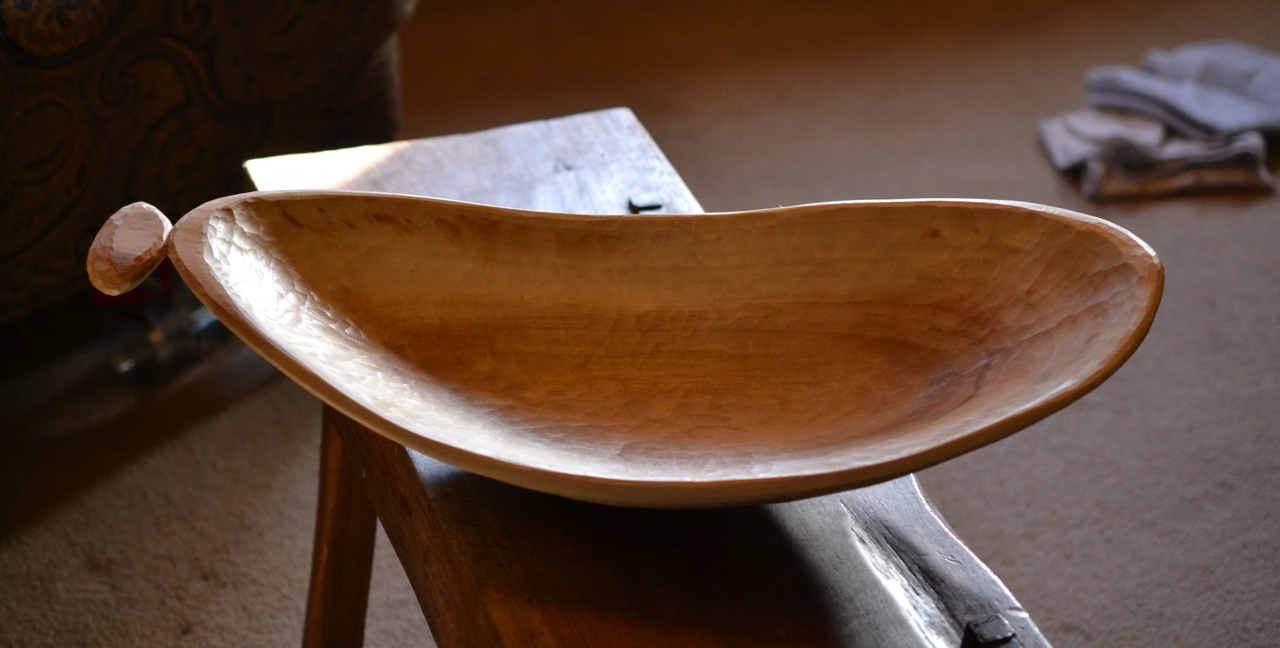
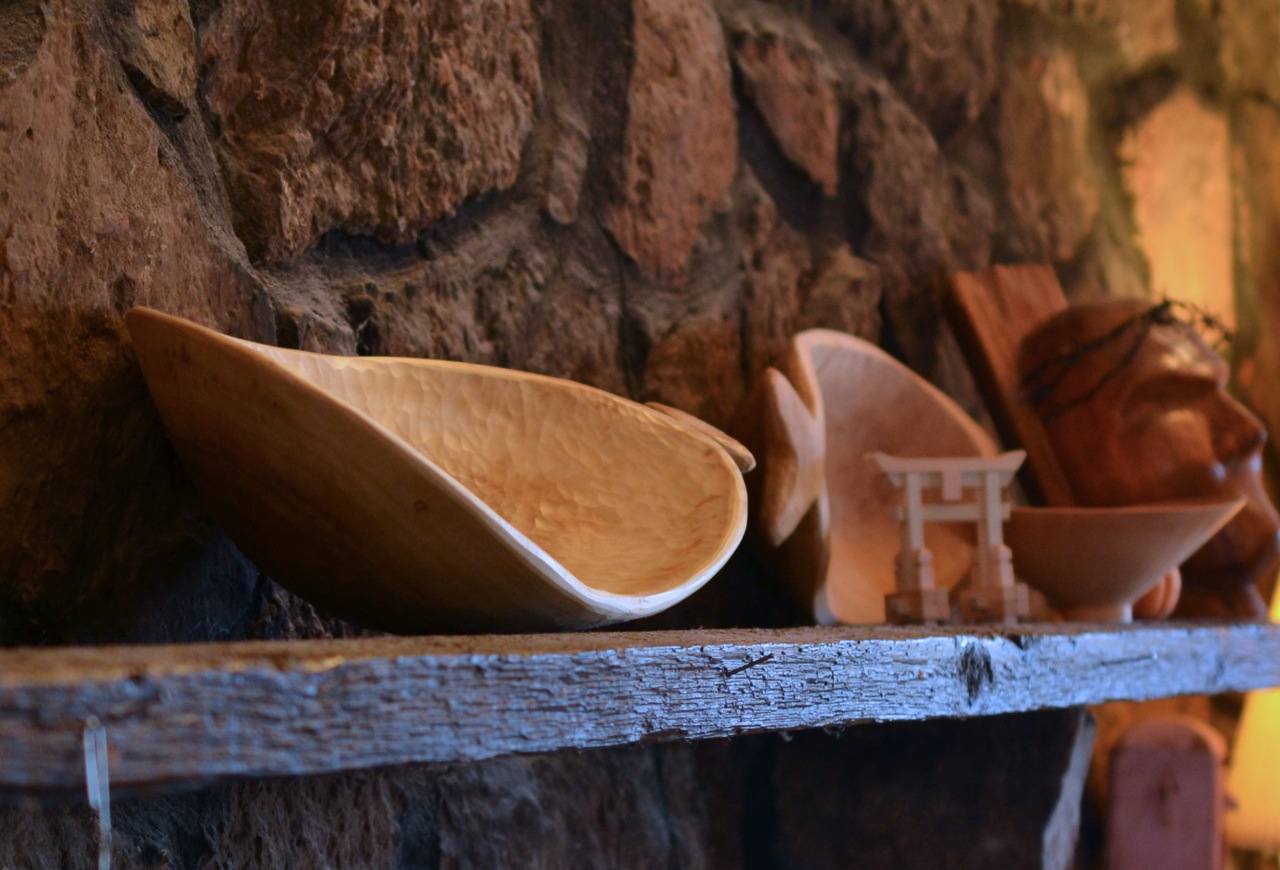
Carved birch bowl.

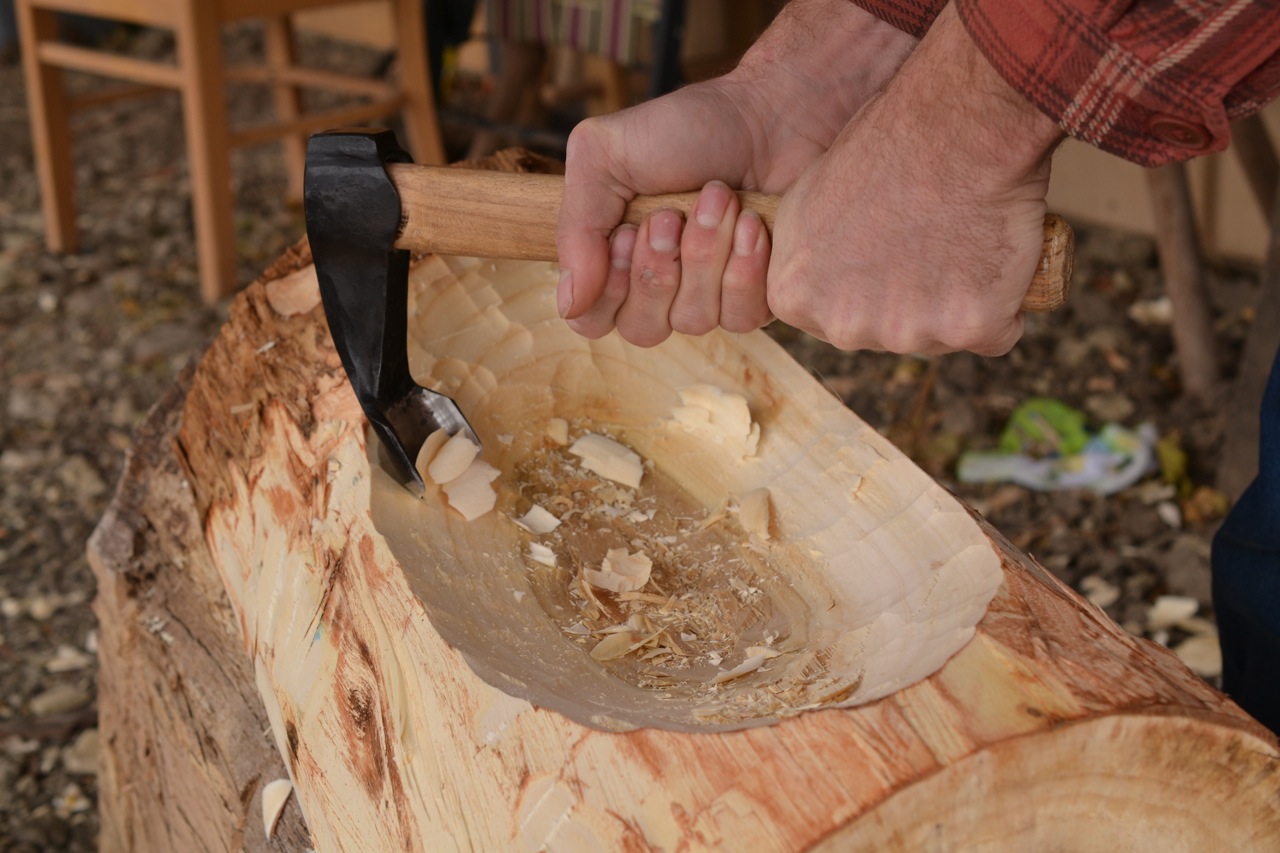
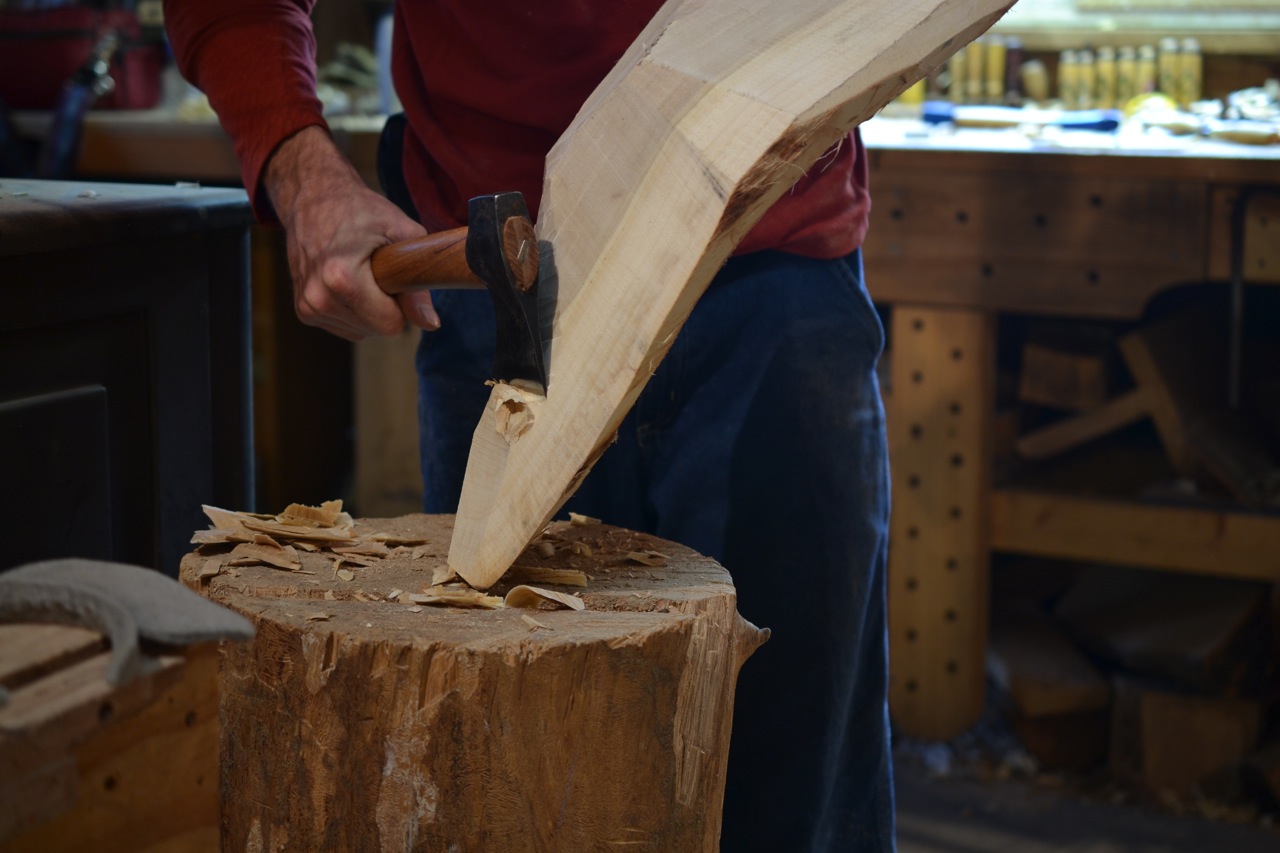
Using the adze, making a carving block.

Curved adze for initial hollowing.

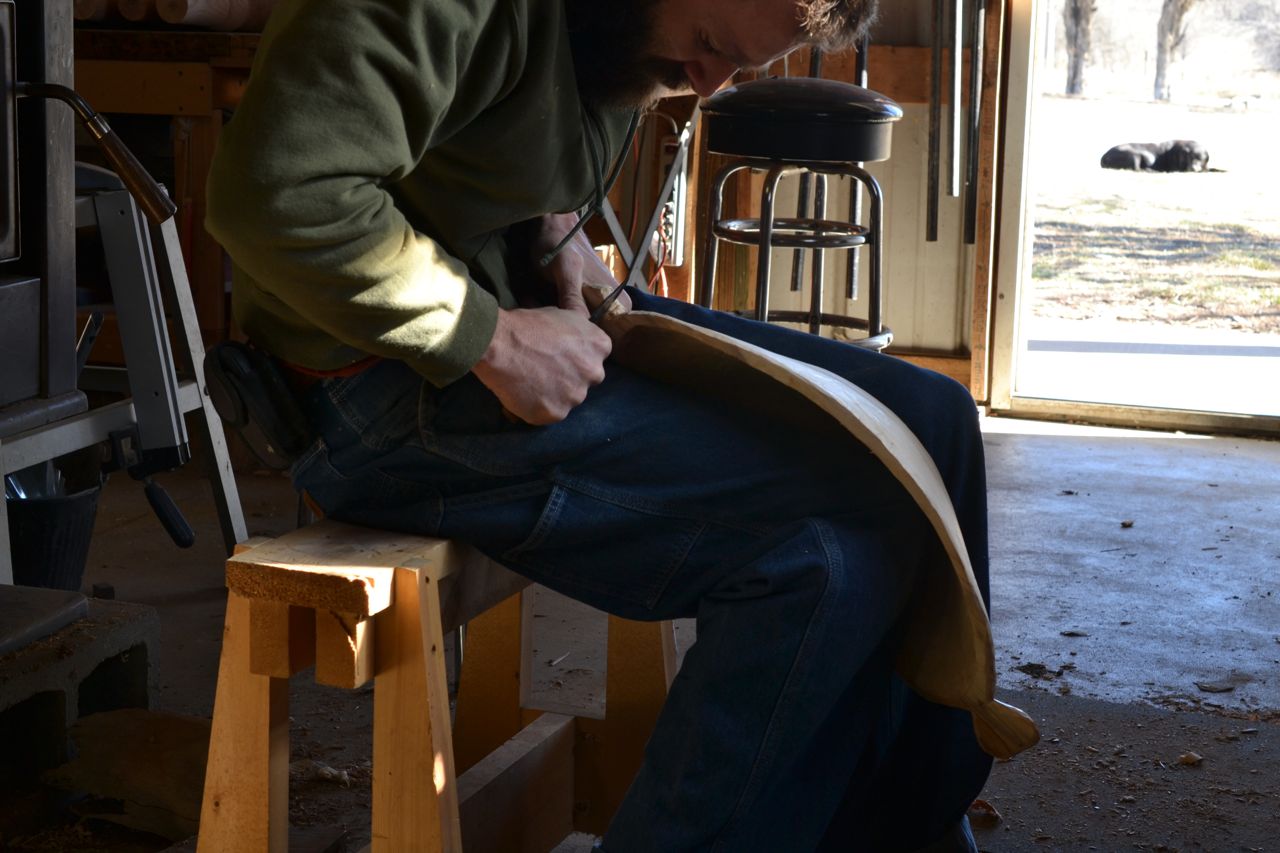
Smoothing with a curved knife.

Shaping the outside with a hatchet.

Smoothing the outside with a hatchet.


Some soft maple and walnut spoons carved by the stove this winter.

The stool declared loudly by snapping every black walnut rung I made- that it must be white oak throughout. OK, says I, you win.

Still much work to be done, however, as of yet the most complete sense of a stool that has pretty much dictated itself, and made me sweat in the process, and I still have to build his hopefully less mercurial brother.

Below: shaping the underside of the seat.


Below are some photographs from the process of the rough-shaping and bending (green) of post-oak, which is a variety of white oak, for use as legs in a pair of 3-legged stools -hopefully.
First the log was cut and split. This one has quite a of twist, which I am hoping to integrate into the design of the stools.

Next the halves are split into quarters and then into eighths with froe at the brake (no photos), then the eighths were trimmed with the hatchet.

After trimming the pieces are shaped down with drawknife at the horse.


After this rough shaping each piece was place in a form and bent using clamps, the clamps were removed after a few days and were replaced with wire. The legs will remain in the forms until they are dry and I am ready to shape them to final size.


For deep information on working with green wood please see Peter Follansbee’s blog.
Below is a group of photos of some details of the construction of the black walnut drawer carcass and the drawer fronts for the cherry and walnut hope chest. Please click on any of the pictures to view larger.

The lower web/ frame for the bottom of the drawer unit, it is constructed of white oak with the front (visible) rail being walnut.

The drawer case with the web installed with tongue and groove

The main chest rests upon the drawer case

Flattening walnut drawer fronts with a jointer

A forged bench hook (I learned from Peter Follansbee)

The flattened and drawer fronts ready to be marked and cut to length

The drawer fronts wedged in their spots to see how they look. Also the dividers have been installed with stopped dovetails.
