Trestle Table in Black Walnut

I delivered this table to my client’s office last week. It is good to finish a piece and be able to celebrate it. In spite of this I tend to experience a wide range of emotions and second guessing when I finish a job. One thing that never changes though is the gratitude I feel at the opportunity to be a woodworker, one who engages the authentic witness of the trees. They always have a real story to tell about our God and His majesty and faithfulness.

Trestle Table in Black Walnut

Discovering Design

The discovery of the life within the wood and the relationships they form is exciting to uncover. The early decisions are heavy. Every other act in the process is a response to these chalk marks as they try to hear and echo this walnut tree’s voice.

Underpinning Art with Discipline

The romance of the craft is backed up by countless hours of “mundane” work- the discipline that builds skill, and makes up the real life of labor. Days are spent creeping up on this scribed relationship and the foundational joinery. It’s a blessing to work, and to rest in the presence, at the same while striving towards the goal. Don’t mistake me, I’ve only had enough meager success at it to know it’s possible. 

Technology – Joinery

One side of the natural edge was curving away on bottom edge so I had to cut a shallow rebate in order to have a solid joint as well as cleanly scribed edge. This edge was reinforced with dominoes. The opposing edge curved towards the bottom edge and could be cut square. For it I made a floating contoured spline from Baltic birch. Assembled dry all is tight and solid.

Visualize and Establish Form

Finding a way to visualize the elements in a design is an engaging challenge. Krenov spoke of “composing”, and I’ve adopted his method and language -clamping up and mocking up relationships as the process moves forward. I don’t recall if he used tape, but I recently switched from using blue tape to white tape to mask off shapes- the difference is remarkable. 

Labor – Engaging Harvest

The last bit of joinery for the individual trestles is the horizontal rail completing the “H” form, which will eventually carry the longer rail that will join the two trestles together.

I’m grateful for this job, this material, this process. I heard a song that had a line which proclaimed “I am the record of His grace”.

The Sacred Process

Is labor a sacrament?  The invitation of the Eighth Day?  A sacred collaboration with the living God?  I can’t help but to note that the call to labor in the garden came before the curse of toil.  I am certain that labor is about more than just earning my bread.  There is something deeper there, not just for the artist, but for the ditch digger and the roofer, the farmer and the nurse.  “Whatever you think, it’s more than that…”  ISB.

summer woodwork - 6


summer woodwork - 1

summer woodwork - 2

summer woodwork - 8

summer woodwork - 3

summer woodwork - 4

summer woodwork - 15

summer woodwork - 14

summer woodwork - 12

summer woodwork - 11

summer woodwork - 13

summer woodwork - 5

summer woodwork - 7

summer woodwork - 10

summer woodwork - 9

summer woodwork - 19

summer woodwork - 20

summer woodwork - 21

summer woodwork - 22

summer woodwork - 24

summer woodwork - 23

summer woodwork - 26

summer woodwork - 25

summer woodwork - 27

summer woodwork - 29

summer woodwork - 28

summer woodwork - 17

summer woodwork - 16

summer woodwork - 35

summer woodwork - 18

summer woodwork - 30

summer woodwork - 32

summer woodwork - 31

summer woodwork - 33

summer woodwork - 34

The Champion Table Build, Part 3: Leg Joinery

champion table 301

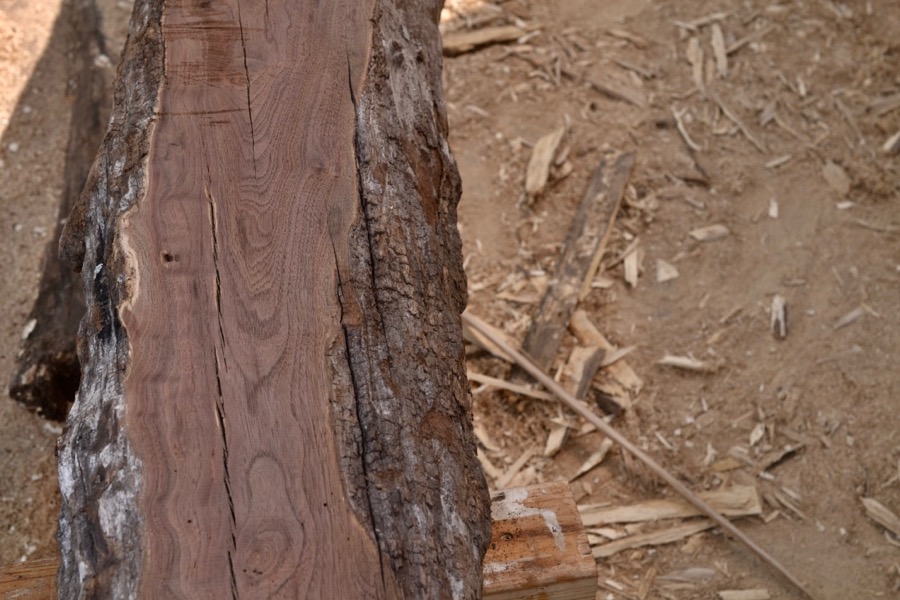
flattening walnut stock with a wooden joiner for the top rails of the leg assembly

champion table 302

using winding-sticks to make sure there is no twist in the board

champion table 303

finishing up with a #7 jack plane

champion table 304

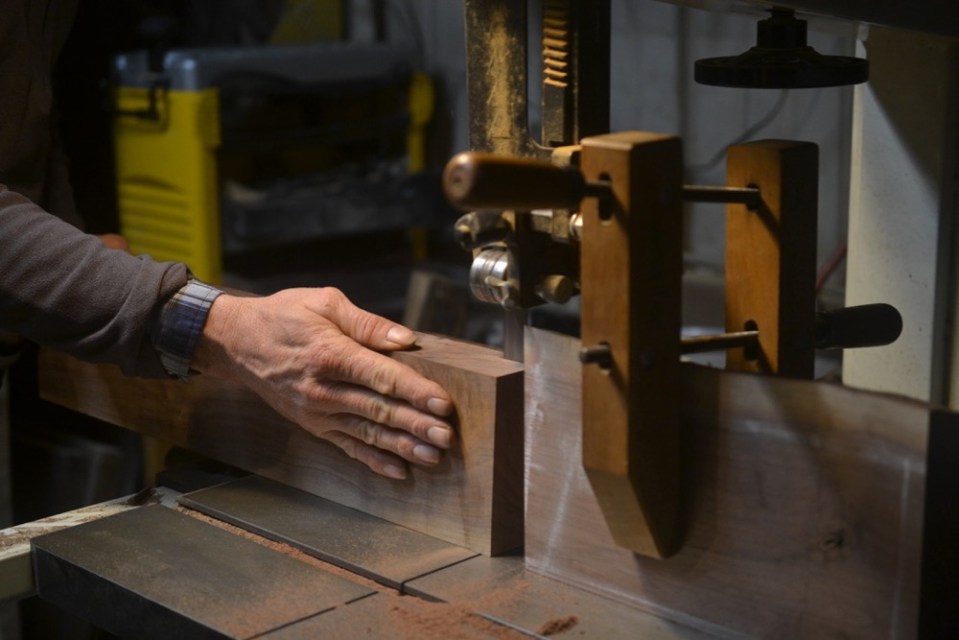
squaring up the remaining edges and dimensioning the walnut on the bandsaw
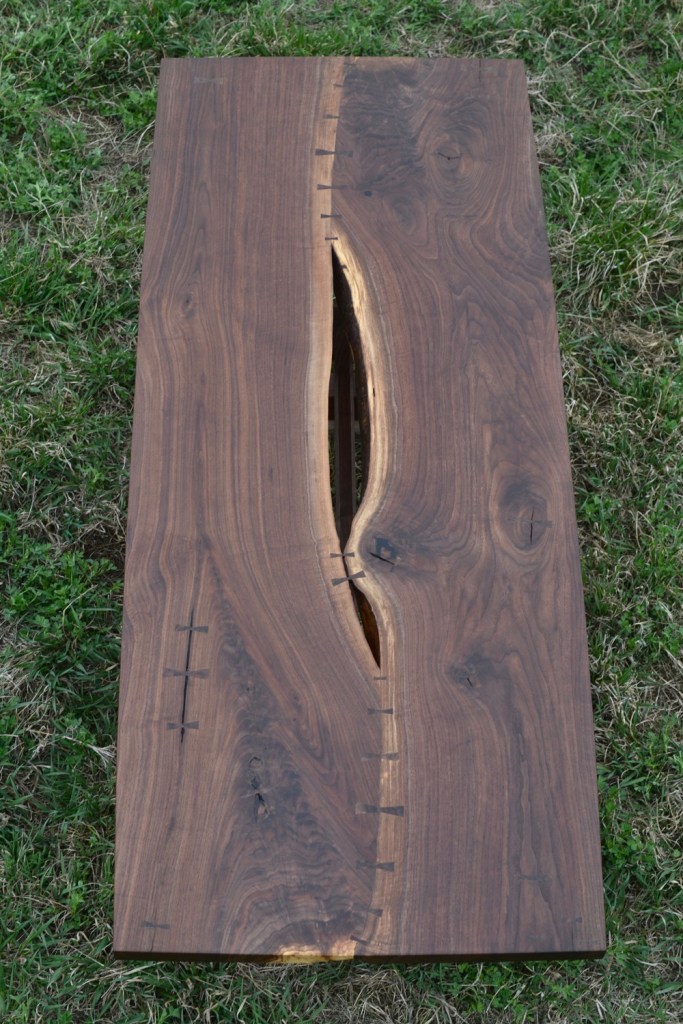
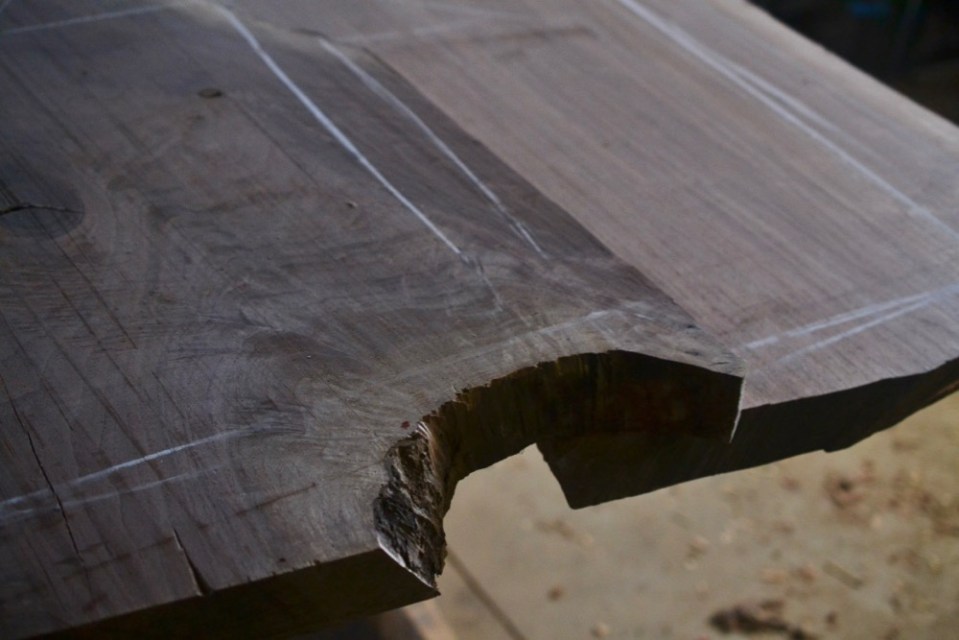
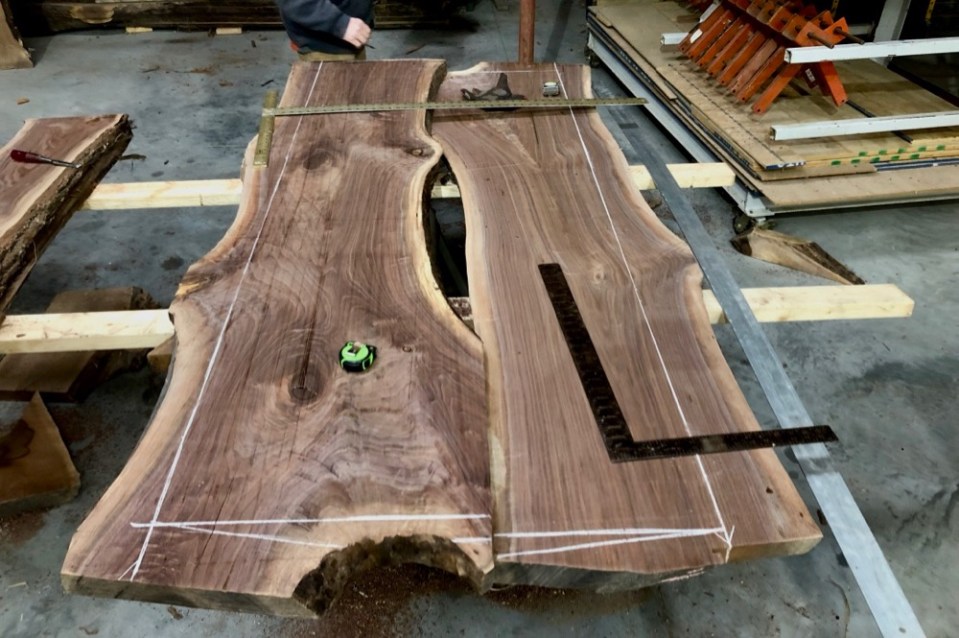
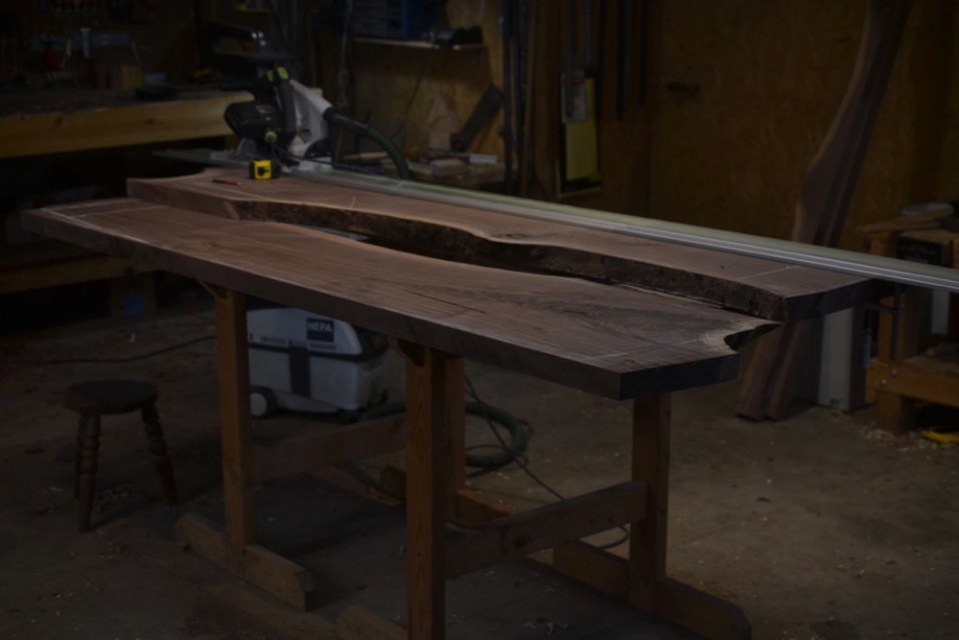
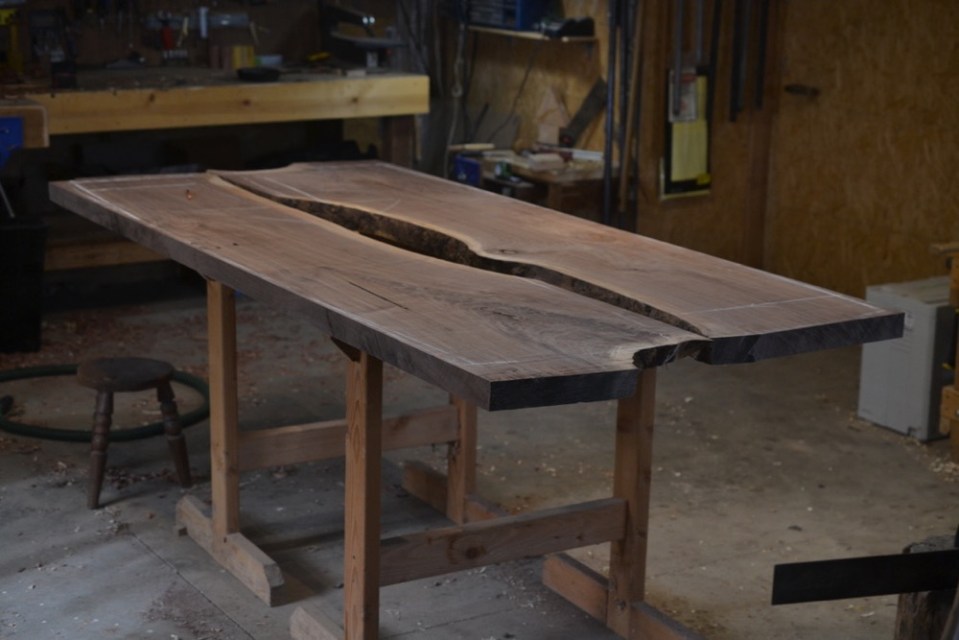
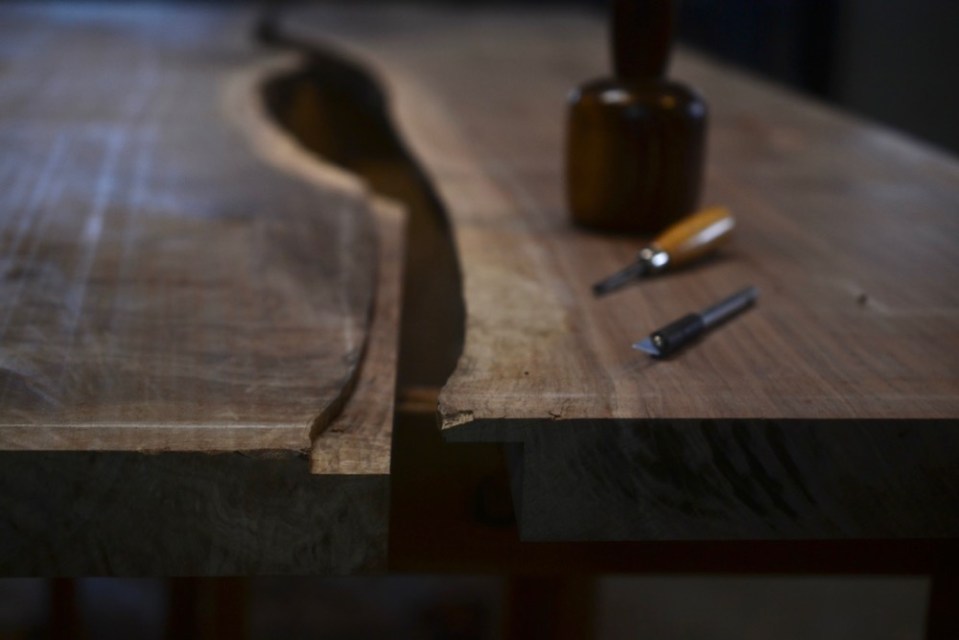
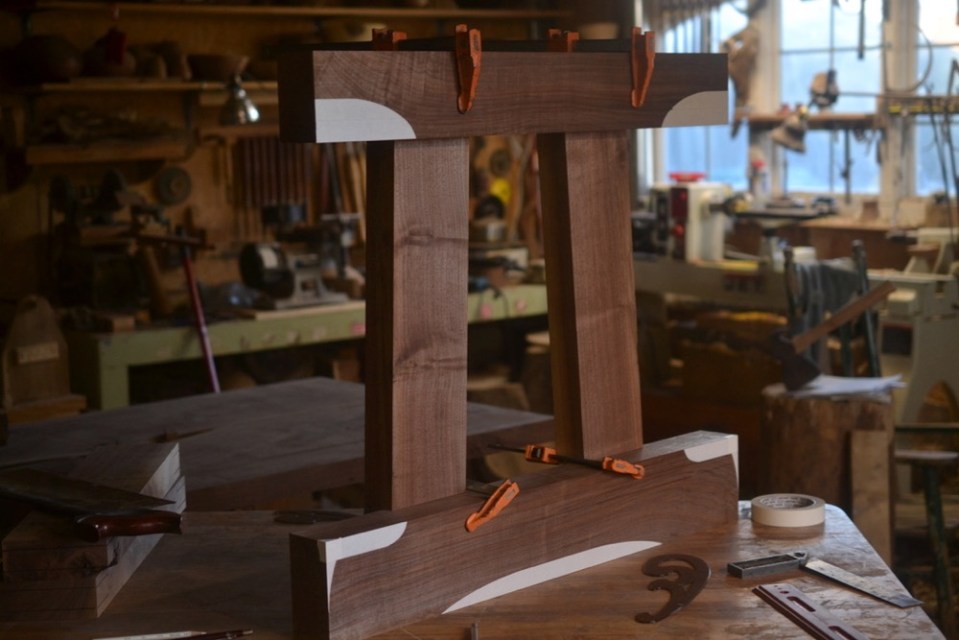
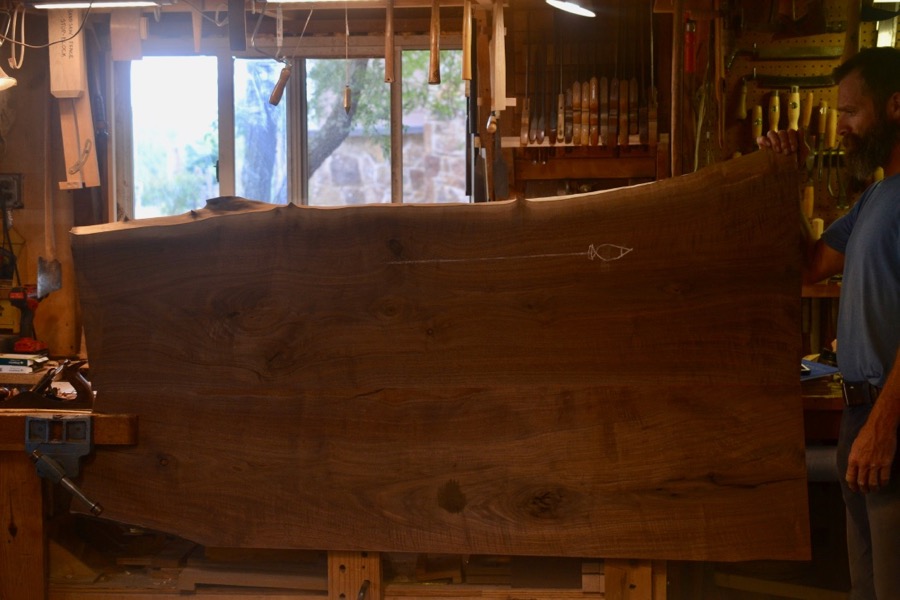
champion table 307

layout lines

champion table 308

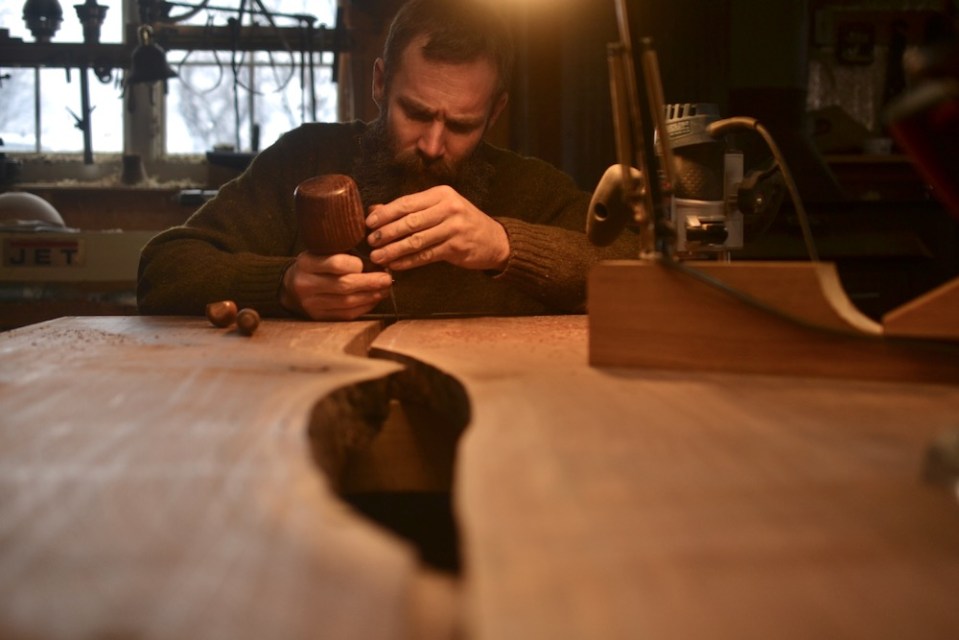
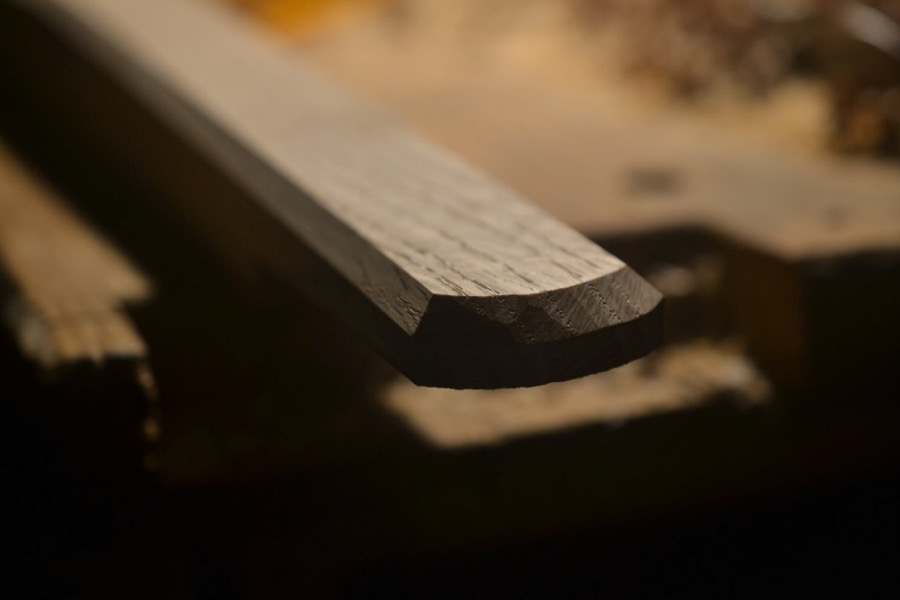
initial shaping of the curves on the top rail of the legs

champion table 309

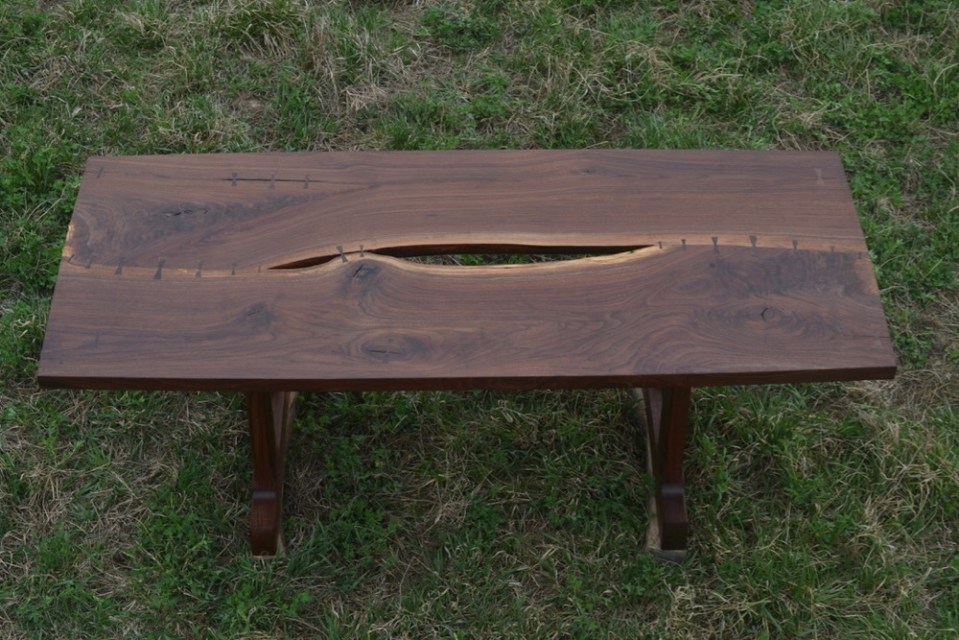
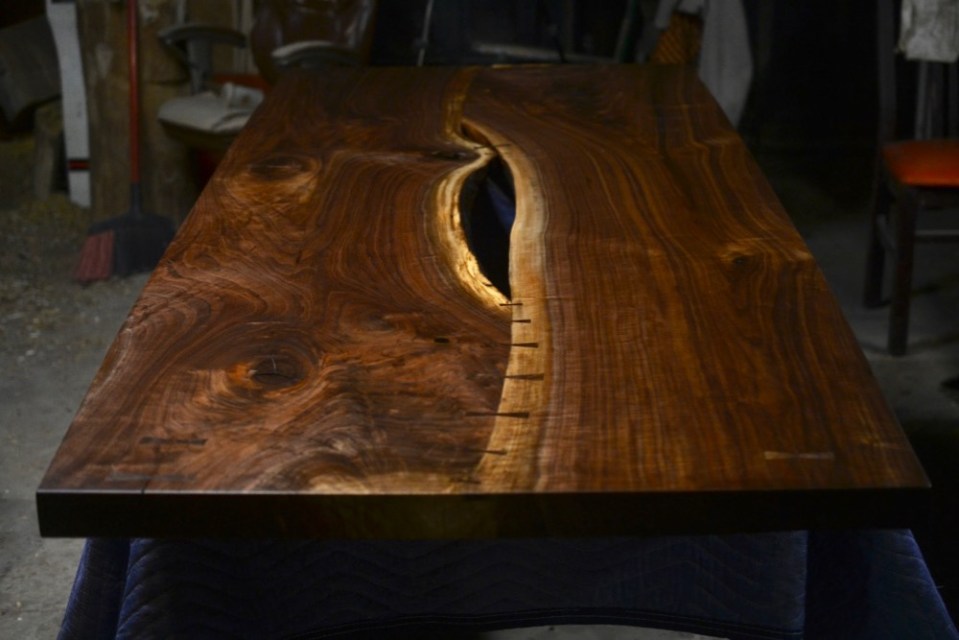
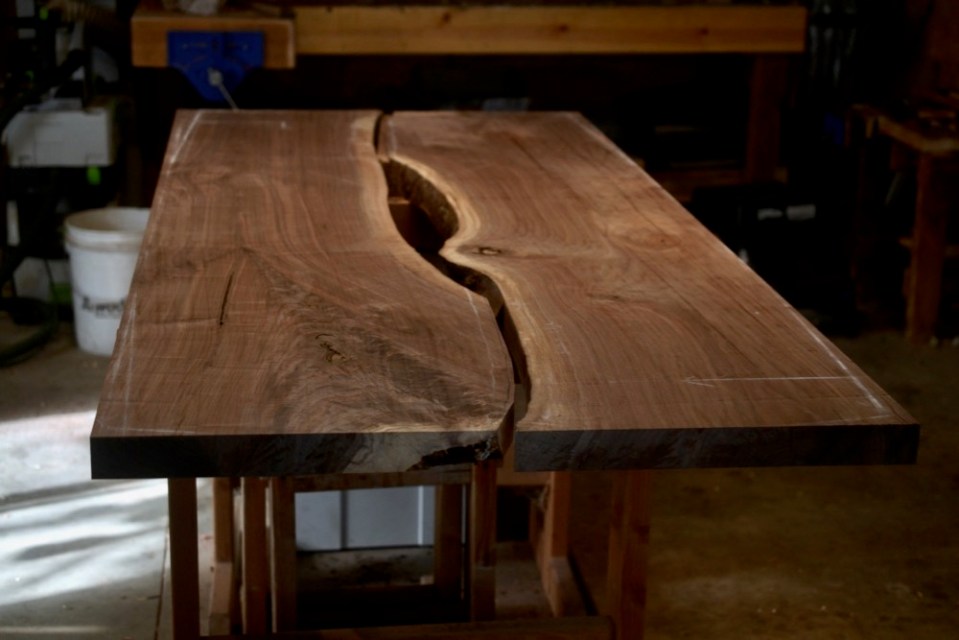
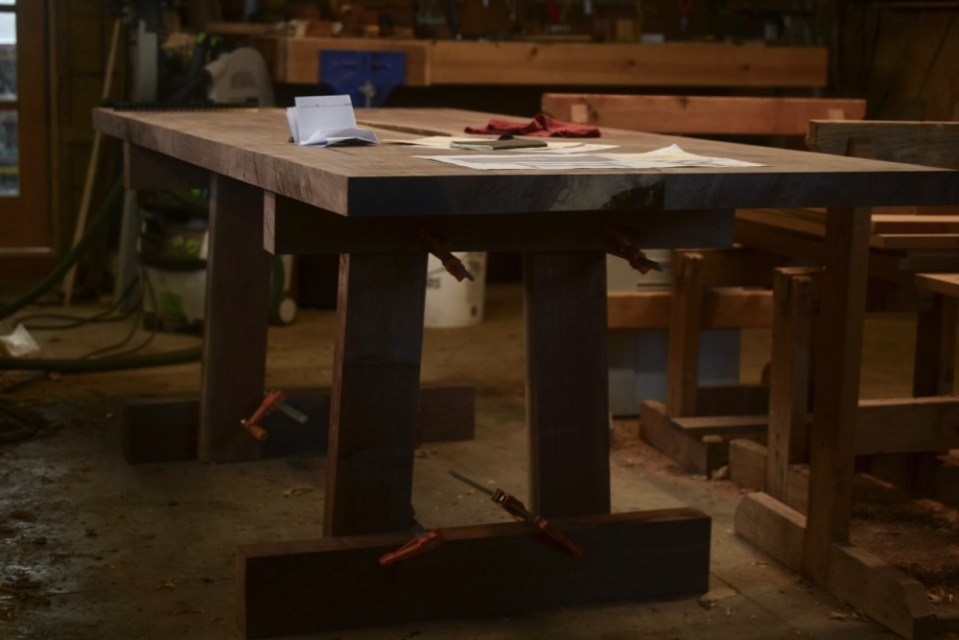
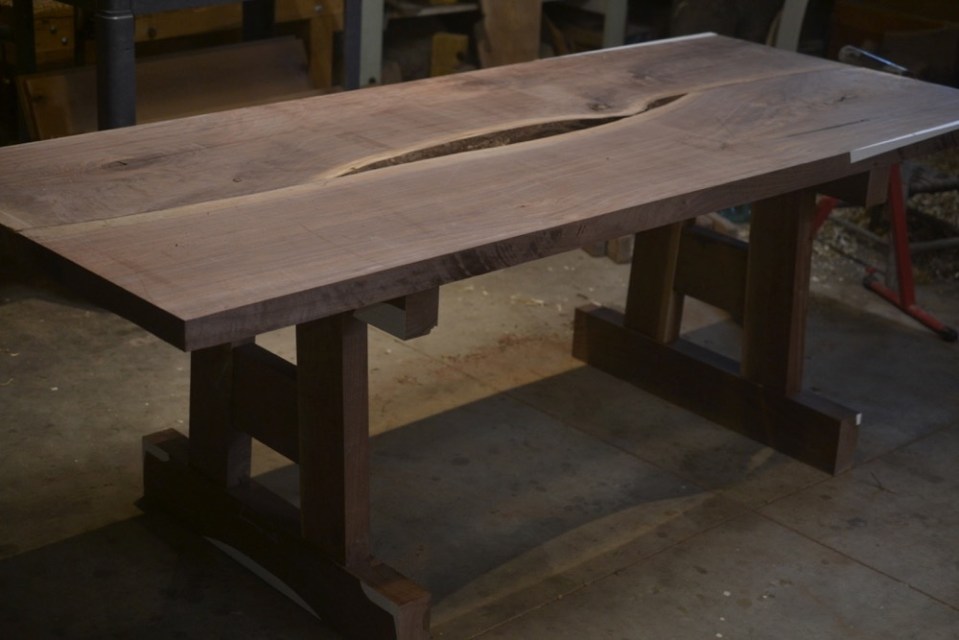
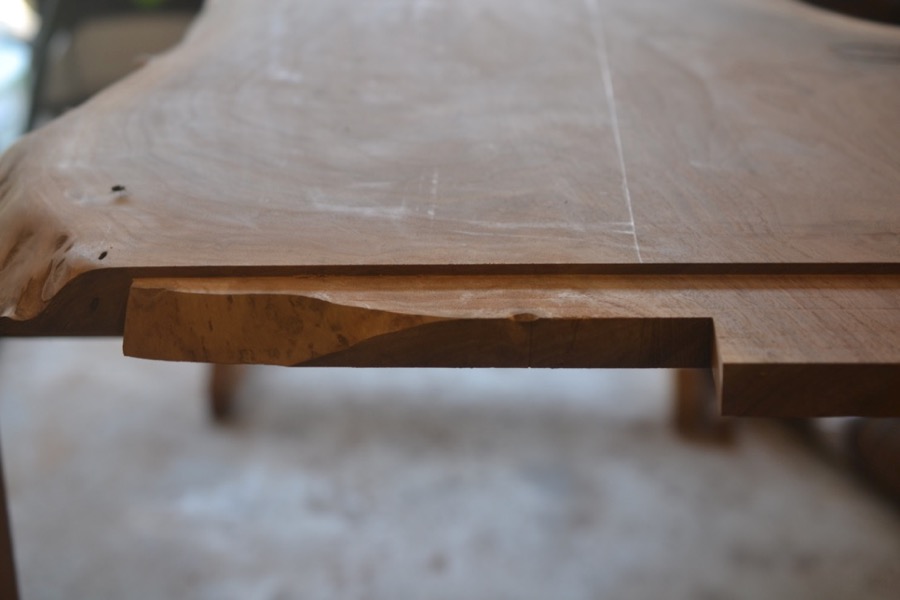
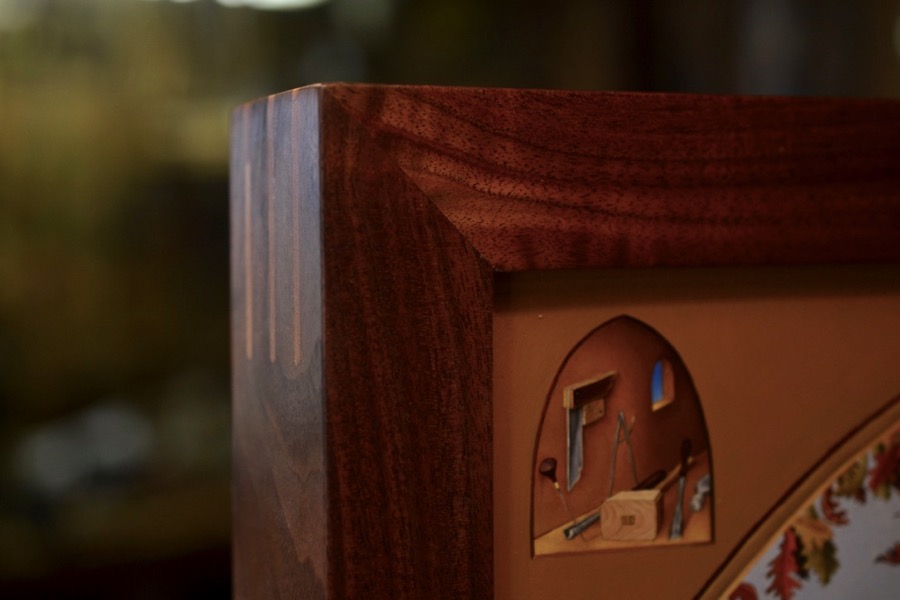
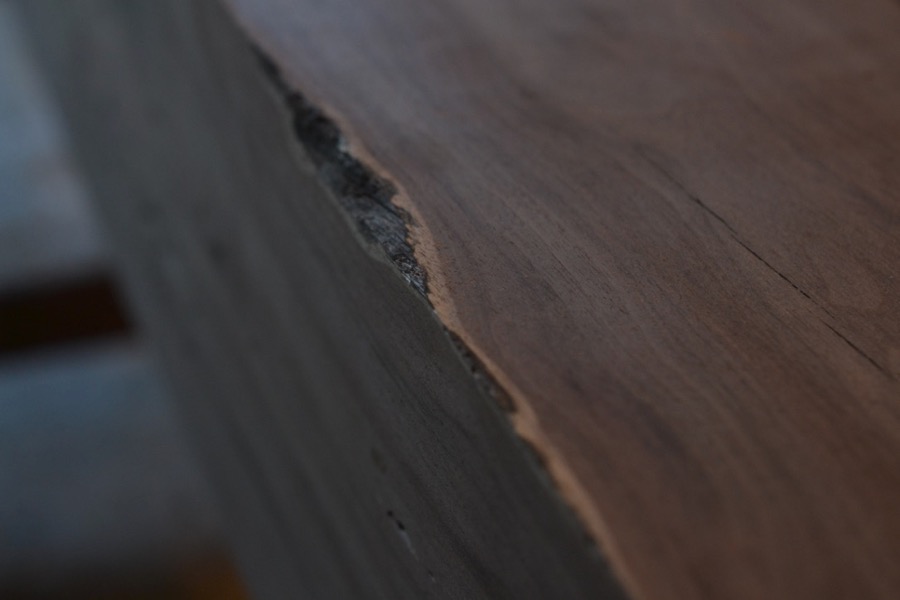
testing it against the table-top

champion table 310

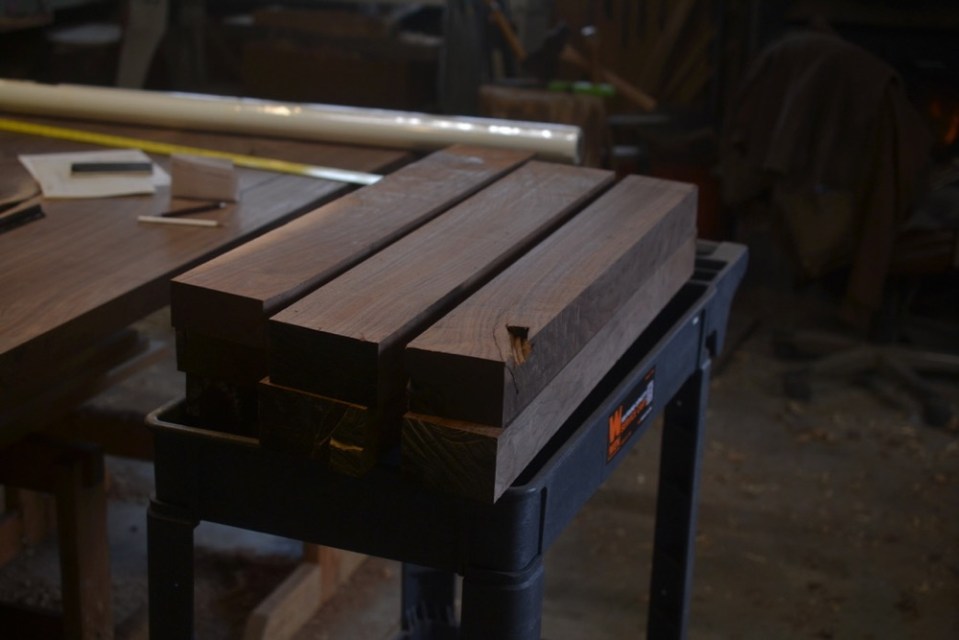
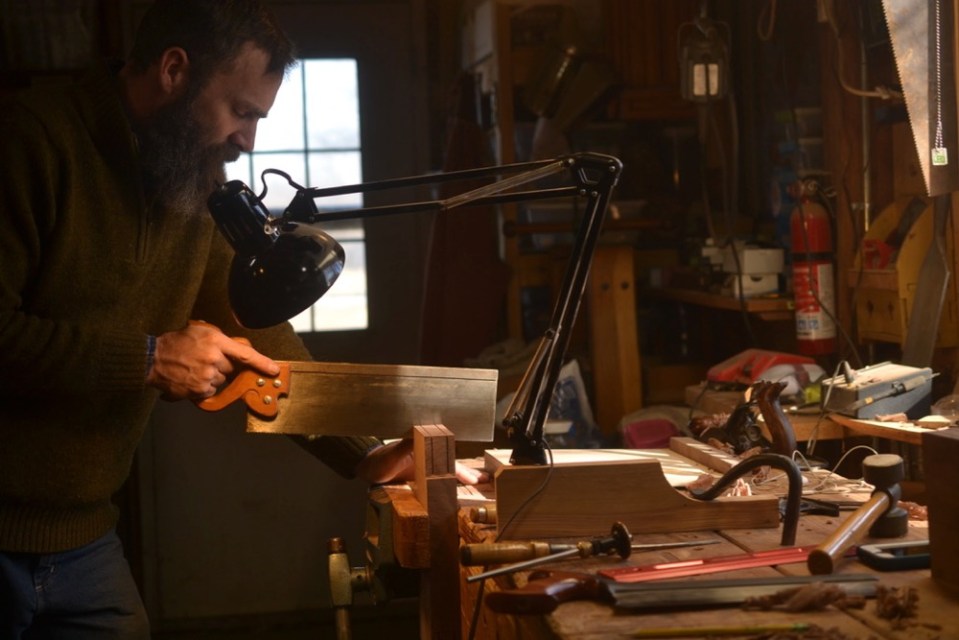
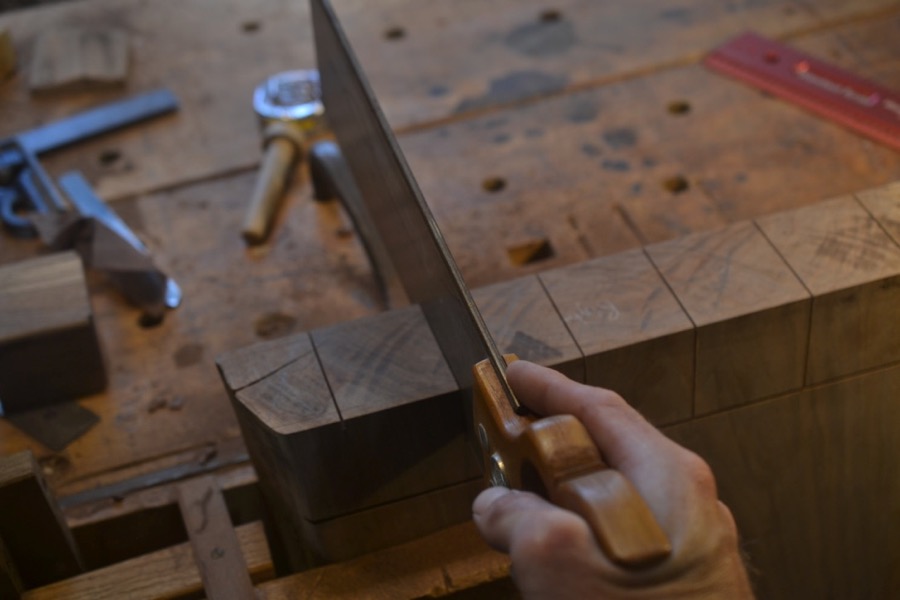
sawing lengths of white-oak for the vertical posts of the leg assembly

champion table 311

the white oak after squaring-up

champion table 312

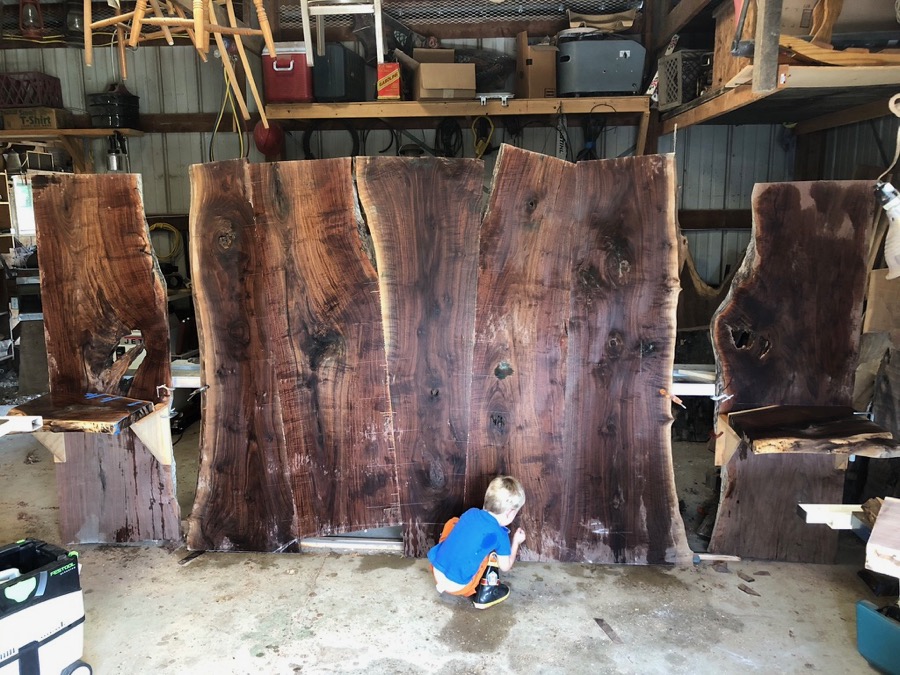
testing the concept and a few angles before committing

champion table 316

laying out the leg joints

champion table 317

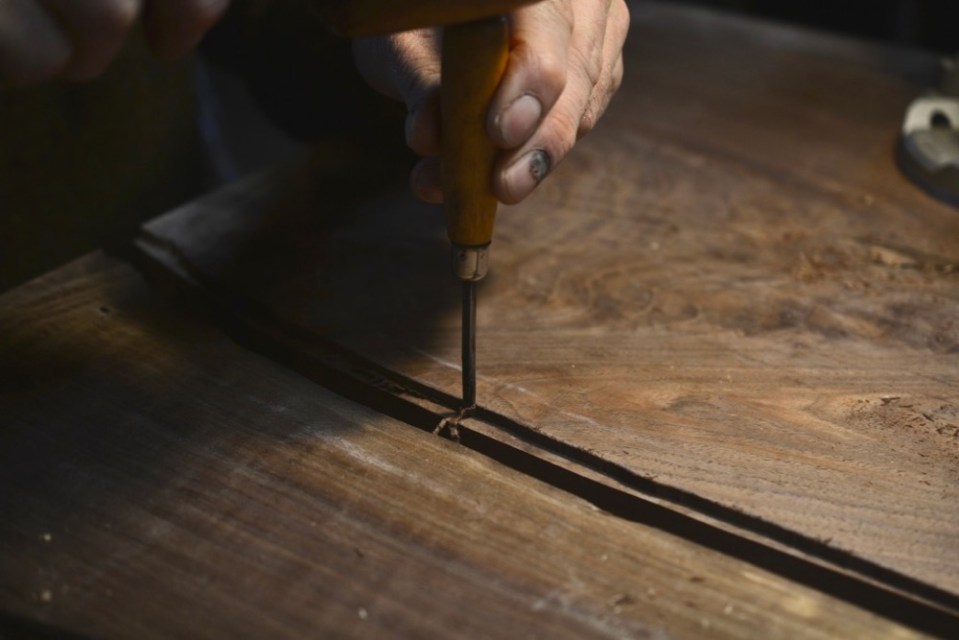
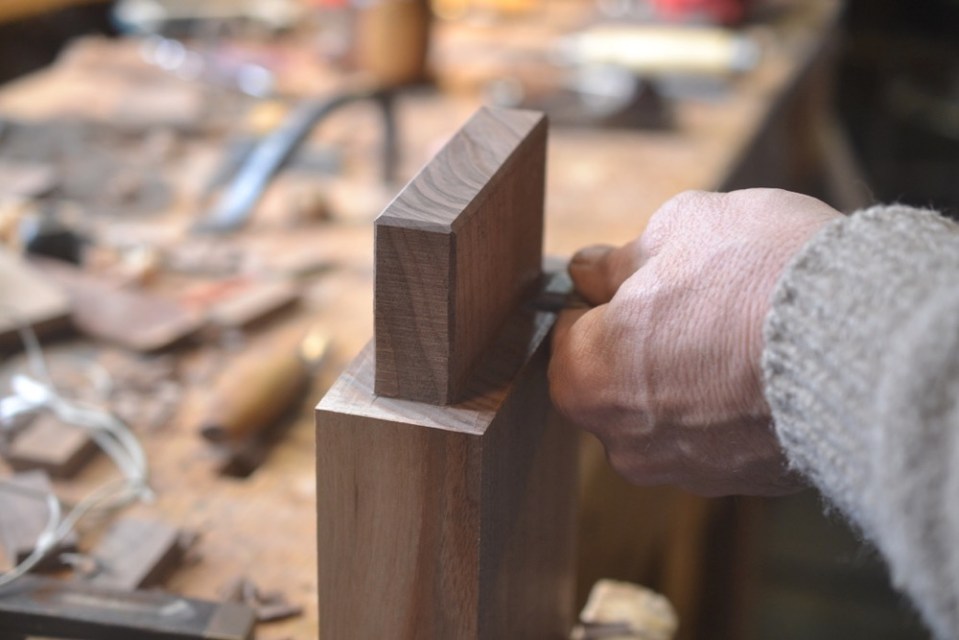
establishing the sliding dovetail angle with a knife

champion table 318

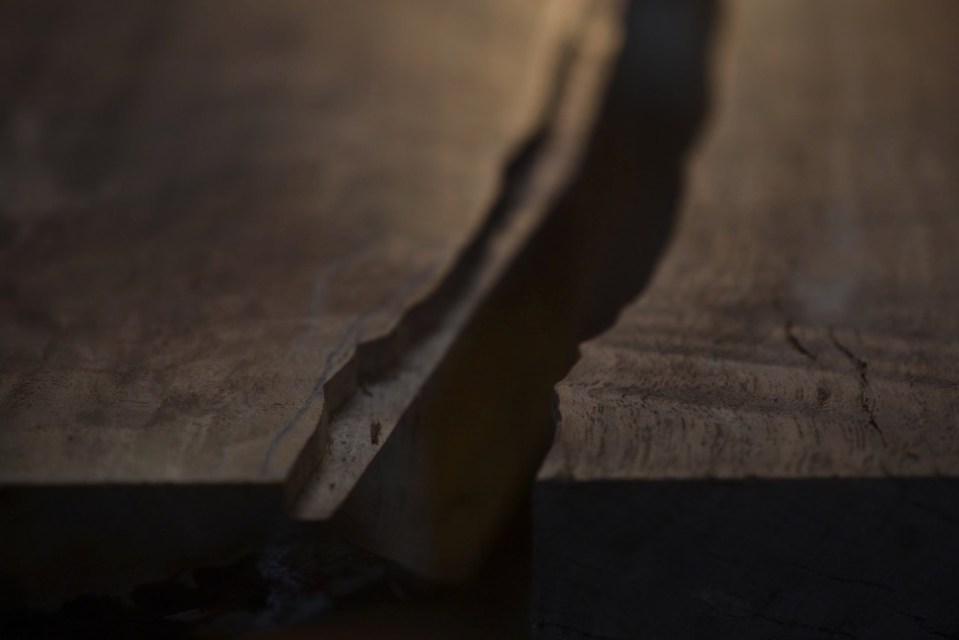
cutting the front of the sliding dovetail

champion table 319

all the bandsaw work done, now the hand-tools will finish

champion table 320

paring the back cheek of the tenon

champion table 321

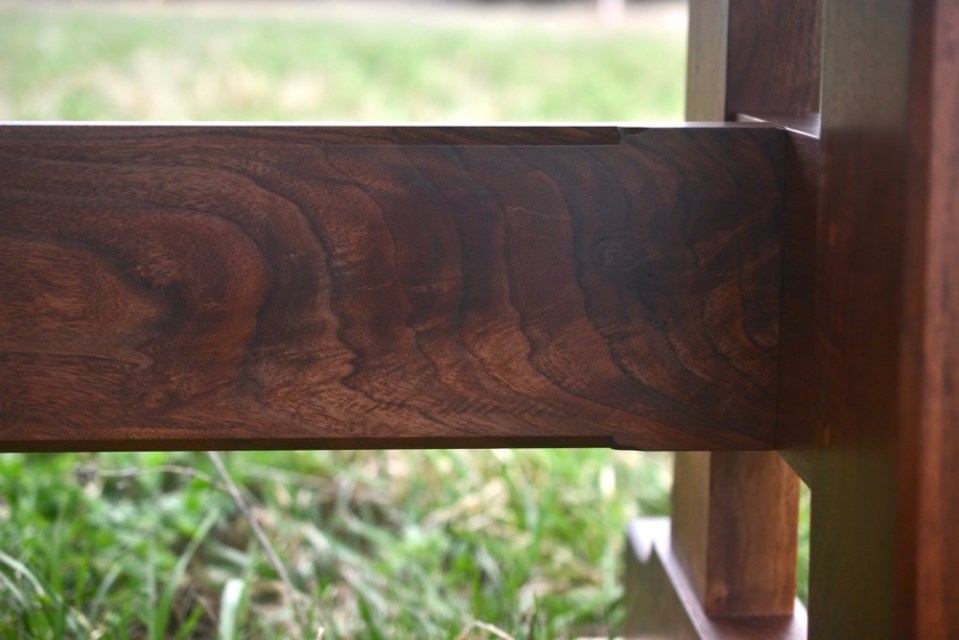
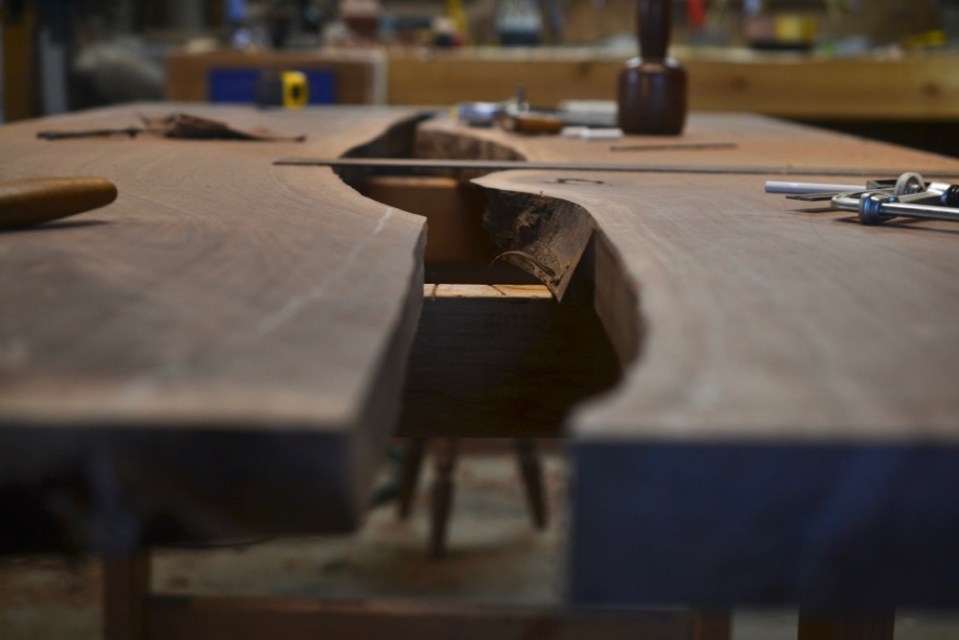
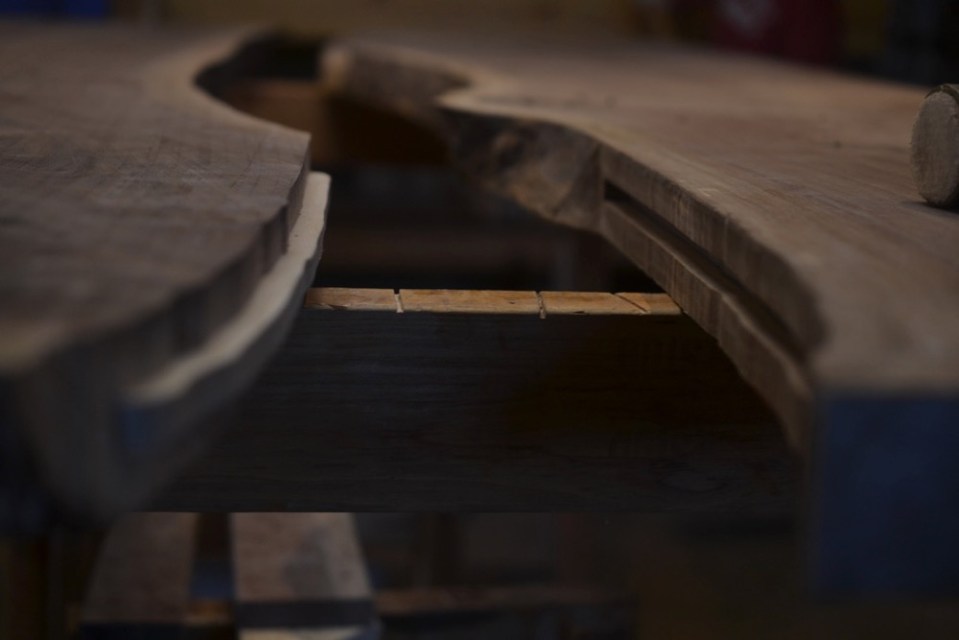
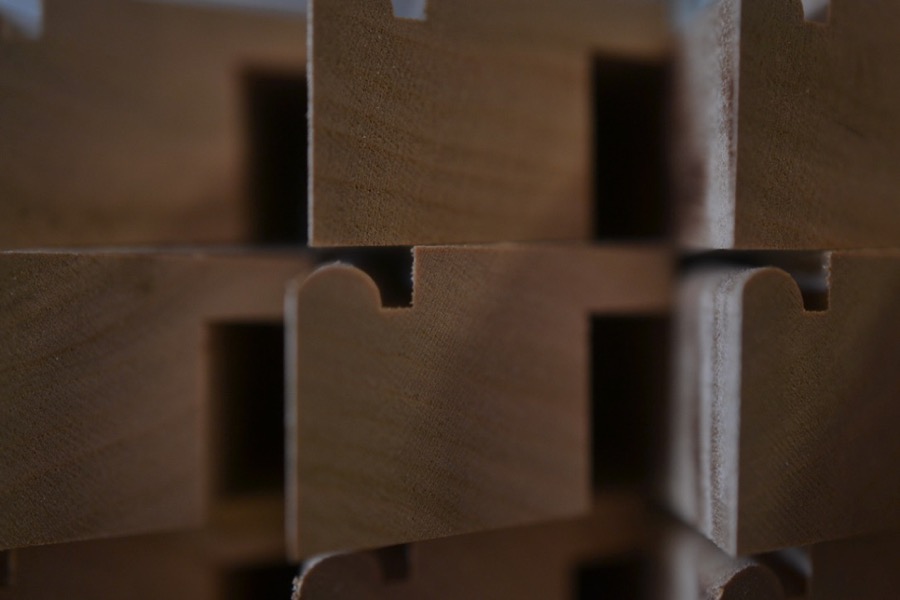
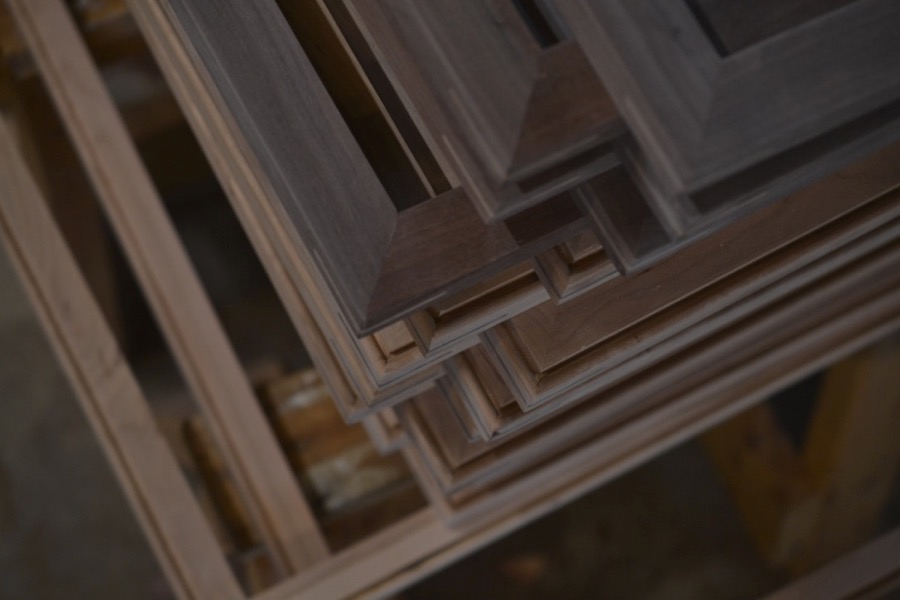
the joint is most of the way there- the waste between the mortise and the dovetail is yet to be removed

champion table 322

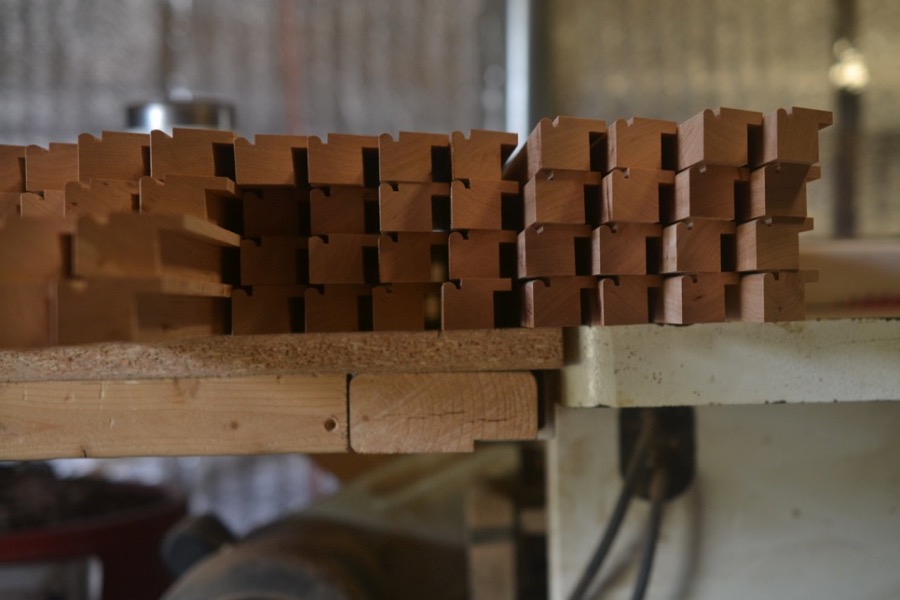
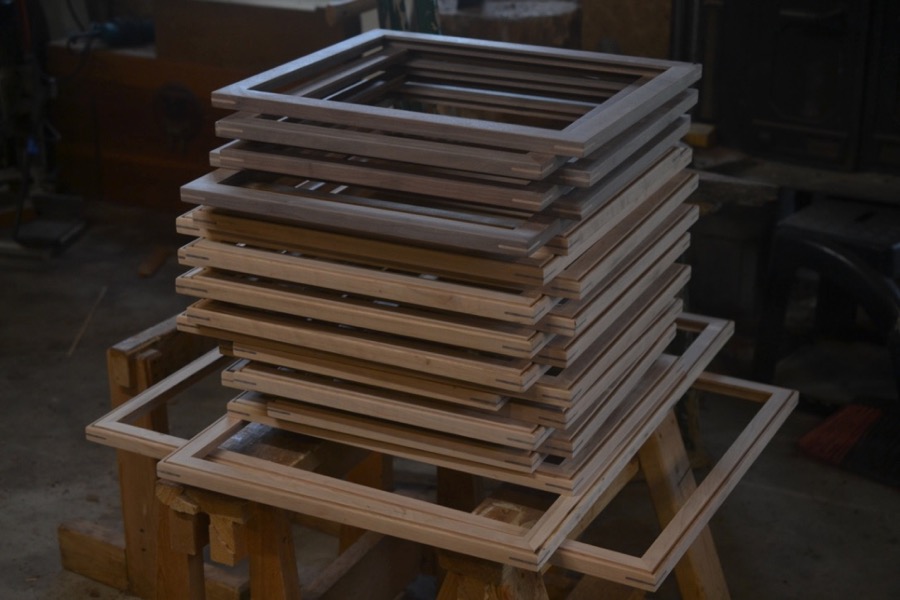
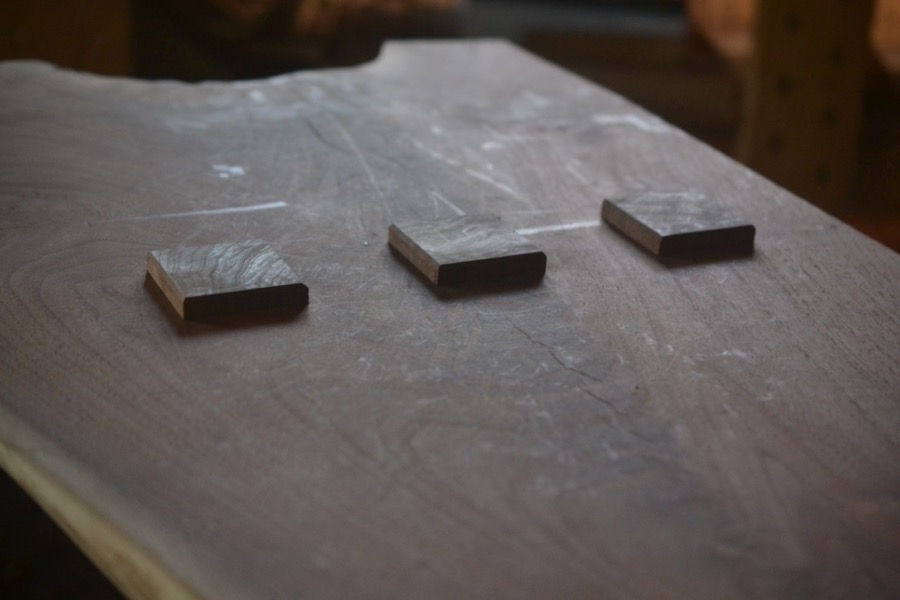
the four white oak legs all cut

champion table 323

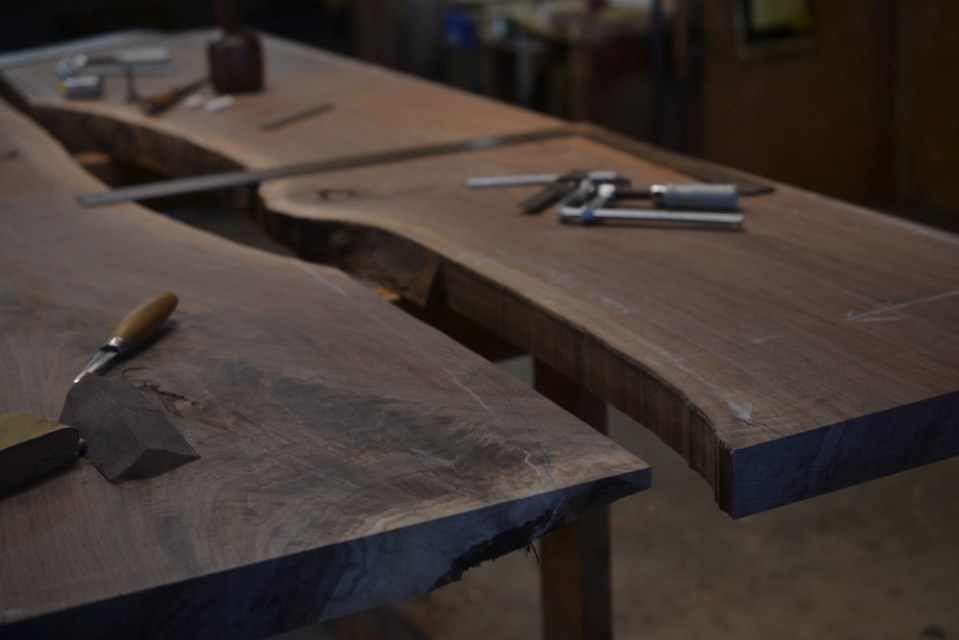
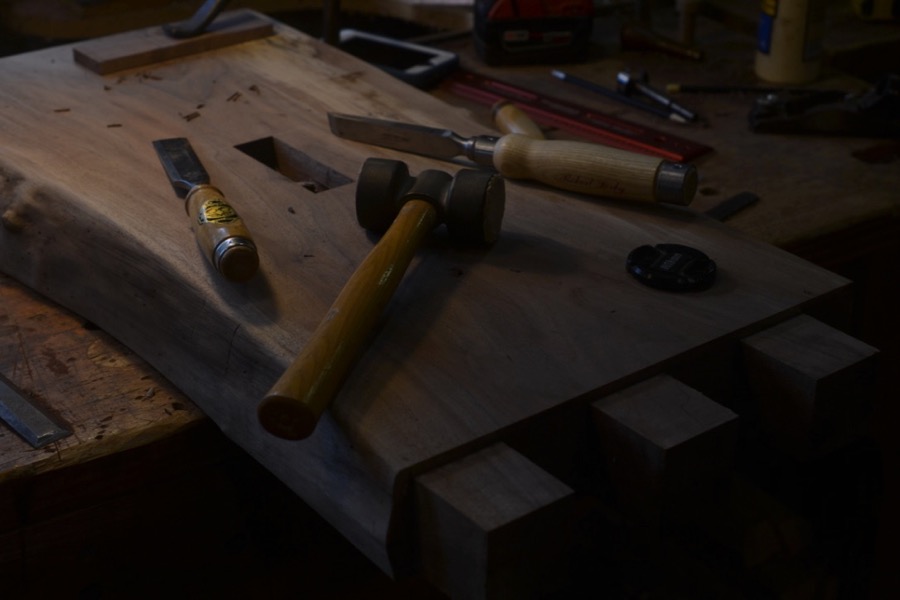
the arsenal of tools to accurately transfer the dimensions of the tenon/ dovetails onto the walnut rails

champion table 306

marking

champion table 324

starting the cut for the sliding dovetail socket with a carcass saw

champion table 325

another view cutting sliding dovetail sockets

champion table 326

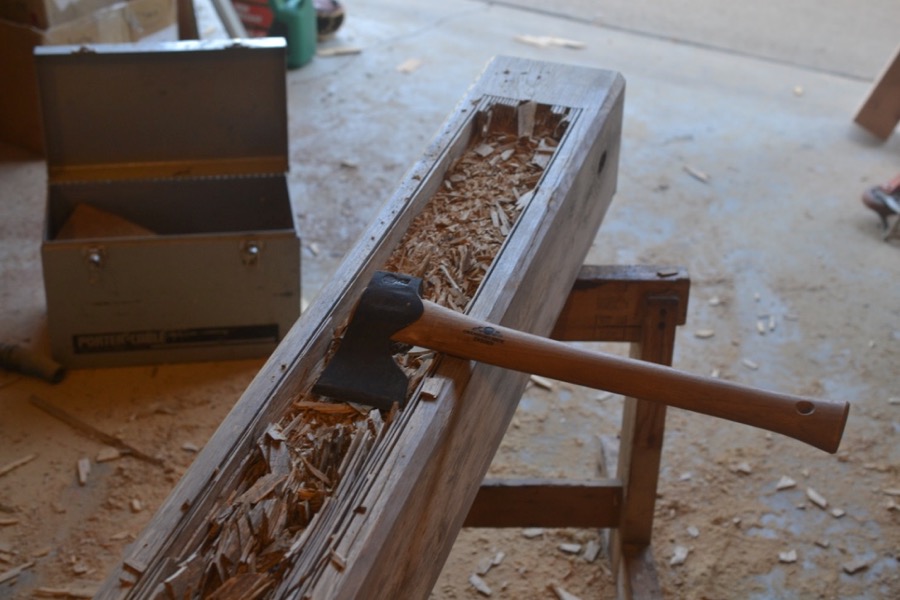
chopping out the waste in the socket

champion table 327

paring the sidewalls unreached by the saw

champion table 328

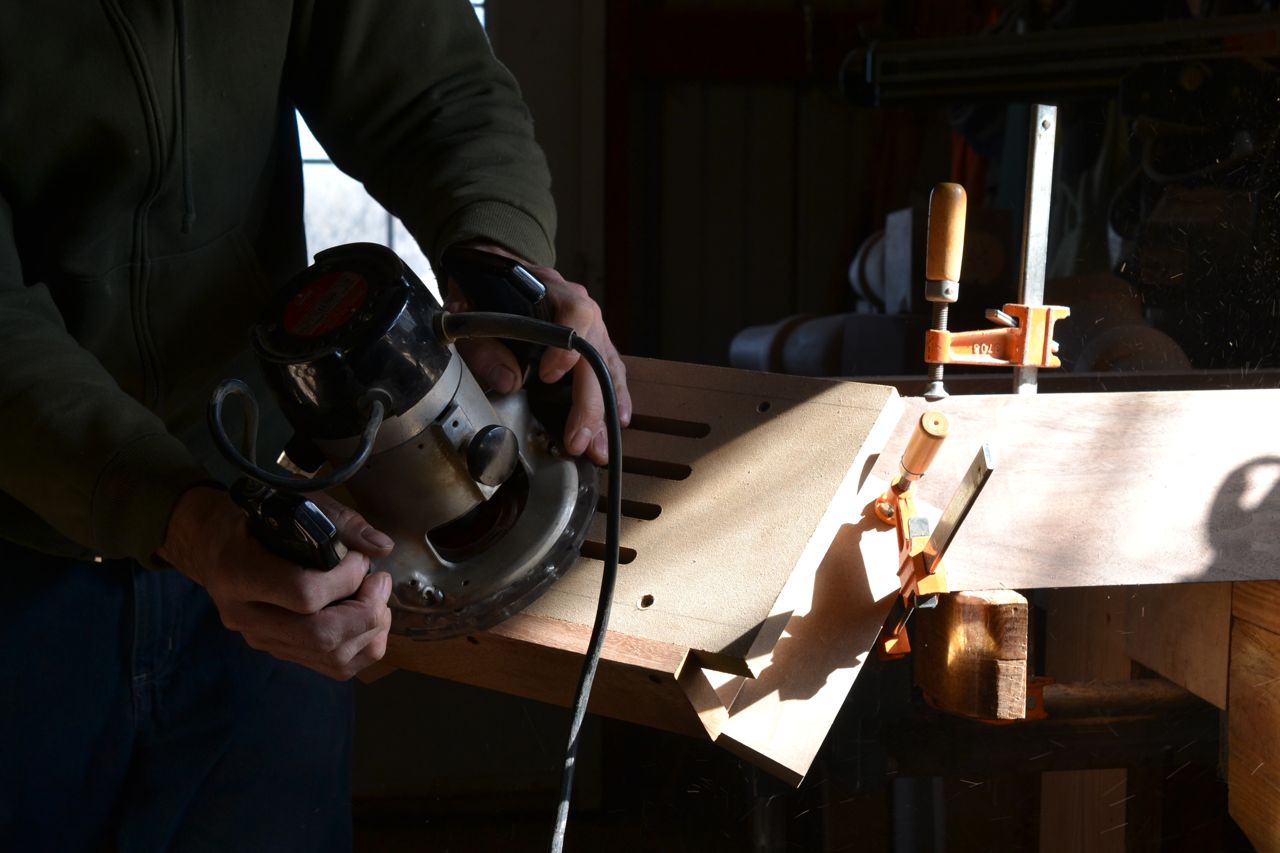
using a router plane to achieve an accurate floor of the joint- the leg on the cutter allows it to reach the angled corners

champion table 329

another view of the router-plane

champion table 330

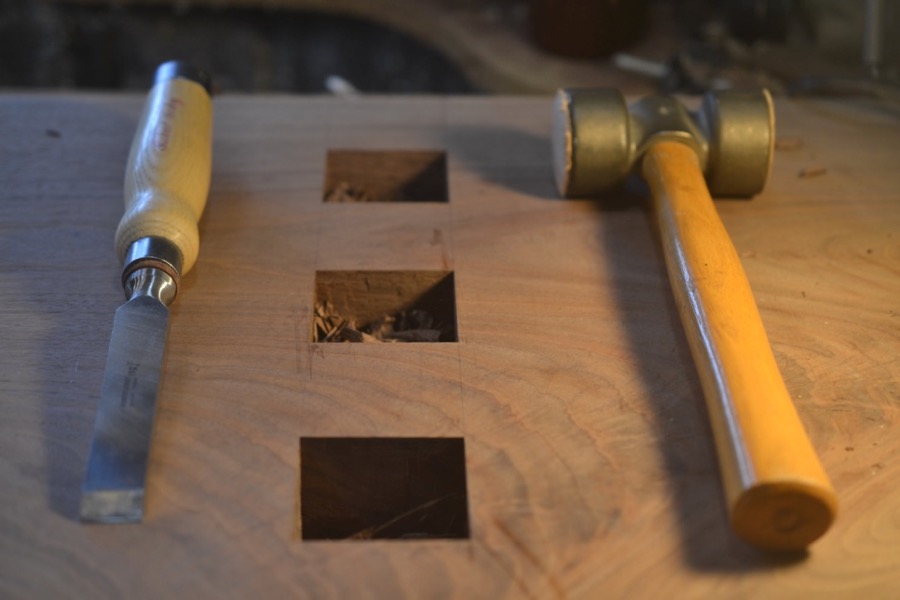
starting the mortise with a 3/4 mortise chisel

champion table 331

the first row is delicate- just establishing the shape and protecting the corners

champion table 332

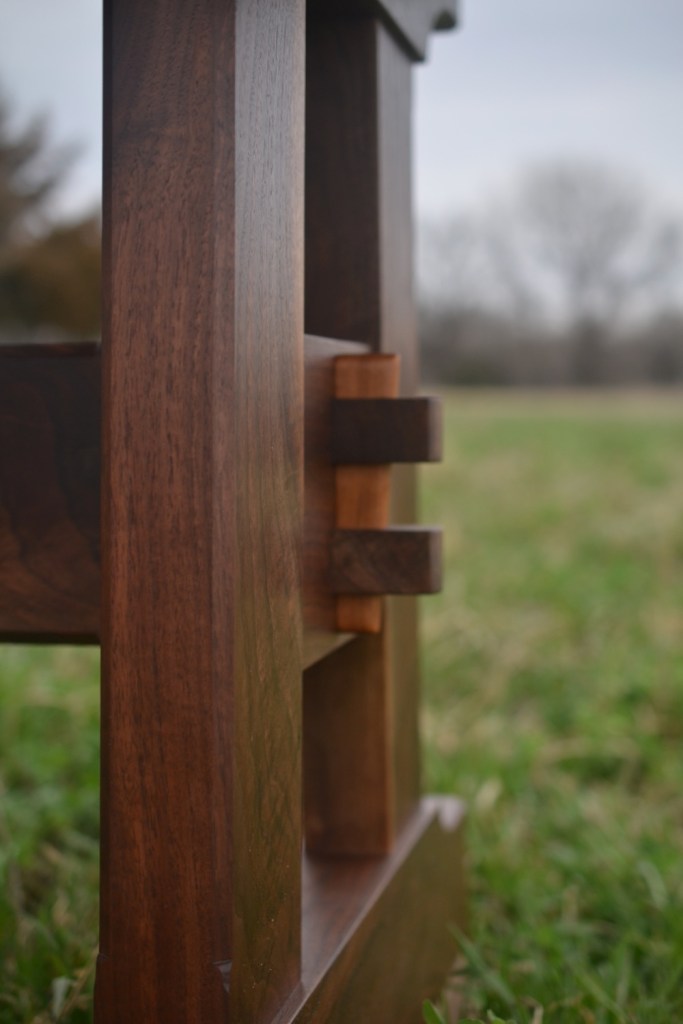
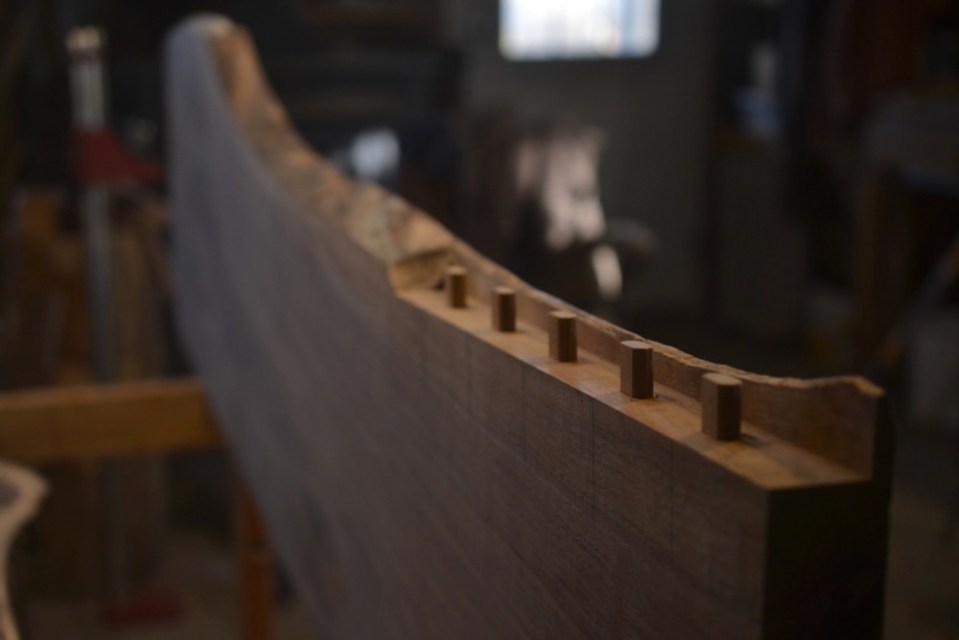
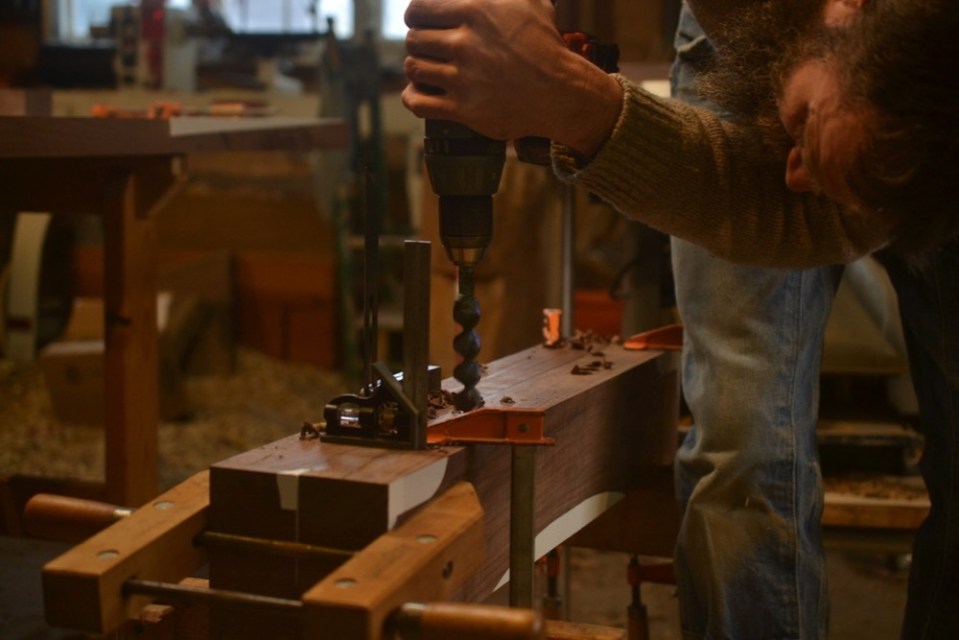
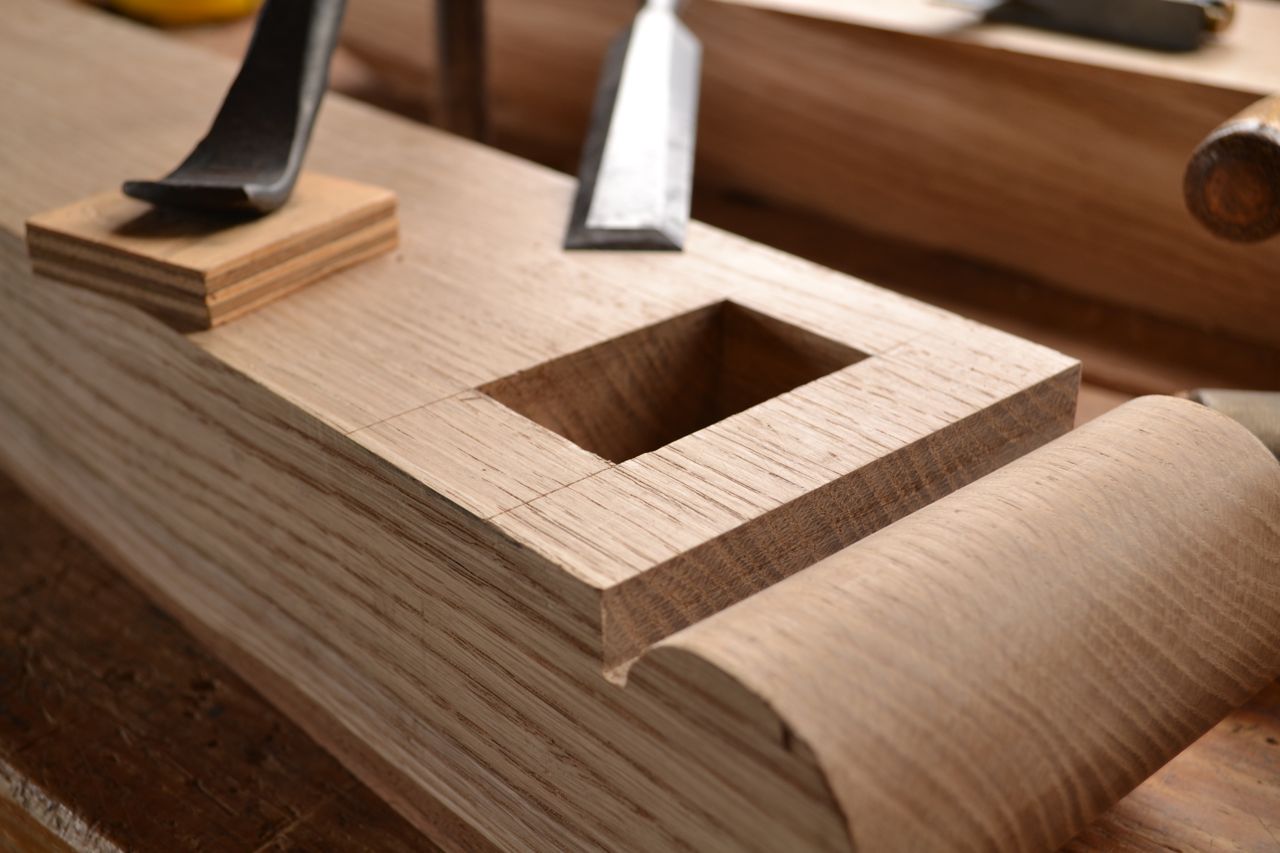
going the full depth of the mortise with an auger – you can see the round-topped sliding dovetail socket parallel to the mortise

champion table 333

squaring the mortise the rest of the way with the mortise chisel

champion table 336

cleaning the sidewalls with my extra-big paring chisel

champion table 334

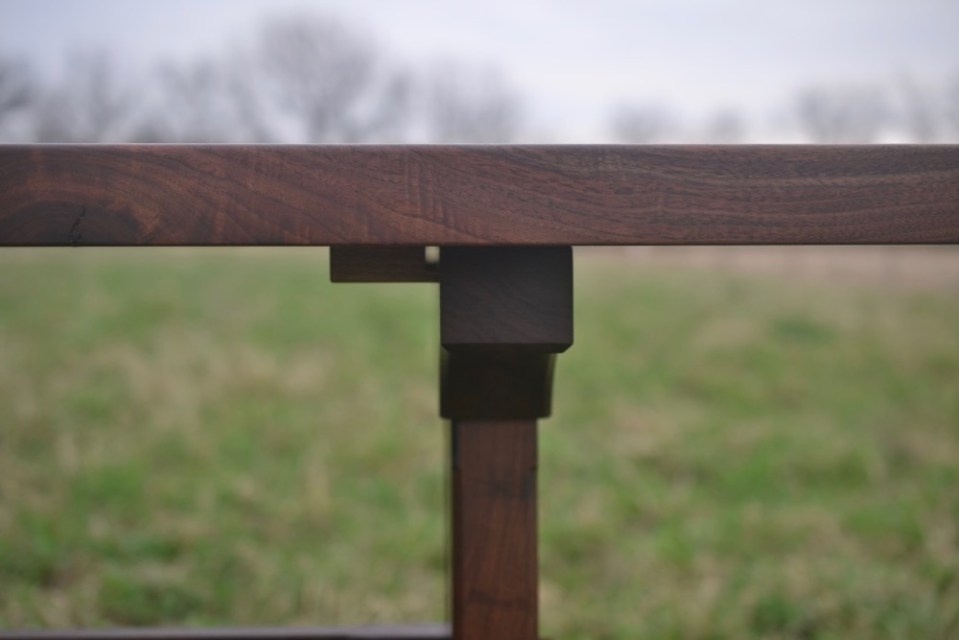
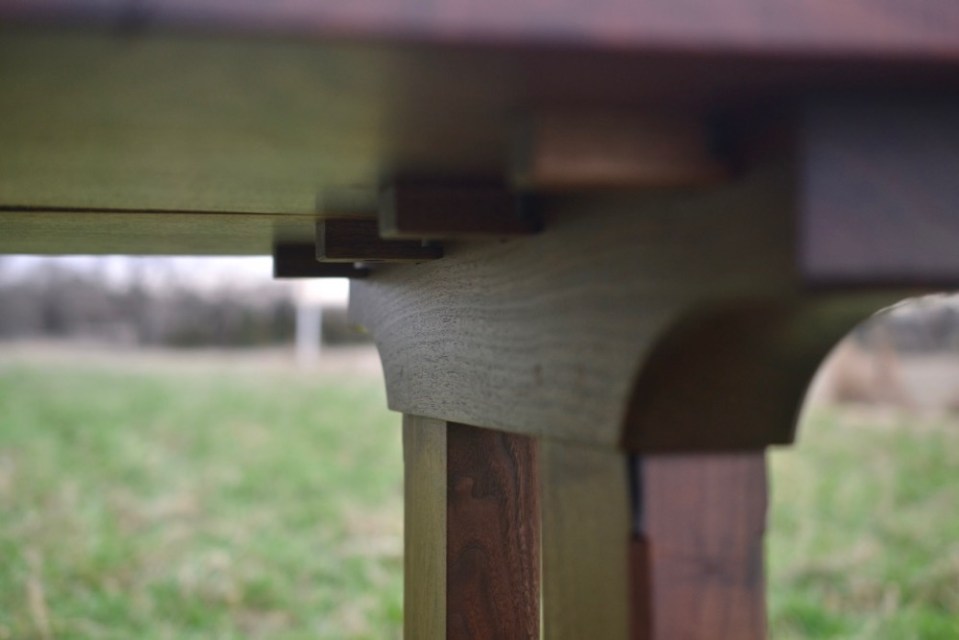
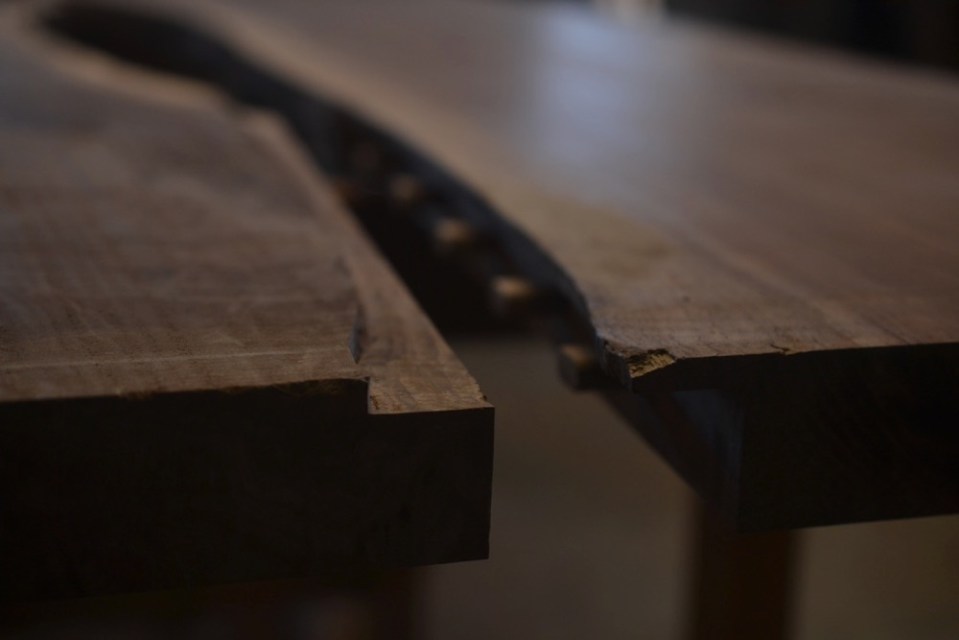
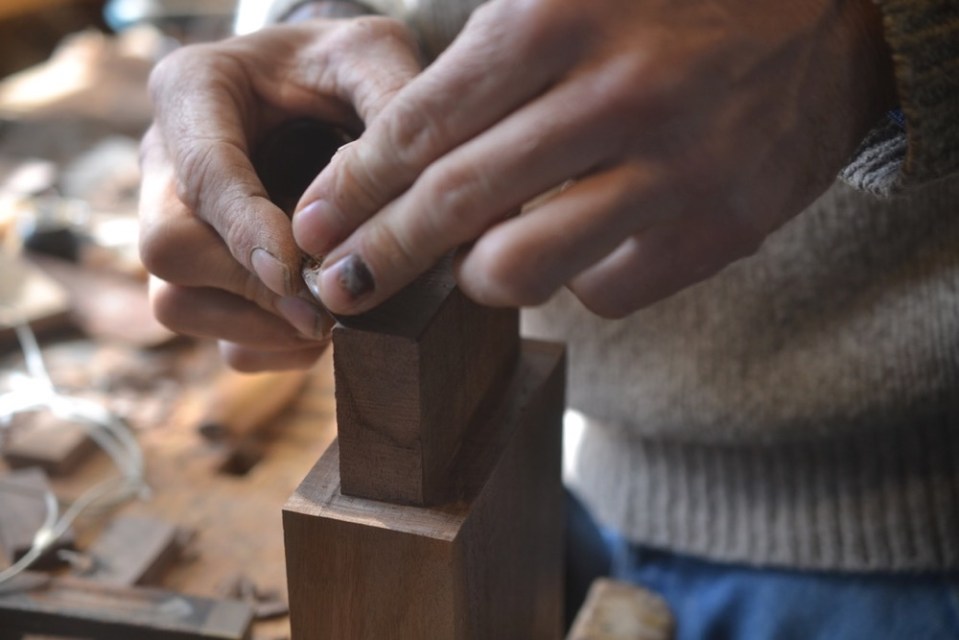
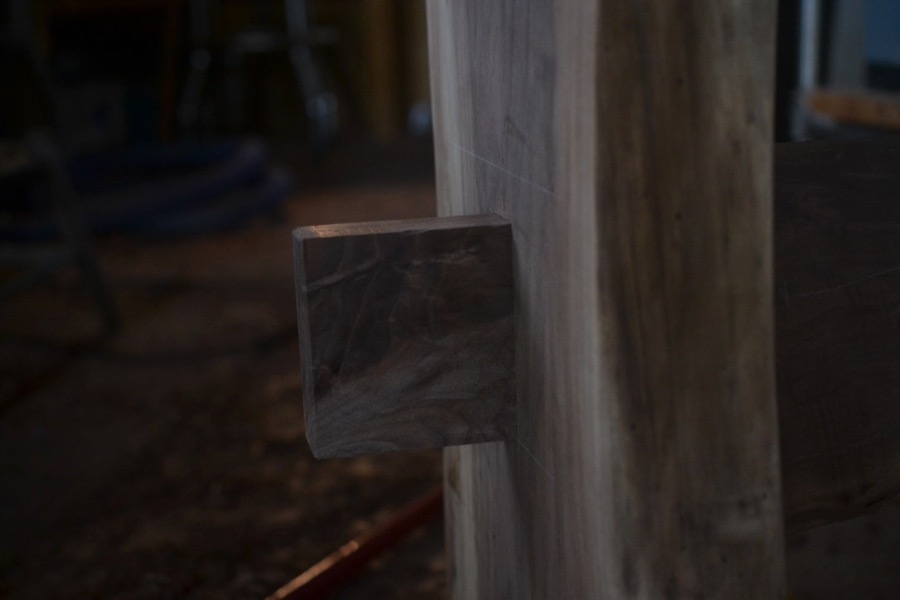
thank God, they fit!

champion table 335

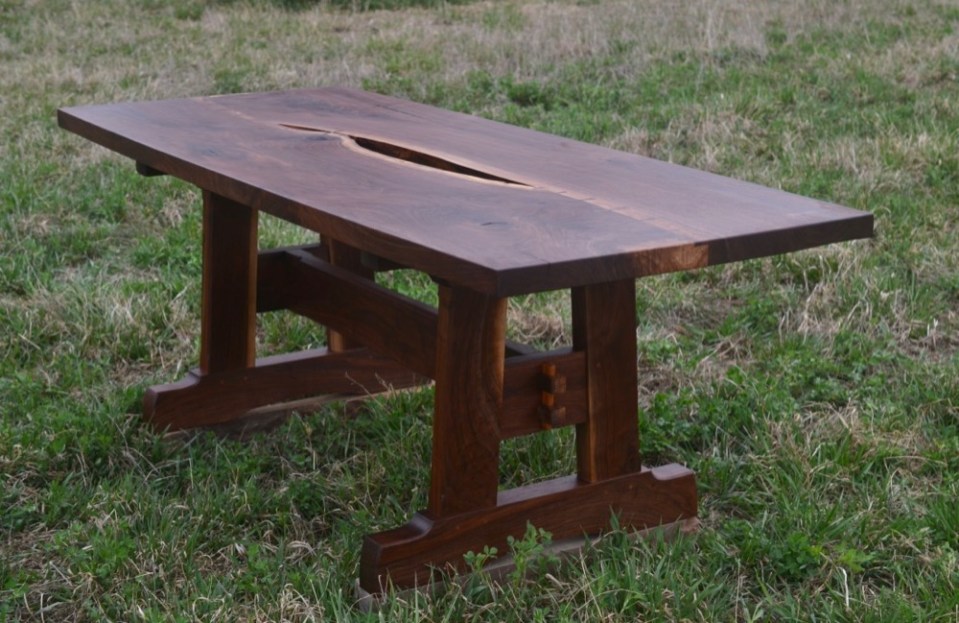
step one is successful- to get to this point took endless drawings and two complete practice joints and a lot of patience

champion table 313

marking the leg rails for some shaping/ sculpting cuts on the band saw

champion table 337

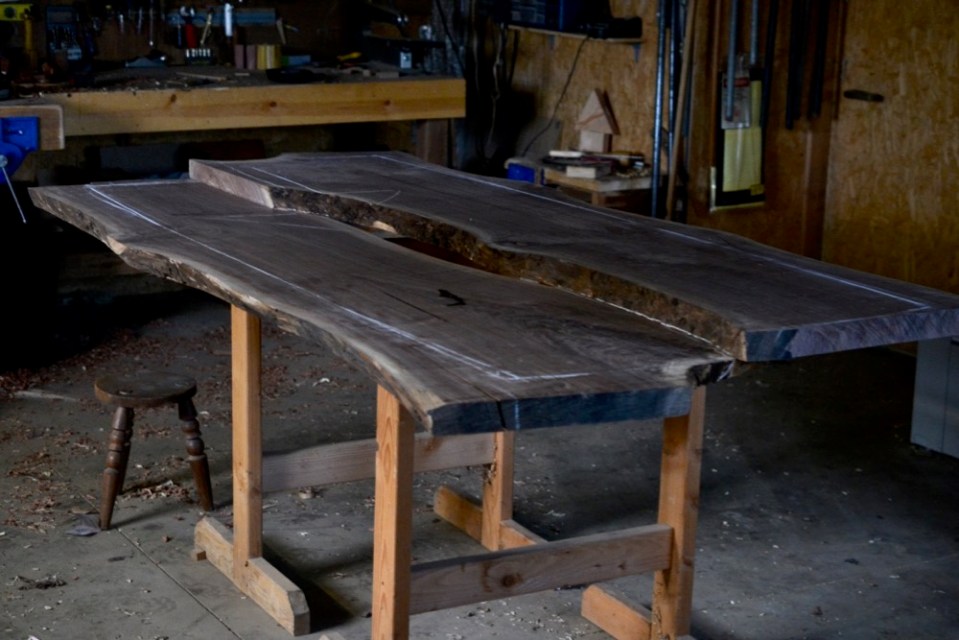
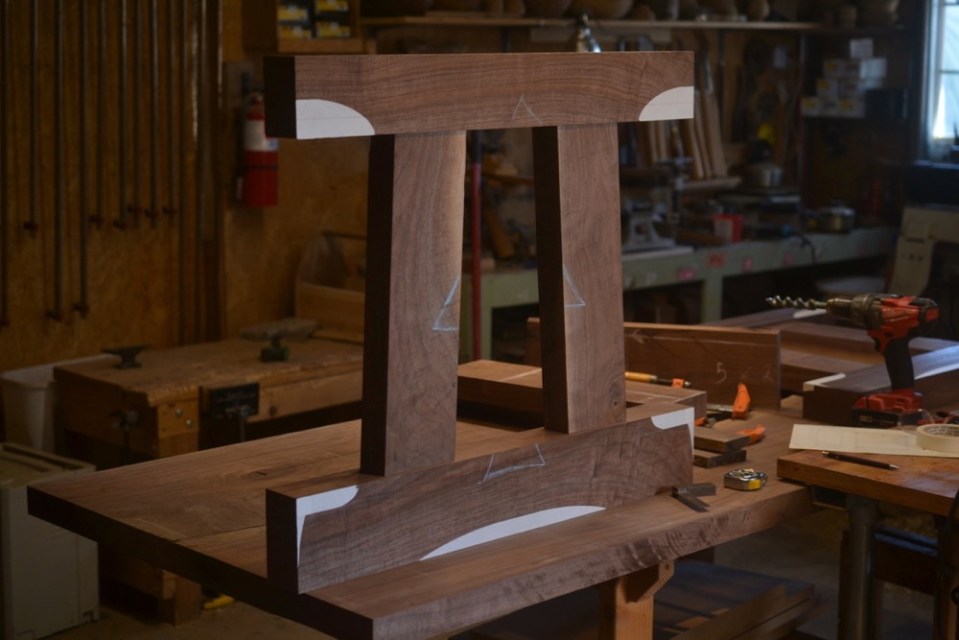
the top rails post rough-shaping, and the taper of one of the white-oak legs marked with blue tape

champion table 338

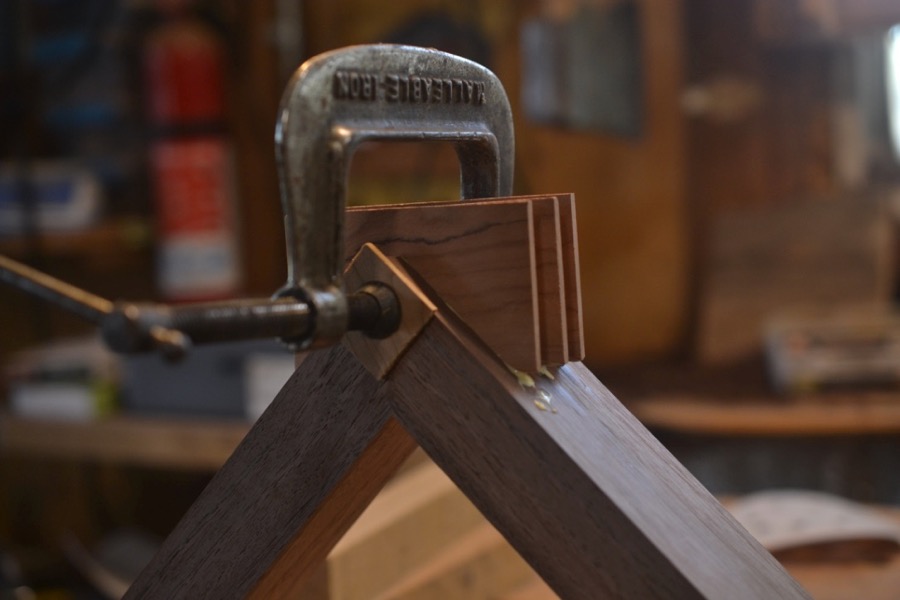
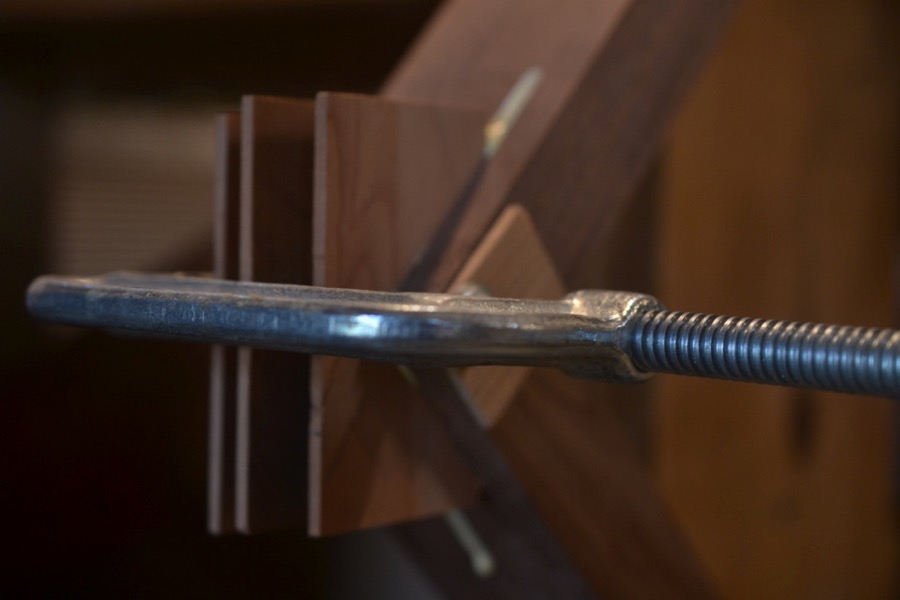
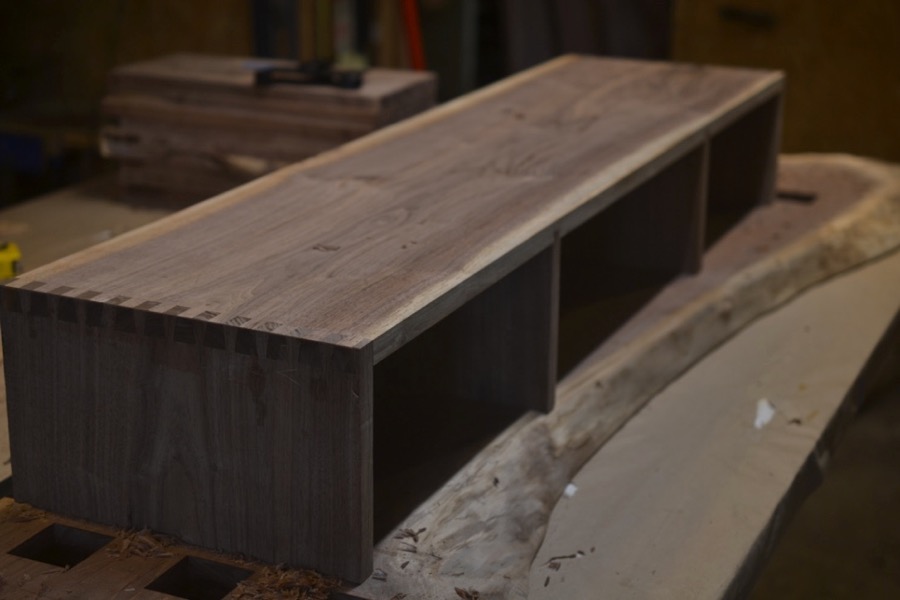
dry re-assembly just to make sure
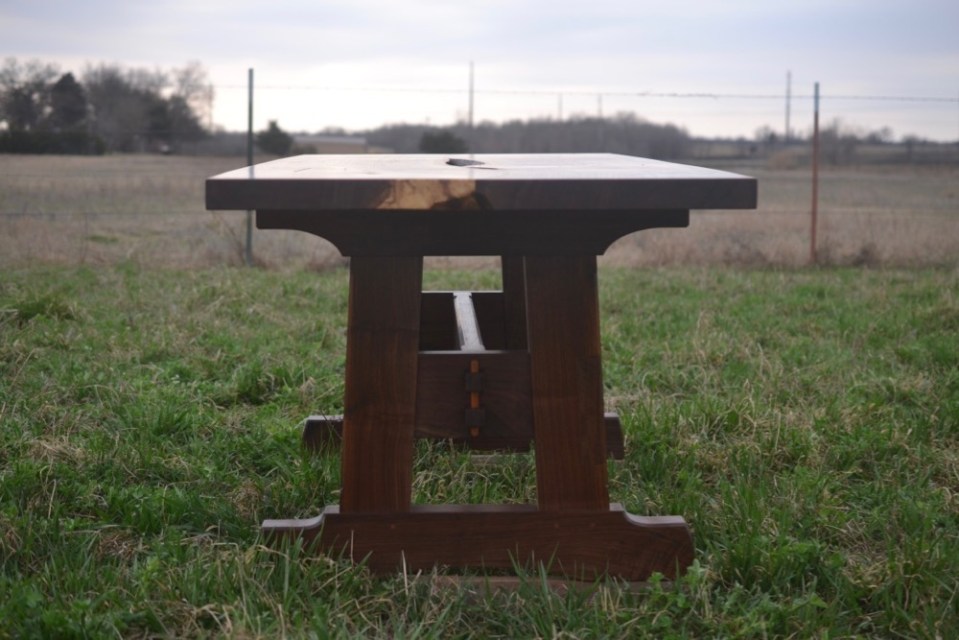
champion table 339

the glue-up

champion table 340

next week will concern the joining of the bottom rail and the final shaping of the leg assemblies

Walnut: Trials and Joining

Utilizing the natural contours of our native black walnut within confines of a more strict geometry.

JONAH CHEST: PANELS

Building up a trapezoidal chest panel.

Ebonized walnut splines.


Rough idea of the panel with a 3/16″ reveal (ultimately) of the splines.

NATURAL EDGE FRAME


Scribed half-lap, upper left.


Dovetails, upper right.


Scribed lap joint with key, lower right.

Whole frame.  The lower left corner is a doweled butt-joint.

White Oak Painting Cabinet

A dovetailed painting cabinet  in quarter-sawn white oak.  The tree grew along the Van Horn Branch just south of Boaz, Kansas, until it’s bank gave way.  The panels will be gessoed and receive an oil painting.  The cabinet is only dry fitted.  It will not be glued up until the panels are fully prepared.  In order to eliminate the center stiles of the frame and panel doors, the inside inch and 1/2 is a full tenon into the rail, while the rest of the panel will float in the customary grooves.