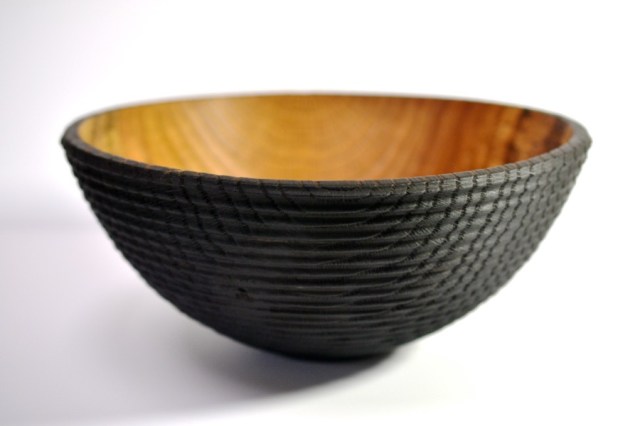
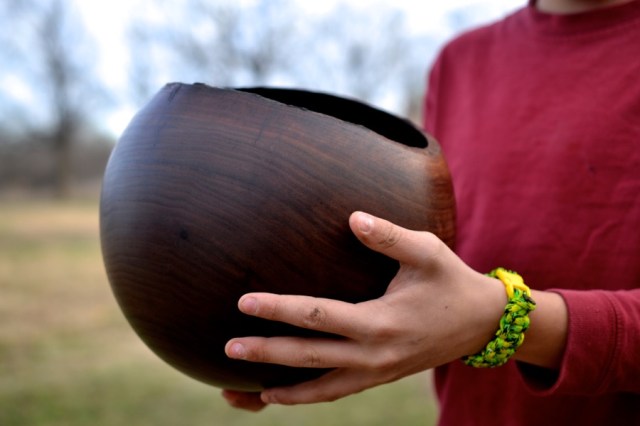
Benthic: of, relating to, or occurring in the depths of the ocean (from Merriam-Webster). So dubbed by my friend, Tom, this form is known as The Benthic Vessel (in red oak). No one is sure whether they like it or not at first, including me.


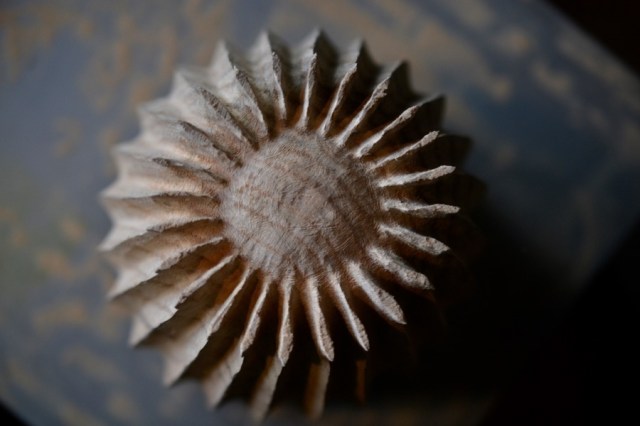


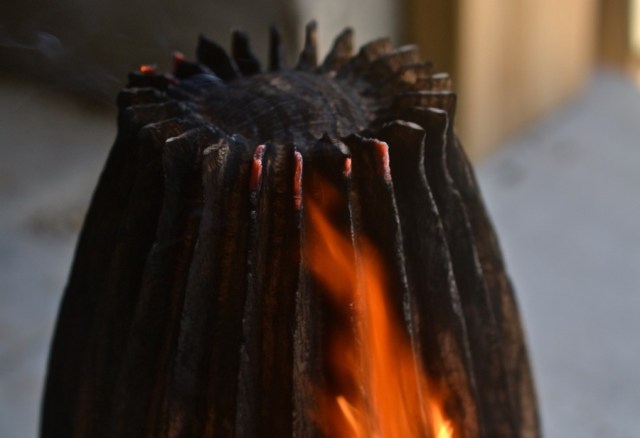
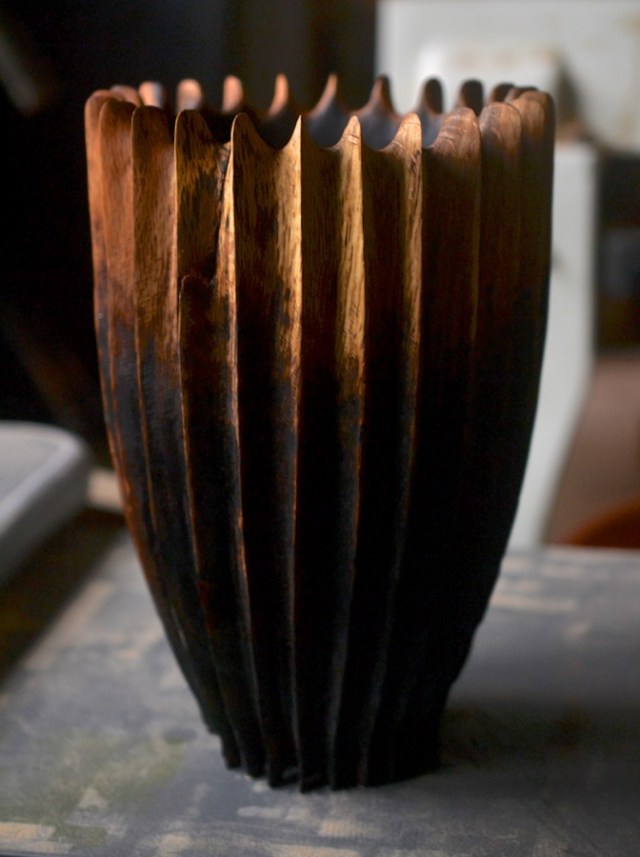
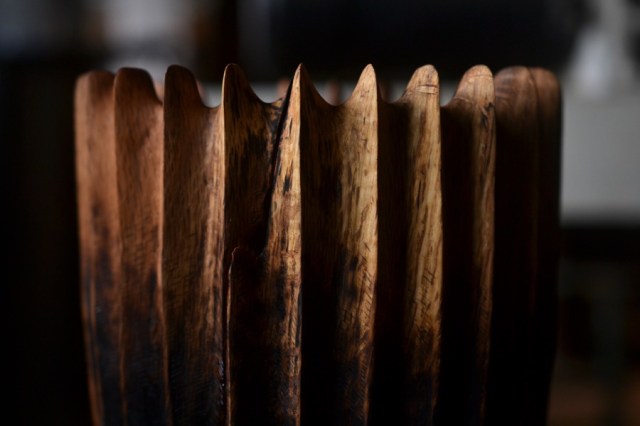


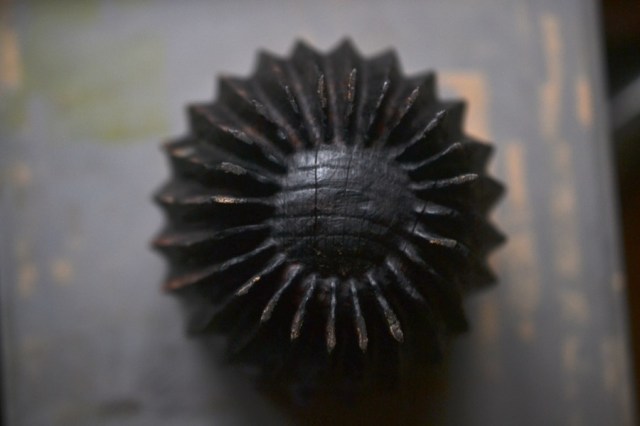
Benthic: of, relating to, or occurring in the depths of the ocean (from Merriam-Webster). So dubbed by my friend, Tom, this form is known as The Benthic Vessel (in red oak). No one is sure whether they like it or not at first, including me.
at the BaumWerk Etsy Store Dear friends, I thank you for all of your kind words and interest regarding this new print of the Living Tree. I am grateful that it seems to have struck a chord with many of you. A number of you have made inquiries into when and if prints would be available to purchase. As of Friday, a limited number (there will be more as I continue to print the edition) have been listed on my ETSY store. I am selling these first fifteen for $125, after that the price will increase to $150. Click here to go to the listing. Please read more below for some details about the print, and thank you again for your support!
 The image itself is 12″ wide and 22 1/2″ tall and is printed on French’s 100# Butcher Off White Dur-o-tone paper, which is 18″ wide and 25″ tall. French’s paper is American made in Niles Michigan.
 The edition will be 1oo prints, which is the biggest edition I have ever made. Every single print is hand made by me on my Wepplo etching press in my Rose Hill, Kansas workshop.
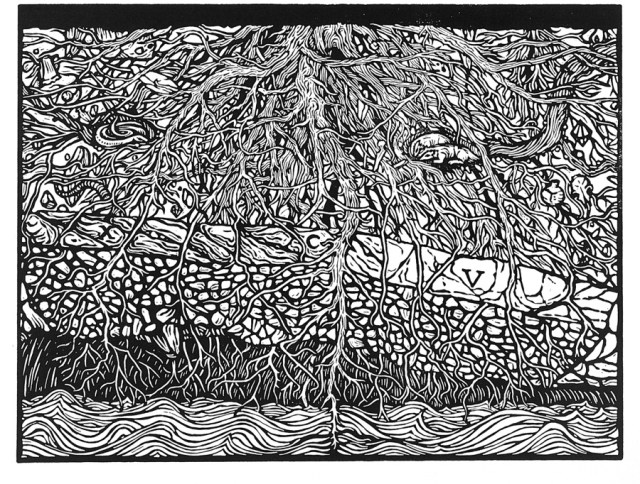
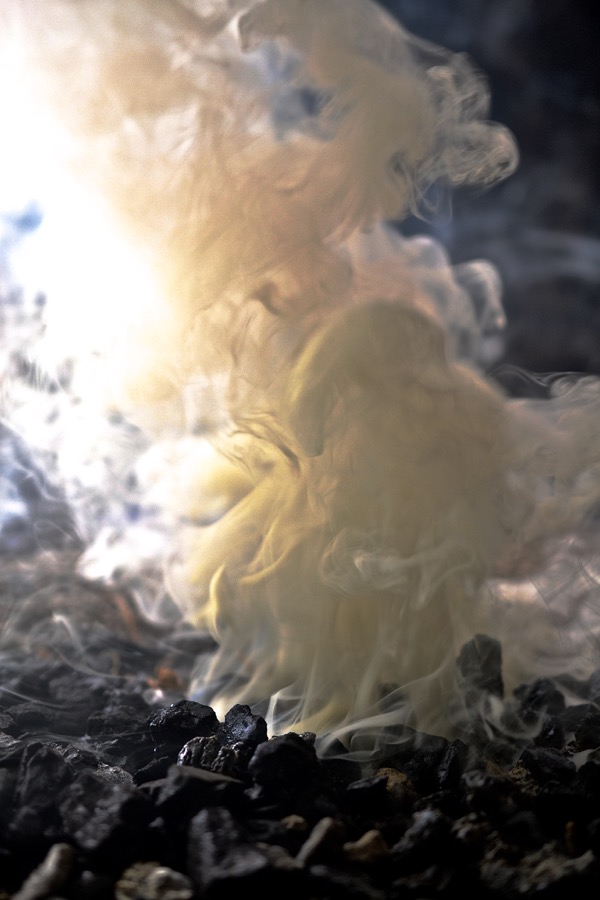
  The print is made using three linoleum blocks, as a composite image. It took me over a year to design and carve the image into the blocks (although I was doing lots of other things during that year, besides carving linoleum).
 Many hours of painstaking carving went into creating all of the details in The Living Tree.
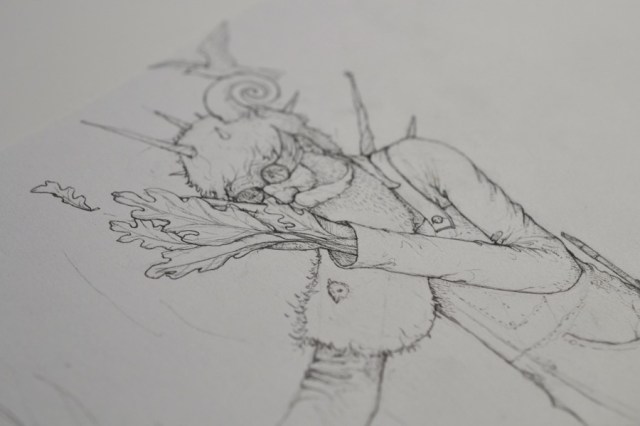
 The Tree and it’s roots are loaded with life, like this little owl.
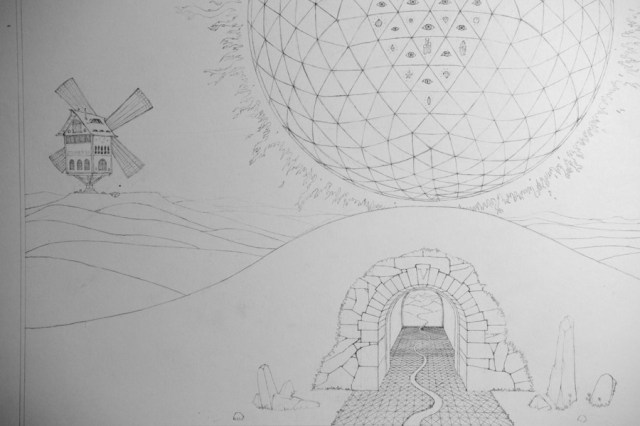
  There are many spiritual and natural beliefs and dreams symbolically represented in this print. There are many things which I see and believe about who my God is, and also things which I strive to cultivate in my life and stewardship on the land. I don’t have many words as a companion for this image just yet, but perhaps in the future I may try to lay out those ideas for those who are interested.
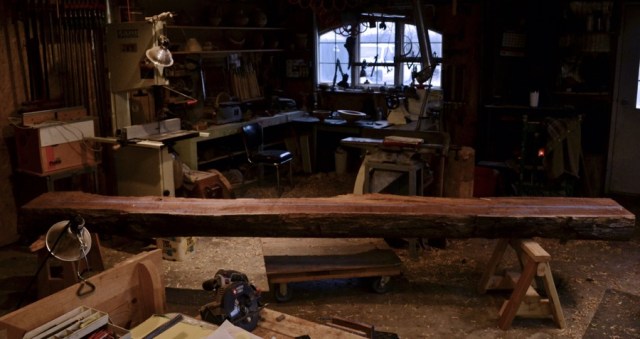
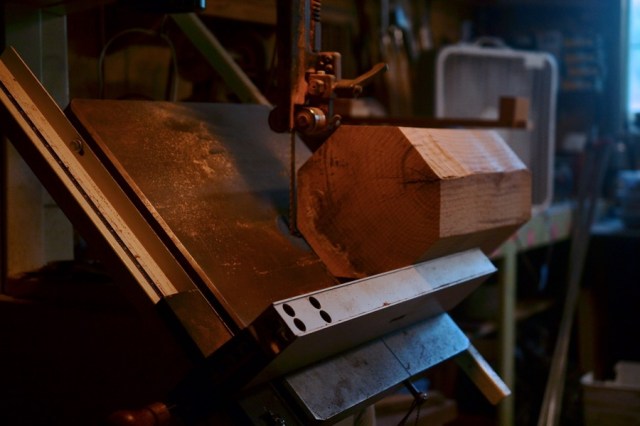
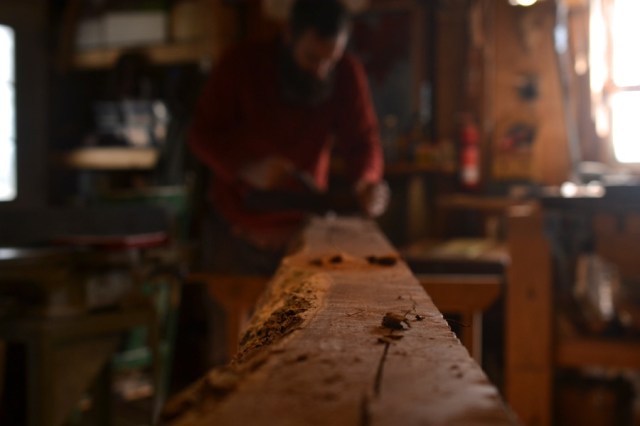
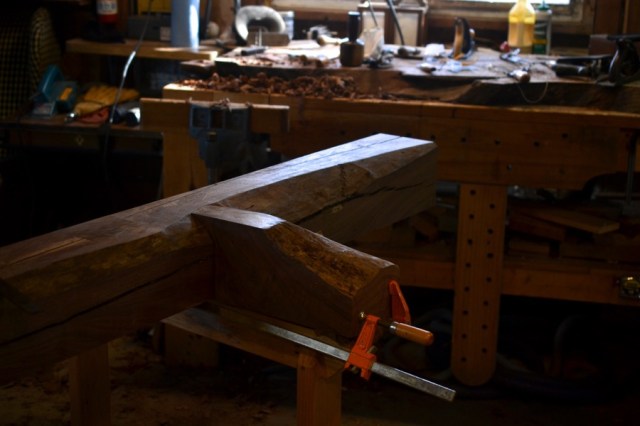
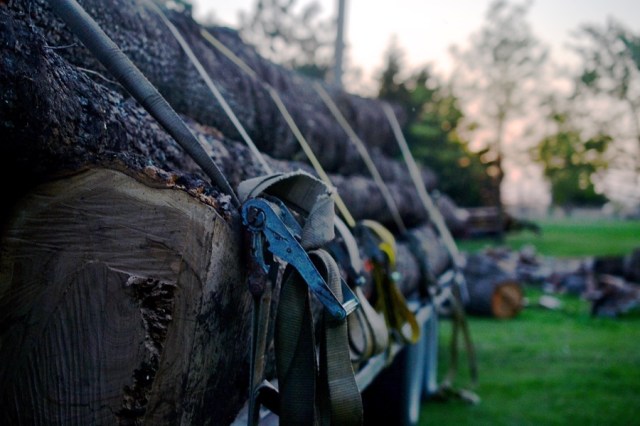
The six and a half inch thick, 13 foot long walnut slab filled the shop as it came from the chainsaw mill.

Beam cutter on the old worm-drive
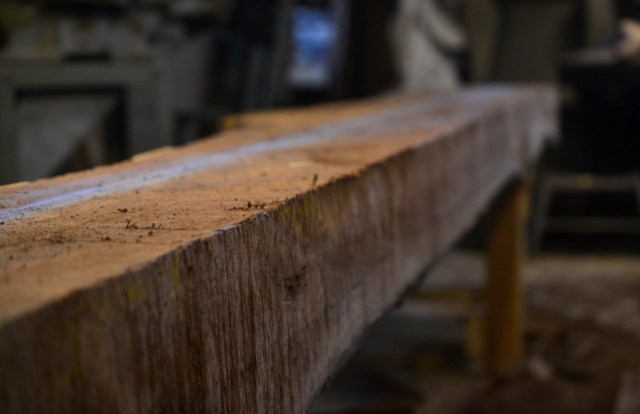
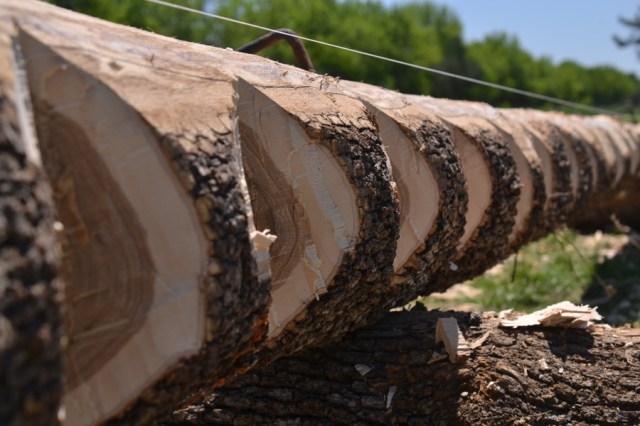
“rough-sawn” to the max
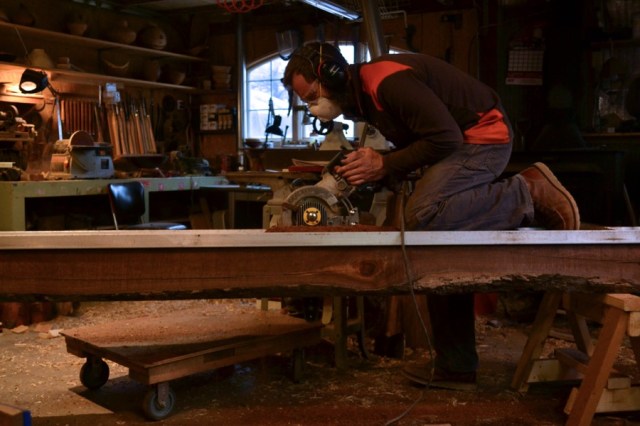
Using the “beam-cutter” to rip the slab into a six inch square timber

Pulling the saw at the end of the cut to save the last bit of slab for the corbels

Aluminum C-channel as a guide

start of the smoothing
a jack plane with a radius set to take heavy shavings
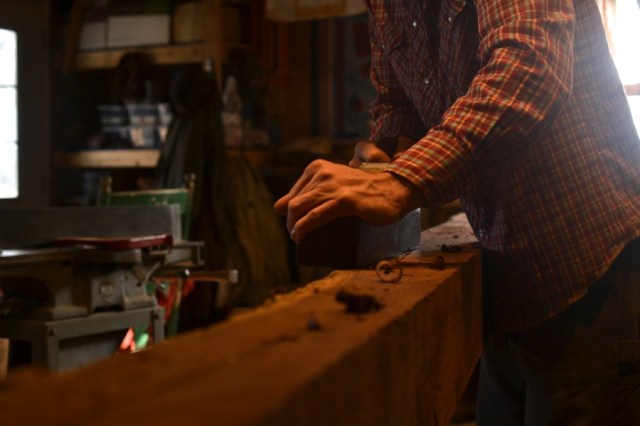
Now the joiner

pretty obvious

chopping out for a patch over a rotten knot
the same, fitted
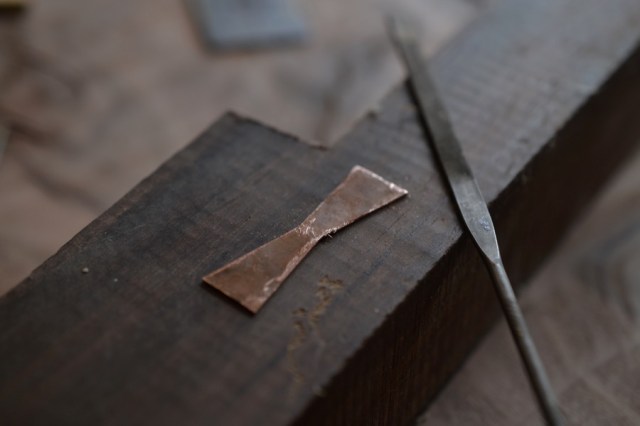
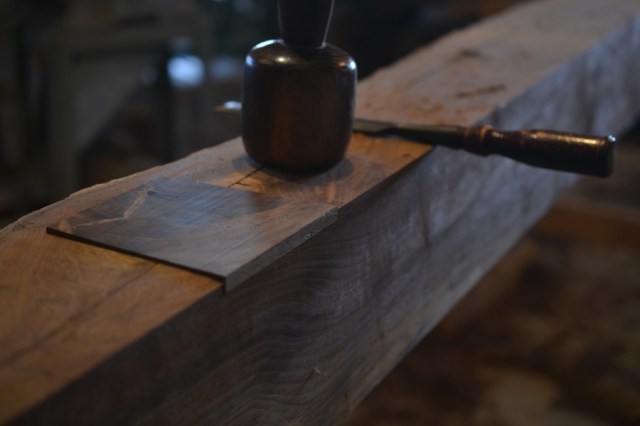
filing the edges of a little copper butterfly template

bench-top with tools for making butterfly templates

variety of butterfly templates

Scribing the timber for butterflies to bind the main check

Routing out the waste

chopping the rest

right up to the knife line

ready for the joining

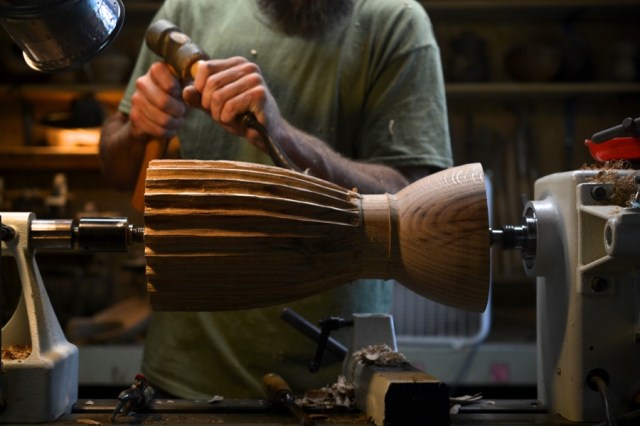
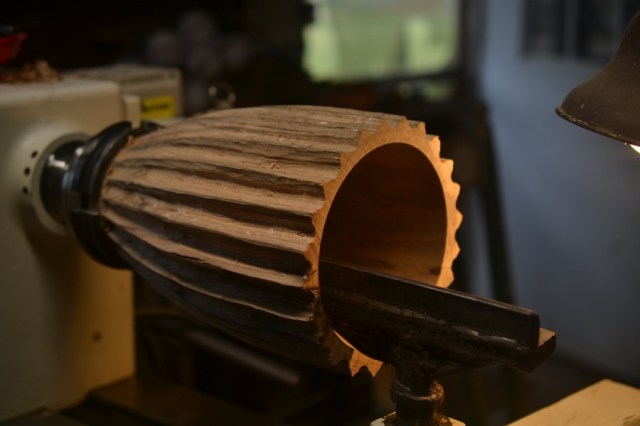
carving the corbels (my documentation fell off for most of this process)

mating the various natural edges of the corbels to the mantel

a little further back
fitting the opposite corbel

rough-cut cove on the left corbel

both corbels with coves-cut and awaiting final shaping
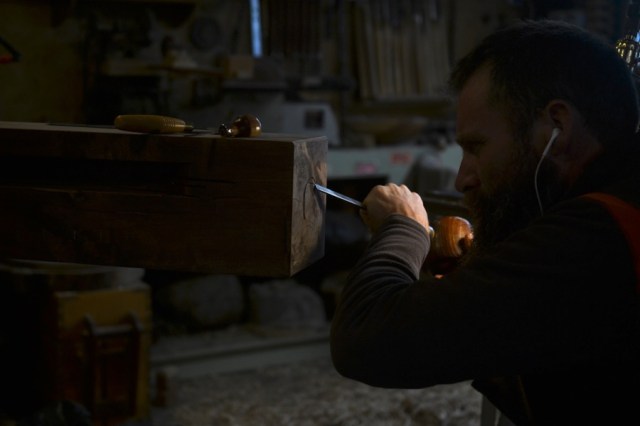
apply the final touches on the ends of the timber
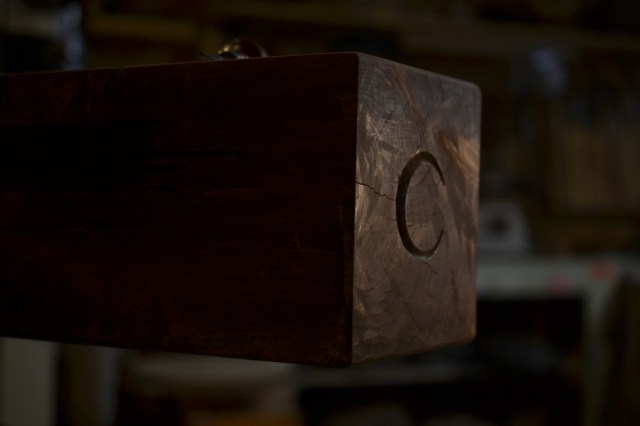
“C” for the covenant
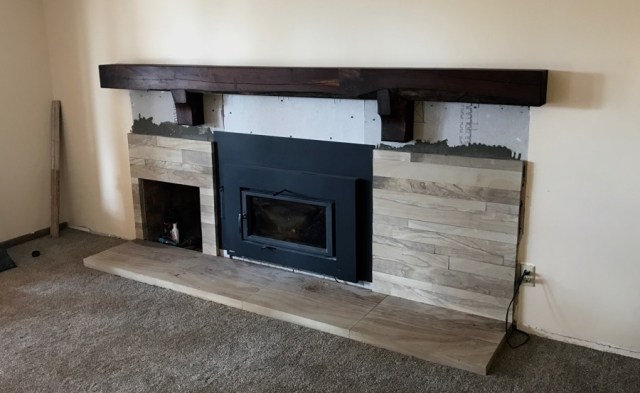
installed over the fire box, and the home-owner’s sandstone work.

I look forward to seeing it with the stone work done


Jonah has been coming up a lot lately. I thought I would share a photo of this big painting which I have been working on over the past 5 years.

Jonah and the Cave of the Erth


Nigh on two years ago I received an email from Elizabeth Duffy, a writer from Indiana, wanting to ask me a few questions about my art for her blog at Patheos. She sent questions and I sent back my answers. It went on for three or four months like that, and trust was built. In the end she shared our interview in four parts on her blog. Meanwhile Elizabeth felt the fruit of our dialogue merited a wider audience, and she went in quest. Image Journal took the bet, and Elizabeth went to work.

I owe a debt to Elizabeth, but not necessarily for publishing an article about me in a magazine, although, that too is cool, and I expect that the measure of artistic validation it lends me is not insignificant. It is for her time and her witness that I am grateful, it is for her trustworthiness. I suspect most artists wonder, like me, if all the labor and turmoil that goes into making art, which purports to have emerged from a deep place in the created heart, is not the dead end of futility that it so often seems to be. I know at least that it matters to Elizabeth, so much so that she built a soap box and voiced it to as large an audience as she could muster. More sacred, she proved her trust with those treasures in my heart which I was able to share with her. That carries weight. Thank you Elizabeth. You came along side me and we plowed together. We even made the cover.

You can read the article online if you wish, or even buy the whole journal it here.
With genuine authenticity (I know it’s redundant) and authentic hunger, Elizabeth writes for a variety of different outlets, including Image Journal’s blog, Good Letters. The best place to start and catch most of it, is at her personal blog.


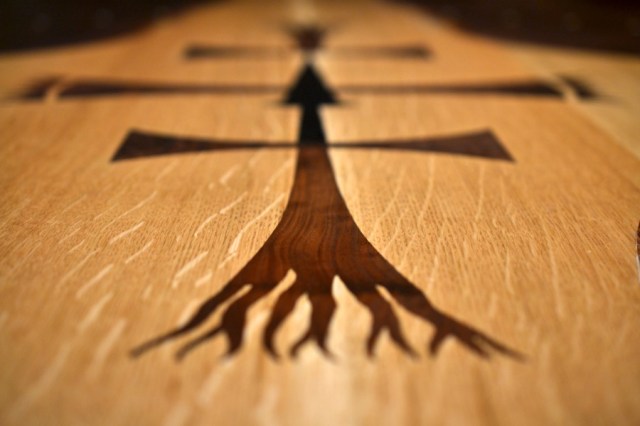
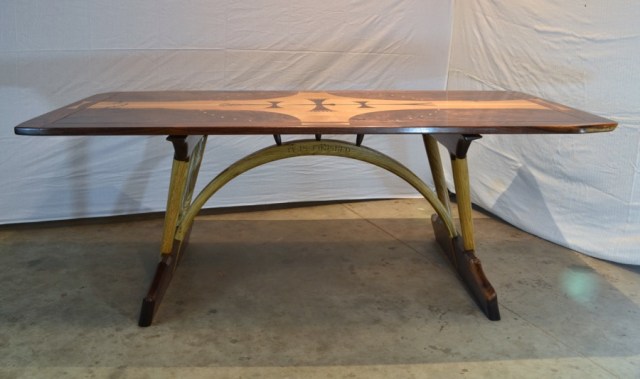
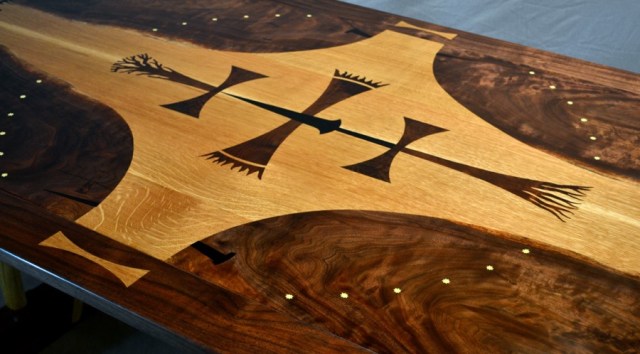
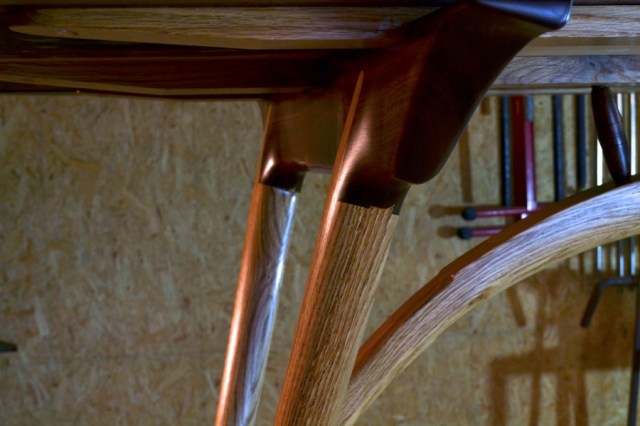
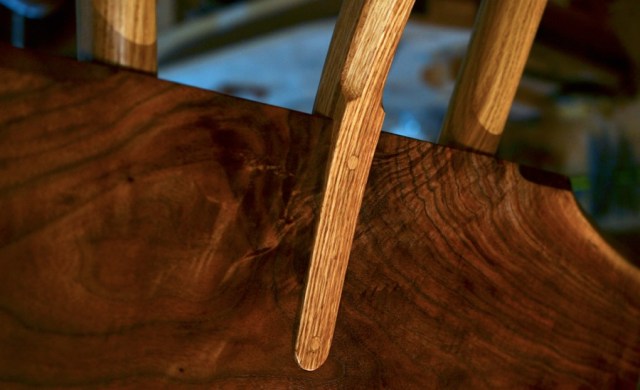
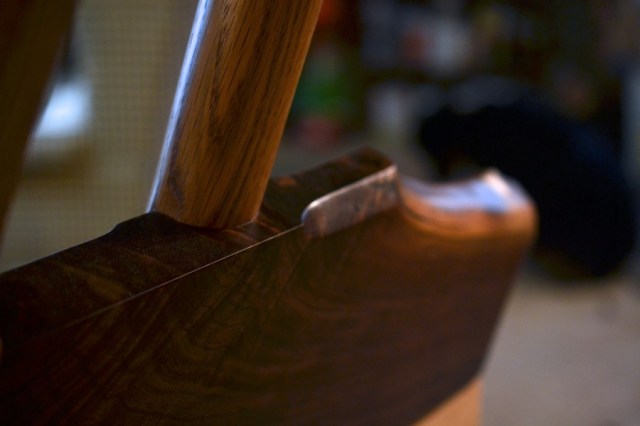
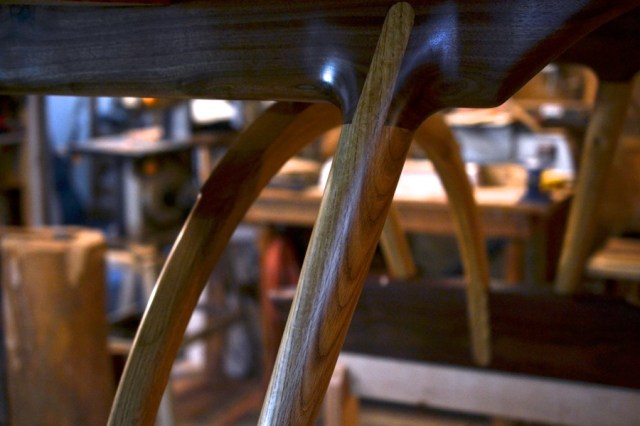
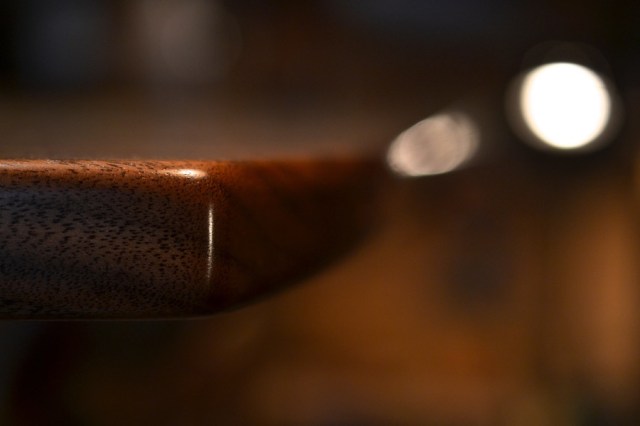
After about five months the Champion Table is finished and in its new home outside of Chicago. The woods in this table are Kansas Black Walnut and White Oak (the base uses oak from Kansas, the top uses oak of lesser known origin, beyond my friend, the lumber man), the top features also a small amount of Ebony and sulfur. The design is original, and evolved throughout the building process. Central, is a crucifixion theme and the arc. There are other symbolic elements as well, throughout. I am deeply grateful to the Champion family for the opportunity to build a significant piece of furniture for their home and living. I am also humbled and thankful for all the encouragement I have received throughout the building process. Ultimately I am glad in my heart, laboring to make something that celebrates the goodness of God.